Gutter Installation
About This Project
This project outlines the steps for installing a new gutter system on a residential home to manage rainwater runoff effectively. It covers planning, material selection, preparation, installation of the gutters, downspouts, and final checks.
Tools & Materials

25 ft. Tape Measure
-Qwpwz94URBobujA1PYt2pgYiST5sMJ.webp)
Chalk Line
OX TOOLS OX Tuff Carbon - Marking Pencil Value Pack OX-P503210
Level
DECKMATE 2 in. Screw Bits (2-Pack) DM2T25BITS
Pencil
25 ft. Tape Measure
Measure with precision and ease.
Chalk Line
Marks straight, precise lines on surfaces.
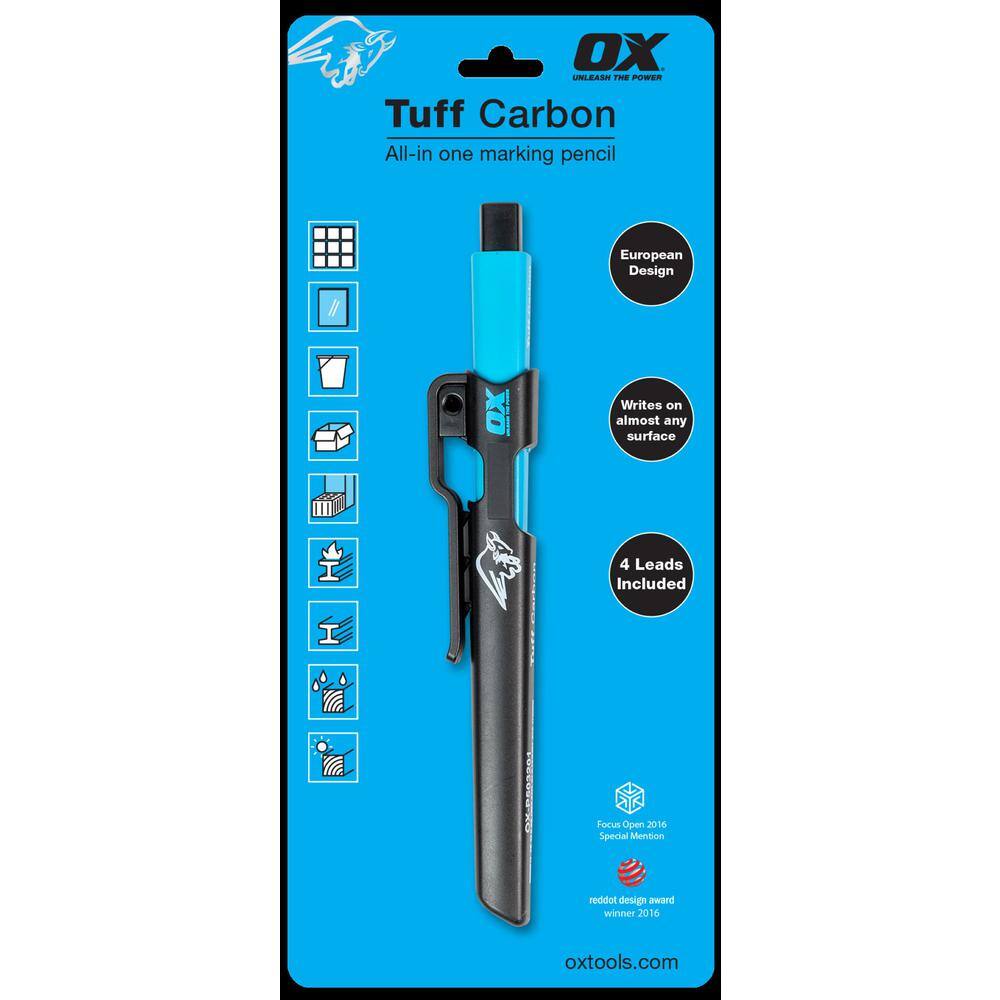
OX TOOLS OX Tuff Carbon - Marking Pencil Value Pack OX-P503210
OX Tools Tuff Carbon Marking Pencils are packed with features and are an excellent choice for any tradesman. The unique square design prevents the pencil from rolling off surfaces, unlike traditional round design. This pencil is designed to be able to write on almost any surface on a job site including metal, wood, plastic, brick, stone, block, concrete, glass, tile and much more. It features a belt clip and an integrated lead sharpener built into the cap. The pack comes with four leads, one standard graphite, one red, one yellow, and one white that can be used interchangeably.
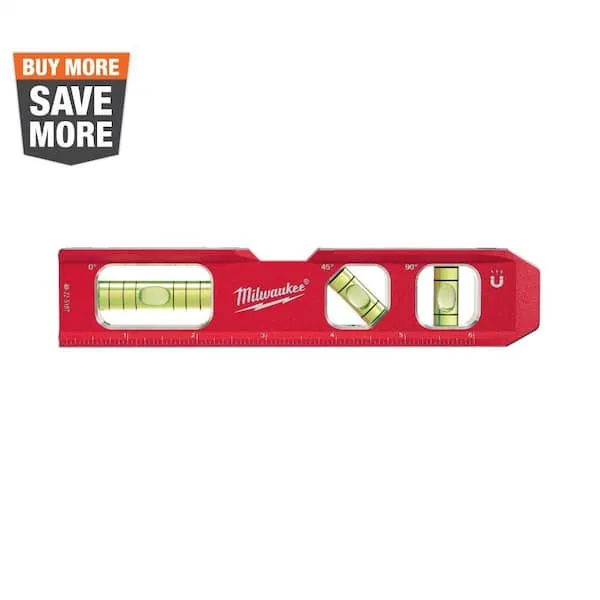
Level
Ensures surfaces are just right.
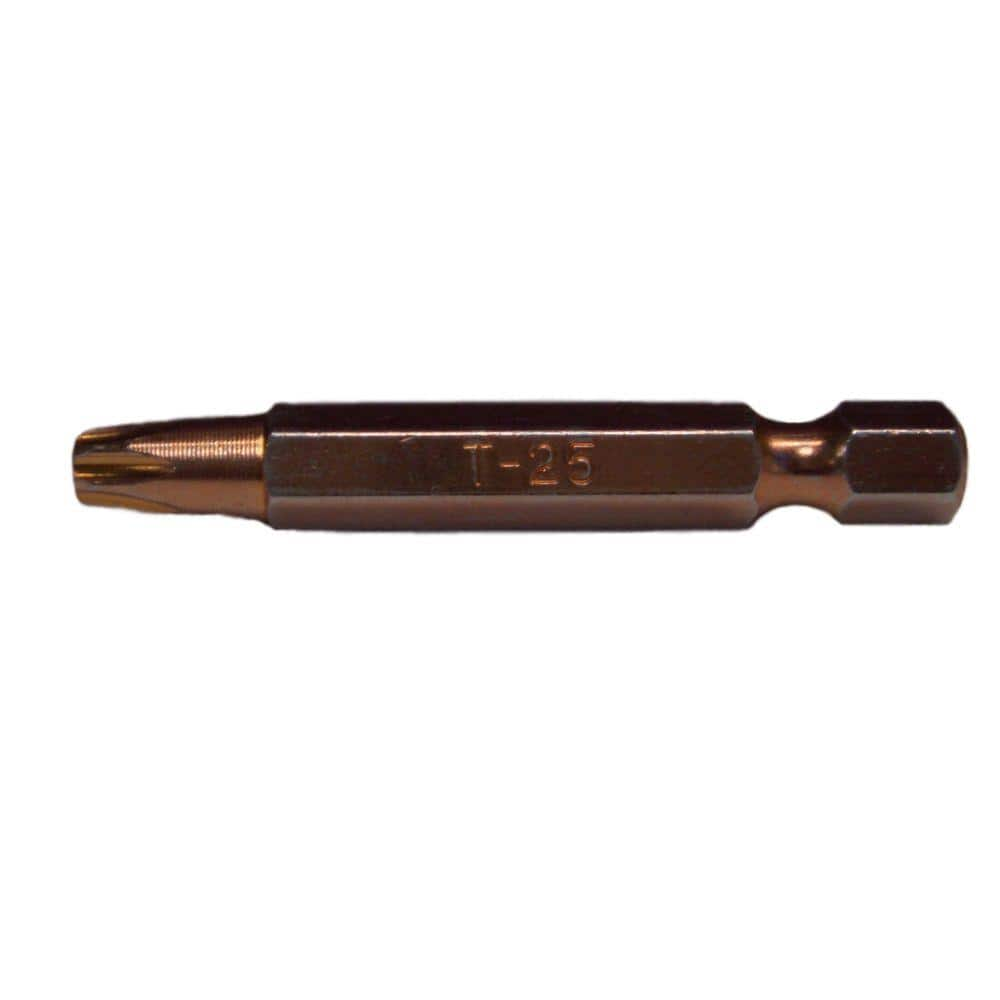
DECKMATE 2 in. Screw Bits (2-Pack) DM2T25BITS
Make the most of you of your outdoor project with DECKMATE brand exterior screws. A patented thread designed for treated wood & all exterior material applications. A Lifetime polymer coating provides extra corrosion resistance for the fastener that is guaranteed for the life of your project.
Pencil
Marks and draws with ease.
Steps
Measure and Mark Gutter Layout
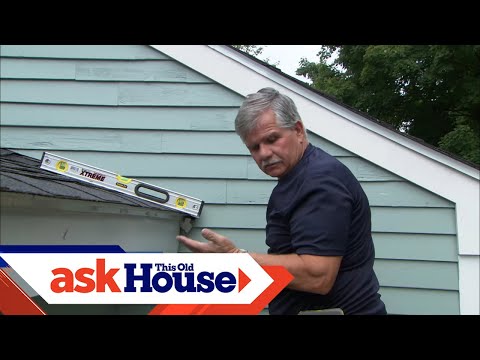
60 minutesMeasure the length of each section of the roof where gutters will be installed. Using a chalk line, mark a straight line along the fascia board or rafter tails to indicate the top edge of the gutter. Plan the placement of downspouts, typically at the ends of gutter runs or at corners, ensuring they align with existing drain pipes or splash block locations. Calculate the required slope for the gutters, generally a 1/4 inch drop for every 10 feet of gutter run, towards the downspout locations. Mark the high and low points for each gutter section.
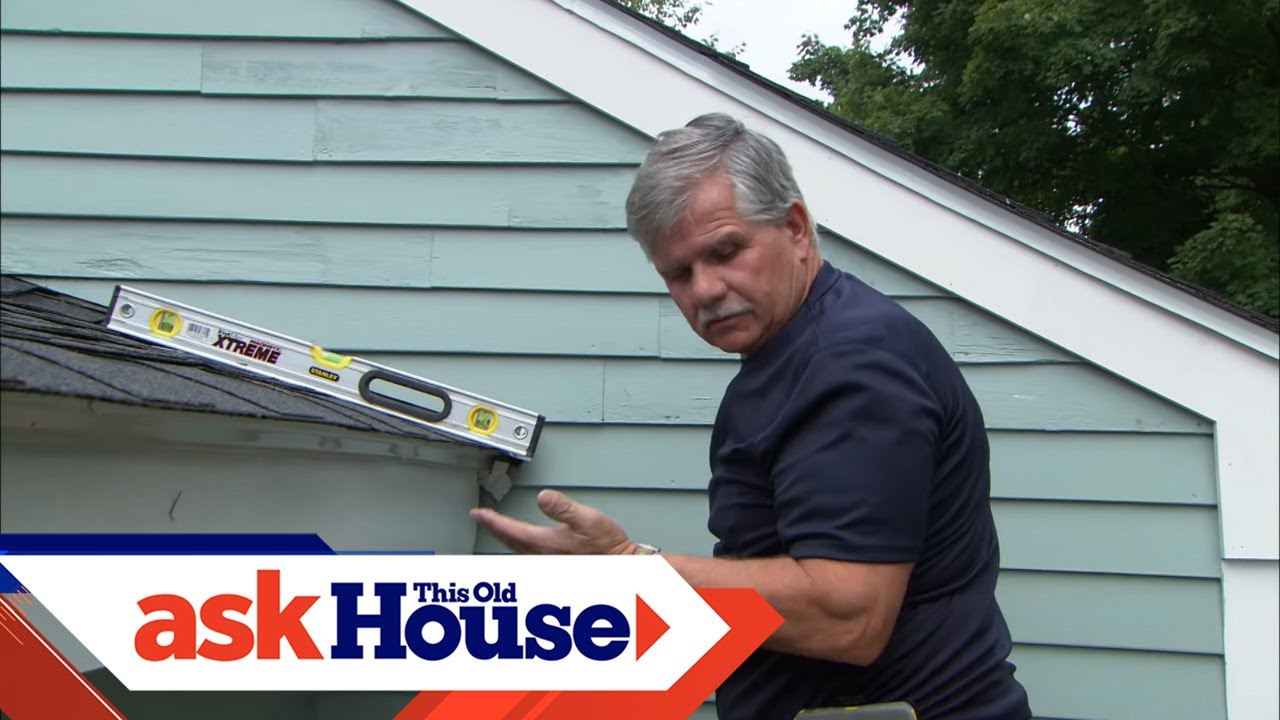
Watch: Mark Gutter Pitch Line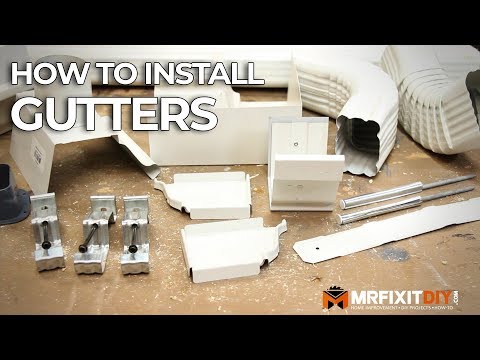
Install Gutter Hangers (Brackets)
90 minutesPosition the gutter hangers according to the marked slope, typically every 24 to 32 inches along the fascia board. The hangers should be aligned with the chalk lines or pencil marks indicating the top of the gutter. For seamless gutters, hangers are usually installed inside the gutter channel. For sectional gutters, they are typically screwed through the back of the gutter into the mounting surface. Ensure the hangers are securely fastened to provide adequate support for the gutter system, especially in areas with heavy rainfall or snow.
Watch: Prepare Gutter HangersCut and Fit Gutters
120 minutesMeasure and mark the gutter sections to fit the lengths determined in the layout phase. Use a hacksaw, tin snips, or a specialized gutter cutting tool to make clean cuts. For sectional gutters, attach inside or outside miters for corners and end caps for the ends of the runs. Apply a generous bead of gutter sealant to the connecting surfaces of the sections and any joints. Slide the sections together firmly, ensuring the sealant creates a watertight bond. For seamless gutters, cut the required length and attach the end caps.
Watch: Measure, Seal, and Cut GutterMount Gutters
90 minutesCarefully lift the cut and assembled gutter sections and place them into the gutter hangers. Ensure the top edge of the gutter aligns with the chalk line or the intended high point. For sectional gutters, secure them to the hangers using screws or clips as per the manufacturer's instructions. If using downspout outlets, ensure they are correctly positioned and sealed. Check that the slope is maintained towards the downspout locations.
Watch: Install Gutter on House and Test
Install Downspouts
100 minutesConnect the first downspout elbow to the outlet on the gutter. Add subsequent downspout sections, using elbows to navigate around soffits or other obstructions. Ensure each section fits snugly into the one below it. Use downspout brackets to secure the downspout to the exterior wall of the house every 6 to 10 feet, allowing for expansion and contraction. The bottom of the downspout should direct water away from the foundation, either into a splash block, underground drainage system, or to a suitable drainage area.
Watch: Attach Downspouts
Seal All Joints and Connections
45 minutesApply a continuous bead of high-quality, exterior-grade gutter sealant to all areas where gutter sections connect, end caps are attached, and downspouts join the gutter outlets. Also, seal any joints between downspout sections if necessary. Smooth the sealant with a putty knife or gloved finger to create a clean, watertight seal. Allow the sealant to cure completely according to the manufacturer's instructions before exposing the gutters to heavy rain.
Watch: Seal Gutter Joints
Test the Gutter System
30 minutesUsing a garden hose, run water into the highest point of each gutter section. Observe the entire system for any leaks at seams, joints, or connections. Check that water flows smoothly towards the downspouts and does not pool in any areas. Ensure the downspouts carry the water effectively away from the foundation without overflow or backup. Make any necessary adjustments to the slope or re-seal any identified leaks.
Watch: Test Gutter DrainageCommon Problems
Gutter sections leak at the seams or connectors, causing water to drip where it shouldn't.
Solution: First, ensure the area is clean and dry. Use a putty knife or utility blade to carefully remove any old or ineffective sealant. Apply a generous bead of high-quality gutter sealant (compatible with aluminum) along the inside of the joint where the two gutter sections meet or connect. Press the sections together firmly, then smooth the sealant with your finger or a tool to ensure a watertight seal. Allow the sealant to cure completely before running water through the system.
Prevention: When installing, make sure all connections are tightly fitted and overlap correctly. Apply a continuous, even bead of sealant to all joints and connections, both inside and around the edges of the slip joint or mitre, *before* fastening them together. Use enough sealant to fill any potential gaps.
Water pools or stands in sections of the gutter instead of flowing smoothly towards the downspout.
Solution: Use a level to identify the lowest points where water is pooling. Starting from the highest point near the gutter end cap and working towards the downspout, loosen the screws on the gutter hangers in the affected section. Adjust the hangers slightly to create a consistent downward slope of about 1/16 to 1/8 inch for every 10 feet of gutter run. Re-tighten the hanger screws securely into the fascia board once the correct slope is achieved. Retest with water.
Prevention: Before installing any hangers, use your measuring tape, chalk line, and a level to mark a precise slope line (1/8 inch drop per 10 feet) along the fascia board. Install all hangers precisely along this marked line to ensure proper water flow from the start.
While installing hangers or downspout straps, you hit a hidden electrical wire or plumbing pipe behind the fascia board.
Solution: Immediately stop drilling or screwing. If you suspect an electrical wire, turn off the main power to your home at the circuit breaker. Do not attempt to fix it yourself; contact a licensed electrician or plumber to assess the damage and make repairs. Continuing to work could be extremely dangerous.
Prevention: Before drilling or screwing into the fascia, especially in older homes, consider using a non-contact voltage detector or stud finder with AC detection capabilities (not listed in your tools, but highly recommended for safety) to scan the area for hidden wires or pipes. If unsure, drill very shallow pilot holes first and listen/feel for anything unusual.
Gutter sections are cut too short, leaving a noticeable gap, or the cuts are uneven, making it difficult to join sections.
Solution: For slightly short sections with minor gaps, you might be able to bridge the gap sufficiently with a larger slip joint connector and extra gutter sealant. For significantly short sections or very uneven cuts that compromise the seal, it's best to re-cut a new section of gutter from a fresh piece of material. If the issue is just an uneven cut, use your tin snips or hacksaw to carefully trim and straighten the edge until it fits flush with the connector or adjacent gutter piece.
Prevention: Always 'measure twice, cut once.' When marking cuts, account for any necessary overlap for connectors and end caps. Use a straightedge and your marking pencil to draw a clear, straight line before cutting. Ensure your hacksaw or tin snips are sharp to make clean, precise cuts. Practice on a scrap piece if you're new to cutting sheet metal.
Gutters sag in the middle or pull away from the house during heavy rain or snow, indicating weak support.
Solution: Identify the sagging sections. Add more Amerimax Home Products 5 in. Aluminum Hidden Gutter Hangers in the affected areas, reducing the spacing between hangers to every 24 inches (2 feet) or even closer (every 16 inches in areas prone to heavy snow). Ensure the #8 External Square Round Stainless Steel Decorator Screws penetrate solid wood in the fascia board. You may need to pre-drill pilot holes to prevent splitting.
Prevention: Install gutter hangers no more than 24-30 inches apart (or closer in areas with heavy snowfall or high winds) right from the start. Make sure each hanger is securely fastened with long enough screws (like the #8 Stainless Steel screws) that bite into the structural wood behind the fascia, not just the fascia board itself.
Downspout doesn't align correctly with the gutter outlet, causing water to spill, or the downspout is too far from the wall.
Solution: If the downspout is misaligned with the gutter outlet, you may need to adjust the placement of the gutter outlet itself, or use an additional Amerimax Home Products Flex-Elbow to create a more direct path. If the downspout is too far from the wall, use the Amerimax Home Products Flex-Elbow 3 in. x 4 in. White Vinyl Downspout Elbows (or similar) to bridge the gap and bring the downspout closer to the wall before securing it with Amerimax Home Products White Aluminum Downspout Bands and DECKMATE 1/4 in. x 2 in. Exterior Hex Head Lag Screws.
Prevention: Before installing the downspouts, dry-fit the downspout components (outlet, elbows, downspout sections) from the gutter outlet down to the ground. This allows you to check alignment and identify any clearance issues with the wall or other obstructions before final assembly and fastening.
Frequently Asked Questions
How difficult is it to install gutters for a DIY beginner, and what's the realistic time commitment?
Gutter installation is classified as beginner-friendly, but it requires careful measuring, precise cutting, and comfortable ladder work. While estimated at two days, it can take longer depending on your home's complexity and your DIY experience. Plan for adequate daylight hours and avoid rushing.
What are the essential safety precautions I must follow when installing gutters?
Ladder safety is paramount: ensure your ladder is stable on level ground, extend it at least 3 feet above the roofline, and always maintain three points of contact. Wear safety glasses to protect against debris and cut materials, and sturdy gloves to prevent cuts from sharp metal edges. Consider having a helper for stability and passing tools.
Are all the listed specialized tools absolutely necessary, or can I use alternatives for gutter installation?
While tools like aviation snips and a hacksaw are recommended for precise, clean cuts on gutters and downspouts, having the correct specialized tools significantly improves the quality of your work and reduces frustration. A good level and chalk line are non-negotiable for proper alignment. Improvised alternatives may lead to less professional results.
How do I ensure the gutters drain correctly and prevent water from pooling?
Proper pitch is crucial; aim for a slope of 1/4 inch per 10 feet of gutter towards each downspout. Use a level and a chalk line to mark your slope accurately on the fascia board before installing hangers. Double-check the pitch during installation to ensure consistent drainage.
What are the most common mistakes beginners make during gutter installation, and how can I avoid them?
Common mistakes include insufficient pitch, improper sealing of joints leading to leaks, and incorrect downspout placement. To avoid these, meticulously measure and mark your pitch, generously apply gutter sealant to all connections, and ensure downspouts direct water away from the foundation. Also, don't skimp on the number of hangers for adequate support.
What kind of maintenance is required for a new gutter system after installation?
To ensure your new gutter system functions effectively, it's essential to perform regular maintenance. This primarily involves cleaning out leaves, twigs, and other debris from the gutters and downspouts at least twice a year, especially in autumn. Periodically inspect all joints and connections for any signs of leaks or loose fasteners, and re-seal or tighten as needed.