Garage Floor Painting
About This Project
A high-level outline for preparing and painting a garage floor to create a durable, attractive, and easy-to-clean surface.
Tools & Materials

HDX Giant Commercial Corn Broom 750

Libman Large Heavy-Duty Wet Mop 979
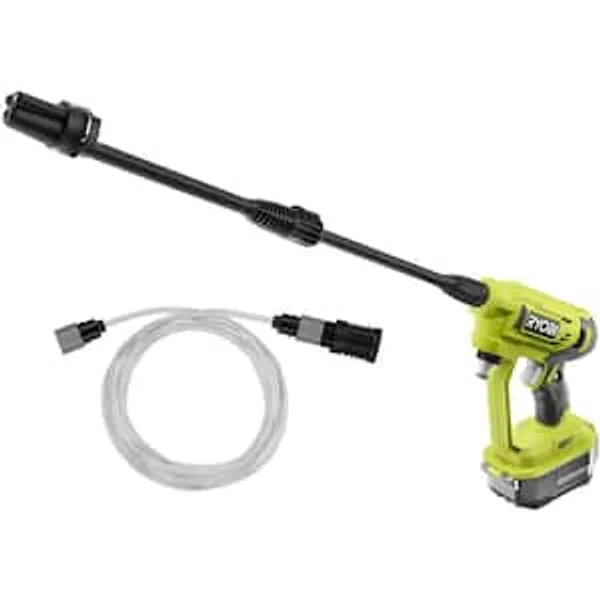
Pressure Washer
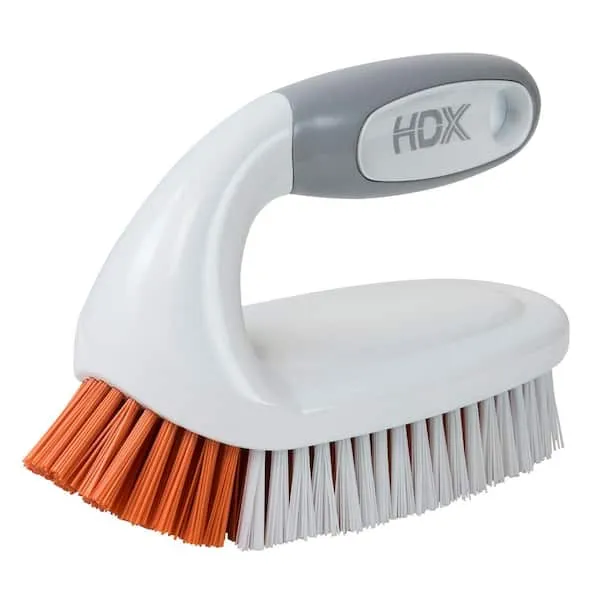
Scrub Brush
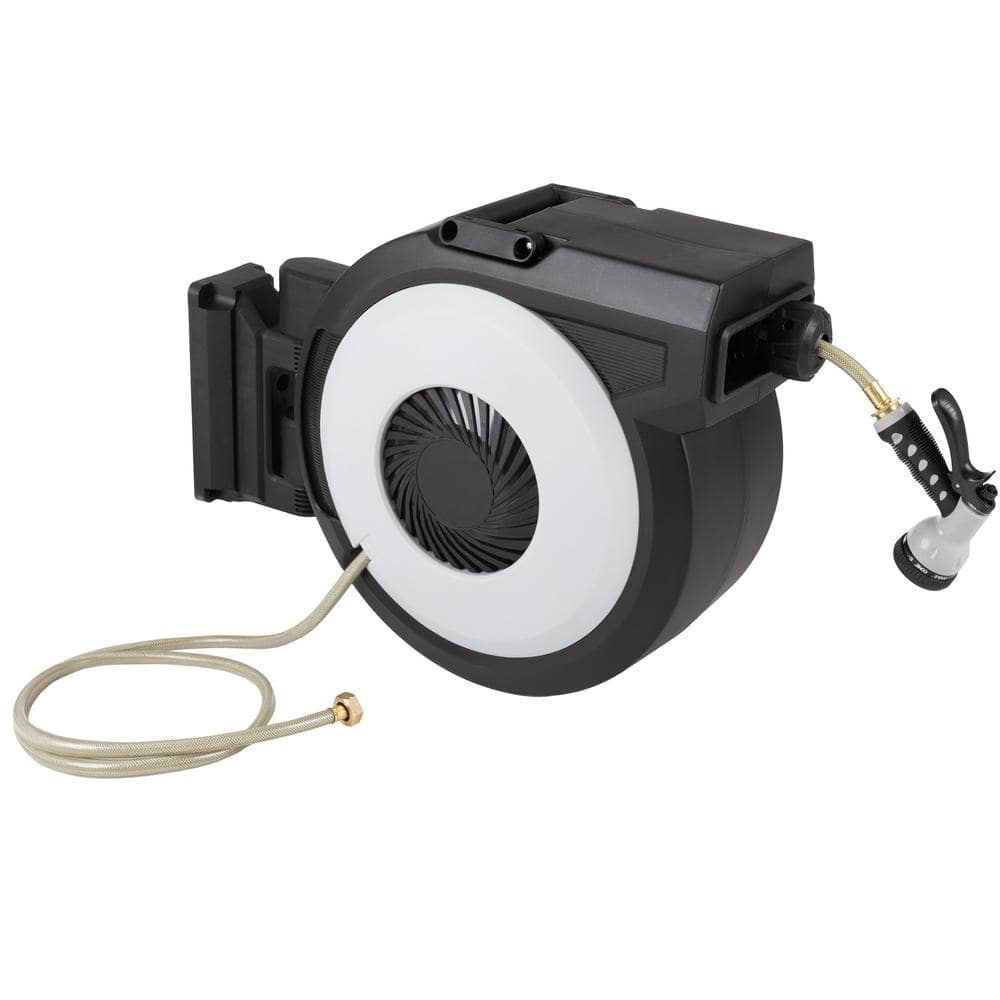
Pure Garden 5/8 in. Dia x 124 ft. Standard Retractable Garden Water Hose 50-LG1341
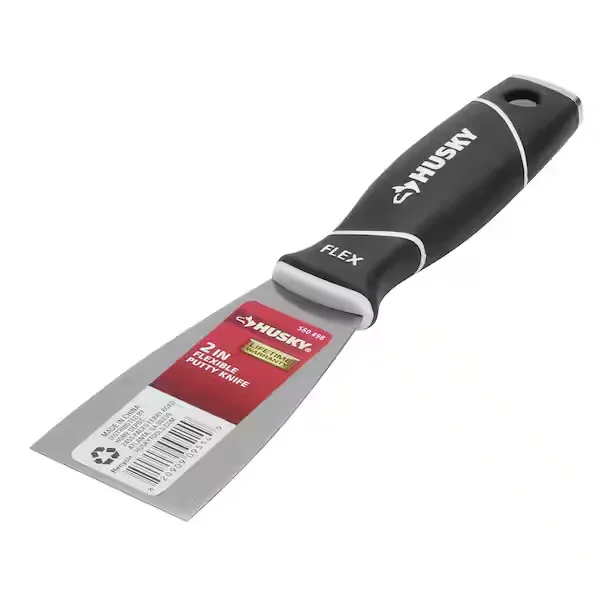
Putty knife
HDX Giant Commercial Corn Broom 750
This Giant Commercial Corn Broom is a premium, heavy-duty corn broom with exceptional fiber weight that picks up dirt and dust effectively. It offers an extra wide 15 in. sweep path, creating a larger
Libman Large Heavy-Duty Wet Mop 979
This All-Purpose Heavy Duty Mop with Handle Set from Libman is perfect for any large floor areas, routine cleaning, or even spill clean ups in restaurants, retail stores, convenience stores, garages, and more. The mop head is a commercial strength looped-end large cotton and polyester blend that is highly absorbent. It comes attached and ready to use on a quick-change mop handle that makes it easy to switch out the mop head.
Pressure Washer
Cleans surfaces with high-pressure water.
Scrub Brush
Tackles tough stains with stiff bristles.
Pure Garden 5/8 in. Dia x 124 ft. Standard Retractable Garden Water Hose 50-LG1341
Make it easier to achieve the garden of your dreams with the Retractable Water Hose Holder by Pure Garden. The durable 124 ft. hose locks at any length, and automatically retracts into the mountable reel
Putty knife
Spreads putty with its flat blade.
Steps

Clear and Clean the Garage Floor
120 minutesCompletely empty the garage of vehicles, tools, storage items, and anything else stored on the floor. Sweep the entire floor surface to remove loose debris, dust, and dirt. Then, use a wet mop or a pressure washer to wash the floor, removing any grease, oil stains, or grime. For stubborn stains, use a degreaser or concrete cleaner and a stiff brush.
Watch: Prep the Garage Floor: Clean and DegreaseRepair Cracks and Surface Imperfections
60 minutesInspect the entire concrete floor for cracks, chips, or holes. Use a concrete patching compound or epoxy filler to repair these imperfections. For larger cracks, you may need to widen them slightly with a chisel and hammer to ensure the filler has a good bond. Follow the product's instructions for mixing and application, and allow the patch to cure completely.
Watch: Patch and Repair Concrete Cracks
Etch or Grind the Concrete Surface
90 minutesThis step is crucial for ensuring the paint adheres properly. For etching, mix a concrete etcher solution according to the manufacturer's instructions and apply it to the floor. Scrub the surface with a stiff brush and rinse thoroughly. Alternatively, you can use a concrete grinder with a diamond cup wheel to abrade the surface. This method is more effective for very smooth or contaminated concrete.
Watch: Etch the Concrete Surface
Prime the Garage Floor
45 minutesApply a thin, even coat of a high-quality concrete primer specifically designed for garage floors. Use a roller with an extension pole for larger areas and a brush for edges and corners. Ensure complete coverage of the entire floor surface. Allow the primer to dry completely according to the manufacturer's recommendations.
Watch: Apply Concrete Primer
Apply the First Coat of Paint
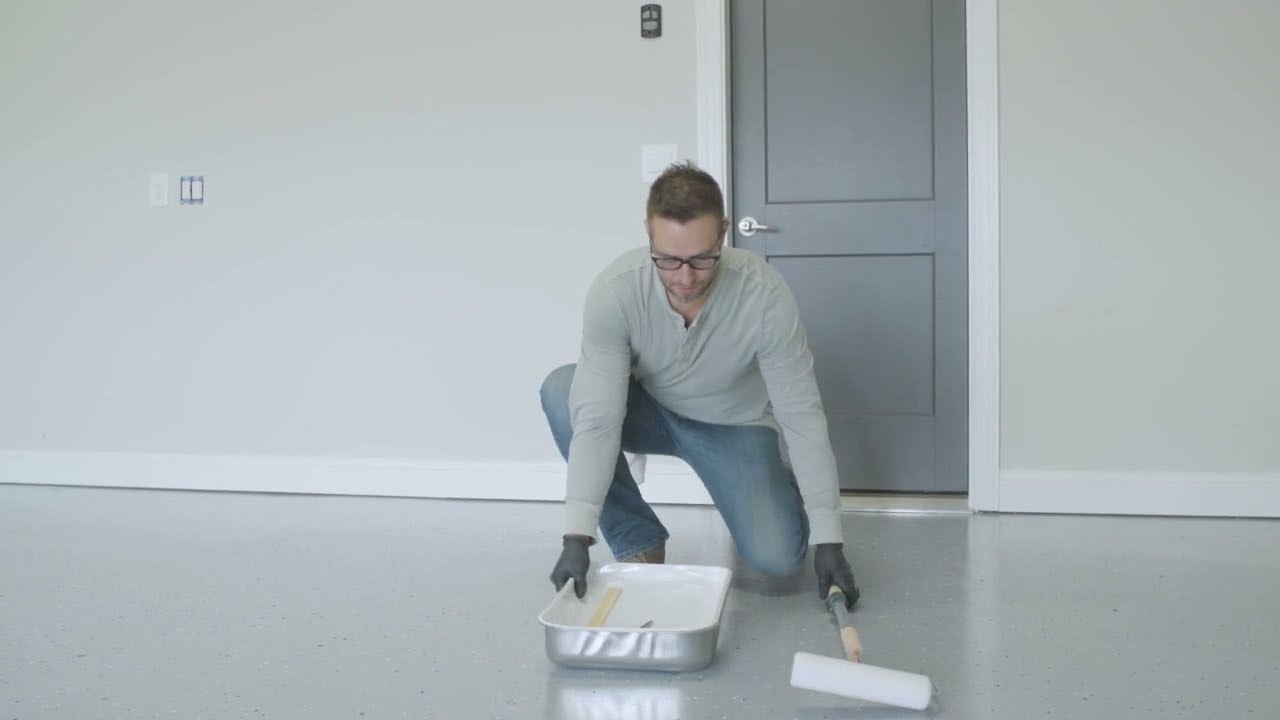
90 minutesStir the paint thoroughly before and during application. Pour some paint into a paint tray. Using a roller with an extension pole, apply the paint in sections, working from the back of the garage towards the exit. Maintain a wet edge to avoid lap marks. Use a brush for cutting in edges and corners. Apply a thin, even coat, avoiding thick application which can lead to peeling.
Watch: Apply Rust-Oleum Concrete & Garage Floor Paint
Apply the Second Coat of Paint (if needed)
90 minutesAfter the first coat has dried according to the manufacturer's instructions (usually within 24 hours, but check the product label), apply a second coat using the same technique as the first. This second coat will provide added durability, better coverage, and a more consistent color depth.
Watch: Apply Second Coat of Paint
Allow Paint to Cure
10320 minutesThis is a critical step for the longevity of your painted floor. Follow the paint manufacturer's recommended cure time. This is typically longer than the dry-to-touch time. Avoid placing heavy items on the floor or driving vehicles onto it until the full cure is achieved to prevent damage to the paint.
Watch: Drying and CuringCommon Problems
The newly painted garage floor is peeling, flaking, or not adhering well in certain spots shortly after application.
Solution: For small areas, scrape off all loose paint with a putty knife or scraper. Clean the exposed concrete thoroughly, ensuring it's free of any dust, grease, or contaminants. Re-etch or lightly grind the area if it wasn't prepped correctly initially. Allow to dry completely, then re-prime and reapply the garage floor paint. For large-scale peeling, the entire floor may need to be stripped, thoroughly re-prepped, and repainted.
Prevention: Thorough surface preparation is crucial. Ensure the floor is completely clean, dry, and free of oil, grease, or previous coatings. Always etch or grind the concrete as recommended to create a surface profile for the paint to grip. Rinse etching solution completely and allow the floor to dry for several days, testing for moisture if necessary, before priming or painting.
Small bubbles or pinholes appear in the wet or dried paint, making the surface look uneven.
Solution: If the paint is still wet, you can try gently back-rolling (rolling over the area without adding more paint) to release trapped air. If the paint has dried with bubbles, you'll need to lightly sand down the raised bubbles until smooth. Clean off all sanding dust, and then apply another thin, even coat of paint.
Prevention: Mix the two-part epoxy components slowly and thoroughly, avoiding aggressive stirring that can incorporate too much air. Avoid applying paint in direct sunlight or very hot conditions, as this can cause the paint to skin over too quickly, trapping air. Applying thin, even coats is also helpful. Ensure the concrete itself isn't 'gassing out' moisture or air by allowing it to cure fully after any repairs and letting it dry completely after cleaning/etching.
Repaired cracks, divots, or other surface imperfections are still visible through the paint.
Solution: If the paint has dried, you will need to carefully scrape or sand off the paint around the visible imperfection. Re-clean the area. Reapply concrete patching compound, ensuring it's flush with the surrounding concrete. Once cured, sand smooth, clean again, and then spot-prime the repaired area. Finally, apply one or two thin coats of the garage floor paint over the repaired spot, blending it into the surrounding painted area.
Prevention: Spend ample time on surface repair before priming. Ensure all cracks, holes, and divots are thoroughly cleaned, filled completely with the appropriate patching compound, and sanded perfectly smooth and flush with the surrounding concrete. There should be no raised edges or depressions that will show through the paint. Allow all patching compounds to fully cure according to manufacturer instructions.
The paint remains tacky or sticky long after the recommended drying/curing time has passed.
Solution: If the paint is still tacky after 24-48 hours, first ensure the ambient temperature and humidity are within the manufacturer's recommended range; increasing air circulation and warmth might help. If it remains severely tacky and doesn't seem to be curing, it's likely due to an incorrect mixing ratio of the epoxy components. In this case, the uncured paint will likely need to be removed. This can be a challenging process, often requiring mechanical removal (grinding) or chemical stripping, followed by thorough cleaning and reapplication of properly mixed paint.
Prevention: Precisely follow the manufacturer's instructions for mixing two-part epoxy paints. Use exact measurements and mix thoroughly for the recommended duration. Always ensure the ambient temperature and humidity in your garage are within the product's specified ranges during application and throughout the curing process. Avoid applying the paint too thickly, as this can also hinder proper curing.
The finished garage floor is extremely slippery, especially when wet, creating a safety hazard.
Solution: If the floor is already painted and cured, you can apply a clear topcoat designed for garage floors that contains an anti-slip additive, or you can mix an anti-slip aggregate (e.g., fine sand or polymer grit, often sold separately) into a compatible clear topcoat and apply it. This will add texture to the surface.
Prevention: To prevent a slippery floor, always incorporate an anti-slip additive into the final coat of paint or a clear topcoat. Many garage floor paint kits include this additive, or it can be purchased separately. Mix it into the paint according to the manufacturer's instructions before applying the final coat.
The painted floor has noticeable streaks, roller marks, or an uneven finish.
Solution: If the paint is still wet, immediately re-roll the affected areas with light, even pressure, using a technique that maintains a 'wet edge' (overlapping wet paint with newly applied paint). If the paint has dried, lightly sand the raised areas or streaks to smooth them out. Clean the surface thoroughly to remove dust and then apply another thin, even coat of paint, paying close attention to your rolling technique.
Prevention: Use the correct roller nap size recommended for epoxy floor paints (usually 3/8 inch or 1/4 inch). Work in manageable sections, typically 4x4 or 4x8 feet, to maintain a wet edge. Apply even pressure to the roller and avoid pressing down too hard, which can create thick edges. Don't 'overwork' the paint once it's on the surface, as epoxies can set quickly.
Frequently Asked Questions
Why is thorough preparation so crucial for painting a garage floor?
Proper preparation, including clearing, cleaning, repairing, and etching, ensures the paint adheres correctly to the concrete. Skipping these steps can lead to premature peeling, flaking, and a much shorter lifespan for your new floor coating. A well-prepared surface is key to a durable, professional-looking finish.
What type of paint is best for a garage floor, and why did you choose epoxy?
Epoxy coatings are highly recommended for garage floors due to their exceptional durability, resistance to chemicals, oil, and hot tire pickup. They create a hard, long-lasting surface that can withstand heavy use. While acrylic or latex paints are cheaper, they won't offer the same level of protection and longevity.
How long does the entire garage floor painting process take, including drying and curing?
The active application process, including cleaning, repairs, etching, priming, and two coats of paint, typically takes about 3 days. However, the paint requires additional cure time before heavy use; light foot traffic may be possible after 24-48 hours, but wait at least 5-7 days before driving vehicles onto the surface to ensure full hardness.
What are the most common mistakes beginners make when painting a garage floor?
Common mistakes include inadequate cleaning and etching, which prevents proper adhesion, and not fully repairing cracks and imperfections beforehand. Rushing the drying time between coats or before full cure is also a frequent error, leading to compromised durability and an uneven finish. Patience is key for a successful result.
What safety precautions should I take when working with concrete etch and epoxy paint?
Always ensure excellent ventilation in your garage by opening doors and using fans. Wear appropriate personal protective equipment (PPE), including safety glasses, chemical-resistant gloves, and a respirator mask, especially when applying etch or epoxy. These materials can emit strong fumes and splashes can cause irritation.
What if my garage floor has deep cracks or oil stains? Can I still paint it effectively?
Yes, but you must address these issues thoroughly first. Deep cracks need to be cleaned, chiseled open slightly, and filled with a concrete patching compound or epoxy repair kit. Oil stains require vigorous scrubbing with a degreaser and possibly etching to ensure proper adhesion, or they will bleed through the new paint.