Garage Door Insulation
About This Project
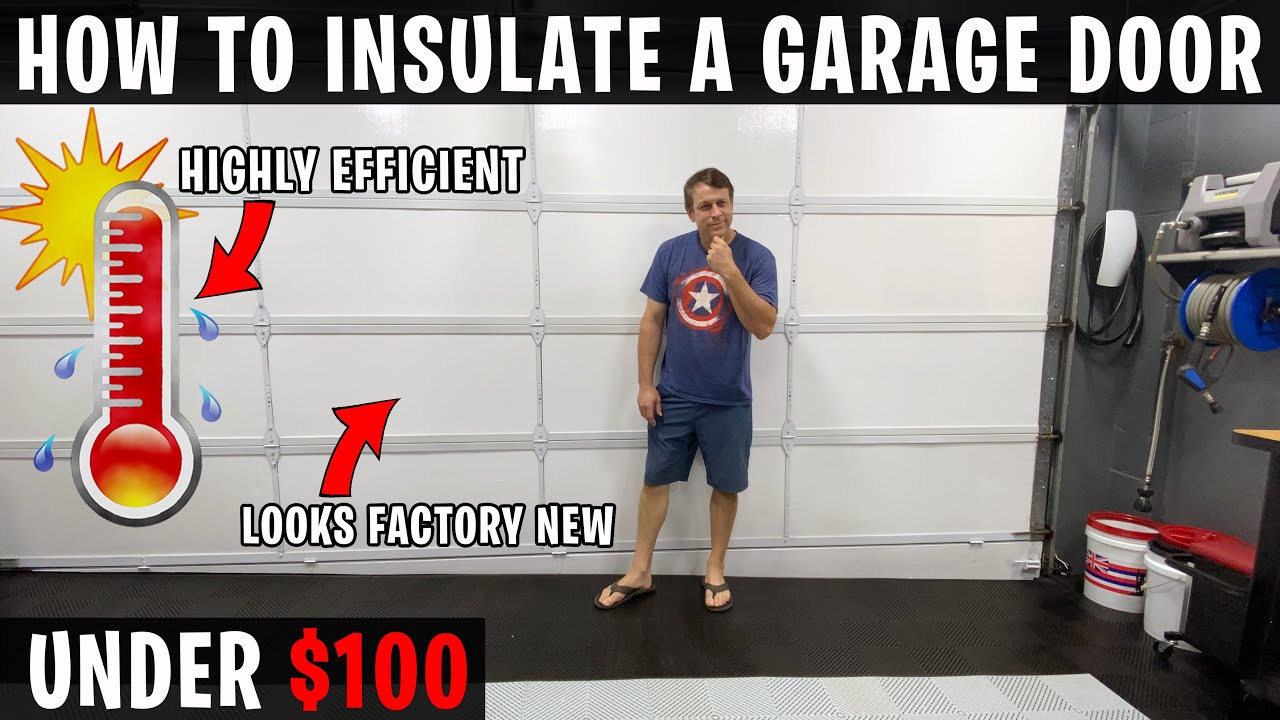
This project outlines the steps to insulate a garage door to improve energy efficiency and reduce temperature fluctuations. It involves cleaning the door, cutting insulation panels to size, and securely attaching them to the interior of the garage door. Optional finishing steps like taping seams can further enhance performance.
Tools & Materials
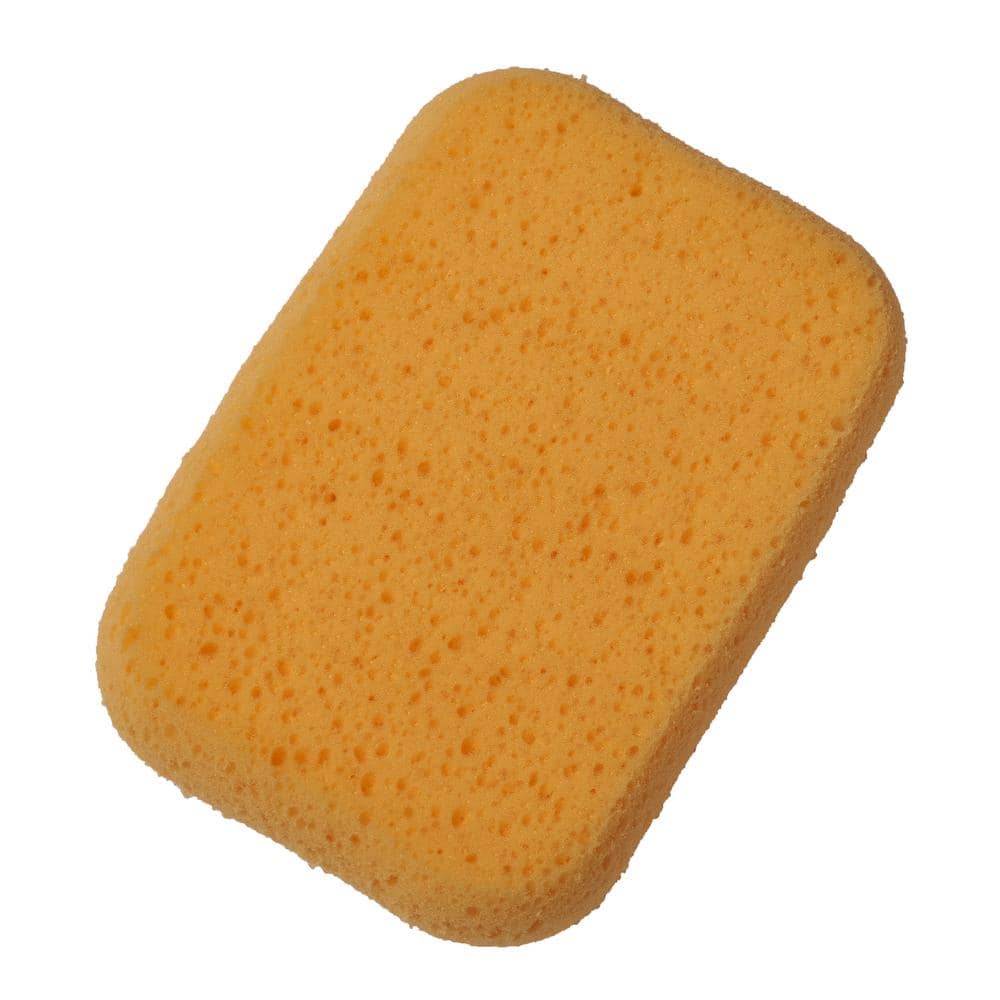
HDX Multi-Purpose Sponge (2- Sponges) 32242

Bucket
Mild Detergent
Water
Measuring Tape

Crescent Pro Cutting Scissors, Utility Scissors and Folding Utility Knife Tool Set (3-Piece) CW7T10TMKF2CMB
HDX Multi-Purpose Sponge (2- Sponges) 32242
HDX Hydrophilic Sponge 7.25 in. x 5 in. x 1.875 in. (2-Pack) highly absorbent, the HDX Sponge washes, wipes, and rinses faster. Strong enough for use with acid based products like TSP. Heavy-duty polyester
Bucket
Ideal for carrying or storing liquids.
Mild Detergent
Gentle cleaning for delicate items.
Water
Essential for life and countless tasks.
Measuring Tape
For accurate measurements of plywood and components, ensuring proper assembly.
Crescent Pro Cutting Scissors, Utility Scissors and Folding Utility Knife Tool Set (3-Piece) CW7T10TMKF2CMB
The Pro Cutting Scissor and Knife Tool Set includes the Quick Change Folding Utility Knife, the 7 in. Utility Shear and the 10 in. HD Tradesmen Shop Shears. The Crescent Wiss Quick-Change Utility Knife
Steps

Clean Garage Door
30 minutesUsing a mild detergent and water, scrub the interior side of your garage door. Rinse thoroughly and allow it to dry completely before proceeding. This step is crucial for ensuring the adhesive or tape will properly bond to the surface.
Watch: Clean and Prepare Garage Door Surface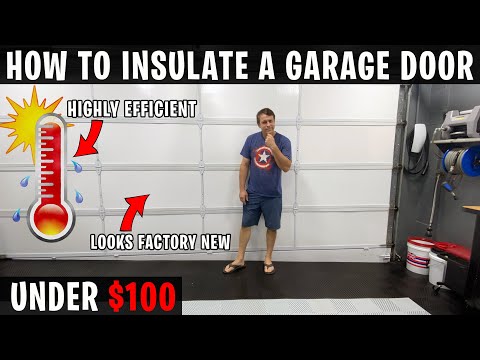
Measure and Cut Insulation
60 minutesMeasure the dimensions of each individual panel or section on the interior of your garage door. Transfer these measurements to your insulation material. Use a sharp utility knife or scissors to cut the insulation to the exact size of each section. For doors with distinct paneling, cut each piece to fit its corresponding section.
Watch: Measure, Cut, and Install Main Insulation Panels
Attach Insulation Panels
45 minutesApply a strong adhesive or double-sided mounting tape to the back of each insulation panel. Carefully align and press each panel firmly onto its corresponding section on the interior of the garage door. Ensure there are no gaps between the insulation and the door surface.
Watch: Apply Insulation Panels
Seal Seams and Gaps (Optional)
20 minutesOnce all insulation panels are in place, use a strong, foil-backed tape or specialized insulation tape to cover any seams or gaps between the panels. This helps to prevent air leaks and further enhances the insulation's effectiveness.
Watch: Seal Insulation Seams with Foil TapeCommon Problems
Insulation panels are not sticking securely to the garage door surface or fall off shortly after installation.
Solution: Thoroughly clean the garage door surface again using mild detergent and water, ensuring it's completely dry and free of dust, grease, or loose paint. Remove any old tape. Reapply new, strong double-sided mounting tape (like the Scotch Extreme Mounting Tape) generously along all edges and some in the center of the panel. Press each panel firmly against the door for at least 30 seconds to activate the adhesive.
Prevention: Before applying any tape or insulation, ensure the garage door surface is meticulously clean, completely dry, and free of any debris or oil. Use the recommended strong adhesive tape, and don't skimp on the amount. Press firmly and evenly across the entire taped area during installation.
Insulation panels are cut inaccurately (too small, too large, or crooked), leading to gaps or difficulty fitting.
Solution: If panels are cut too small, measure the gap precisely and cut small filler pieces from leftover insulation, securing them tightly with foam insulation tape or double-sided tape. If panels are too large, carefully trim the excess material using your utility knife or strong scissors until they fit snugly without buckling. For crooked cuts, re-cut along a straight line using a ruler as a guide.
Prevention: Always follow the 'measure twice, cut once' rule. Measure each individual garage door panel section carefully, as dimensions can vary slightly. Use your workshop marker to draw clear, straight lines before cutting. When in doubt, cut slightly larger than needed and trim down for a perfect fit, rather than cutting too small.
Accidental cuts or punctures from the utility knife or sharp scissors during the cutting process.
Solution: For minor cuts, immediately apply direct pressure to stop bleeding. Clean the wound with soap and water, apply an antiseptic, and cover with a sterile bandage. For deep cuts or if bleeding doesn't stop, seek immediate medical attention. Always dispose of used blades safely.
Prevention: Wear cut-resistant gloves when using sharp tools like a utility knife. Always cut away from your body and keep your free hand clear of the cutting path. Ensure your cutting surface is stable. Retract utility knife blades when not in use and store all sharp tools safely out of reach.
The added insulation causes the garage door to rub, bind, or get stuck when opening or closing.
Solution: Carefully observe where the door is binding. It's likely that the insulation panels or tape are interfering with moving parts like hinges, rollers, tracks, or the door opener mechanism. Identify the problematic area, remove the offending insulation, trim it back, or reposition it to ensure it does not protrude beyond the interior face of the door or obstruct any moving components. Test the door's operation frequently during installation.
Prevention: Before applying insulation, fully open and close your garage door to understand its movement. Ensure all insulation materials are applied within the recessed sections of the door panels and do not extend into the path of hinges, rollers, tracks, or the door opener system. Continuously check for clearance as you attach panels, especially when nearing hinges or the top/bottom edges of the door sections.
Despite insulating, you still feel drafts or experience significant temperature fluctuations in the garage.
Solution: Inspect all insulated panels closely for any small gaps around their edges or between adjacent panels. Use the Armacell foam insulation tape to seal these gaps. Also, check the perimeter of your entire garage door (where it meets the frame) for air leaks and consider adding or replacing weatherstripping there (though this is a separate task from panel insulation, it's often the root cause of overall drafts).
Prevention: Do not skip the 'Seal Seams and Gaps' optional step. Be thorough when applying foam insulation tape, ensuring full coverage over all seams and edges of the insulation panels to create an airtight seal as much as possible.
The double-sided tape or foam insulation tape isn't sticking well because the garage is too cold or damp.
Solution: Adhesives perform best within specific temperature ranges. If possible, use a space heater to warm the garage to above 50°F (10°C) before and during the installation process. Ensure the door surface is completely dry. If the tape has already been applied in cold conditions and is failing, remove it, warm the area, and reapply new tape.
Prevention: Plan your insulation project for a day when the garage temperature is moderate (ideally above 50-60°F or 10-15°C) and the humidity is low. Avoid installing insulation on extremely cold or damp days, as adhesives may not cure or bond properly.
Frequently Asked Questions
What type of insulation materials are best for a garage door, and why?
Rigid foam panels (like polystyrene or polyisocyanurate) are highly recommended. They are lightweight, offer good R-value, and are easy to cut and fit into existing door panels. Reflective foil insulation kits are also effective, particularly for radiant heat control in hotter climates.
What safety precautions should I take, especially when working near the garage door's moving parts?
Always disconnect the garage door opener from its power source before starting any work to prevent accidental operation. Be extremely cautious around the torsion springs and cables, as they are under high tension and can cause serious injury if disturbed. Keep your hands clear of the tracks and rollers while the door is open.
How do I ensure the insulation panels stay securely attached to the garage door long-term?
Thoroughly clean the garage door surface before attachment to ensure optimal adhesion for the tape. Use a high-quality, strong double-sided mounting tape, applying it generously around the edges and potentially in the center of each panel. Some kits include clips or retainers for extra security; consider using these if available.
What should I do if my garage door has an irregular panel design or windows?
For irregular panels, measure each section individually and cut the insulation precisely to fit the unique dimensions. If your door has windows, carefully measure and cut the panels to frame them neatly, leaving a small border. You can use foam insulation tape to seal any small gaps around windows or irregular edges.
Is sealing the seams and gaps truly necessary, or is it just an optional step?
While listed as optional, sealing seams and gaps significantly enhances the insulation's effectiveness. It creates a more complete thermal barrier, preventing air leaks and improving energy efficiency. Using foam insulation tape will maximize your investment and reduce temperature fluctuations more effectively.
The project estimates 4 hours. Is this realistic for a beginner, and what if it takes longer?
The 4-hour estimate is a general guideline for an average-sized door. As a beginner, it's wise to budget more time, perhaps 5-7 hours, to allow for careful measuring, cutting, and thorough cleaning. Don't rush the process, as proper installation ensures better performance and durability of the insulation.