Delta Shower Trim Kit Installation: A Step-by-Step DIY Guide
About This Project
This project details the steps involved in installing a Delta shower trim kit. The first step is to shut off the water supply to the shower. Then, you must remove the old shower trim, which involves unscrewing the handle and escutcheon plate. Next, install the new Delta shower trim kit by following the manufacturer's instructions and securing all components. Lastly, turn the water back on and test for leaks, tightening connections or reinstalling components as needed.
Best for homeowners and DIY enthusiasts.
Tools & Materials
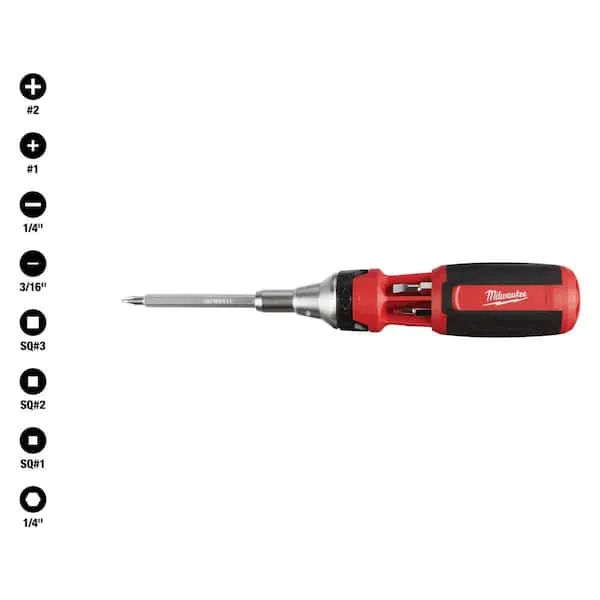
Screwdriver (Multi)
Screwdriver (Multi)
Multiple bits for versatile use.
Steps

Shut Off the Shower's Water Supply
5 minsBefore starting, always turn off the water supply to your shower. Locate the shut-off valves near the shower or the main water supply to your house. Turn the valves clockwise to completely shut off the water. Double-check that the water is off by turning on a nearby faucet.

Carefully Remove the Old Shower Trim
15 minsBegin by removing the existing shower trim. This usually involves unscrewing the handle, escutcheon plate, and any other decorative parts. Use the appropriate screwdriver to loosen screws and gently pry off components. Be cautious not to damage the underlying valve or surrounding surfaces.

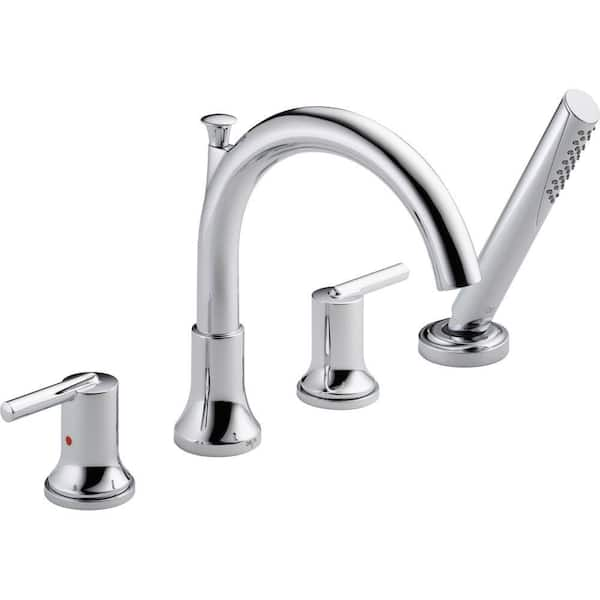
Install the New Delta Shower Trim Kit
30 minsInstall the new Delta trim kit, carefully following the manufacturer's instructions. Generally, this involves installing the new handle, escutcheon plate, and other decorative components in the reverse order of removal. Ensure all components are firmly secured and aligned.

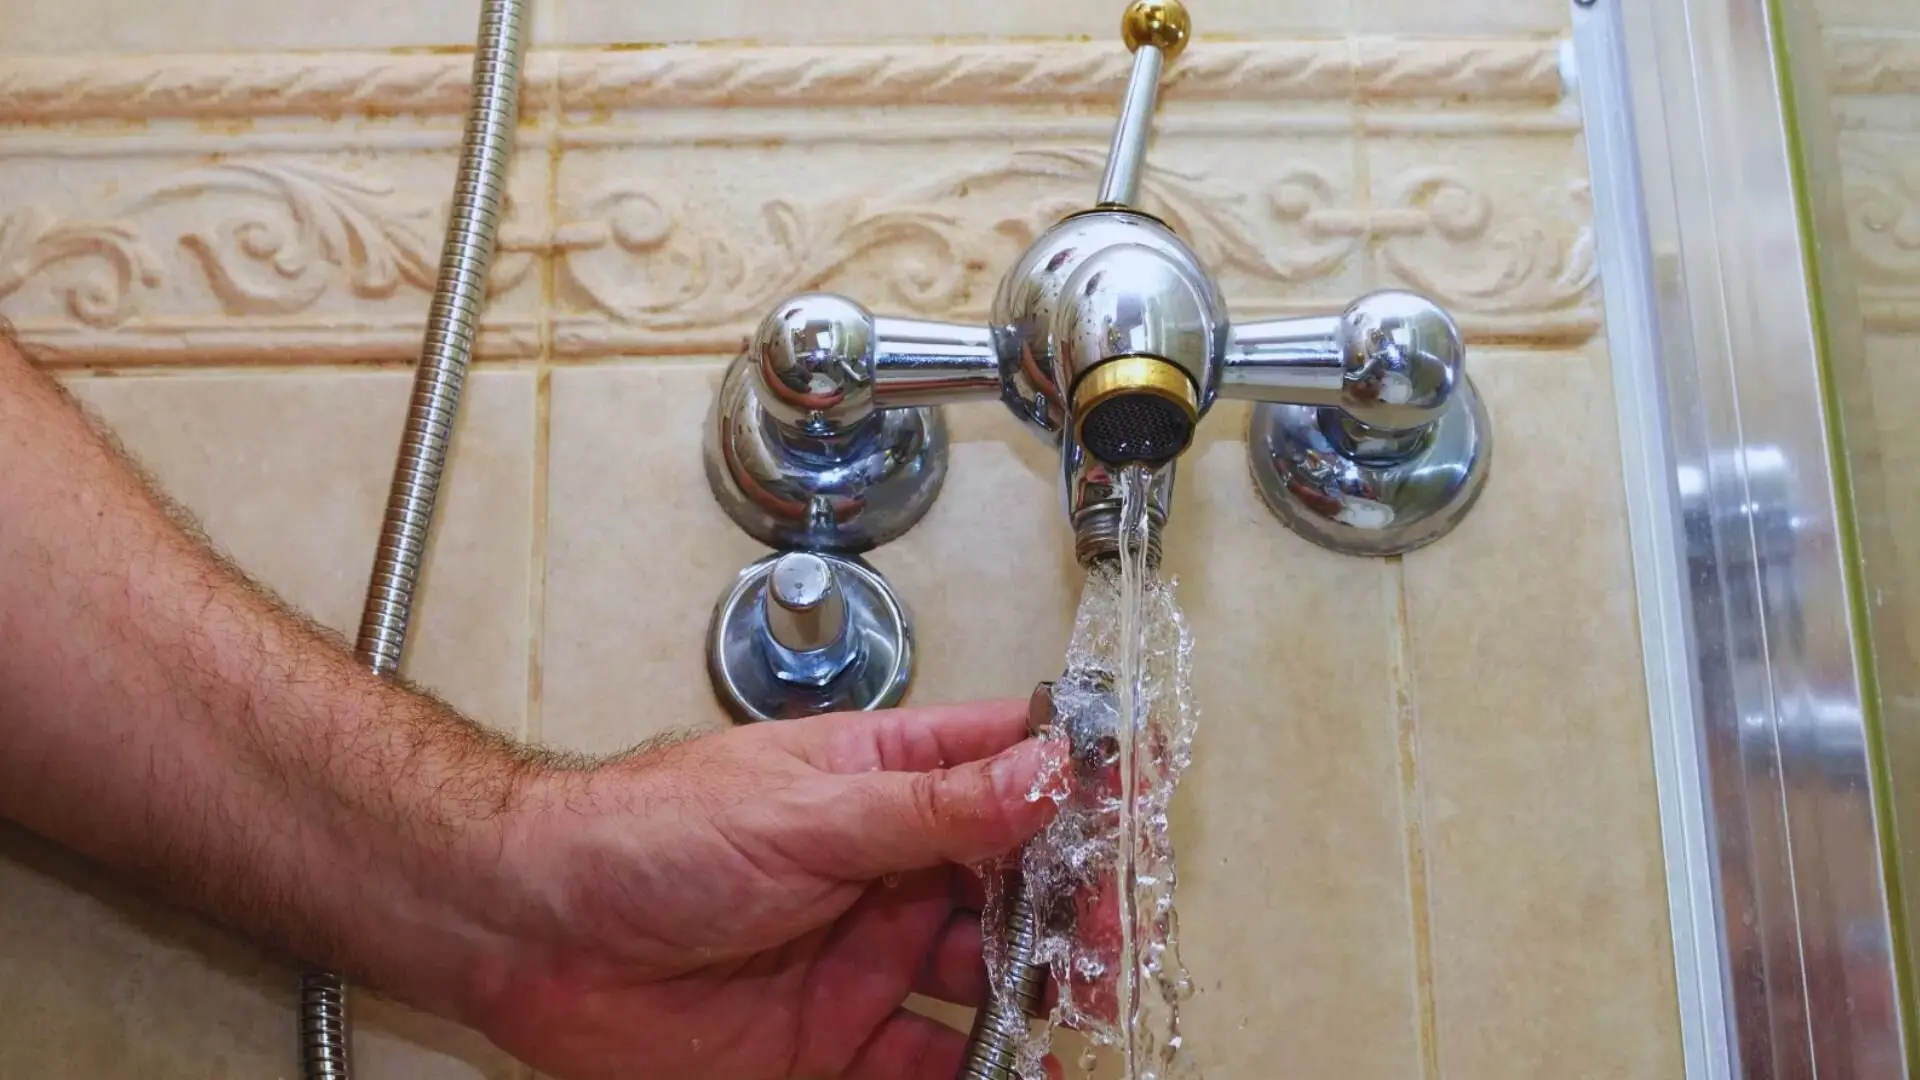
Test for Leaks and Final Touches
10 minsTurn the water supply back on slowly. Carefully check all connections, the handle, escutcheon plate, and showerhead for any leaks. If leaks occur, tighten connections or reinstall components as needed. Run the shower for several minutes to thoroughly test the water pressure and temperature.
Common Problems
Dropped tools can scratch the tub.
Solution: Place a towel in the bottom of the tub to prevent dropped tools or parts from scratching the surface.
Trim sleeve won't budge, risking finish damage.
Solution: For a stuck trim sleeve, use a rubber jar opener or rubber-tipped pliers to avoid damaging the finish.
Be gentle when prying the escutcheon plate off the wall to avoid damaging the tile or wall surface.
Solution: To avoid this issue: Be mindful of this warning and take appropriate precautions.
Losing small screws and parts during installation leads to project delays and incomplete assembly.
Solution: Keep all screws and small parts in a container to avoid losing them.
Lost handle or screws during installation.
Solution: Keep the handle and screws in a safe place so they are not lost.
If there are no supply line shut-off valves under the sink, locate and turn off the main water supply to the house before proceeding.
Solution: To avoid this issue: Be mindful of this warning and take appropriate precautions.
Make sure that the water is shut off completely to avoid leaks or damage.
Solution: To avoid this issue: Be mindful of this warning and take appropriate precautions.
Frequently Asked Questions
What is the most crucial first step before beginning the Delta shower trim installation, and what happens if I skip it?
You absolutely must shut off the main water supply to your shower, or ideally your entire house, before starting. Skipping this step will result in an immediate and significant flood once you begin removing the old trim, causing potential water damage and making the job impossible to complete safely.
Besides a multi-screwdriver, are there any other tools or materials I might unexpectedly need for this Delta shower trim kit installation?
While a multi-screwdriver is primary, a utility knife is very helpful for scoring old caulk around the escutcheon plate. You might also want a rag and cleaner to prepare the surface, and a tube of silicone caulk to create a watertight seal around the new escutcheon plate after installation.
The project is listed as 'beginner' and '2 hours.' What factors could make this Delta trim installation more difficult or take longer than expected for a DIY novice?
While generally straightforward, unforeseen issues like stripped screws on the old trim, excessive corrosion preventing removal, or an unfamiliar internal valve setup can increase difficulty and time. Ensuring you have the correct Delta trim kit model for your existing Delta valve is also critical, as incompatible parts will cause delays.
My current shower valve isn't Delta, or it's a very old Delta model. Can I still use a new Delta shower trim kit?
No, Delta shower trim kits are designed to fit specific Delta universal rough-in valves or proprietary older Delta valve bodies. If your existing valve is from another brand, or a pre-1990s Delta valve that isn't compatible, you will likely need to replace the entire valve behind the wall, which is a much more complex plumbing project.
After installing my new Delta trim, I notice a small leak around the handle or escutcheon. What's the most common cause and how can I fix it?
Leaks often stem from not tightening connections enough, or if a cartridge was replaced, not seating it correctly with its O-rings. Ensure all screws are snug but do not overtighten, and check that any gaskets are properly in place. For leaks around the escutcheon, resealing the perimeter with a fresh bead of silicone caulk typically resolves it.
What's the most important tip for ensuring the new Delta trim kit looks professional and functions correctly, especially for a beginner?
Always follow the manufacturer's specific instructions for your Delta model, as components can vary slightly. Ensure the escutcheon plate is perfectly level and plumb before tightening, and apply a neat, even bead of silicone caulk around its outer edge to prevent water infiltration. Test the handle's full range of motion and water flow before calling the project complete.
What's the typical cost range for a Delta shower trim kit, and is this project truly cost-effective to do myself?
Delta shower trim kits can range from approximately $50 for basic, functional models to $300 or more for premium finishes and features. Doing it yourself is highly cost-effective, as professional installation by a plumber could easily add $100-$300+ in labor costs, making the DIY approach a significant saving.
/how-to-replace-a-shower-valve-5197461-10_reattach_23668-86d35b214a3849a796f94e0b38fab900.jpg)