Cabinet Painting
About This Project
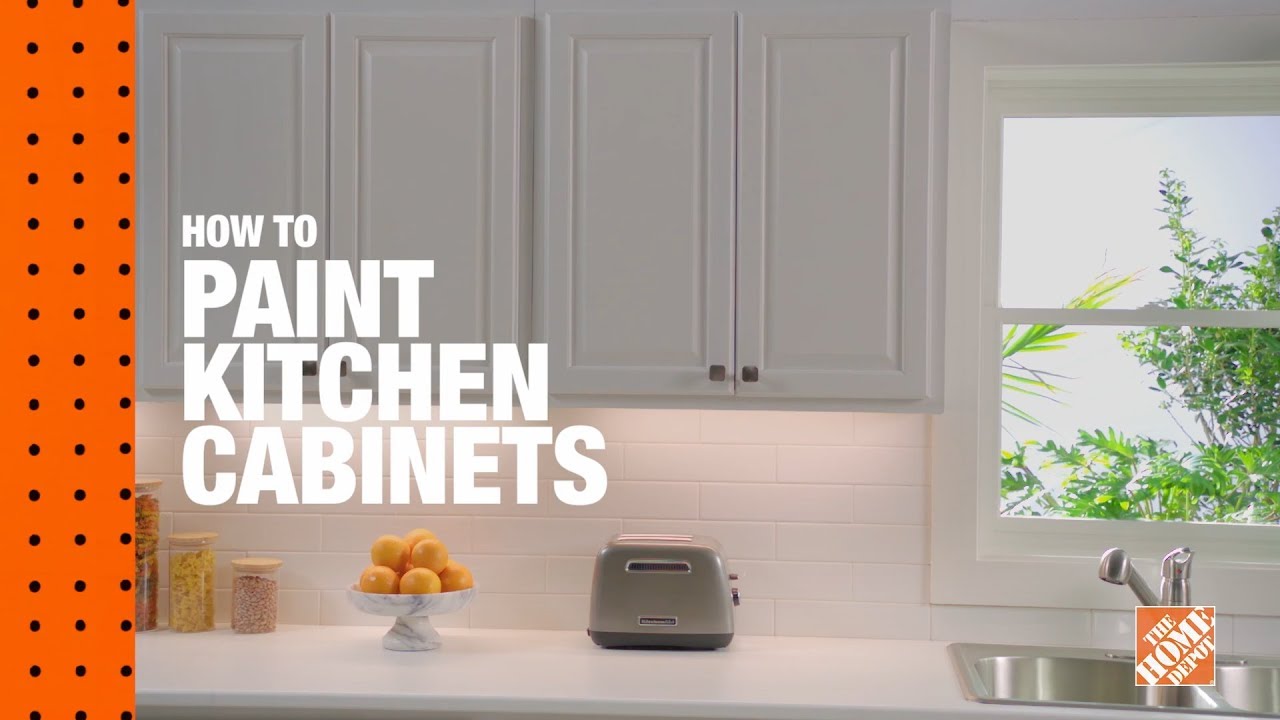
A high-level outline for painting kitchen or bathroom cabinets as a DIY project, covering preparation, painting, and finishing steps.
Tools & Materials
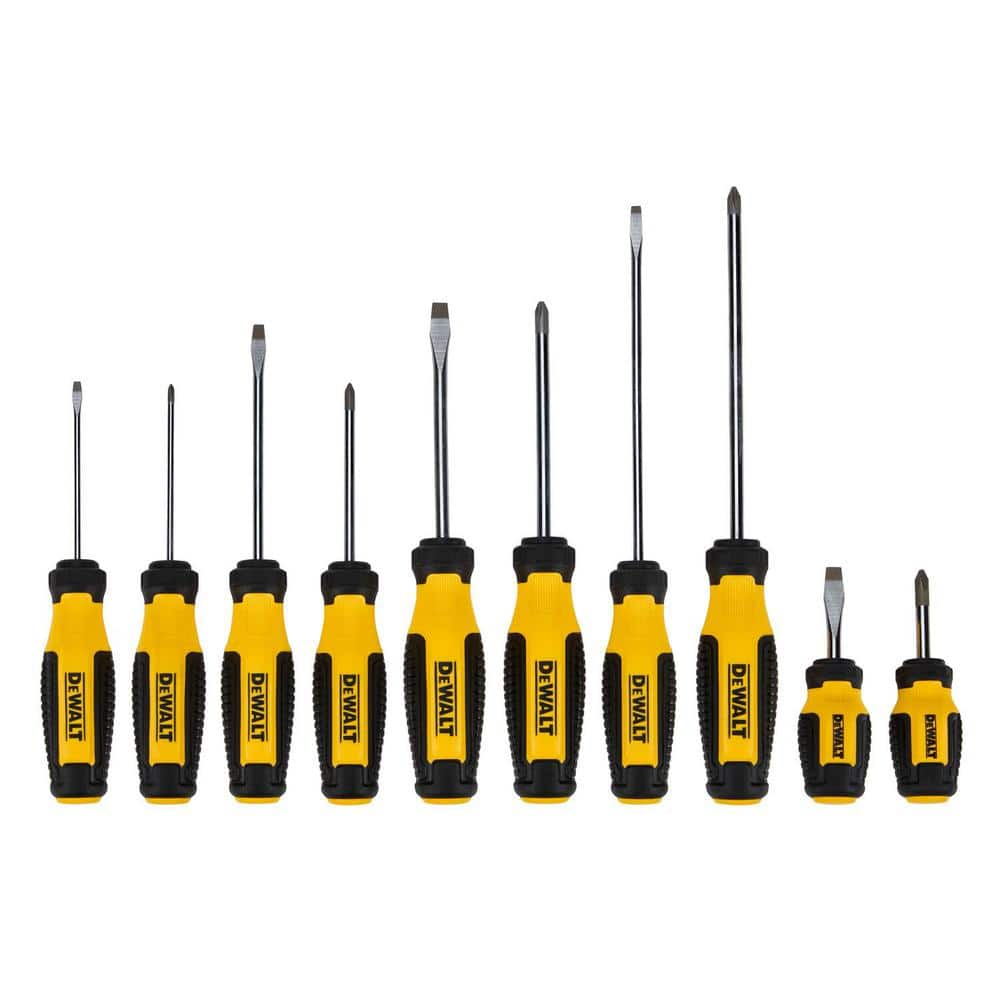
DEWALT Phillips Screwdriver Set (10-Piece) DWHT65201

Brother Electrical Cable and Wiring Label Maker PTE105
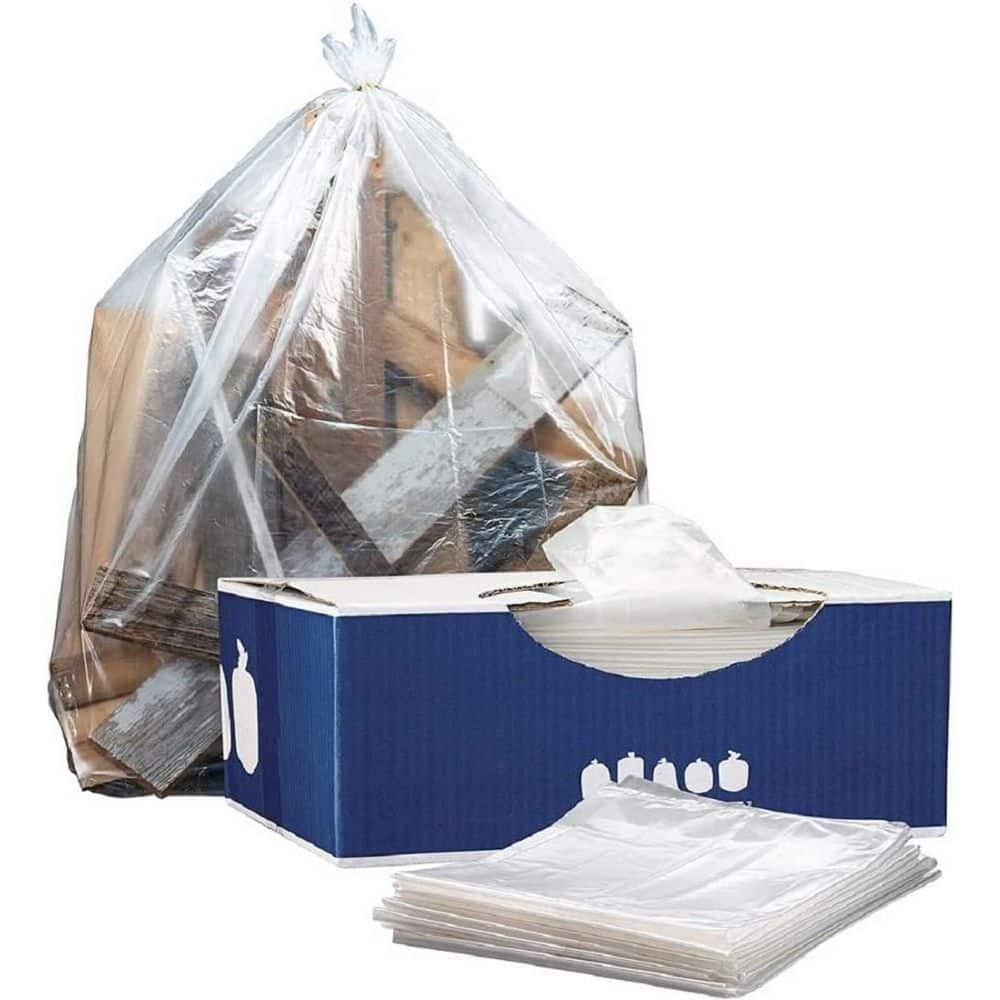
Plasticplace 12-16 Gal. Clear Recycling Bags (Case of 200) 121
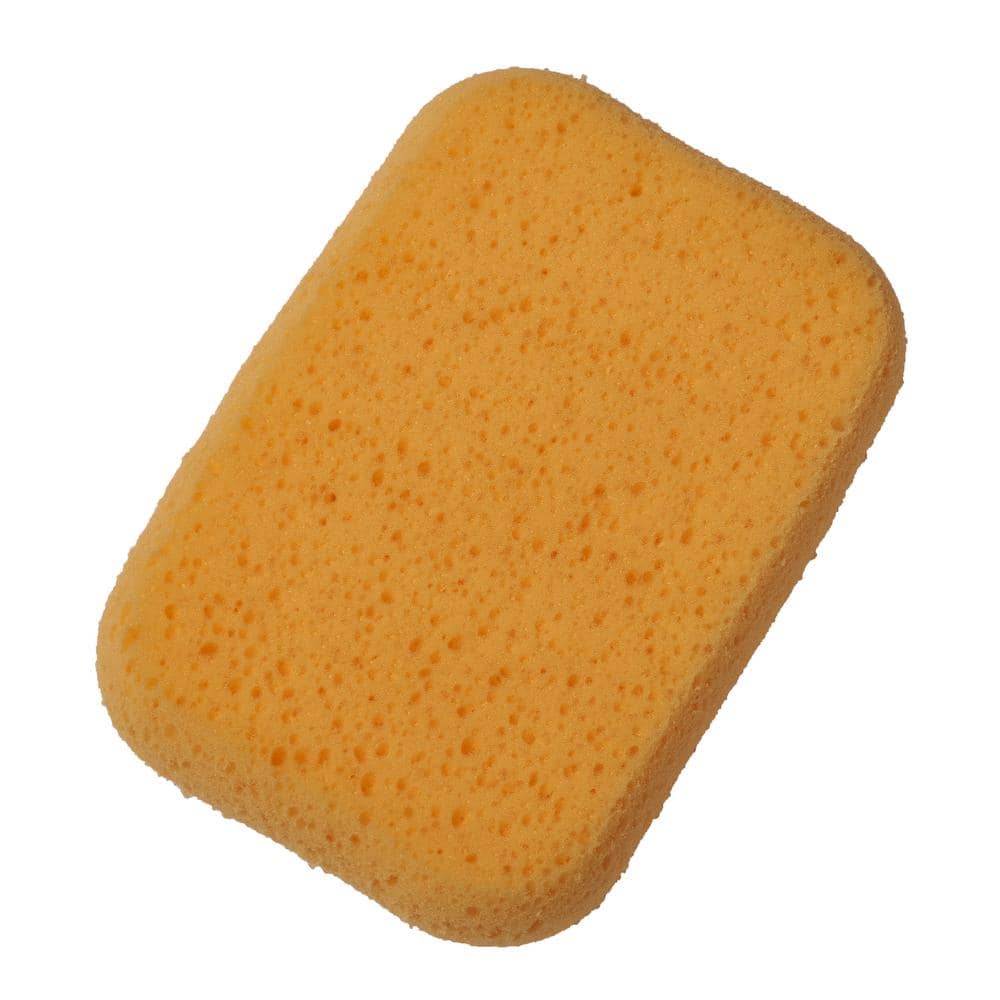
HDX Multi-Purpose Sponge (2- Sponges) 32242
Bucket
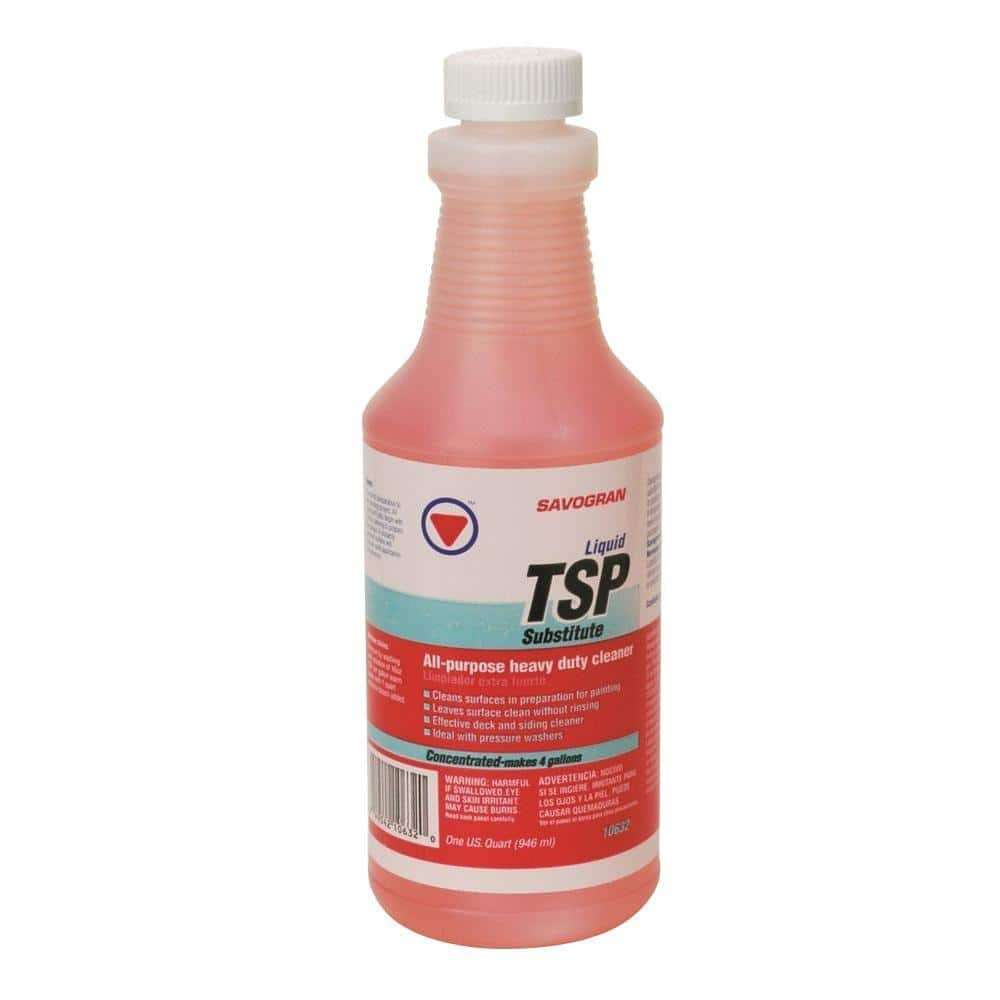
SAVOGRAN 1 qt. Liquid TSP Substitute Cleaner 10632
DEWALT Phillips Screwdriver Set (10-Piece) DWHT65201
The DEWALT 10 pieas. Screwdriver Set includes a variety of handle sizes and tip types to help you complete a number of fastening projects. The steel bars are chrome-plated for corrosion resistance, while
Brother Electrical Cable and Wiring Label Maker PTE105
The P-touch PT-E105 is a lightweight, handheld compact label maker for both professional applications and DIY projects. It prints high-quality, durable laminated labels for patch panels, power cables and outlet covers, even use it to organize your shop or back office. The large display screen and QWERTY keyboard provide easy computer-style typing. Preview labels easily on the graphical LCD screen before printing for fewer errors. The PT-E105 comes with a library of industrial symbols and can print up to 24-point size equivalent text and symbols on 12 mm W labels and automatically selects the right size font and layout settings when using Brother P-touch TZe tapes. Print labels quickly up to 20 mm a second. The built-in real-time clock can automatically add the date and time of printing - ideal for field- service applications. And the alphabetical and numeric serialization capability is useful for the data communication and electrical applications including power cables, patch panels and faceplates. With its lightweight rugged design, versatile labeling options and smart features, the highly portable PT-E105 label maker is easy to carry to the job site or keep in your truck, so youre always ready whenever you need to make a label. The PT-E105 comes with black on white Flexible ID tape (26.2 ft.) for labeling cables and general purpose industrial labeling applications.
Plasticplace 12-16 Gal. Clear Recycling Bags (Case of 200) 121
Clear the air and get 100% visibility with these 12-16 Gal. recycling bags. Surprisingly strong considering their extra clear hue, these bags can hold exceedingly heavy glass, plastic, and paper with nary a rip or tear. Crafted from transparent resins right here in the United States, you are looking at some high quality low density recycling awesomeness. So if invisible, durable, and dependable is your thing, than this 12-16 Gal. recycling bag is for you. Money saving tip: Order more cases, and get steeper discounts off our already competitive prices.
HDX Multi-Purpose Sponge (2- Sponges) 32242
HDX Hydrophilic Sponge 7.25 in. x 5 in. x 1.875 in. (2-Pack) highly absorbent, the HDX Sponge washes, wipes, and rinses faster. Strong enough for use with acid based products like TSP. Heavy-duty polyester
Bucket
Ideal for carrying or storing liquids.
SAVOGRAN 1 qt. Liquid TSP Substitute Cleaner 10632
A Heavy duty all-purpose cleaner. Cuts through and removes heavy deposits of greasy dirt and grime from interior and exterior surfaces. Recommended for cleaning walls, woodwork, ceilings, concrete, metal,
Steps

Remove Cabinet Doors and Hardware
120 minutesBegin by detaching all cabinet doors from their hinges. Use a screwdriver to remove the screws holding the hinges to the doors and frames. For drawers, slide them out and then detach any runners or guides. Collect all knobs, pulls, and hinges, placing them in a labeled bag or container. It's crucial to label each door and drawer with a corresponding number or letter that matches its cabinet opening to avoid confusion during reinstallation. This meticulous labeling prevents mix-ups and ensures each door fits back perfectly.
Watch: Remove and Organize Cabinet Components
Clean Cabinet Surfaces
90 minutesWipe down all surfaces to be painted using a degreaser or a solution of TSP (trisodium phosphate) substitute and water. Pay special attention to areas around the stove and sink, as these tend to accumulate the most grease. Rinse the surfaces thoroughly with clean water to remove any residue from the cleaner. Allow the cabinets to dry completely before proceeding. A clean surface is essential for proper paint adhesion.
Watch: Clean and Protect SurfacesSand Surfaces for Adhesion
120 minutesUsing fine-grit sandpaper (150-220 grit), lightly sand all surfaces that will be painted. This includes the cabinet doors, drawer fronts, and the cabinet frames. The goal is not to remove the existing finish, but to scuff it up slightly, creating a better 'tooth' for the primer to adhere to. Pay attention to edges and corners. After sanding, use a tack cloth or a slightly damp cloth to wipe away all sanding dust. Ensure no dust remains, as it will mar the final finish.
Watch: Sand and Clean SurfacesRepair Imperfections
60 minutesInspect all cabinet doors, drawers, and frames for any imperfections. Use a good quality wood filler to fill nail holes, cracks, or deep scratches. Apply the filler with a putty knife, pressing it firmly into the damaged area. Overfill slightly, as wood filler tends to shrink when it dries. Once the filler is completely dry according to the manufacturer's instructions, sand the repaired areas smooth using fine-grit sandpaper, ensuring they are flush with the surrounding surface. Wipe away dust with a tack cloth.
Watch: Clean and Patch Surfaces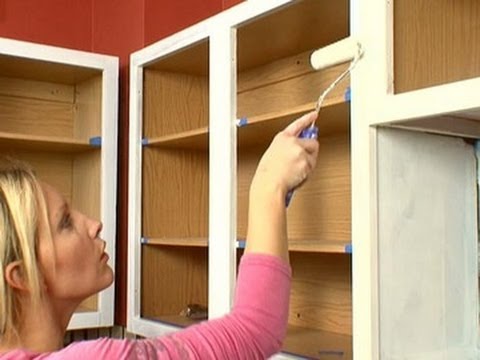
Prime the Surfaces
180 minutesApply a thin, even coat of a high-quality bonding primer specifically designed for cabinetry or wood. Use a high-quality synthetic brush for cutting in edges and corners, and a foam roller or a high-density short-nap roller for the larger flat surfaces. Ensure complete coverage without drips or runs. Allow the primer to dry thoroughly according to the manufacturer's instructions, which is typically several hours. Lightly sand any rough spots or imperfections that appear after priming with 220-grit sandpaper and wipe clean with a tack cloth before the next coat.
Watch: Apply Primer-SealerPaint Cabinet Surfaces
360 minutesApply the first coat of your chosen paint (e.g., high-quality acrylic enamel or cabinet-specific paint) using the same brush and roller technique as with the primer. Aim for thin, even coats. Avoid overloading your brush or roller, which can lead to drips and an uneven finish. Allow the first coat to dry completely according to the paint manufacturer's recommendations. Once dry, lightly sand any imperfections with 220-grit sandpaper and wipe clean with a tack cloth. Repeat this process for at least two to three coats, or until you achieve full coverage and the desired look.
Watch: Paint Cabinet Doors and Drawers
Reattach Hardware and Doors
180 minutesAllow the final coat of paint to cure for the time recommended by the manufacturer, which can be several days to a week for maximum hardness. Once cured, carefully reattach the knobs and pulls to the doors and drawers using the original screws or new ones if necessary. Then, using your labels as a guide, rehang the cabinet doors and reinsert the drawers into their respective openings. Check that all doors and drawers open and close smoothly. Make any necessary adjustments to hinges if doors are not aligning properly.
Watch: Re-attach HardwareCommon Problems
The paint isn't sticking well, or it's starting to chip and peel soon after painting. This often happens because the surface wasn't properly prepared for painting.
Solution: For small areas, gently sand the peeling paint and surrounding area, clean the spot thoroughly, re-prime with a good bonding primer (such as Custom Building Products Multi-Surface Bonding Primer), and then repaint. For widespread failure, you might need to sand down to the original surface, re-clean, re-prime, and repaint the entire piece.
Prevention: Thoroughly clean all surfaces with a degreaser like SAVOGRAN TSP Substitute Cleaner, rinse completely, and allow to dry. Always sand surfaces thoroughly (e.g., with 150-220 grit sandpaper and a hand sanding block) to create a 'tooth' for the paint to grip, and always use a high-quality bonding primer over all surfaces before painting.
After painting, you can clearly see lines from your brush or an uneven texture/stippling from your roller, making the finish look unprofessional. This is a common beginner mistake due to application technique.
Solution: Allow the paint to fully dry. Then, lightly sand the affected areas with very fine-grit sandpaper (e.g., 220-320 grit) until smooth. Wipe away all dust with a tack cloth. Apply another thin, even coat of paint using proper technique (see prevention tip). You might need multiple thin coats.
Prevention: Use a high-quality synthetic brush (like the Wooster Angle Sash Brush) for edges and details, and a high-density foam roller designed for smooth finishes on flat surfaces. Apply paint in thin, even coats. Don't overwork the paint; apply it and let it self-level. For rolling, roll in one direction, then lightly feather out the edges without pushing down hard. Avoid painting in overly hot or humid conditions which can cause paint to dry too quickly.
Thick runs or 'tears' of paint appear on vertical surfaces or edges, ruining the smooth finish. This happens when too much paint is applied in one go.
Solution: If the paint is still wet, you can sometimes gently brush out the drip with a clean, dry brush or roller. If it's dried, allow it to fully cure, then carefully scrape or sand away the drip. Sand the area smooth, clean it, and apply a very thin, even touch-up coat of paint.
Prevention: Always apply thin coats of paint. Load your brush or roller with less paint than you think you need, and spread it out thoroughly. For brushes, tap off excess paint. For rollers, roll off excess paint on a tray. Don't paint too quickly, and pay close attention to edges and corners where drips tend to collect.
You've finished painting, but now you can't find all the screws or knobs, or you've put them on the wrong doors. Alternatively, when reattaching, a screw hole becomes stripped, meaning the screw won't tighten.
Solution: If hardware is lost, you'll need to purchase replacements (e.g., HICKORY HARDWARE Wire Pulls or Everbilt Hinges). If mixed up, try to match them visually; often hinges are unique to their door and cabinet frame position. To fix a stripped screw hole, fill it with wood filler (like ZAR Neutral Patch Wood Filler). Let it dry completely. Then, drill a small pilot hole into the dried filler and reinsert the screw.
Prevention: As you remove hardware, immediately label it and place it into separate, labeled bags (e.g., using the Brother Label Maker and Plasticplace Recycling Bags). Use the correct size screwdriver (from the DEWALT Phillips Screwdriver Set) and turn carefully; do not overtighten screws when reattaching. For reattaching, start screws by hand to ensure they catch properly before using a screwdriver.
Tiny specs of dust, hair, or other airborne debris land in your wet paint, leaving bumps and an uneven texture on the finished surface. This is a common environmental issue.
Solution: If the paint is still wet, you might be able to carefully pick out the debris with tweezers or the tip of a clean brush, then gently smooth the area. If the paint has dried, you'll need to very lightly sand down the affected area with fine-grit sandpaper, wipe clean with an HDX Tack Cloth, and apply another thin coat of paint.
Prevention: Ensure your painting area is as clean and dust-free as possible. Vacuum and wipe down surfaces, and avoid disturbing dust just before or during painting. Use high-quality tack cloths (HDX Tack Cloths) frequently to remove dust from surfaces before painting each coat. Consider painting in a well-ventilated, but not overly drafty, area to minimize airborne particles.
Even after the paint feels dry to the touch, it's easily damaged by scratches or bumps, which means it hasn't fully cured and hardened.
Solution: Unfortunately, there's no quick fix for insufficient cure time. The best solution is patience. If the damage is superficial, touch it up and allow ample time for the paint to cure. If the damage is extensive and recurs, you might need to sand down, re-prime, and repaint, then strictly adhere to cure times.
Prevention: Understand the difference between 'dry to touch' and 'fully cured.' Most cabinet paints (like BEHR PREMIUM Satin Enamel) can take 7-30 days to fully cure and reach maximum hardness, even if they feel dry in a few hours. Do not reattach doors or place items on shelves until the paint is sufficiently cured. Check the paint can for specific recoat and cure times, and err on the side of waiting longer. Handle painted pieces gently during the curing phase.
You experience skin redness, itching, or a burning sensation, or have difficulty breathing, dizziness, or headaches while working with cleaners, primers, or paints. This indicates inadequate safety precautions.
Solution: Immediately stop working. Move to a well-ventilated area with fresh air. If on skin, wash the affected area thoroughly with soap and water for several minutes. If in eyes, flush with water for at least 15 minutes and seek medical attention. If breathing is severely affected, seek medical help immediately. Review the Material Safety Data Sheet (MSDS) for the specific product for first-aid instructions.
Prevention: Always wear appropriate personal protective equipment (PPE). This includes chemical-resistant gloves (e.g., when using SAVOGRAN TSP Substitute Cleaner or handling wet paint), eye protection (safety glasses), and a respirator or mask suitable for paint fumes, especially when working in enclosed spaces or with oil-based products. Ensure adequate ventilation in your workspace by opening windows and using fans. Read product labels and MSDS sheets before starting.
Frequently Asked Questions
How crucial is proper cleaning and sanding before I start painting my cabinets?
Thorough cleaning with a TSP substitute and proper sanding are absolutely critical for paint adhesion and a durable finish. Skipping these steps can lead to the paint peeling or chipping prematurely. Always use a tack cloth afterwards to remove all sanding dust for a perfectly smooth surface.
What type of paint and primer should I choose for kitchen cabinets to ensure durability?
For kitchen cabinets, which endure daily wear and tear, always opt for a high-quality multi-surface bonding primer followed by a durable enamel interior/exterior cabinet, door & trim paint, such as the BEHR PREMIUM listed. These formulations are designed for tough surfaces and provide a hard, washable finish that resists scuffs.
Is the 5-day estimate for this project realistic for a beginner, and what contributes to that time?
Yes, the 5-day estimate is realistic, but it includes significant drying times between coats of primer and paint. While the active working time may be less, patience during these drying phases is crucial for proper adhesion and a professional-looking finish. Rushing can compromise durability and appearance.
How can I minimize brush marks and achieve a smooth, professional finish on my cabinets?
To achieve a smooth finish, use high-quality synthetic brushes for detailed areas and a dense foam roller for flat surfaces. Apply thin, even coats of paint, and avoid overworking the paint as it begins to dry. Proper surface prep and using self-leveling paints also significantly help in reducing brush marks.
What are the most important safety precautions I should take when painting cabinets?
Always ensure good ventilation by opening windows or using fans to clear paint fumes, as they can be strong. Wear gloves when handling cleaners like TSP substitute and during painting to protect your skin. Consider safety glasses to protect your eyes from splashes, especially when working overhead or with power tools.
Do I need a paint sprayer for a good result, or can I get a professional look with brushes and rollers?
While a paint sprayer can offer a factory-smooth finish, excellent and professional results are absolutely achievable with quality brushes and foam rollers. For beginners, brushes and rollers are often easier to manage, control, and clean. Practice your technique on the back of a cabinet door first to get a feel for it.
What are the main costs involved in a DIY cabinet painting project?
The primary costs will be for high-quality paint and primer, as these are critical for durability and appearance. Other significant costs include cleaning supplies, sandpaper, wood filler for repairs, and potentially new hardware like pulls and hinges if you're looking to update them, as shown in the project materials.