How to Build a Wine Rack Under the Stairs
About This Project
Design and construct a custom wine rack to fit the angled space under a staircase. This involves measuring the space, designing the rack's layout, cutting materials to size, and assembling the structure.
Tools & Materials
Measuring Tape

Pencil

3/16 in. x 2 ft. x 4 ft. Chalkboard/Whiteboard 7012145
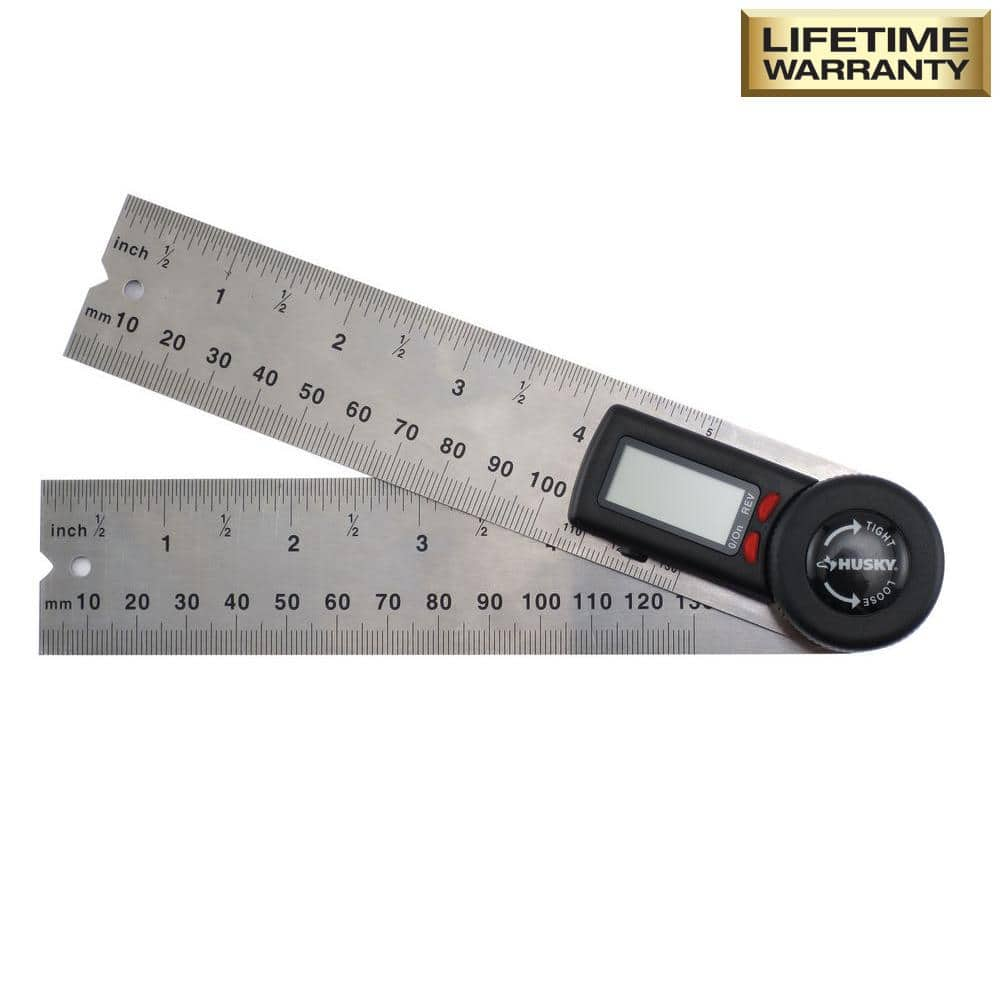
Husky Digital 5 in. Angle Finder 822H

Daltile Octagon and Dot Matte White with Gray Dot 12 in. x 12 in. Glazed Ceramic Mosaic Tile (10 sq. ft./case) PR922OCT44HD1P2

WEN 12 in. Aluminum Triangular Architect Ruler with Laser-Etched Imperial Drafting Scales ME333R
Measuring Tape
For accurate measurements of plywood and components, ensuring proper assembly.
Pencil
Marks and draws with ease.
3/16 in. x 2 ft. x 4 ft. Chalkboard/Whiteboard 7012145
This product features dry erase board on 1 side and chalkboard on the other. Great for projects at home, work or in the classroom. Offers flexibility for a variety of DIY projects.
Husky Digital 5 in. Angle Finder 822H
The Husky 5 in. Digital Protractor is ideal for finding angles in tight spots. with the lock angle feature, the user can improve accuracy and save time. Its design provides ultimate accuracy and efficiency,
Daltile Octagon and Dot Matte White with Gray Dot 12 in. x 12 in. Glazed Ceramic Mosaic Tile (10 sq. ft./case) PR922OCT44HD1P2
WEN 12 in. Aluminum Triangular Architect Ruler with Laser-Etched Imperial Drafting Scales ME333R
Remember when you could scale tall buildings in a single drawing. Easily convert your big ideas into accessible blueprints with the WEN Architecture Ruler. This versatile straight edge is the perfect companion for architects, draftsmen, contractors, engineers, woodworkers and more. Each of the 3-sides features a unique set of imperial scales for maximum versatility, including 1/8 in., 3/32 in., 3/16 in., 1/4 in., 3/8 in., 1/2 in., 3/4 in., 1 in., 1-1/2 in., 3 in. and 16 in. scales. Sturdy aluminum alloy construction provides a durable long-lasting straight edge while the color-coated rubber linings help users quickly distinguish which side is which. Laser-etched markings maximize precision and prevent fading, guaranteeing accuracy during operation. Remember when you had reliable measurements. Remember WEN.
Steps

Measure the Under-Staircase Space
30 minutesMeasure the height of the space at the front and back, as well as at the midpoint. Measure the width of the space at the front and back. Measure the depth of the space from the front edge to the back wall. Record all measurements precisely, as these will dictate the final dimensions of the wine rack.
Watch: Plan and Measure Rack DimensionsDesign the Wine Rack Layout
60 minutesCreate a detailed drawing of the wine rack. Calculate the spacing needed for standard wine bottles (typically 3.5-4 inches in diameter). Determine the number of rows and columns of bottle slots. Consider the angled ceiling of the staircase and how the rack will integrate. Decide on the type of slots (e.g., individual cubbies, cradles, or racks). Plan for any support structures or bracing needed.
Watch: Plan and Measure Rack Dimensions
Select and Prepare Wood Materials
120 minutesSelect wood that is sturdy and aesthetically pleasing for a wine rack (e.g., pine, oak, or plywood). Based on your design, cut the main support pieces, shelf pieces, and dividers to the exact lengths and widths required. Ensure all cuts are square and clean.
Watch: Prepare Wood Blanks
Assemble the Main Structure
90 minutesLay out the main vertical and horizontal support pieces that form the outer frame of the rack. Apply wood glue to the joining surfaces and secure them together with screws or nails. Ensure the frame is square and stable before proceeding. If your design includes angled shelves or dividers, attach them at this stage.
Watch: Assemble Side Frames
Install Bottle Supports/Dividers
100 minutesIf using individual cubbies, assemble and attach them within the main frame. If using cradles or shelves with pre-drilled holes, install them at the correct heights and spacing. For a simpler design, you might install horizontal dividers with cutouts or angled supports for the bottles. Ensure each bottle has adequate support and will not shift excessively.
Watch: Install DividersSand and Finish the Wine Rack
180 minutesStart with a coarser grit sandpaper (e.g., 100-120 grit) to remove any imperfections, glue residue, or rough spots. Progress to finer grits (e.g., 180-220 grit) for a smooth finish. Wipe down the rack with a tack cloth or damp rag to remove all dust. Apply your chosen finish (stain, polyurethane, lacquer, or paint) according to the manufacturer's instructions, applying multiple coats if necessary for durability and appearance.
Watch: Apply FinishInstall the Wine Rack
45 minutesGently slide the wine rack into its designated space. Check that it fits snugly without forcing. If necessary, use shims to make minor adjustments for a perfect fit. Secure the rack to the existing wall structure using L-brackets or screws, ensuring the method of attachment is strong enough to support the weight of the rack and the bottles.
Watch: Place and Secure Wine Rack