
Bathroom Vanity Lighting
About This Project
This project outlines the steps for selecting, installing, and wiring new lighting fixtures for a bathroom vanity. It covers considerations for fixture type, brightness, placement, and electrical connections.
Tools & Materials
Measuring Tape

Pencil

Voltage / Circuit Tester
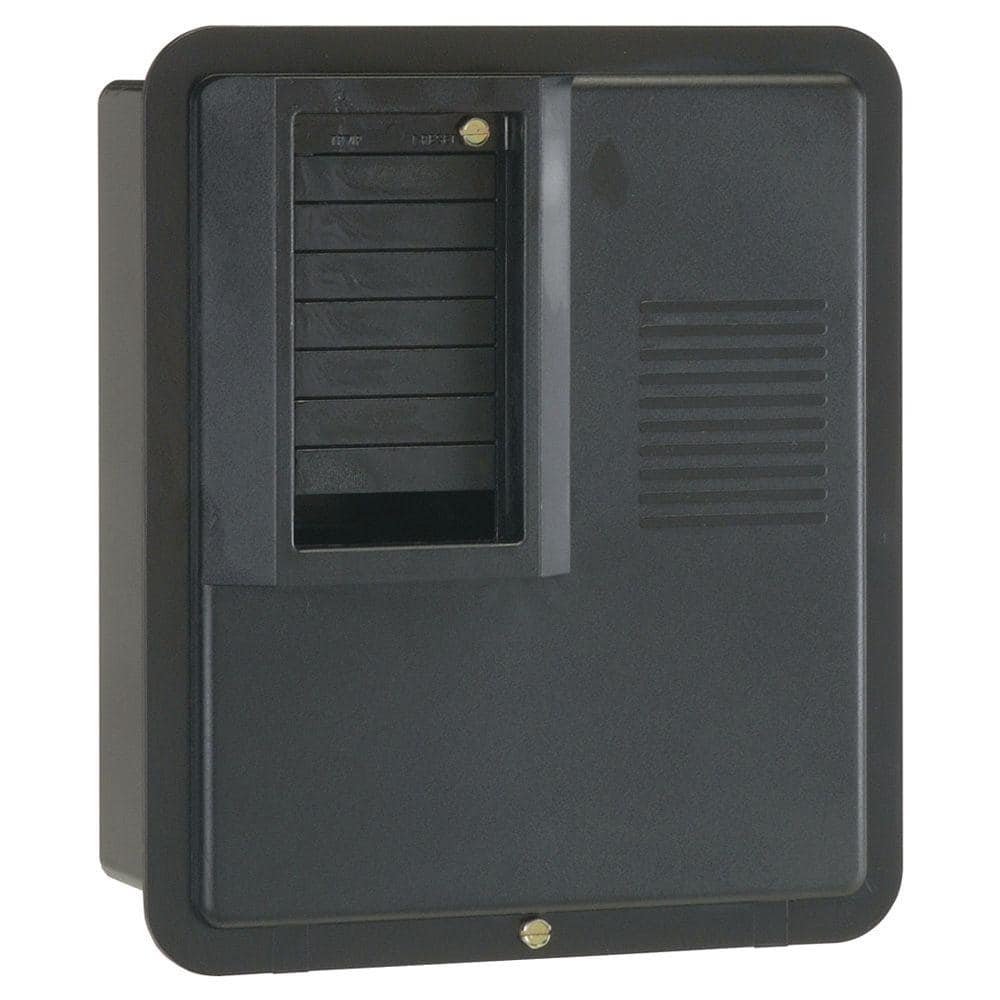
GE PowerMark Plus125 Amp 4-Space 8-Circuit Indoor Main Lug Circuit Breaker Panel TPL412CP
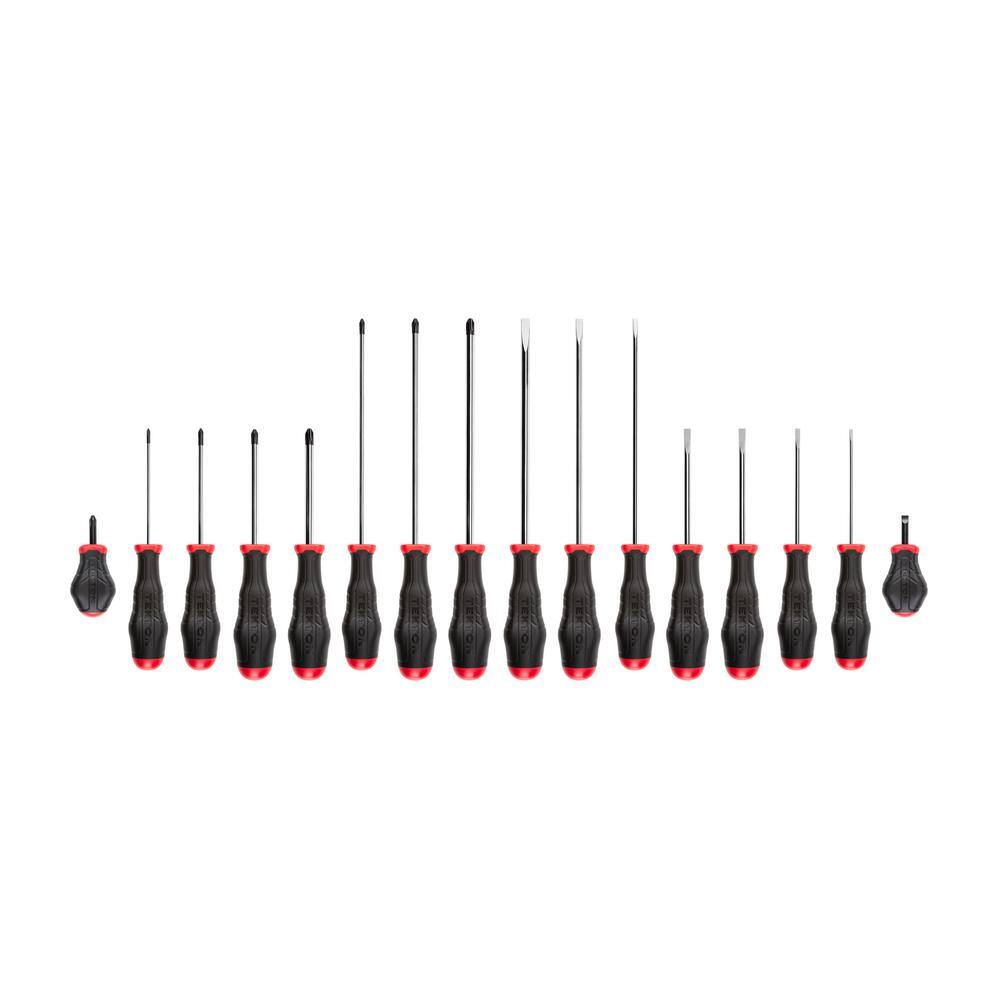
TEKTON High-Torque Screwdriver Set, 16-piece (#0-#3,1/8-5/16 in.) DRV45002
CityPost 8 ft. Black Stair Cable Railing CP-8-B-S
Measuring Tape
For accurate measurements of plywood and components, ensuring proper assembly.
Pencil
Marks and draws with ease.
Voltage / Circuit Tester
Detects electrical voltage presence.
GE PowerMark Plus125 Amp 4-Space 8-Circuit Indoor Main Lug Circuit Breaker Panel TPL412CP
The load center includes a sturdy tin-plated copper buss bar and a galvanized box for increased durability and reliability. The one-piece interior removes and re-installs easily. Indoor NEMA 1 enclosure
TEKTON High-Torque Screwdriver Set, 16-piece (#0-#3,1/8-5/16 in.) DRV45002
Relying on three-sided geometry rather than the friction against your skin, the unique handles of the TEKTON High-Torque Screwdriver Set give you the leverage to generate more torque. Easy-to-read markings
CityPost 8 ft. Black Stair Cable Railing CP-8-B-S
CityPost 36 in. tall cable railing kits can be ordered to fit your needs regardless of your project layout. All kits come with enough posts to install at a maximum center-to-center spacing of 6 ft. (example:
Steps

Determine Lighting Needs and Style
60 minutesEvaluate the primary function of the vanity lighting: task lighting for grooming or ambient lighting for the room. For task lighting, aim for 800-1000 lumens per fixture, positioned at eye level (around 60-66 inches from the floor). Color temperature preferences range from warm white (2700K-3000K) for a cozy feel to cool white (4000K-5000K) for a more energizing light. Select a fixture style (e.g., sconces, a bar light, pendant lights) that harmonizes with the existing bathroom aesthetic.
Watch: Optimize Light Placement and Avoid Shadows
Turn Off Power to the Existing Fixture
15 minutesIdentify the circuit breaker that controls the bathroom lighting. It is crucial to ensure the power is completely off before beginning any work on the electrical system to prevent shock or injury. Double-check that the power is off by attempting to turn on the existing light.
Watch: Turn Off Power at Breaker
Remove the Old Light Fixture
30 minutesOnce power is confirmed off, unscrew any decorative covers or shades from the old fixture. You will then typically find screws or nuts securing the fixture base to the electrical box. Remove these fasteners. Gently pull the fixture away from the wall to expose the wiring connections. Carefully disconnect the wires by unscrewing wire nuts or releasing push-in connectors.
Watch: Remove Old Light FixtureInstall the New Mounting Bracket
20 minutesMost new light fixtures come with a specific mounting bracket. Align this bracket with the screw holes in the electrical box. Use the provided screws to attach the bracket securely. Ensure the bracket is flush against the wall and does not wobble. If the electrical box is loose, you may need to secure it to the wall studs or use a box extender.
Watch: Install New Mounting Bracket
Wire the New Light Fixture
25 minutesFeed the wires from the new fixture through the center of the mounting bracket. Connect the 'hot' wire from the fixture (usually black) to the 'hot' wire from the electrical box (also usually black) using a wire nut. Connect the 'neutral' wire from the fixture (usually white) to the 'neutral' wire from the electrical box (usually white) with a wire nut. Finally, connect the 'ground' wire from the fixture (usually green or bare copper) to the ground screw on the mounting bracket or to the ground wire from the electrical box. Ensure all connections are secure and no bare wire is exposed.
Watch: Wire the New Light FixtureMount the New Light Fixture
20 minutesCarefully tuck all the connected wires back into the electrical box. Align the new fixture with the mounting bracket according to the manufacturer's instructions. This usually involves screwing the fixture base onto the bracket posts or securing it with decorative nuts or screws. Ensure the fixture is snug against the wall and does not appear crooked or loose.
Watch: Mount and Secure New Light Fixture
Install Light Bulbs and Test the Fixture
15 minutesScrew in the recommended type and wattage of light bulbs into the sockets of the new fixture. Return to the electrical panel and switch the circuit breaker back on. Test the light switch to ensure the new fixture illuminates correctly and operates as expected. Check for any flickering or other anomalies.
Watch: Install Light Bulbs and TestInstall Decorative Covers and Final Touches
15 minutesOnce you have confirmed the fixture is working correctly, attach any glass shades, globes, or decorative trim pieces that came with the fixture. These are typically secured with small screws or clips. Ensure they are properly seated and secured to prevent them from falling.
Watch: Final Assembly and TestingCommon Problems
Electric Shock or Circuit Breaker Trips After Installation
Solution: IMMEDIATELY turn off the main power at your electrical panel. This is a sign of a short circuit or exposed live wires. Carefully re-examine all wire connections, ensuring no bare wires are touching each other or the metal fixture housing. Make sure wire insulation is intact and wire nuts are securely twisted on.
Prevention: ALWAYS turn off power to the circuit at the breaker before starting any work. Use a voltage tester (like the 'Voltage / Circuit Tester' listed in tools) to confirm that no power is present in the wires you are about to touch. Connect black wires to black, white to white, and ground to ground, ensuring no stray strands.
Light Fixture Doesn't Turn On After Installation (or flickers)
Solution: First, check that the circuit breaker is back ON. If it is, ensure light bulbs are screwed in tightly and are not faulty (try a known working bulb). If still no light, turn off the power at the breaker again. Double-check all wire connections inside the fixture's electrical box; make sure wire nuts are securely twisted onto properly connected wires and there are no loose strands. Confirm the 'hot' (usually black) and 'neutral' (usually white) wires are correctly matched.
Prevention: Before mounting the fixture completely, temporarily connect the wires, twist on the wire nuts, and carefully push the wires into the electrical box. Then, briefly turn the power back on and test the light with a bulb to confirm it works. This allows you to troubleshoot without having to unmount the entire fixture.
Mounting Bracket or Fixture is Crooked or Wobbly on the Wall
Solution: If the fixture is crooked, loosen the mounting screws, use a level (like the 'Level' listed in tools) to adjust the mounting bracket until it's perfectly straight, and then re-tighten the screws. If it's wobbly, ensure the screws securing the mounting bracket to the electrical box are fully tightened, or that appropriate wall anchors were used if not screwing into a stud.
Prevention: Use a level when installing the CADDY bracket or any mounting hardware. For securing the bracket to the wall, always aim for a stud behind the drywall if possible. If not, use appropriate drywall anchors to ensure a secure, non-wobbly installation.
Stripped Screws or Damaged Wires from Over-tightening
Solution: For stripped screw heads, try using a larger flathead screwdriver or a screw extractor if available. If a wire was damaged from over-tightening a terminal screw, you may need to cut off the damaged section and re-strip the wire, ensuring enough length for a secure connection. If the damage is severe or too close to the fixture, professional help might be needed.
Prevention: Always use the correct size screwdriver bit for the screw head (e.g., from the 'TEKTON High-Torque Screwdriver Set'). Tighten screws until they are snug and secure, but avoid excessive force. For wire terminals, 'finger-tight plus a quarter turn' is often sufficient to prevent stripping or damage.
Wires are Difficult to Connect with Wire Nuts (Too Many/Too Short)
Solution: If there are too many wires for one wire nut, try to find a slightly larger wire nut. If wires are too short, gently pull them further out of the electrical box if possible, or consider using short 'pigtail' wires (small lengths of electrical wire) to extend them, using separate wire nuts for the pigtail connections. Always pre-twist multiple wires together clockwise before screwing on the wire nut.
Prevention: Before trimming wires, ensure they are long enough to comfortably work with, typically at least 6-8 inches extending from the electrical box. When working with multiple wires, use wire nuts (like the 'Wire nuts' listed in materials) that are appropriately sized for the total number and gauge of wires being joined.
New Fixture Doesn't Cover Old Paint Lines or Holes on the Wall
Solution: If the new fixture's base is smaller than the old one, exposing unpainted areas or old holes, you have a few options: You can patch and paint the exposed wall area to match, find a decorative trim plate (sometimes called a 'medallion' or 'canopy ring') to place behind the new fixture, or, if possible, exchange the fixture for one with a larger base.
Prevention: Before purchasing your new 'Hampton Bay Direct Wire 3-Light White Slot Back Fixture', measure the dimensions of your existing fixture's base (the part that sits flush against the wall). Compare these to the new fixture's dimensions to ensure it will fully cover the area left by the old one.
Frequently Asked Questions
What specialized tools, beyond basic hand tools, will I definitely need for this electrical lighting installation?
A voltage/circuit tester is absolutely essential for verifying that the power is off and ensuring safety. You will also need a good set of screwdrivers, including Phillips and flathead, and pliers for cutting and stripping wires accurately.
This is a 'beginner' project, but it estimates 8 hours. What makes it take that long, and what should a beginner be aware of?
The 8-hour estimate often includes time for selecting the perfect fixture, carefully reading all instructions, and potential troubleshooting, especially if you're new to electrical work. As a beginner, take your time with each electrical connection and consult diagrams to ensure both safety and proper function.
What's a common wiring mistake beginners make, and how can I ensure a correct and safe connection?
A common mistake is not securely connecting wires or incorrectly matching hot, neutral, and ground wires. Always connect black to black (hot), white to white (neutral), and bare/green to bare/green (ground), ensuring wire nuts are twisted on tightly and connections are secure.
How should I choose the right vanity light fixture regarding brightness and style for my bathroom?
Consider the overall style of your bathroom for aesthetic harmony. For brightness, aim for adequate illumination for tasks like shaving or applying makeup, typically suggesting fixtures that provide 300-500 lumens per foot of vanity. Choose a color temperature that suits your preference, with 2700K-3000K offering a warm white glow.
My new light isn't working after installation. What are the first steps I should take to troubleshoot?
First, ensure the power is off at the breaker. Then, recheck all wire connections for tightness and proper matching (hot, neutral, ground). Verify that the light bulbs are correctly installed and not faulty, and finally, confirm the circuit breaker for that specific light is switched to 'on'.