AC Filter Replacement
About This Project
This project outlines the steps for replacing a dirty or clogged air filter in a residential HVAC system to improve air quality and system efficiency.
Tools & Materials
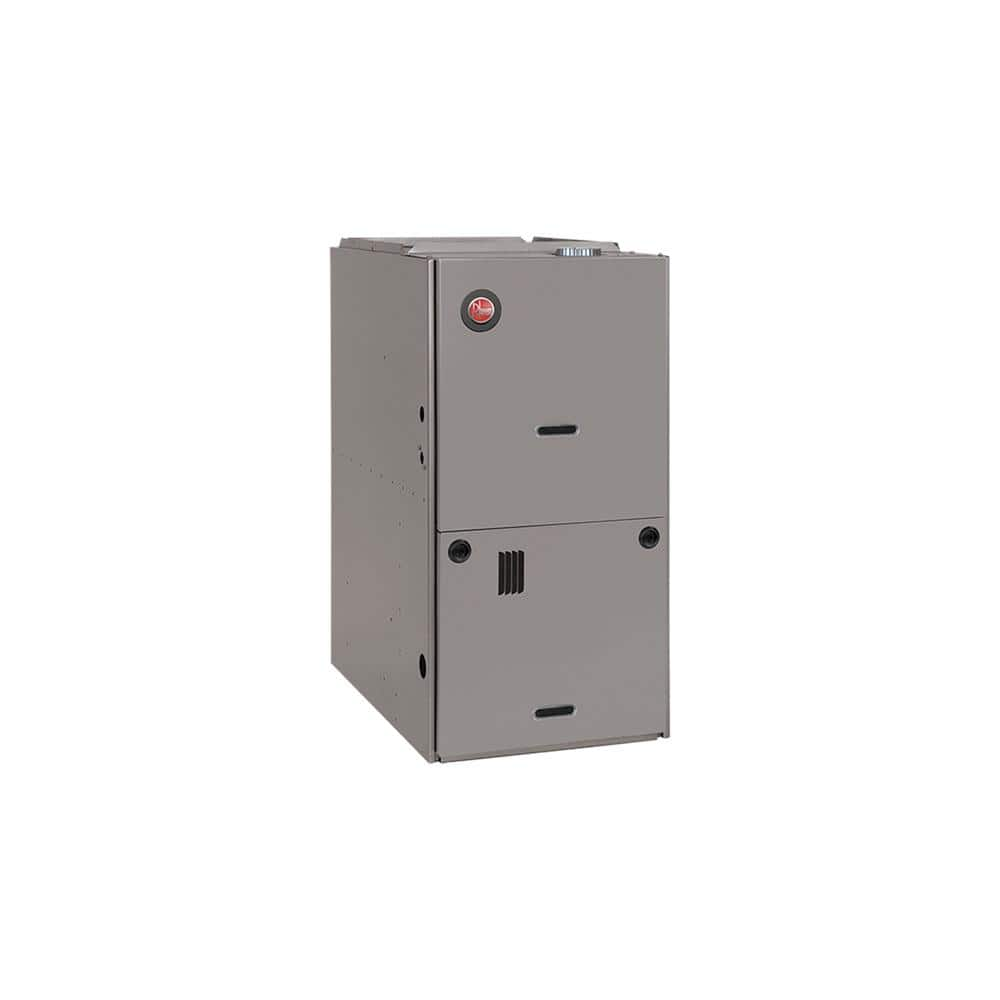
Rheem Installed Classic Series Gas Furnace HSINSTRHECGF
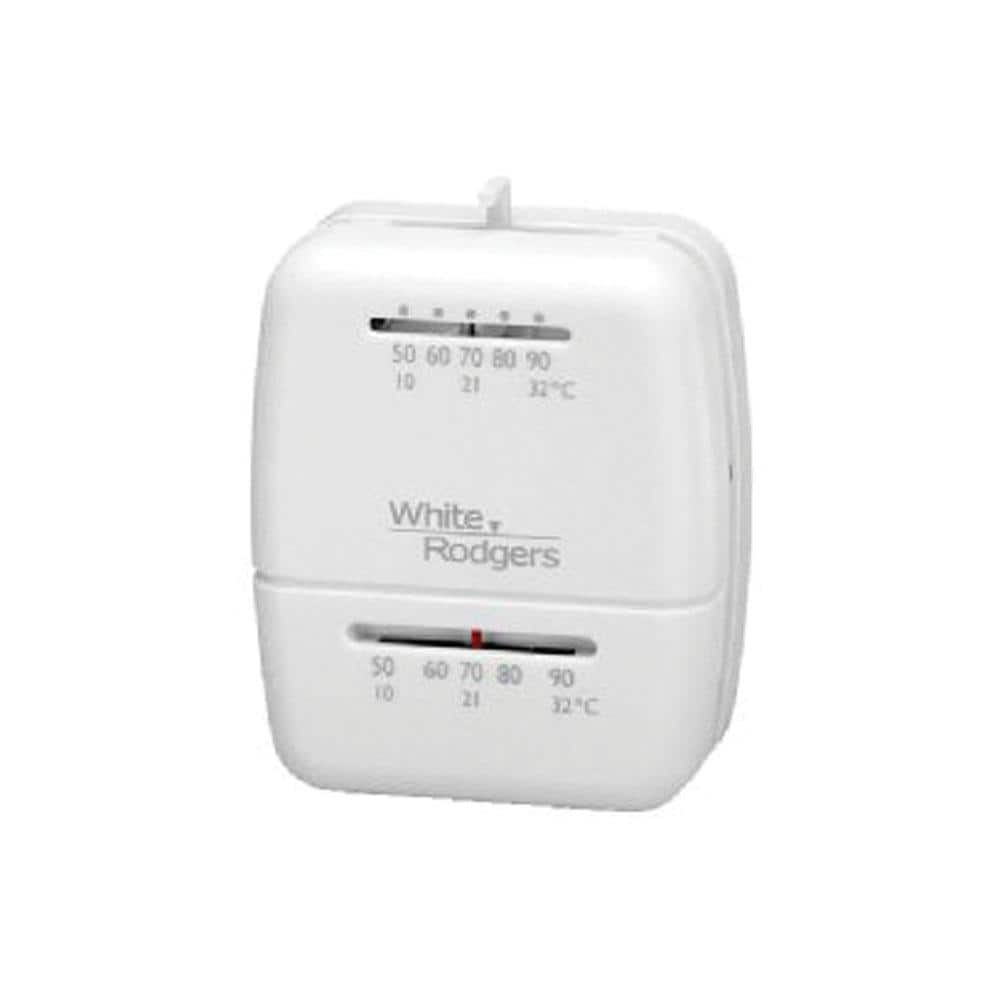
White Rodgers Cool Only Thermostat 7360 (1C21-101)
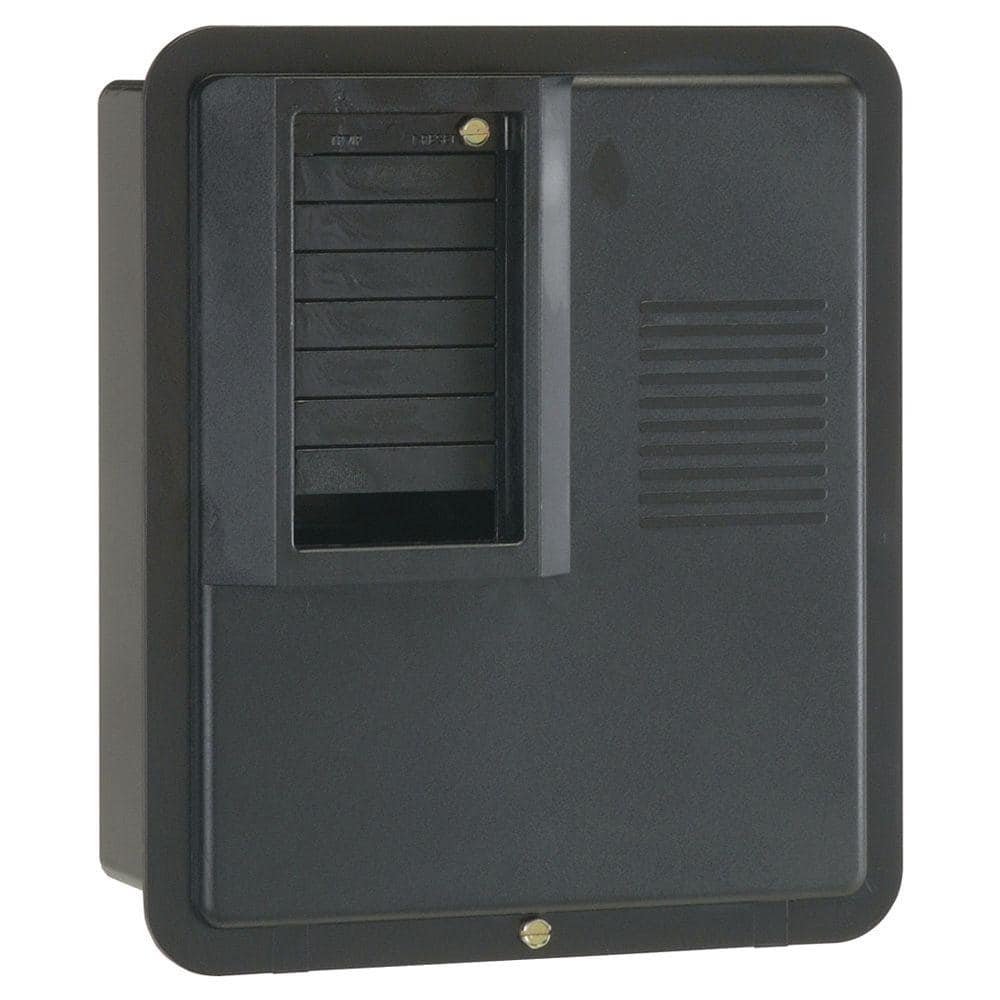
GE PowerMark Plus125 Amp 4-Space 8-Circuit Indoor Main Lug Circuit Breaker Panel TPL412CP

Work Gloves
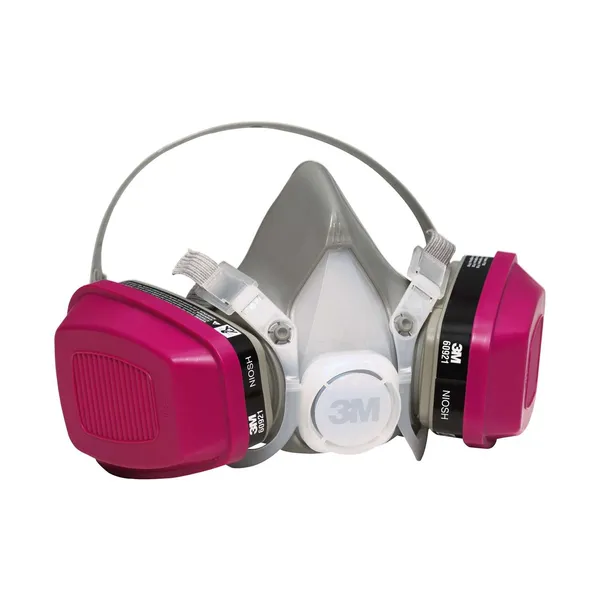
Respiratory Protection
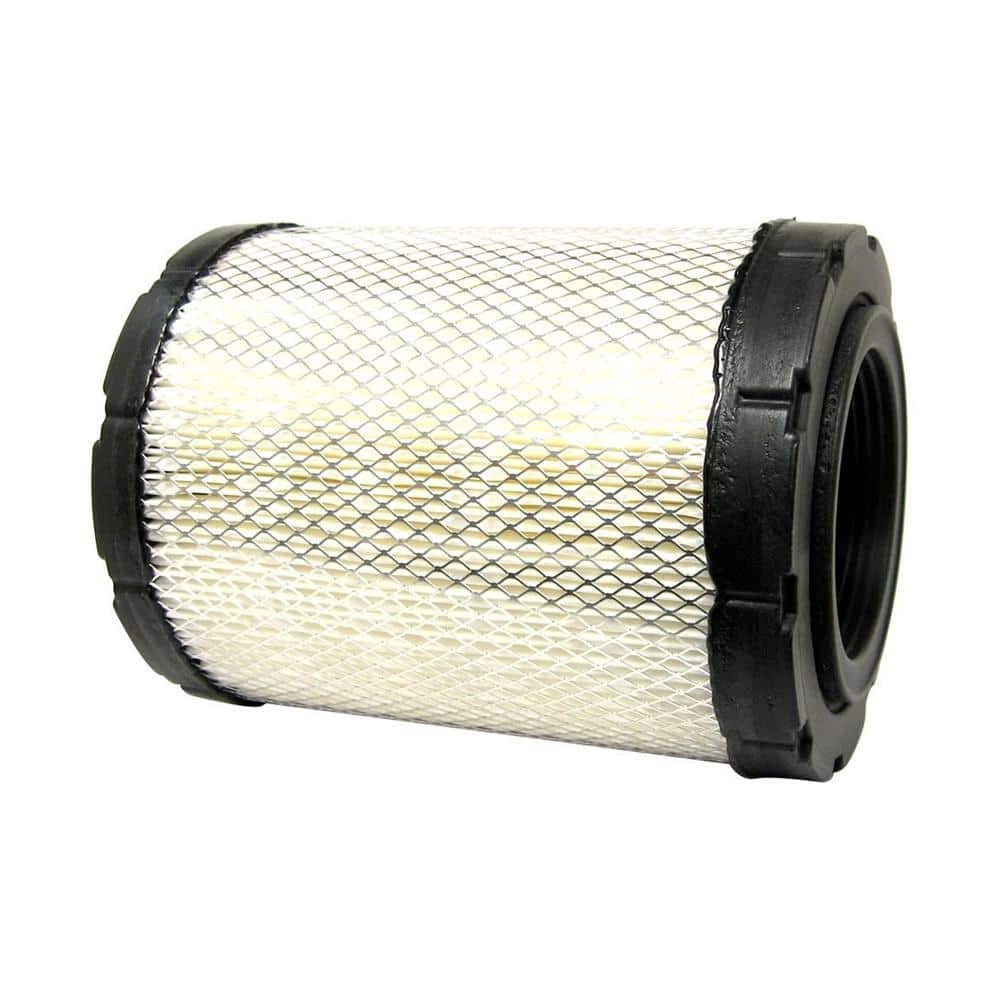
ACDelco Air Filter A2014C
Rheem Installed Classic Series Gas Furnace HSINSTRHECGF
The installed Classic Series gas furnace by Rheem is a popular choice for comfort and quality. Our qualified HVAC technicians will tell you more during your free in-home consultation. Rest easy knowing
White Rodgers Cool Only Thermostat 7360 (1C21-101)
Replaces forced air heating and cooling units. Available in gray. Fast and easy installation. Large numbers for easy reading. Adapter plate includes for replacing round, vertical or horizontal thermostats.
GE PowerMark Plus125 Amp 4-Space 8-Circuit Indoor Main Lug Circuit Breaker Panel TPL412CP
The load center includes a sturdy tin-plated copper buss bar and a galvanized box for increased durability and reliability. The one-piece interior removes and re-installs easily. Indoor NEMA 1 enclosure
Work Gloves
Protects hands during tasks.
Respiratory Protection
Masks or respirators to prevent inhalation of dust, especially during sanding and painting.
ACDelco Air Filter A2014C
An ACDelco Professional, premium aftermarket Engine Air Filter is the high quality replacement ideal for many vehicles on the road today. It traps airborne particles before they enter the engine and supplies
Steps

Locate the HVAC Air Filter
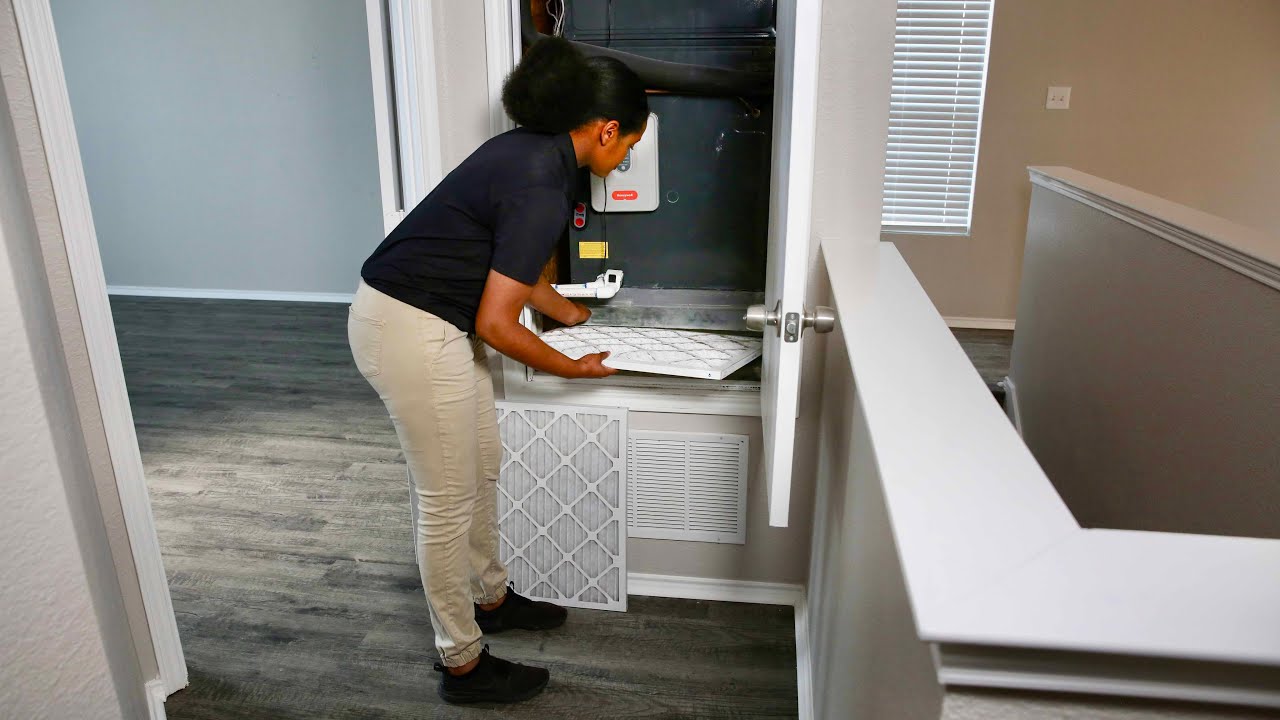
5 minutesThe air filter for your HVAC system is typically located in one of a few common places: either in the return air duct grille in a wall or ceiling, or in the furnace/air handler unit itself, usually in a slot near where the air returns into the unit.
Watch: Locate HVAC Filter
Remove the Old Air Filter
3 minutesOnce the system is off, open the filter housing or grille. This may involve releasing latches, unscrewing a panel, or simply pulling a grille cover away. Once open, carefully slide the old air filter straight out of its slot. Note the direction of the airflow arrow on the old filter before removal, as this will be important for installing the new one.
Watch: Remove Old Air Filter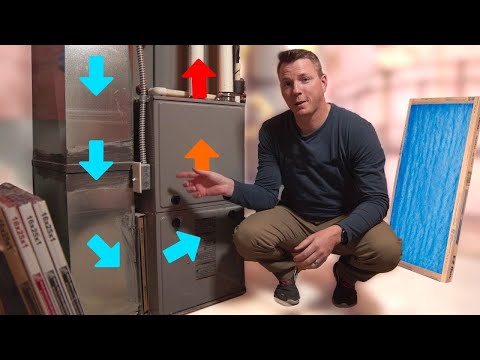
Install the New Air Filter
3 minutesTake the new air filter and orient it so that the airflow arrow printed on the filter frame points in the same direction as the airflow you observed when removing the old filter (usually towards the furnace/air handler). Slide the new filter carefully into the filter slot until it is fully seated.
Watch: Install New Air Filter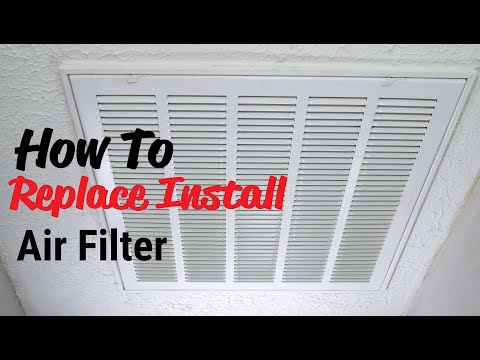

Common Problems
Electrical Shock Hazard from Not Turning Off Power
Solution: Immediately go to your home's main electrical panel (the GE PowerMark Plus breaker panel) and flip the breaker labeled for your HVAC system to the 'OFF' position. Also, turn your thermostat (White Rodgers Cool Only Thermostat) to 'OFF'. If you experienced a shock, seek medical attention immediately.
Prevention: Always turn off power at both the thermostat and the main circuit breaker before touching or replacing any part of your HVAC system.
New Air Filter is the Wrong Size or Shape
Solution: First, re-measure the old filter or check the dimensions printed on its frame. Then, verify the size required by your HVAC unit. Return the incorrect ACDelco Air Filter and purchase one with the exact matching length, width, and thickness.
Prevention: Before buying a new filter, always write down the exact dimensions (e.g., 20x25x1 inches) that are usually printed on the cardboard frame of your old filter. Taking a photo of it can also be helpful.
Air Filter Installed Backward, Reducing Airflow
Solution: Carefully remove the newly installed filter. Locate the arrow printed on the filter's cardboard frame. Re-insert the filter so that this arrow points in the direction of the airflow, which is typically towards the furnace or air handler (the main HVAC unit).
Prevention: Before inserting the new filter, always identify the airflow direction arrow on the filter. It should point towards the main heating/cooling unit and away from where the air enters the return vent.
Excessive Dust Released During Old Filter Removal
Solution: If a lot of dust has been released, turn off your HVAC system again if it's running to prevent spreading. Open windows for ventilation. Use a vacuum cleaner to clean up any dust that settled around the area. If you're experiencing breathing difficulties, move to fresh air and consider consulting a doctor.
Prevention: Always wear your recommended Respiratory Protection (a face mask) and Work Gloves when removing the old filter. Gently slide the old filter directly into one of the Hefty Trash Bags to contain dust immediately.
HVAC System Doesn't Turn On After Filter Replacement
Solution: First, check your GE PowerMark Plus circuit breaker panel to ensure the breaker for your HVAC system is flipped firmly to the 'ON' position. Next, check your White Rodgers Cool Only Thermostat to confirm it's set to 'Cool' or 'Auto' mode and the temperature setting is lower than the current room temperature. Some systems have a short delay before restarting, so wait 5-10 minutes.
Prevention: Double-check that you've flipped the breaker back on and reset your thermostat to your desired settings after completing the filter installation.
Filter Housing or Grille Won't Close Securely
Solution: Ensure the new filter is pushed all the way into its slot and is sitting flush. Check if there's any debris (like dust bunnies or parts of the old filter) blocking the closing mechanism. Also, verify that the new filter's thickness exactly matches the old one; a filter that's too thick won't allow the housing to close properly.
Prevention: Before installing the new filter, quickly wipe down the inside of the filter housing or grille area to remove any debris. Always ensure your replacement filter is the exact same thickness as the original.
Frequently Asked Questions
How do I find the correct size and type of replacement filter?
The filter size is usually printed on the cardboard frame of your old filter (e.g., 20x25x1). Note down these dimensions before buying a new one, like the ACDelco Air Filter A2014C. For filter type, MERV ratings (Minimum Efficiency Reporting Value) indicate how effectively a filter cleans the air; consult your HVAC system's manual or a professional to choose the appropriate MERV rating for your system.
Can I clean my old AC filter instead of replacing it?
Most residential AC filters, especially disposable pleated or fiberglass types, are not designed to be cleaned and reused. Attempting to clean them can damage the filter media, reducing their effectiveness and potentially pushing debris into your HVAC system. Always replace disposable filters with new ones to maintain air quality and system health.
What are common mistakes people make when replacing an AC filter?
A common mistake is installing the new filter backward; always ensure the airflow arrow on the filter points in the direction of the furnace or air handler. Another error is forcing the wrong size filter into the slot, which can lead to air bypassing the filter and reducing efficiency. Always double-check the dimensions and the airflow direction arrow before installation.
What if I can't find the filter slot on my furnace or air handler?
The filter slot is usually located where the return air duct enters the furnace or air handler, often in a dedicated slot near the main unit. It might also be behind a return air vent grille in your ceiling or wall. If you're having trouble locating it, consult your HVAC system's manual or look for a hinged door or cover near the main unit where the large air duct connects.
How can I tell if my AC filter needs to be replaced?
Visually inspect the filter regularly. If it appears dark, clogged with dust, dirt, pet hair, or other debris, it's time for a replacement. A dirty filter will restrict airflow, making your system work harder and less efficiently, which can lead to higher energy bills and reduced indoor air quality.