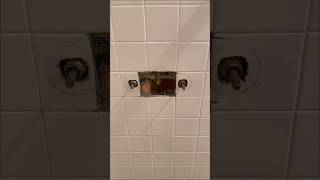
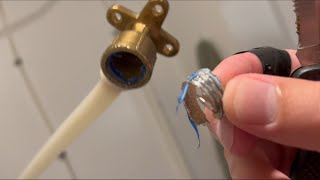
Take your new shower arm and the roll of thread seal tape. You will apply tape to the threads on both ends of the arm. For the end that goes into the wall, start at the second thread from the end and wrap the tape tightly in a clockwise direction. This is crucial—wrapping clockwise ensures the tape tightens as you screw the arm in, rather than unraveling. Overlap the tape by about half its width and make 3 to 5 full wraps. Repeat this process for the other end of the arm where the shower head will attach.
You're viewing a step from: How to Replace a Shower Head and Shower Arm
This guide provides comprehensive, step-by-step instructions for removing an old shower head and shower arm, and correctly installing new ones. The process involves unscrewing the old components, cleaning the pipe threads, applying new thread sealant, and attaching the new arm and head to create a leak-free connection.
Frequently Asked Questions
What tools are absolutely essential for this project, and can I substitute any of them?
You'll definitely need an adjustable wrench to loosen and tighten the shower arm and head. While specific pliers like Channellock are recommended for better grip, an adjustable wrench is usually sufficient for most connections. Always have a rag or towel ready for any drips or residual water in the pipes.
How can I prevent leaks after installing the new shower head and arm?
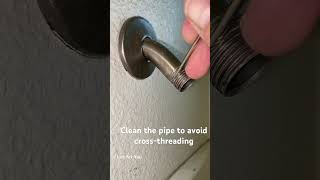
The key to preventing leaks is the proper application of Teflon tape. Wrap 3-5 layers of tape clockwise around the threads of both the shower arm and the shower head, ensuring it's snug. Also, make sure to clean the existing pipe threads thoroughly before installation to create the best possible seal.
My old shower arm is incredibly stuck. What's the safest way to remove it without damaging my plumbing?
If your old shower arm is stuck, try applying a penetrating oil around the threads and let it sit for a few minutes. Use your adjustable wrench to apply firm, counter-clockwise pressure, being careful not to twist the pipe inside the wall. If it still won't budge, consider calling a professional to avoid causing serious damage to your plumbing.
Do I need to turn off the main water supply to my house, or is there a specific shut-off for just the shower?
Yes, you must turn off the main water supply to your house for this project, as individual showers typically don't have separate shut-off valves. After turning off the main supply, open the shower faucet to drain any remaining water from the pipes before you begin removing components. This prevents unexpected sprays and water damage.
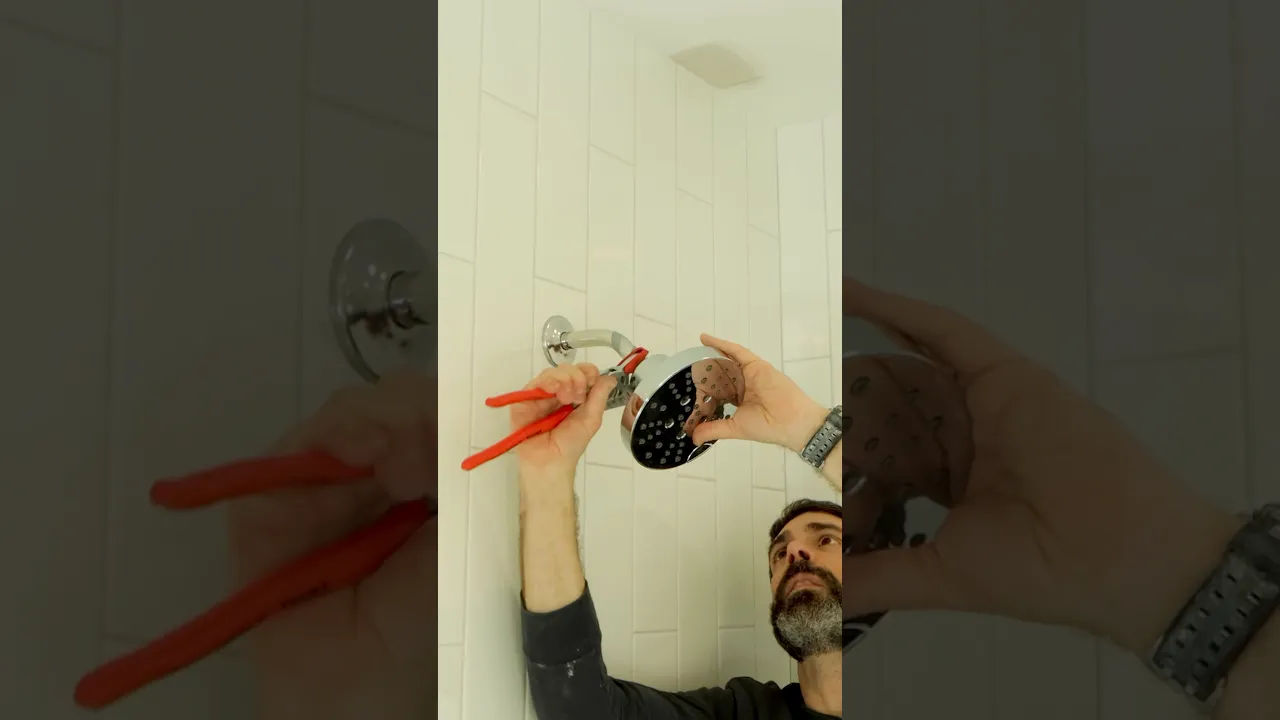
How to Replace a Shower Head and Shower Arm
View Full ProjectRelated Videos
Step 1: Gather Tools and Materials
Step 1: Gather Tools and Materials
Step 1: Gather Tools and Materials
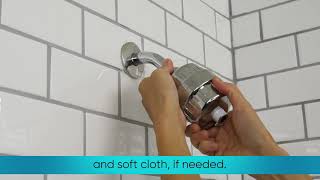
Step 2: Remove the Old Shower Head

Step 2: Remove the Old Shower Head

Step 2: Remove the Old Shower Head
Step 3: Remove the Old Shower Arm
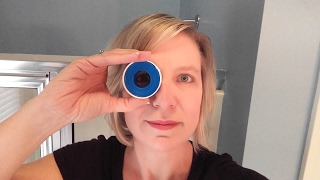
Step 3: Remove the Old Shower Arm
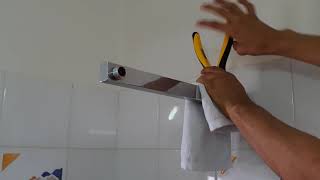
Step 3: Remove the Old Shower Arm
Step 4: Clean Threads and Flush Pipe

Step 4: Clean Threads and Flush Pipe
Step 4: Clean Threads and Flush Pipe

Step 5: Apply Thread Seal Tape
Step 5: Apply Thread Seal Tape

Step 5: Apply Thread Seal Tape
Step 6: Install the New Shower Arm
Step 6: Install the New Shower Arm
Step 6: Install the New Shower Arm
Step 7: Install the New Shower Head

Step 7: Install the New Shower Head
Step 7: Install the New Shower Head
Step 8: Check for Leaks
Step 8: Check for Leaks
Step 8: Check for Leaks
Start your project
chat with your ai