
How to Replace a Shower Head and Shower Arm
About This Project
This guide provides comprehensive, step-by-step instructions for removing an old shower head and shower arm, and correctly installing new ones. The process involves unscrewing the old components, cleaning the pipe threads, applying new thread sealant, and attaching the new arm and head to create a leak-free connection.
Best for homeowners and DIY enthusiasts with basic plumbing knowledge.
Tools & Materials
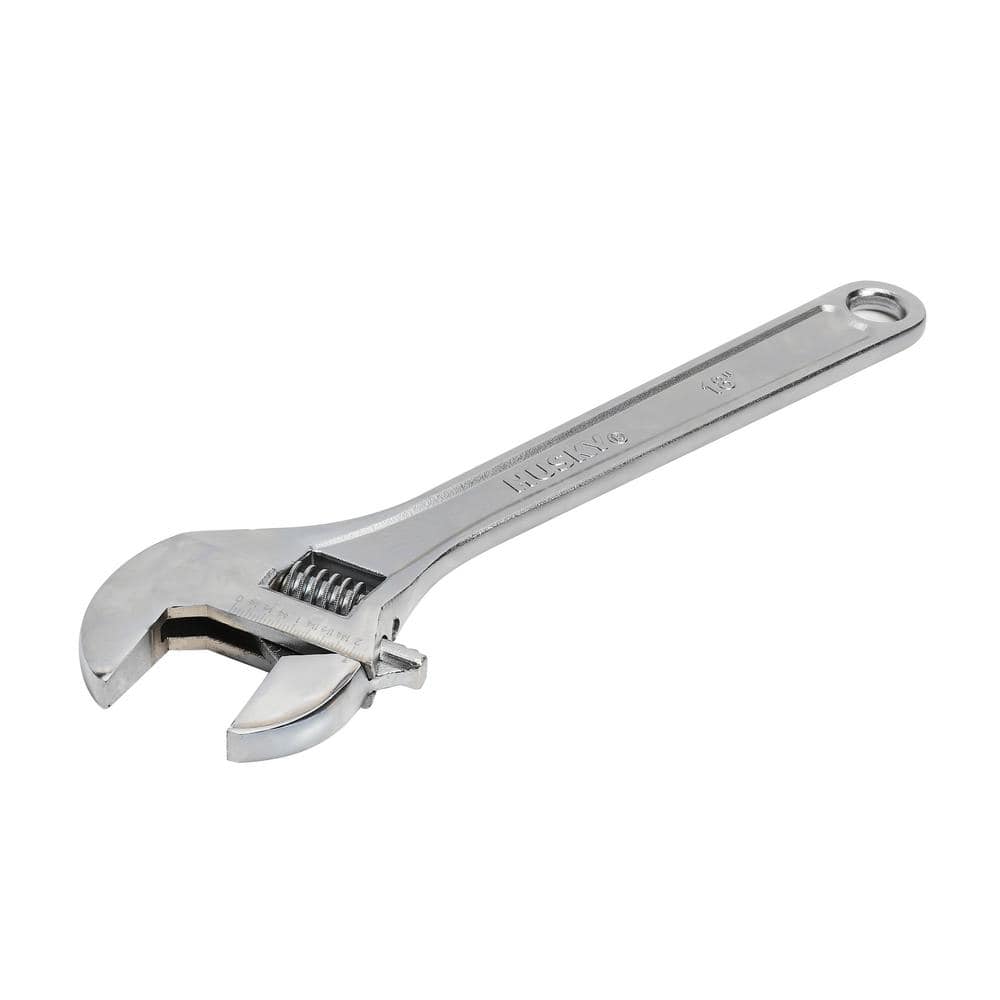
Husky 18 in. Adjustable Wrench 90132

Channellock 12 in. V-Jaw Tongue and Groove Pliers 442
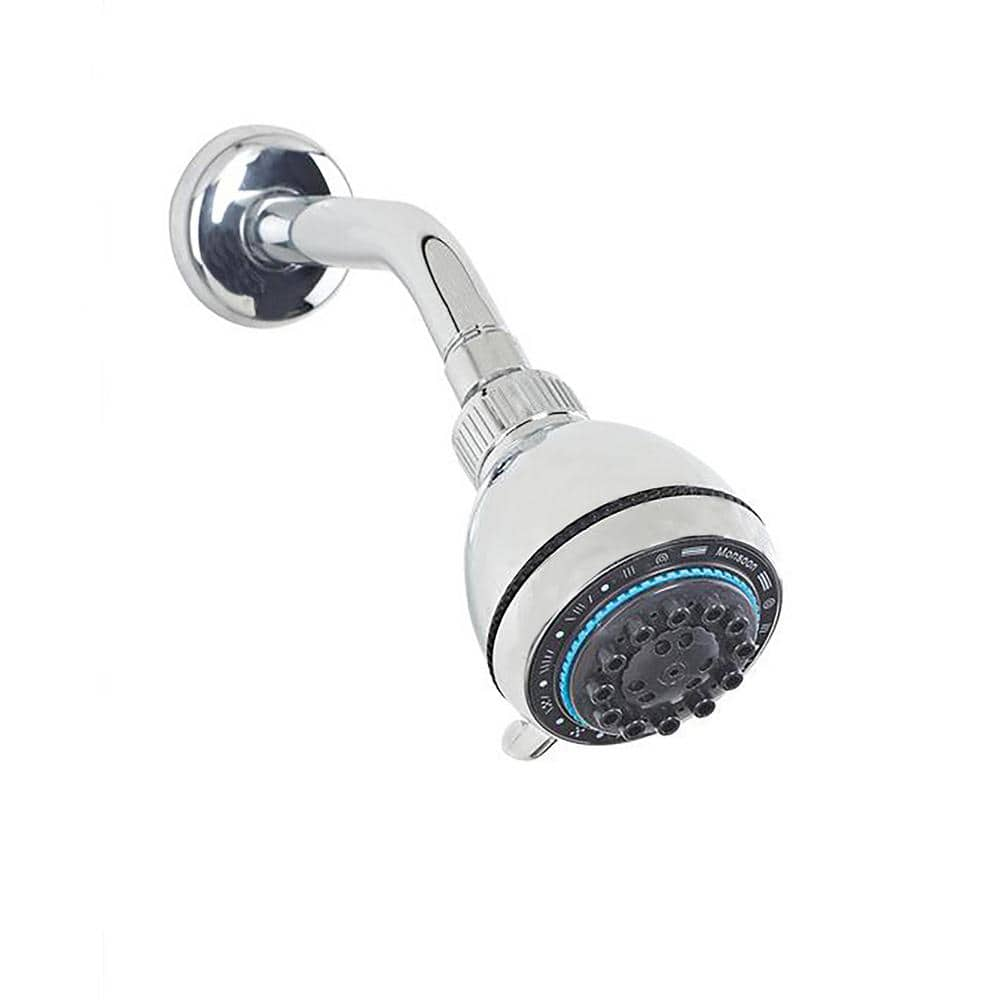
Bath Bliss 8-Function Deluxe Shower Head 3417
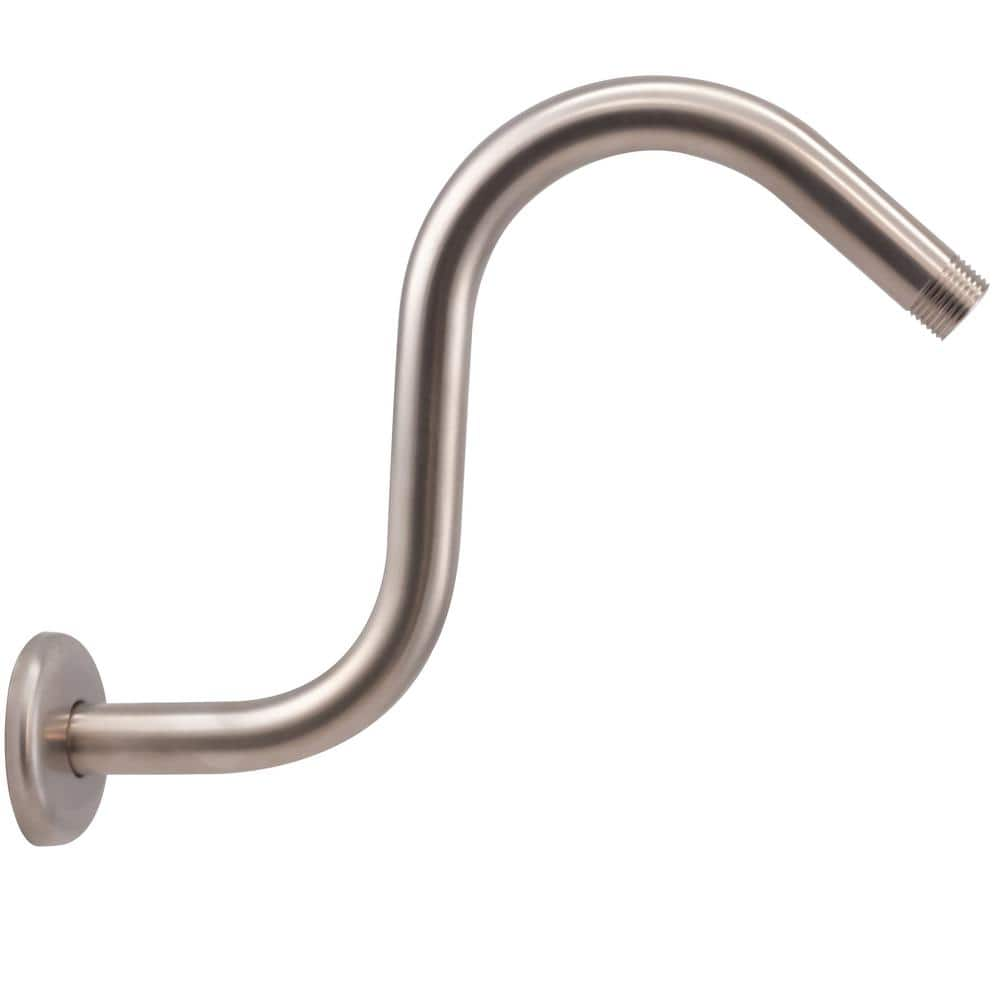
Westbrass 8 in. S-Shaped Shower Arm in Satin Nickel D303-81-07
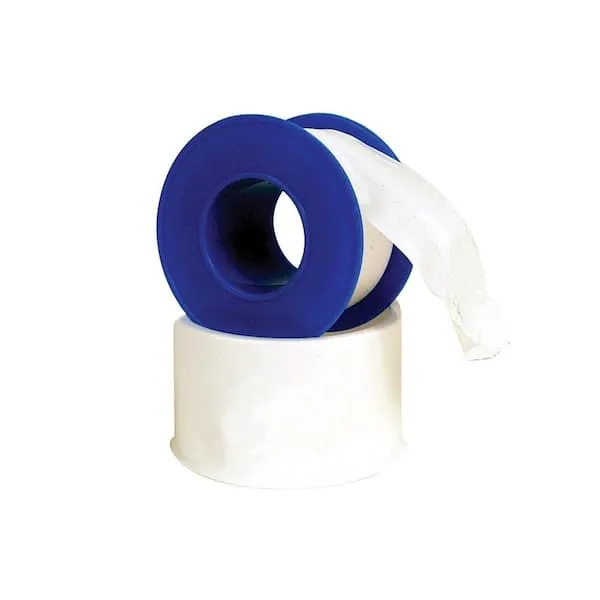
Teflon Tape
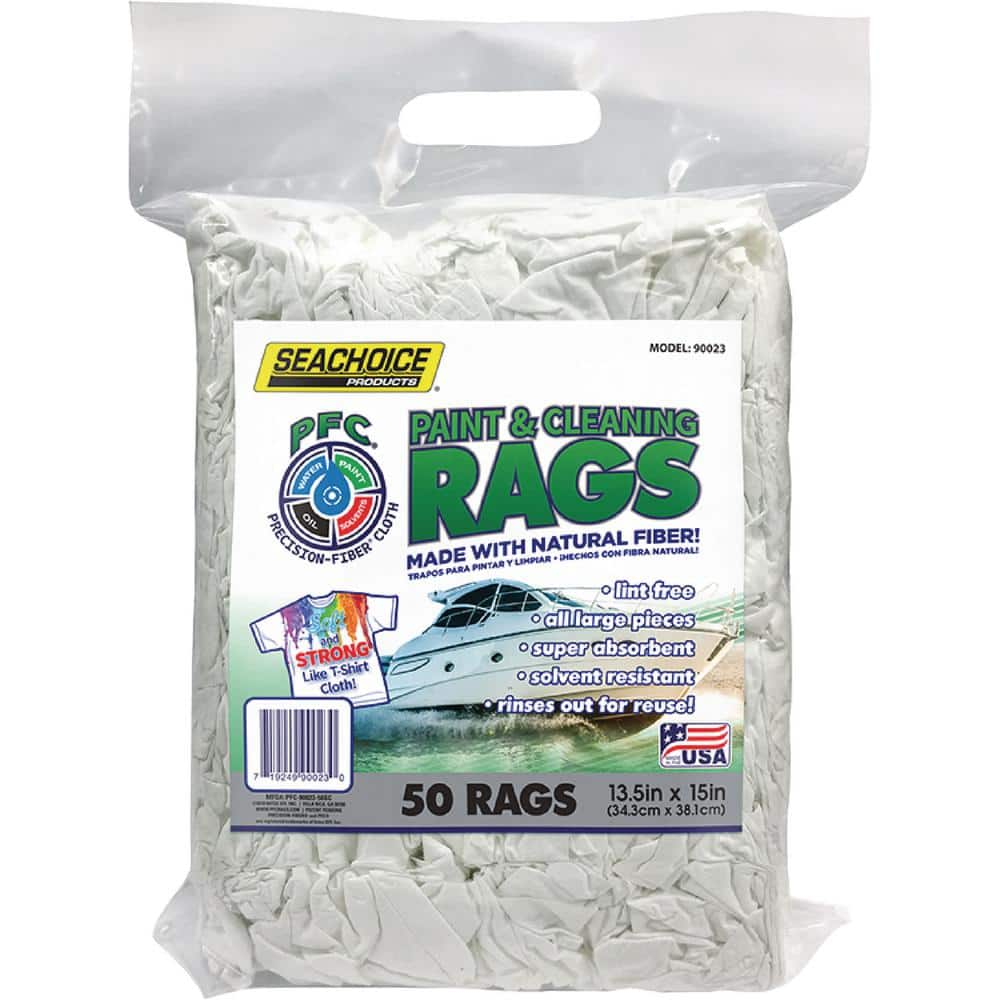
Seachoice Lint-Free Paint & Cleaning Rags, 50 per Bag 90023
Husky 18 in. Adjustable Wrench 90132
The adjustable wrenches feature a large knurl for easy adjustment and a tight jaw fit. Its hex jaw design helps reduce slippage and tightly grips the fastener for solid, secure operation, while the corrosion-resistant
Channellock 12 in. V-Jaw Tongue and Groove Pliers 442
CHANNELLOCK 442 12" Tongue & Groove Pliers feature a unique v-jaw design that creates more points of contact on round stock and tubing. These pliers are built to last with a PERMALOCK fastener to eliminate
Bath Bliss 8-Function Deluxe Shower Head 3417
Bath Bliss 8 Function Shower Head with 8 settings offers various types of use in 1 convenient shower head. The 8 Function Shower Head Includes Spray, Mixed Spray, Pulse, Mixed Pulse, Massage, Rain, Mixed
Westbrass 8 in. S-Shaped Shower Arm in Satin Nickel D303-81-07
This 8 in. wall-mounted
Teflon Tape
Seals pipe threads without leaks.
Seachoice Lint-Free Paint & Cleaning Rags, 50 per Bag 90023
Made with natural fiber. All large pieces. Super absorbent. Solvent resistant. Rinses out for reuse. During the warranty period, your Seachoice product will either be repaired or it will be replaced with
Steps

Gather Tools and Materials
5 minsBefore beginning any work, gather all the necessary tools and your new components. Lay out the new shower head, new shower arm, and thread seal tape. Have your adjustable wrench or channel-lock pliers and a soft rag ready. Ensuring everything is within reach will make the process smoother and prevent interruptions.
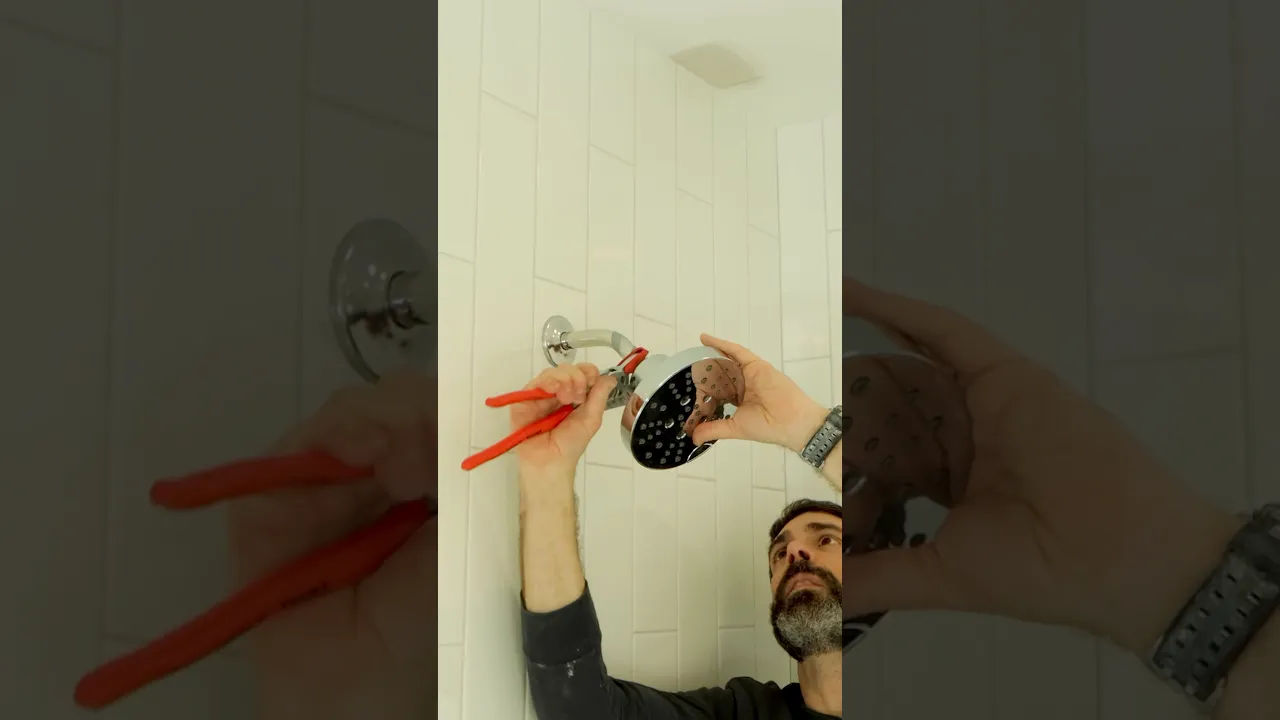
Remove the Old Shower Head
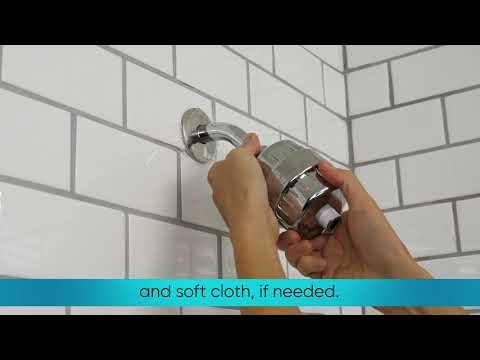
5 minsAttempt to unscrew the old shower head from the existing shower arm by turning it counter-clockwise by hand. If it is too tight, wrap your soft rag around the connector nut of the shower head and use your adjustable wrench or channel-lock pliers to grip it. Turn counter-clockwise to loosen and remove it completely. Since you are replacing the arm, scratching it is not a major concern, but it is good practice to use the rag.

Remove the Old Shower Arm
5 minsThe shower arm is screwed into a fitting inside the wall. Grip the arm firmly with your hands and turn it counter-clockwise to unscrew it. If it's too tight, you can insert the handle of your channel-lock pliers or a screwdriver into the opening of the arm to gain leverage. Apply steady, firm pressure. Be careful not to apply jerky or excessive force, as this can damage the fitting in the wall. Once loosened, continue unscrewing by hand until it is free. The decorative flange will slide off as you remove the arm.

Clean Threads and Flush Pipe
5 minsWith the arm removed, look into the threaded female fitting in the wall. Use a rag or a small brush, like an old toothbrush, to clean out any old thread seal tape, plumber's putty, or mineral deposits. After cleaning, place a rag over the opening and turn the shower water on for just 2-3 seconds. This will flush out any loose debris that could clog your new shower head. Turn the water off immediately.

Apply Thread Seal Tape
5 minsTake your new shower arm and the roll of thread seal tape. You will apply tape to the threads on both ends of the arm. For the end that goes into the wall, start at the second thread from the end and wrap the tape tightly in a clockwise direction. This is crucial—wrapping clockwise ensures the tape tightens as you screw the arm in, rather than unraveling. Overlap the tape by about half its width and make 3 to 5 full wraps. Repeat this process for the other end of the arm where the shower head will attach.

Install the New Shower Arm
5 minsFirst, slide the new decorative flange (escutcheon) onto the long end of the new shower arm, ensuring its finished side faces away from the wall threads. Now, carefully insert the taped end of the arm into the fitting in the wall. Hand-tighten the arm by turning it clockwise until it is snug. Continue turning until it is pointing downwards at the correct angle. If you cannot get it tight enough by hand, use a rag-wrapped wrench on the straight part of the pipe for one final, gentle turn. Stop when it feels snug; do not overtighten. Slide the flange flush against the wall.

Install the New Shower Head
2 minsEnsure the small rubber washer is properly seated inside the threaded connector of the new shower head. Screw the new shower head onto the newly installed and taped shower arm. Turn it clockwise and hand-tighten it firmly. In most cases, hand-tightening is sufficient and recommended by manufacturers to avoid damaging the plastic threads or the washer. If the instructions specify using a tool, or if it leaks after hand-tightening, use your rag-wrapped wrench on the fitting's nut to give it a slight quarter-turn.

Check for Leaks
3 minsTurn the shower water on and carefully observe both connection points: where the shower arm enters the wall and where the shower head attaches to the arm. Look for any drips, sprays, or seeping water. Let the water run for a minute to ensure the seal holds under pressure. If you see a leak at the shower head, try tightening it slightly. If you see a leak at the wall, you will likely need to shut off the water, unscrew the arm, and re-apply the thread seal tape before reinstalling.
Common Problems
Leaky connections will occur if tape is wrapped counter-clockwise.
Solution: Always wrap thread seal tape in a clockwise direction on the threads.
Refer to the product instructions, as some showerheads do not require thread seal tape.
Solution: To avoid this issue: Be mindful of this warning and take appropriate precautions.
Do not overtighten the bracket, as this can damage the component.
Solution: To avoid this issue: Be mindful of this warning and take appropriate precautions.
Over-tightening can damage the threads or crack the connector, leading to a worse leak.
Solution: To avoid this issue: Be mindful of this warning and take appropriate precautions.
Be sure not to overtighten the connection, as this can cause damage.
Solution: To avoid this issue: Be mindful of this warning and take appropriate precautions.
Hand-tighten only to avoid cracking or stripping plastic showerhead threads.
Solution: To avoid this issue: Be mindful of this warning and take appropriate precautions.
Do not use tools to tighten the plastic holder unless absolutely necessary, and even then, be very gentle. Overtightening can cause it to crack.
Solution: To avoid this issue: Be mindful of this warning and take appropriate precautions.
Frequently Asked Questions
What tools are absolutely essential for this project, and can I substitute any of them?
You'll definitely need an adjustable wrench to loosen and tighten the shower arm and head. While specific pliers like Channellock are recommended for better grip, an adjustable wrench is usually sufficient for most connections. Always have a rag or towel ready for any drips or residual water in the pipes.
How can I prevent leaks after installing the new shower head and arm?
The key to preventing leaks is the proper application of Teflon tape. Wrap 3-5 layers of tape clockwise around the threads of both the shower arm and the shower head, ensuring it's snug. Also, make sure to clean the existing pipe threads thoroughly before installation to create the best possible seal.
My old shower arm is incredibly stuck. What's the safest way to remove it without damaging my plumbing?
If your old shower arm is stuck, try applying a penetrating oil around the threads and let it sit for a few minutes. Use your adjustable wrench to apply firm, counter-clockwise pressure, being careful not to twist the pipe inside the wall. If it still won't budge, consider calling a professional to avoid causing serious damage to your plumbing.
Do I need to turn off the main water supply to my house, or is there a specific shut-off for just the shower?
Yes, you must turn off the main water supply to your house for this project, as individual showers typically don't have separate shut-off valves. After turning off the main supply, open the shower faucet to drain any remaining water from the pipes before you begin removing components. This prevents unexpected sprays and water damage.
How many layers of Teflon tape should I apply, and in which direction, for a secure, leak-free connection?
For a robust seal, apply 3 to 5 layers of Teflon tape. It's crucial to wrap the tape clockwise around the threads, which is the same direction you'll be tightening the new arm or head. This ensures the tape tightens onto the threads rather than unraveling during installation, providing a more reliable seal.
What should I do if the new shower arm or head feels wobbly or doesn't sit flush against the wall?
First, ensure the shower arm is threaded all the way into the wall fitting and tightened securely with your wrench. If it's still wobbly, verify that the escutcheon plate (flange) is snug against the wall and the arm. If the opening in the wall is too large, you might need a larger escutcheon or a repair plate to cover the gap and provide stability.
How long should this project take for a beginner, and what's the typical cost for new components?
For a beginner, this project typically takes 1 to 2 hours, including gathering tools and cleanup, assuming no major complications. The cost for new components can range from $30 for basic models to $150 or more for higher-end shower heads and arms, depending on desired features and finishes.


