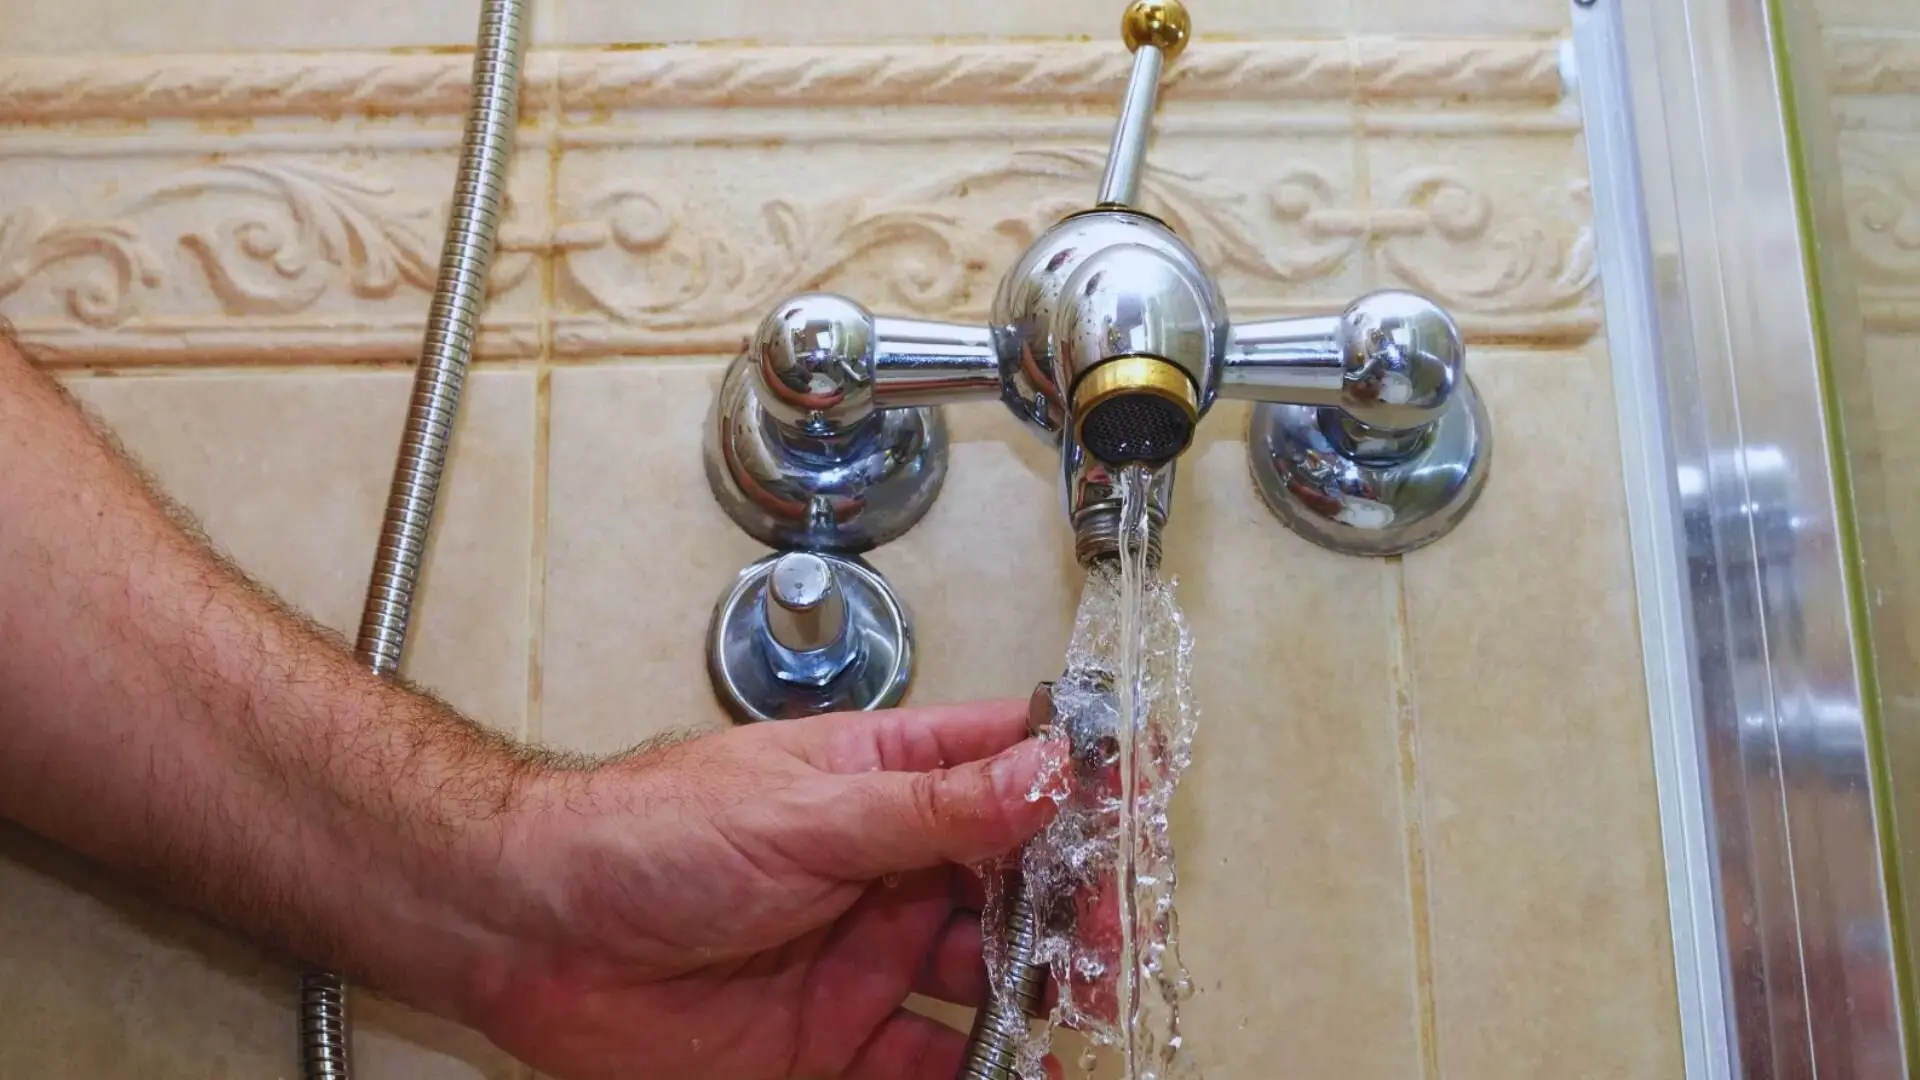
Carefully remove the old shower handle(s) and escutcheon plate. You may need a screwdriver to remove screws or a putty knife to gently pry off any glued or sealed components. Penetrating oil can help loosen corroded parts. Take photos before disassembling to assist with reassembly.
You're viewing a step from: Shower Faucet Replacement: A Complete DIY Guide
This project outlines the process of replacing a shower faucet, encompassing four main steps: 1. **Shut Off the Water Supply:** Locate and turn off the hot and cold water shut-off valves for the shower, verifying by checking a nearby faucet. 2. **Remove the Old Shower Hardware:** Carefully remove the old handle(s), escutcheon plate, and any other hardware using screwdrivers and/or a putty knife, using penetrating oil if needed and taking photos to aid in reassembly. 3. **Install the New Shower Valve:** Follow the manufacturer's instructions to install the new shower valve, using Teflon tape on threaded connections and soldering if required. Securely attach the valve as per the instructions. 4. **Install New Hardware and Test for Leaks:** Install the new handles, escutcheon plate, showerhead, and tub spout. Turn the water supply back on slowly, checking thoroughly for leaks. Adjust the temperature as necessary. If leaks persist, re-check connections and tighten or reseal as needed.
Start your project
chat with your ai


