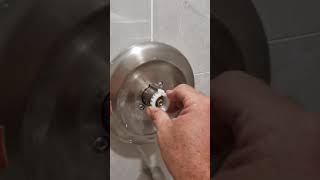
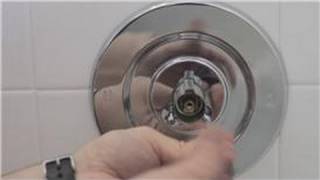
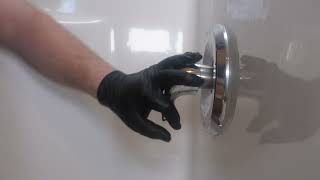
Remove the valve trim or decorative cover surrounding the cartridge. This may involve unscrewing screws or carefully releasing clips. If the trim is stuck, a utility knife might help to break any caulking seal.
You're viewing a step from: Shower Cartridge Replacement: A Step-by-Step DIY Guide
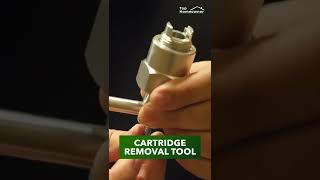
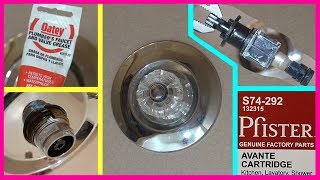
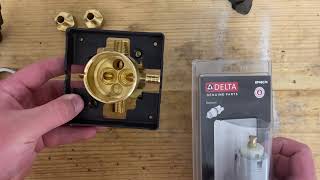
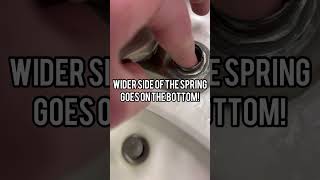
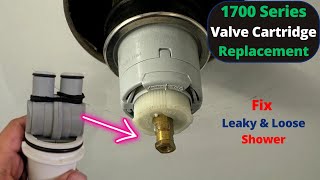
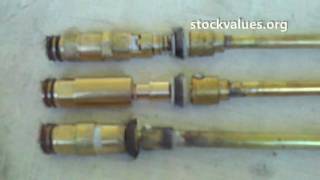
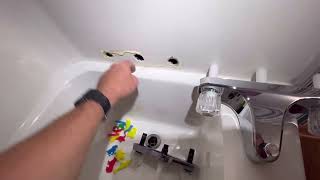
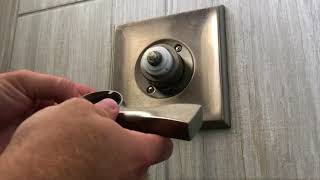
1. **Shut Off the Water Supply:** Turn off the water supply to the shower by locating the shut-off valves and turning them clockwise until they stop. 2. **Remove the Valve Trim:** Remove the decorative cover surrounding the cartridge by unscrewing screws or releasing clips. If stuck, use a utility knife to break the caulking seal. 3. **Remove the Shower Handle:** Remove the shower handle by removing the screw or setscrew, often with an Allen wrench, and gently pulling the handle away. 4. **Extract the Old Cartridge:** Remove the old cartridge using a cartridge puller tool or pliers. Be careful not to damage the valve body. 5. **Install the New Shower Cartridge:** Insert the new cartridge into the valve body, ensuring proper alignment and a firm push until fully inserted. Apply plumber's grease to the O-rings. 6. **Reassemble the Shower Faucet:** Reassemble all components in reverse order of disassembly, tightening securely. Apply silicone caulk around the valve body for a watertight seal. 7. **Test for Leaks and Functionality:** Turn the water supply back on slowly and check for leaks. Test the shower for hot and cold water functionality and desired temperature.

Shower Cartridge Replacement: A Step-by-Step DIY Guide
View Full ProjectRelated Videos
Step 1: Shut Off the Water Supply

Step 1: Shut Off the Water Supply
Step 1: Shut Off the Water Supply
Step 1: Shut Off the Water Supply
Step 1: Shut Off the Water Supply

Step 2: Remove the Shower Handle
Step 2: Remove the Shower Handle
Step 2: Remove the Shower Handle

Step 2: Remove the Shower Handle
Step 2: Remove the Shower Handle
Step 3: Remove the Valve Trim
Step 3: Remove the Valve Trim

Step 3: Remove the Valve Trim

Step 3: Remove the Valve Trim

Step 3: Remove the Valve Trim

Step 4: Extract the Old Cartridge
Step 4: Extract the Old Cartridge
Step 4: Extract the Old Cartridge
Step 4: Extract the Old Cartridge
Step 4: Extract the Old Cartridge
Step 5: Install the New Shower Cartridge

Step 5: Install the New Shower Cartridge

Step 5: Install the New Shower Cartridge
Step 5: Install the New Shower Cartridge
Step 5: Install the New Shower Cartridge
Step 6: Reassemble the Shower Faucet
Step 6: Reassemble the Shower Faucet
Step 6: Reassemble the Shower Faucet
Step 6: Reassemble the Shower Faucet

Step 6: Reassemble the Shower Faucet
Step 7: Test for Leaks and Functionality

Step 7: Test for Leaks and Functionality

Step 7: Test for Leaks and Functionality
Step 7: Test for Leaks and Functionality
Step 7: Test for Leaks and Functionality
Start your project
chat with your ai