
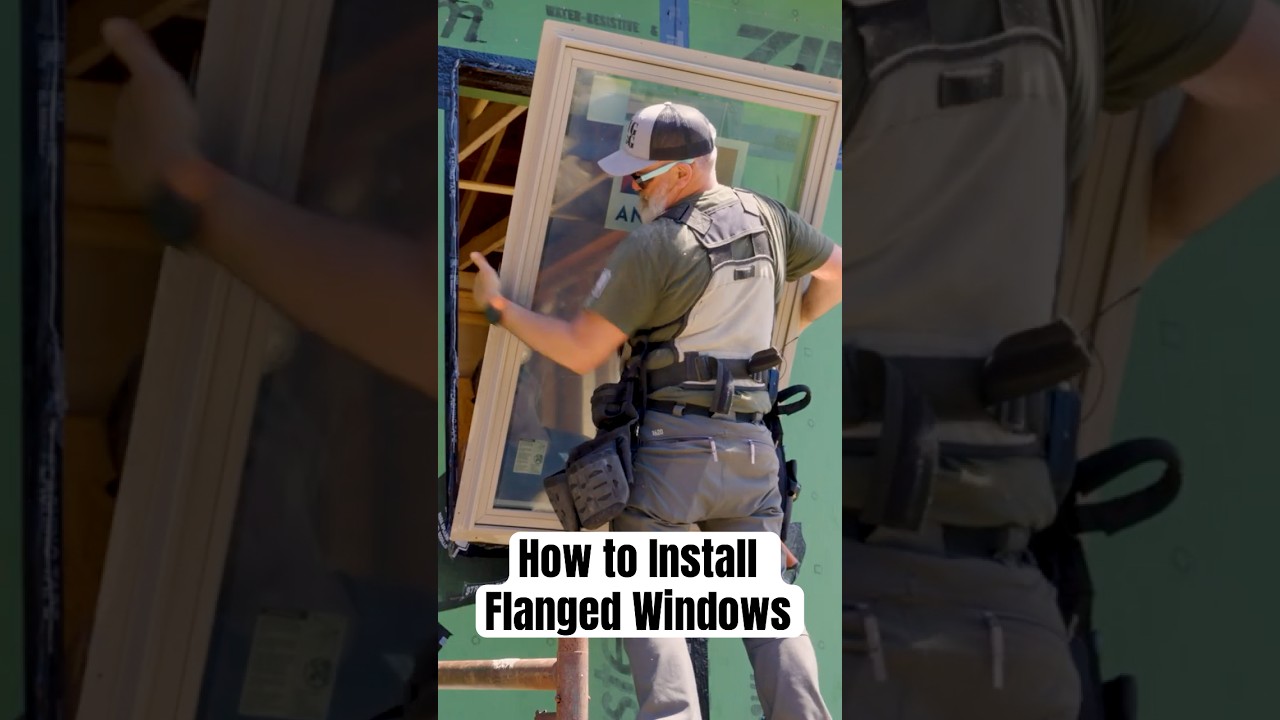
Window Installation
About This Project
This project outlines the steps for installing a new window into an existing rough opening. It covers preparation of the opening, setting the window, securing it in place, and sealing it for weatherproofing.
Tools & Materials
Measuring Tape
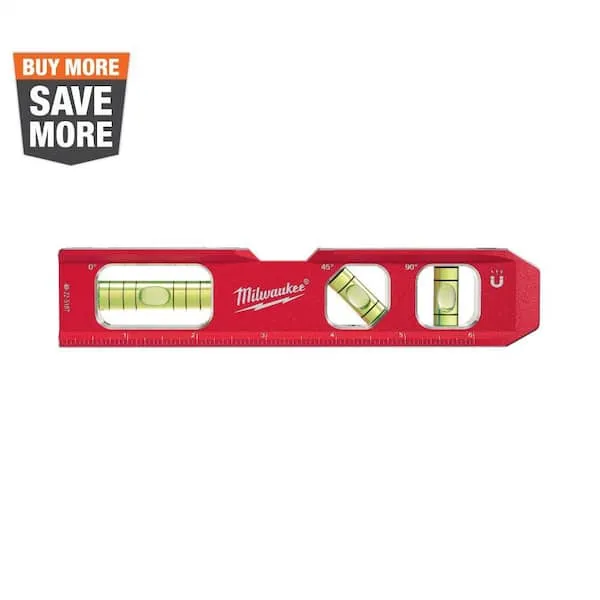
Level

Husky 3 in. Stiff Paint Scraper Putty Knife DSX3S-HUS
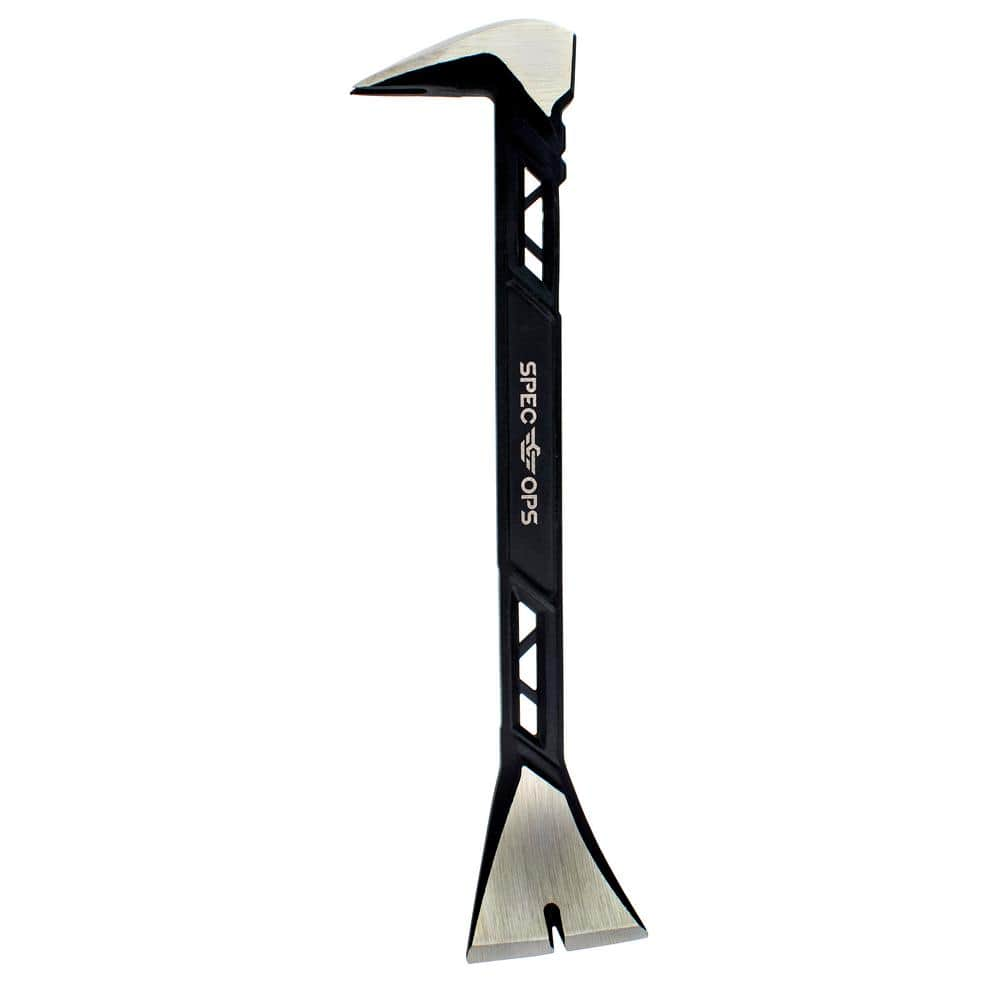
SPEC OPS Molding Pry Bar, 11 in., Nail Puller Cats Paw, High-Carbon Steel SPEC-D11MOLD
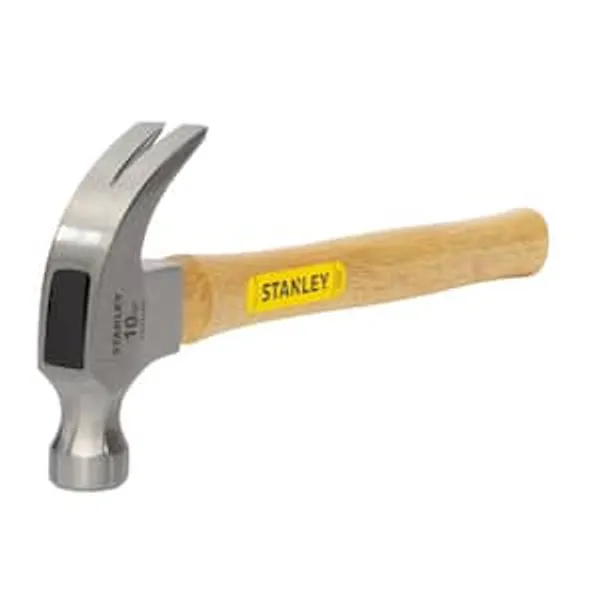
Hammer
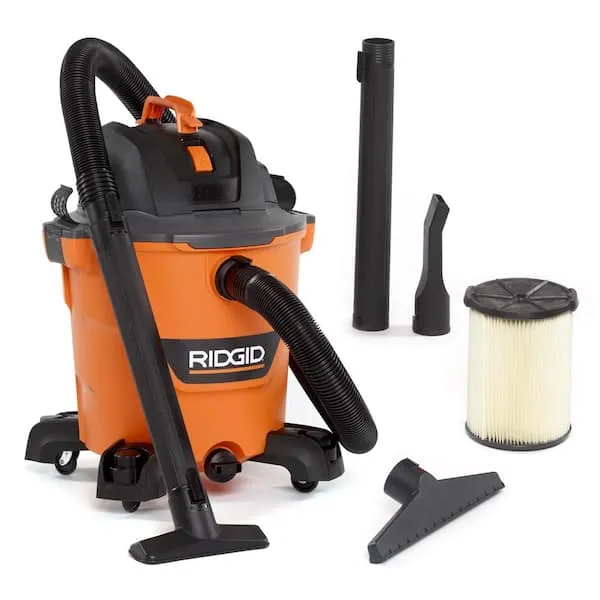
Shop Vacuum
Measuring Tape
For accurate measurements of plywood and components, ensuring proper assembly.
Level
Ensures surfaces are just right.
Husky 3 in. Stiff Paint Scraper Putty Knife DSX3S-HUS
The Husky 3 in. stiff paint scraper is made of steel and has a comfortable, soft grip. The scraper's full-length blade touches the hammer end for enhanced mass and durability. This scraper can be used
SPEC OPS Molding Pry Bar, 11 in., Nail Puller Cats Paw, High-Carbon Steel SPEC-D11MOLD
Reduce your carry-weight with our up to 20% lighter advanced skeleton design. Perfect for removing baseboard trim, chair rail, window trim, door trim or other molding, the SPEC OPS Molding Pry Bar, 11
Hammer
Delivers forceful blows with precision.
Shop Vacuum
Cleans workshop mess efficiently.
Steps

Inspect and Prepare the Rough Opening
30 minutesExamine the rough opening carefully. Check for any rot, damage, or obstructions. Use a level to ensure the opening is plumb and level. Remove any old caulk, nails, staples, or wood fragments. Measure the width, height, and diagonal of the opening to confirm it is square and matches the dimensions required for the new window. A properly prepared opening is crucial for a good fit and seal.
Watch: Prepare Rough Opening
Apply Flashing Tape to Sill
15 minutesCut a piece of flashing tape long enough to span the width of the rough opening's sill and extend a few inches up each side jamb. Peel back the protective liner and carefully apply the tape to the sill, pressing it firmly into place to create a watertight seal. Ensure the tape is centered and smooth, with no wrinkles or air bubbles. This creates the primary seal against water intrusion at the bottom of the window.
Watch: Apply Flashing Tape to Sill
Apply Flashing Tape to Jambs and Head
20 minutesCut two pieces of flashing tape to span the height of the side jambs, plus an overlap for the sill and head. Apply these pieces to the jambs, ensuring they are plumb and extend over the existing sill tape. Then, cut a piece of tape for the head, long enough to span the top of the opening and overlap the side jamb tapes. Press all tape firmly to ensure good adhesion and a continuous seal.
Watch: Apply Side Flashing Tape
Position and Set the Window
25 minutesWith assistance if the window is heavy, carefully lift the window unit. Guide the window into the rough opening. Position it so that it is centered within the opening, with even gaps on all sides between the window frame and the rough opening framing. Use shims if necessary to help position the window and ensure it is plumb and level. Do not force the window; it should fit snugly but without being wedged too tightly.
Watch: Place and Level the New Window
Shim and Level the Window
40 minutesOnce the window is roughly in place, begin inserting shims between the window frame and the rough opening. Start with the sill, then the jambs, and finally the head. Use the level to check for plumb and levelness as you insert shims. Ensure there is even pressure from the shims all around the frame. Once satisfied with the window's alignment, secure the shims by driving nails or screws through them and into the rough opening framing, being careful not to over-tighten and distort the frame.
Watch: Shim and Level WindowFasten the Window Frame
30 minutesDrive galvanized framing nails or screws through the shims and into the rough opening studs or jack studs. Ensure fasteners are placed at regular intervals (typically every 16-24 inches) along the sides, top, and bottom of the window frame. For vinyl windows, fasteners are often placed through pre-drilled holes in the nailing fin. For wood or composite frames, fasteners may go directly through the frame itself, but always consult the manufacturer's instructions. Do not over-drive fasteners, which can deform the frame.
Watch: Secure the Window Frame
Install Remaining Flashing and Sealant
25 minutesIf the window has a nailing fin, apply flashing tape over the top and sides of the fin, ensuring it overlaps with the previously installed flashing. Then, apply a continuous bead of high-quality exterior-grade sealant (e.g., silicone or polyurethane caulk) around the entire perimeter of the window where it meets the exterior siding or trim. This seal prevents water and air infiltration. Smooth the bead of sealant with a wet finger or tooling tool for a clean finish.
Watch: Flash Flanges and Final Seal
Install Interior Trim and Finish
45 minutesMeasure and cut interior trim pieces (e.g., wood or composite molding) to fit around the new window frame. Secure the trim in place using finishing nails or adhesive. Fill any nail holes with wood filler and sand smooth. Apply paint or stain to match the existing interior decor. This step completes the interior aesthetic of the window installation.
Watch: Install Window Frame and TrimCommon Problems
The rough opening is not perfectly square, level, or the correct size, making it difficult to fit the new window or causing it to sit crooked.
Solution: First, re-measure the rough opening carefully. If it's slightly out of square (less than 1/4 inch), you can sometimes correct this with shims during window installation. If the opening is too small, you may need to carefully trim back the framing (wear safety glasses!). If it's too large, you might need to add framing lumber to reduce the opening size, ensuring new lumber is securely attached and plumb/level. For significant rot or damage found, consult a professional.
Prevention: Thoroughly inspect and measure your rough opening multiple times before ordering your window. Use a level and a carpenter's square to check for plumb, level, and square. Address any framing issues before you even think about installing the window.
The window is very heavy and awkward to lift and position into the rough opening by yourself, posing a safety risk or potentially damaging the window/opening.
Solution: Immediately stop trying to lift the window alone if you feel it's too heavy or unwieldy. Recruit a helper or two. If using suction cups to aid in lifting, ensure they are securely attached to clean glass. You can also temporarily nail a 1x piece of lumber across the bottom of the rough opening (a 'story pole') to act as a temporary ledge for the window to rest on while you position the top.
Prevention: Always plan to have at least one helper for lifting and setting the window. Inspect the window upon arrival for any damage and ensure you have clear, un-obstructed access to the rough opening.
The flashing tape applied to the sill or jambs is wrinkled, bubbled, or not sticking properly, which could allow water to get behind the window frame.
Solution: Carefully peel back any wrinkled or poorly adhered sections of tape. Clean the surface again to ensure it's free of dust and debris. Reapply the tape, working slowly from one end to the other, pressing firmly to avoid bubbles. Use a J-roller (POWERTEC 71802 is listed in your tools) to press down firmly over the entire surface of the tape, especially along edges and overlaps, to ensure maximum adhesion.
Prevention: Ensure surfaces are clean, dry, and free of any loose debris before applying flashing tape. Apply the tape slowly and carefully, pressing it down as you go. Overlap sections according to manufacturer recommendations to create a continuous, watertight barrier.
After setting the window and adding shims, the window is still not perfectly level, plumb, or square, causing it to bind when opened/closed or look visibly crooked.
Solution: If the window has already been partially fastened, loosen the fasteners. Re-check the window's level (side-to-side), plumb (up-and-down), and square with your level and measuring tape. Adjust shims (the small wedges of wood) as needed by adding, removing, or tapping them in/out until the window is perfect. Ensure shims are placed at fastener locations and where the window frame meets the rough opening. Trim any excess shims flush with the frame. Operate the window multiple times to confirm smooth movement before re-fastening securely.
Prevention: Take your time with shimming. Continuously check for level, plumb, and square as you add shims. It's an iterative process. Check the window's operation (opening and closing) frequently during shimming, *before* final fastening.
When fastening the window frame, the nails or screws either split the wood frame, strip the wood, or miss the rough opening entirely.
Solution: If the wood splits, remove the fastener. For minor splits, you can try pre-drilling a pilot hole (a small hole before the screw/nail) to guide the new fastener and prevent splitting. For larger splits, use wood filler (Varathane 3.75 oz. White Wood Filler Putty) to repair the damage before re-fastening. If fasteners are stripping or not catching, ensure you are using the correct length fasteners that penetrate well into the rough opening studs but not through to the exterior siding. If they miss the rough opening, you might need to adjust shims or ensure your fasteners are placed correctly into the framing.
Prevention: Always use fasteners that are the correct length for your window's nailing fins/flanges. For harder wood frames or near edges, pre-drilling a small pilot hole with a drill bit slightly smaller than your fastener can prevent splitting. Do not over-drive nails or screws.
The exterior sealant (GE 9.5 oz. White Paintable Supreme Silicone) is applied messily, unevenly, or leaves gaps, which creates an unsightly finish and compromises the weather seal.
Solution: If the sealant is still wet, you can carefully remove excess with a putty knife or a wet finger/tooling tool. For cured sealant, you may need a utility knife (Utility Scissors and Folding Utility Knife Tool Set) and a scraper (Husky 3 in. Stiff Paint Scraper Putty Knife DSX3S-HUS) to carefully remove the messy or uneven sections. Ensure all surfaces are clean and dry. When reapplying, cut the tip of the sealant tube at a 45-degree angle to create a bead size appropriate for the gap. Apply with steady, even pressure, then smooth immediately with a wet finger or a tooling tool for a clean, watertight seal.
Prevention: Clean the surfaces thoroughly before applying sealant. For very straight lines, apply painter's tape along the edges of where you want the sealant, apply the sealant, smooth it, and then carefully remove the tape before the sealant skins over. Practice on a scrap piece of material first to get a feel for applying an even bead.
When installing interior trim (ORNAMENTAL CoverTrim MDF Crown Moulding), there are noticeable gaps where pieces meet or where they connect to the wall/window frame, or the wood splits when nailed.
Solution: For small gaps at mitered corners (where two pieces meet at an angle), you can use a small amount of caulk or wood filler (Varathane 3.75 oz. White Wood Filler Putty) to fill them. For larger gaps or uneven cuts, you may need to re-cut the trim piece, ensuring your measurements and angles are precise. If the trim splits when nailing, remove the nail. Try pre-drilling small pilot holes (especially for MDF) or using shorter/thinner brad nails (DEWALT 1-3/4 in. x 18-Gauge Brad Nails) in the areas where splitting occurred.
Prevention: Measure accurately multiple times before cutting trim. Use a miter saw for precise, clean angle cuts. Always test-fit your trim pieces before applying any adhesive or fastening them permanently. When nailing, ensure you are not too close to the edge of the trim or hitting directly into a joint.
Frequently Asked Questions
What are the most important safety precautions to take during window installation?
Always wear safety glasses and gloves to protect against debris, sharp edges, and sealant. If working above the ground floor, use appropriate ladders or scaffolding safely. Be sure to have help to lift and position the window, as they can be heavy and awkward, preventing injury or damage.
Beyond the listed tools, what other essential supplies might a beginner need for a successful and weatherproof window installation?
You will definitely need shims (wood or plastic) to properly level and plumb the window within the rough opening. A utility knife with extra blades for cutting flashing tape, and a caulking gun for applying sealant are also crucial for a clean, professional finish.
What are common mistakes beginners make when flashing and sealing a new window that could lead to leaks?
A common mistake is not applying flashing tape in the correct shingle-fashion, which can trap water. Another is using too little sealant or not ensuring a continuous bead, leaving gaps for water intrusion. Always overlap flashing layers from bottom to top and apply sealant generously to critical areas.
Is a 2-day estimated time realistic for a beginner installing a window, and what factors could extend it?
The 2-day estimate can be realistic for a beginner with a standard-sized window and a clean rough opening. However, unexpected issues like discovering rot in the rough opening, dealing with an out-of-square frame, or struggling with the weight of the window can easily extend the project time.
How can I ensure my window is perfectly level, plumb, and square for proper operation and longevity?
Use a good quality, long level (2-4 ft) frequently. Place shims at the sill and jambs, checking level and plumb after each adjustment. Ensure the diagonal measurements from corner to corner are equal to confirm the window frame is square before fastening it permanently.
What is the purpose of flashing tape, and how does it prevent water damage around the window?
Flashing tape creates a continuous, water-resistant barrier around the window opening. It's applied to the sill, then the jambs, and finally the head, overlapping like shingles. This directs any water that gets past the exterior cladding away from the rough opening and prevents it from entering the wall cavity.
What kind of sealant should I use, and why is the choice of sealant important for window installation?
Use a high-quality, exterior-grade, paintable silicone or polyurethane sealant specifically designed for windows and doors. The right sealant provides a durable, flexible, and watertight bond that can withstand temperature changes and UV exposure, preventing air and water leaks over time.