

How to Replace Wood Balusters with Iron Balusters
About This Project
This project outlines the process of removing existing wooden balusters and installing new iron balusters on a staircase or railing system. It involves careful measurement, removal of old components, preparation of mounting surfaces, and secure installation of new balusters, ensuring proper spacing and stability.
Tools & Materials
Measuring Tape

Pencil
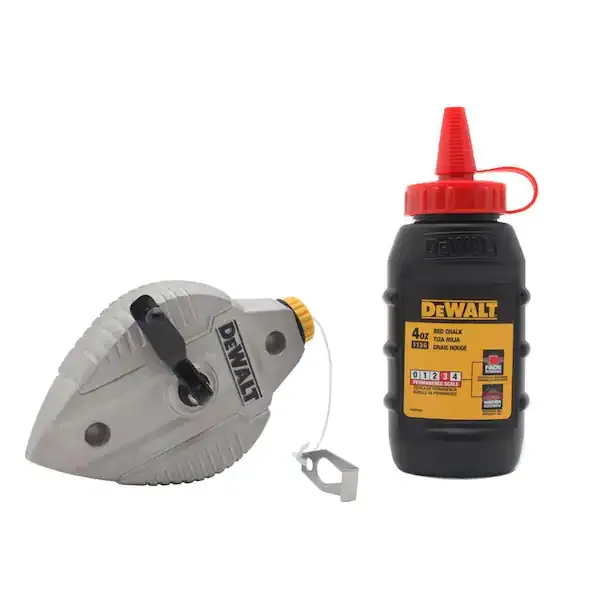
Chalk Line

Empire 24 in. Box Level E75.24

Bilco Cellar Door Stair Stringer Size O 8.9 x 67.75 x 2.09 Galvanized Steel Stair Stringer 6 Tread SZ O-SS

Best Value Screwdriver and Bit Set (101-Piece) H420565
Measuring Tape
For accurate measurements of plywood and components, ensuring proper assembly.
Pencil
Marks and draws with ease.
Chalk Line
Marks straight, precise lines on surfaces.
Empire 24 in. Box Level E75.24
As the dominant market leader in levels, squares and marking products, Empire Level is committed to delivering innovative solutions designed to satisfy the needs of the modern jobsite. The e75 Series True Blue Box Level offers superior performance in the key areas of functionality and durability. The box levels are constructed with an all-metal frame as well as top and bottom precision-milled edges to deliver accuracy to within 0.0005 in. per inch in all working positions. For added durability, the e75 series features a reinforced locking system that secures the vial settings and guarantees long-life accuracy. The e75 box level also equipped with rubber shock-resistant endcaps that are tool-free removable to enhance scribing performance into corners. Magnetic models boast high-strength rare earth magnets for superior holding power when working with door frames, steel studs, ferrous pipe and other common metal-working applications.
Bilco Cellar Door Stair Stringer Size O 8.9 x 67.75 x 2.09 Galvanized Steel Stair Stringer 6 Tread SZ O-SS
Bilco Basement Door Stair Stringers are the framework for basement door areaway steps. They allow for simple instllation of stairs and are available for all Bilco basement door sizes. Constructed of heavy
Best Value Screwdriver and Bit Set (101-Piece) H420565
The Best Value 101-pieces screwdriver and bits set is a selection of the most frequently used hand tools, perfect for professionals and DIY projects. Made of chrome vanadium steel comes with enough sizes
Steps

Measure and Mark for New Baluster Spacing
60 minutesBegin by measuring the total length of the section where balusters will be installed. Consult local building codes for the maximum allowable spacing between balusters (typically no more than 4 inches). Calculate the number of balusters needed and mark their exact positions on the handrail and tread nosing or skirt board, ensuring consistent and code-compliant spacing.
Watch: Mark Baluster Positions
Remove Existing Wooden Balusters
90 minutesWooden balusters are typically attached with screws, nails, or sometimes glue. For screw or nail attachments, locate the fasteners (often hidden on the inside or underside) and carefully remove them. If glued, a sharp chisel or a pry bar may be needed, used with caution to avoid splintering the wood. Some balusters may be directly set into mortises or holes; these might require gentle tapping or prying.
Watch: Remove Old Wooden Balusters
Prepare Mounting Surfaces
45 minutesAfter removing the old balusters, inspect the areas where they were attached. Fill any old holes or gouges with wood filler if necessary and sand smooth once dry. If the mounting points are uneven or rough, lightly sand them to create a clean surface. For iron balusters that require a shoe or flange, ensure the surface is flat and clean. If drilling into wood, pre-drilling pilot holes may be necessary.
Watch: Fill Imperfections with Wood Filler
Install New Iron Balusters
120 minutesIron balusters can be installed in several ways: directly screwed to the wood, using specialized mounting kits (like flange or shoe mounts), or set into pre-drilled holes. Follow the specific installation method for your chosen balusters. For direct mounting, align the baluster with your marks and secure it with the provided screws or appropriate hardware. If using a mounting kit, assemble and attach it first, then secure the baluster. Ensure each baluster is plumb and firmly attached.
Watch: Install and Secure Iron BalustersFinal Inspection and Touch-ups
30 minutesOnce all balusters are installed, go back over each one. Check for stability by gently pushing and pulling on them to ensure they are firmly attached and do not wobble. Verify that spacing is consistent and meets code. Inspect for any cosmetic imperfections, such as scuff marks from installation, and touch up paint or finishes as needed. Clean the entire area.
Watch: Final Alignment and Quality Control

