

How to Install a Ceiling Fan on a High Ceiling
About This Project
This project outlines the steps for installing a ceiling fan on a high ceiling. It includes safety precautions, preparation, mounting the fan bracket, wiring, attaching the fan motor, and final checks. Special attention will be given to safely accessing and working at heights.
Tools & Materials

Leviton 42 Space, 42 Circuit Indoor Load Center with 200 Amp Main Circuit Breaker LP420-BPD
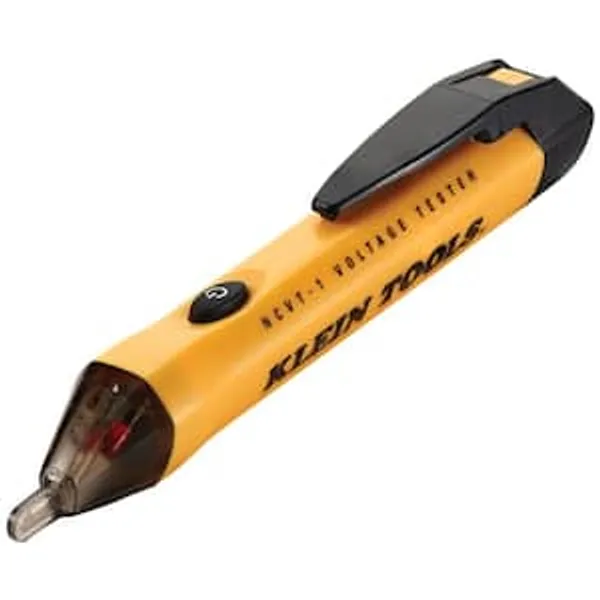
Voltage / Circuit Tester

MetalTech 5 ft. x 7 ft. x 26 ft. 4-Stories Mason Stairway Scaffolding Tower with 76-in. Scaffolding Stairs, 24-in. Leveling Jacks M-MATST5726
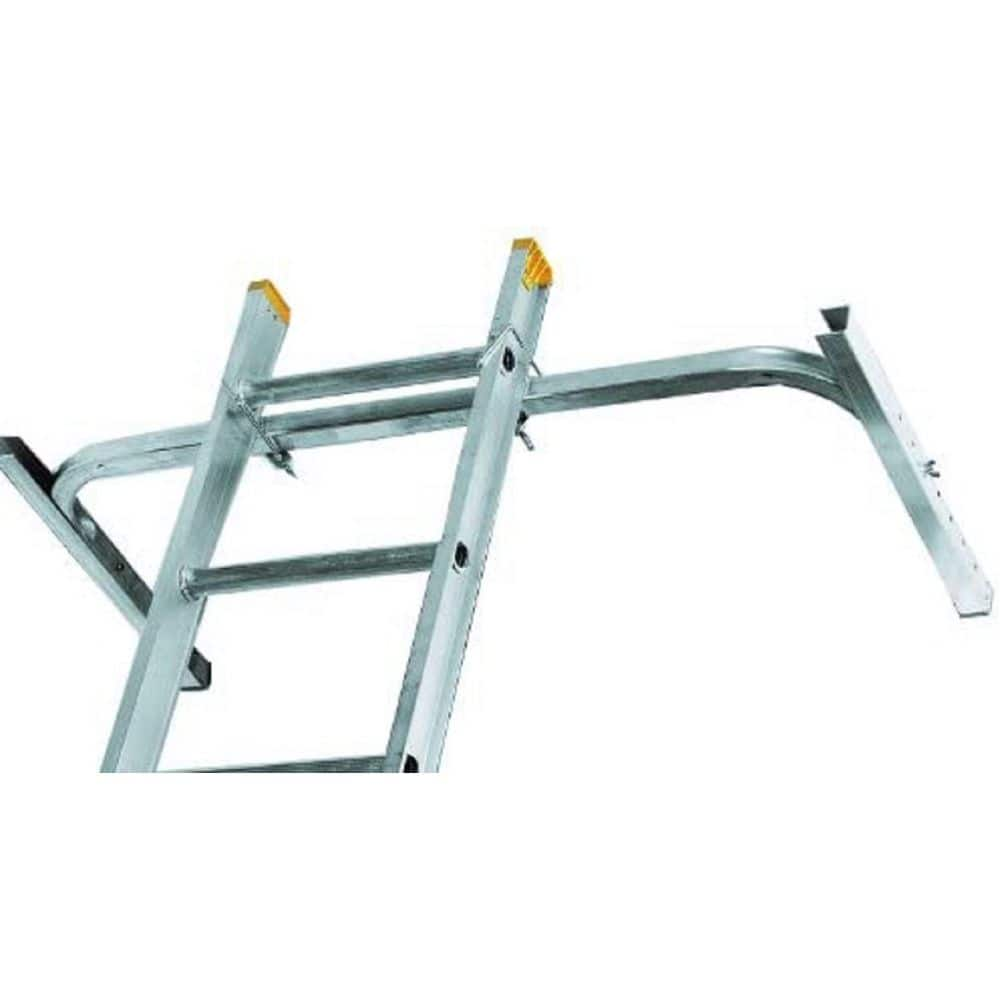
Louisville Ladder Adjustable Aluminum Ladder Stabilizer LP-2210-00

ProGrip 1/4 in. x 8 ft. XRT Rope Lock Push Button Release 150 lb. Break Strength 140240

VEVOR Hydraulic Lift Table Cart 330 lbs. Capacity 50 in. Lifting Height Manual Double Scissor Lift Table with 4 Wheels, Orange SJYYSJPTCCS4BSRWBV0
Leviton 42 Space, 42 Circuit Indoor Load Center with 200 Amp Main Circuit Breaker LP420-BPD
Leviton's Indoor Load Center with 200 Amp Main Circuit Breaker Factory Installed has 42 Spaces and is NEMA 1 Rated. It includes Enclosure and Interior Only. Door Sold Separately.
Voltage / Circuit Tester
Detects electrical voltage presence.
MetalTech 5 ft. x 7 ft. x 26 ft. 4-Stories Mason Stairway Scaffolding Tower with 76-in. Scaffolding Stairs, 24-in. Leveling Jacks M-MATST5726
Accomplish several residential, commercial, and industrial construction tasks at safe elevation with our 2-Story Scaffold Stair Tower for general construction work. This entire scaffolding equipment assembly
Louisville Ladder Adjustable Aluminum Ladder Stabilizer LP-2210-00
Louisville LP-2210-00 is the most popular and economical adjustable aluminum ladder stabilizer. Fits extension and single ladders with rail up to 4 in. x 1 3/4 in. Great for painting around windows, doors
ProGrip 1/4 in. x 8 ft. XRT Rope Lock Push Button Release 150 lb. Break Strength 140240
The 1/4 in. x 8 ft. XRT Rope Lock Tie Down with the NEW Push Button Release is ideal for a variety of activities, including camping, boating and yard work. The New XRT Rope Lock Tie Down locks in place
VEVOR Hydraulic Lift Table Cart 330 lbs. Capacity 50 in. Lifting Height Manual Double Scissor Lift Table with 4 Wheels, Orange SJYYSJPTCCS4BSRWBV0
Conquer Heavy Lifting Tasks Effortlessly With VEVOR Hydraulic Lift Table Cart. With a load capacity of 330 lbs., the scissor lift table is the perfect solution for your lifting needs. It is made of powder-coated
Steps

Turn Off Power
15 minutesLocate your home's main electrical panel. Identify the circuit breaker that controls the room where you will be installing the ceiling fan. Flip the breaker to the 'OFF' position. It is recommended to also turn off the main breaker for added safety, especially when working at heights. Use a voltage tester to confirm that there is no power at the existing light fixture or wiring in the ceiling box.
Watch: Disconnect Power to the Fan
Assemble Ladder and Secure for Height
30 minutesFor high ceilings, a stable platform like scaffolding or a robust extension ladder is necessary. Extend the ladder to its full height and ensure all locking mechanisms are engaged. Place the ladder on a firm, level surface. If using an extension ladder, secure the top and bottom with appropriate ties or ladder stabilizers. If the ceiling is exceptionally high, consider renting a man lift or scissor lift for a safer and more stable working platform. Always wear a safety harness when working at significant heights.
Watch: Assemble and Position Scaffolding
Remove Existing Fixture and Inspect Ceiling Box
20 minutesCarefully remove the canopy of the existing light fixture by unscrewing it from the ceiling. Disconnect the wires, noting how they were connected. Remove the mounting screws holding the fixture bracket to the ceiling electrical box. Inspect the electrical box. It must be rated for ceiling fan support. If it is not, or if it is loose, it must be replaced with a fan-rated electrical box securely mounted to a ceiling joist or a fan brace.
Watch: Inspect and Install Junction BoxInstall New Fan-Rated Electrical Box and Brace
60 minutesIf the existing box is not fan-rated or is not securely attached to a joist, you must install a new one. For new installations or replacements, use a fan-rated metal or plastic box. The box must be capable of supporting at least 35 pounds (and preferably 70 pounds for safety). If the box is not directly attached to a joist, install an adjustable fan brace between two joists. Follow the manufacturer's instructions for the specific brace and box to ensure they are securely mounted to the ceiling joists, providing a sturdy anchor point for the fan.
Watch: Inspect and Install Junction Box
Install Ceiling Fan Mounting Bracket
15 minutesThe ceiling fan comes with a specific mounting bracket. Align this bracket with the screw holes on the fan-rated electrical box. Use the screws provided with the electrical box or fan for a secure attachment. Ensure the bracket is firmly attached and level before proceeding. This bracket will support the weight of the fan motor and blades.
Watch: Attach Fan Mounting Bracket to Junction Box
Assemble Fan Motor and Hang Motor
25 minutesFollow the manufacturer's instructions to attach any necessary components to the fan motor housing, such as the downrod. Once assembled, carefully lift the fan motor assembly up to the ceiling. Most mounting brackets have a hook or a cradle designed to securely hold the motor assembly while you make the electrical connections, freeing your hands.
Watch: Hang Fan Motor and Connect Wiring
Wire the Ceiling Fan
30 minutesIdentify the wires from the ceiling (typically black for hot, white for neutral, and green or bare copper for ground) and the wires from the fan motor (usually black for fan power, blue for light, and white for neutral, plus ground). Connect the ground wires first (house ground to fan ground). Then connect the neutral wires (house white to fan white). Finally, connect the hot wires. If your fan has a light kit, connect the house's switched hot wire (often black) to the fan's black wire, and the wire intended for the light (often blue) to the house's switched hot wire that powers the light. Use wire nuts to secure all connections. Tuck the wires neatly into the electrical box.
Watch: Connect Electrical Wires
Attach Fan Canopy and Secure Motor
15 minutesCarefully tuck all connected wires into the electrical box. Slide the fan canopy up the downrod until it is flush against the ceiling. Align the screw holes in the canopy with the mounting bracket. Secure the canopy using the screws provided with the fan. Ensure the canopy is snug against the ceiling to prevent dust and insects from entering.
Watch: Attach base canopy
Attach Fan Blades
20 minutesAttach the blade brackets (arms) to each fan blade using the provided screws. Then, attach the assembled blades and brackets to the fan motor housing. Ensure all screws are tightened securely, but do not overtighten, which could strip the threads. Each blade should be firmly attached to the motor.
Watch: Attach Fan Blades
Install Light Kit (if applicable)
25 minutesIf your fan includes a light kit, follow the manufacturer's instructions to connect its wiring harness to the corresponding wires from the fan motor. Then, attach the light kit fixture to the bottom of the fan motor housing, usually with screws. Install light bulbs and glass shades or globes.
Watch: Connect and Install Light KitTest the Ceiling Fan
10 minutesOnce all assembly is complete, return to the electrical panel and turn the circuit breaker back to the 'ON' position. Use the pull chains or remote control to test all fan speeds (low, medium, high) and the light (if applicable). Check for any unusual noises or wobbling.
Watch: Test the Fan

