Install a Water Filter: A Step-by-Step Guide
About This Project
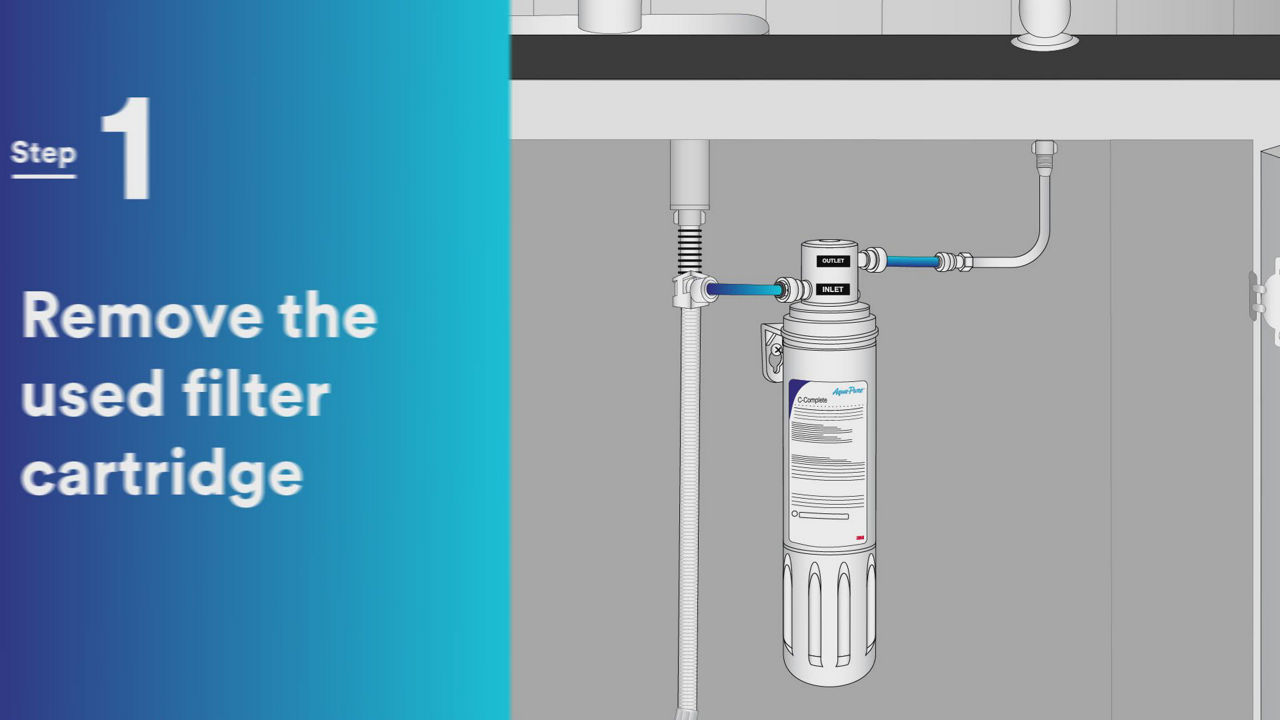
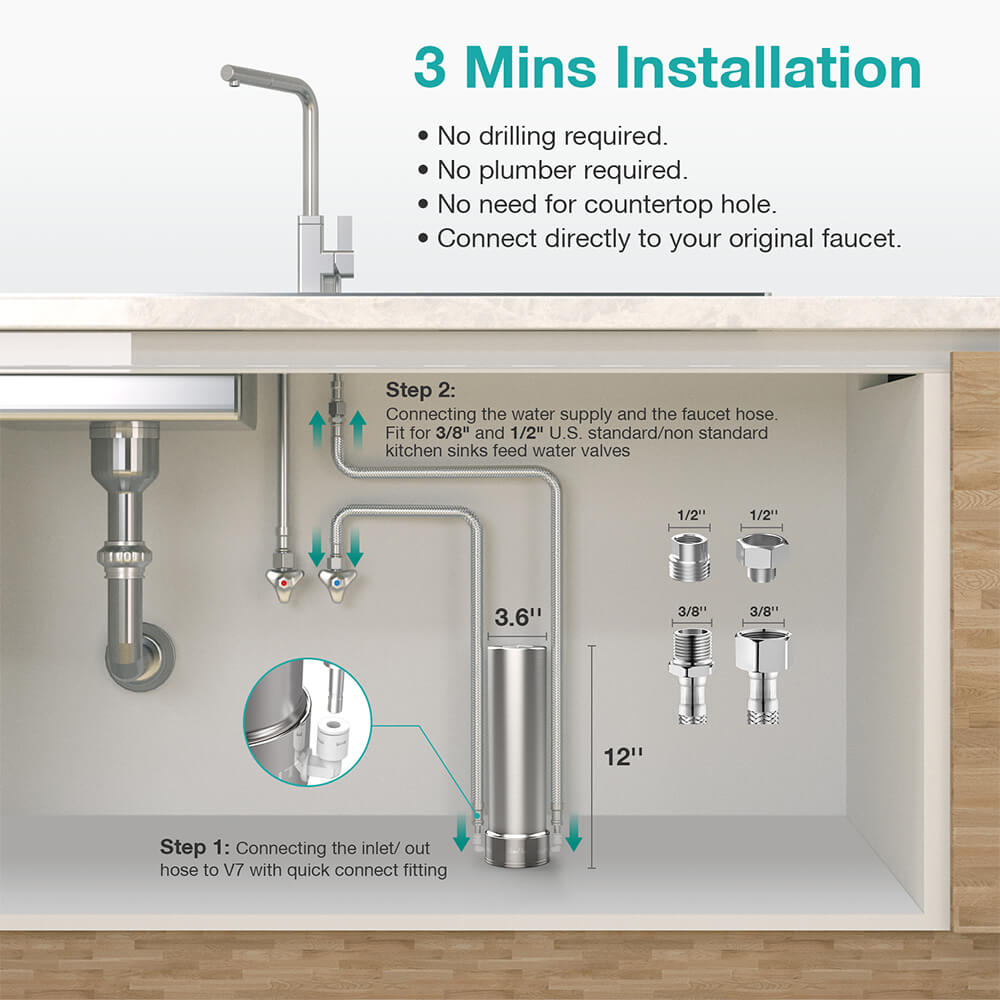
This project provides a step-by-step guide for installing an under-sink water filter. It begins with shutting off the main water supply and releasing the pressure in the lines to prevent leaks. Then, it covers how to connect the filter's inlet and outlet supply lines to the unit using an adjustable wrench. After both are properly connected and secured, the filter should be functional with proper water flow.
Best for homeowners and DIY enthusiasts.
Tools & Materials

Adjustable Wrench
Teflon Tape
Waterdrop Inline Water Filter for Refrigerator and Ice Maker, INL-S, Drinking Water Filtration System with Direct Connect Fitting BL-WD-INL-S
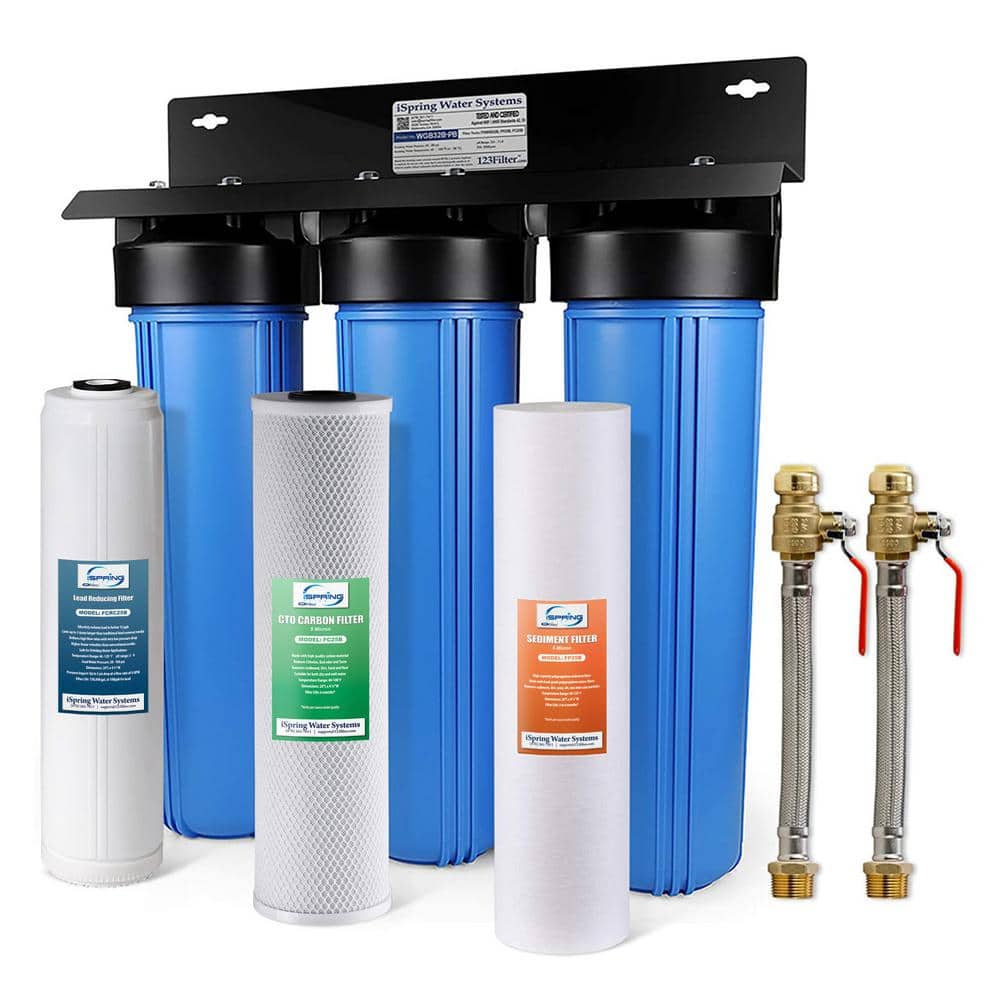
ISPRING 3-Stage Whole House Water Filter System with Sediment, Carbon Block and Lead Reducing Filters and 3/4 Push-Fit Hoses WGB32B-PB+AHX2
Adjustable Wrench
Fits various nut and bolt sizes with its adjustable jaw.
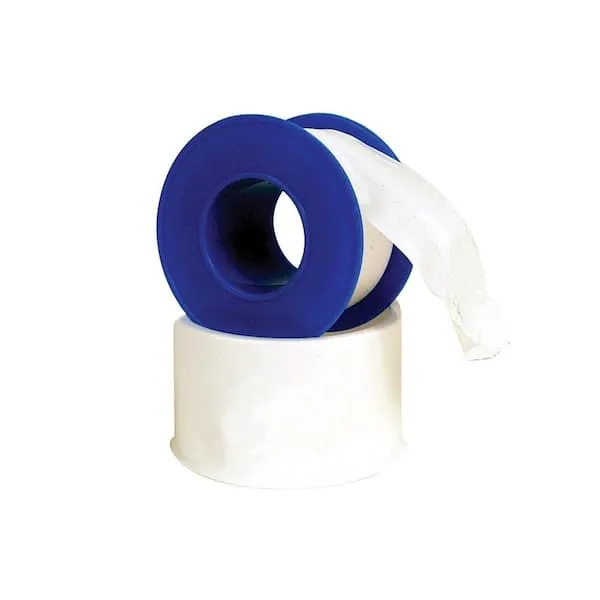
Teflon Tape
Seals pipe threads without leaks.
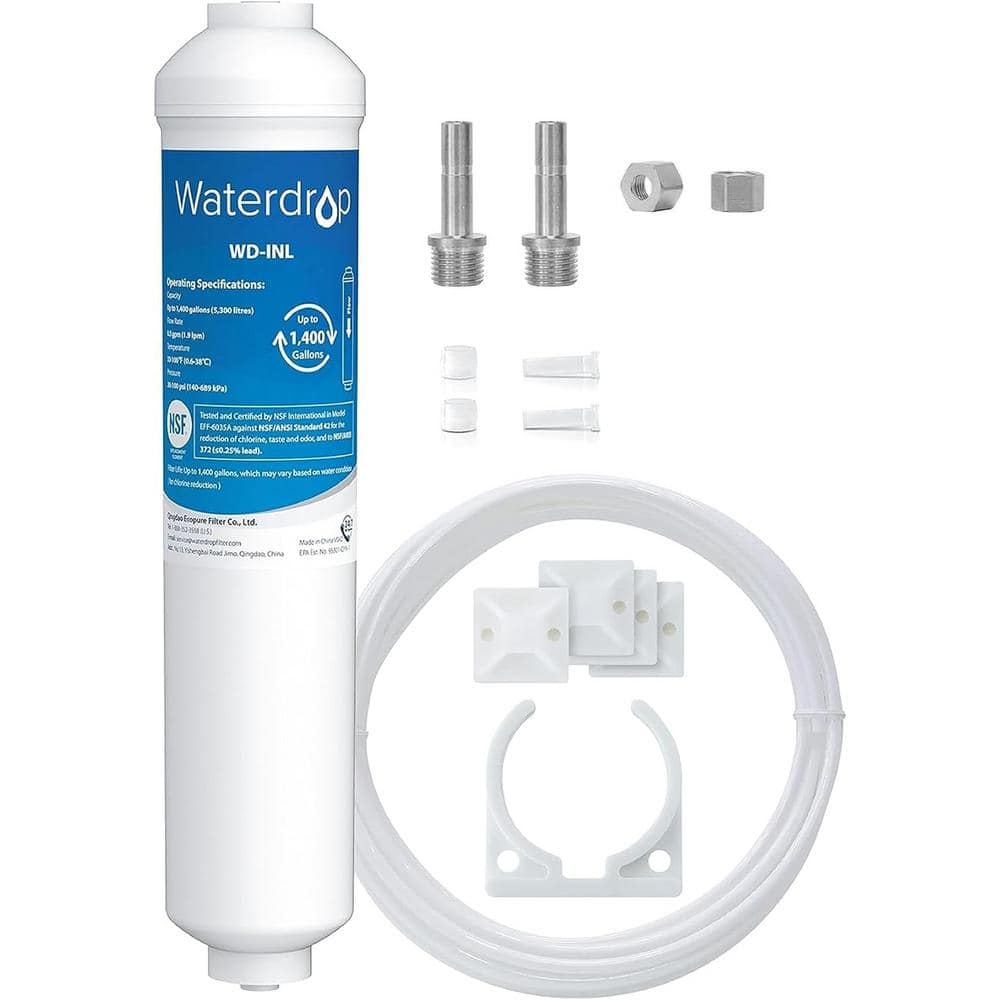
Waterdrop Inline Water Filter for Refrigerator and Ice Maker, INL-S, Drinking Water Filtration System with Direct Connect Fitting BL-WD-INL-S
Waterdrop Inline Water Filter for Refrigerator and Ice Maker, NSF Certified High Capacity Drinking Water Filtration System with Direct Connect Fittings, Reduces Chlorine, PFAS/PFOA/PFOSNSF 42 certified
ISPRING 3-Stage Whole House Water Filter System with Sediment, Carbon Block and Lead Reducing Filters and 3/4 Push-Fit Hoses WGB32B-PB+AHX2
The WGB32B-PB whole house water filter system is an ideal "point of entry" filtration system for cleaning up well or city water. Unlike "point of use" systems that are installed to supply water to a specific
Steps




Common Problems
Leaky hose connections after filter installation.
Solution: Ensure the rubber washer is present inside the hose fitting before connecting it. This is crucial for preventing leaks.
Ensure the copper tube is fully inserted into the fitting before tightening to prevent leaks.
Solution: To avoid this issue: Be mindful of this warning and take appropriate precautions.
A jagged cut on the tubing will cause leaks.
Solution: A straight, clean cut on the plastic tubing is essential for a leak-proof seal.
Overtightening the downpipe can strip threads or crack the elbow.
Solution: Don't overtighten the downpipe, as this could damage the threads or the elbow.
Over-tightening the nuts can cause damage. Hand tighten first then only slightly tighten further if needed.
Solution: To avoid this issue: Be mindful of this warning and take appropriate precautions.
Water flows backward, preventing filtration.
Solution: The filter has arrows indicating the correct direction of water flow. Ensure the 'IN' side comes from the wall and the 'OUT' side goes to the fridge.
Leaky connections and water damage occur if the filter isn't sealed properly.
Solution: Twist until tight to create a seal on both sides.
Frequently Asked Questions
What are the absolute essential tools I need, beyond just an adjustable wrench, to make this installation go smoothly?
Besides an adjustable wrench, have a bucket and towels ready for any drips, even after shutting off the water. A utility knife or pipe cutter might be useful if you need to trim existing water lines for a perfect fit, and a headlamp can be invaluable for working in tight under-sink spaces.
What are the most critical safety precautions I should take to avoid leaks or water damage during the installation?
Always start by completely shutting off the main water supply to your house, not just the under-sink valve, as these can fail. Open the nearest cold water faucet for a minute or two to release any remaining pressure in the lines before disconnecting anything. This prevents unexpected sprays and minimizes potential leaks.
The project is rated "beginner" with an estimated 2 hours. Is this realistic for someone with limited DIY experience, and what factors might extend the time?
Yes, this project is generally beginner-friendly and 2 hours is a reasonable estimate. The primary factors that might extend the time are difficulty accessing the under-sink area, unexpected plumbing configurations, or needing to run to the store for an overlooked fitting. Taking your time to ensure secure, leak-free connections is more important than rushing.
What are the most common mistakes beginners make when installing under-sink water filters, especially regarding leaks?
The two most common mistakes are not using enough Teflon tape or overtightening connections. For threaded fittings, apply 3-5 wraps of Teflon tape clockwise. Tighten fittings securely but avoid excessive force, which can strip threads or damage plastic components, leading to leaks.
After everything is connected, what crucial steps should I take *before* using the filtered water for drinking or cooking?
Once all connections are secure, slowly turn the main water supply back on and immediately check all connections for leaks. Then, open the filtered water faucet and let it run for several minutes (refer to your filter's instructions) to flush out any air, carbon fines, and manufacturing dust before consuming the water.
The materials list mentions an "inline water filter for refrigerator and ice maker." Does installing this type of filter require cutting my existing water line?
Yes, an inline water filter like the Waterdrop model is designed to be inserted directly into an existing 1/4" or 3/8" water line. This typically means you will need to cut the existing plastic or copper tubing that supplies water to your refrigerator or dedicated filtered water faucet.
Can I install a larger, multi-stage under-sink water filter with this guide, or is it specifically for simpler inline filters?
This guide focuses on the simpler process of connecting an inline filter. While the basic principle of connecting to your cold water line is similar, multi-stage systems often require more under-sink space, possibly drilling a new hole for a dedicated faucet, and may involve more complex plumbing connections, increasing the difficulty beyond a beginner project.