How to Replace a Faucet-Mounted Water Filter: A Step-by-Step Guide
About This Project
1. **Shut Off the Water Supply:** Turn off the small shut-off valve under the sink or the main water supply if a dedicated valve isn't available. Keep towels handy. 2. **Prepare for Spills:** Place a towel or container under the filter housing to catch drips. 3. **Remove the Old Water Filter:** Twist the filter housing counter-clockwise to detach the old cartridge. 4. **Install the New Water Filter:** Insert the new cartridge and twist clockwise to secure it. 5. **Check for Leaks:** Turn the water supply back on gradually, and check for leaks around the housing and connections. Tighten any loose fittings as needed. 6. **Flush the New Water Filter:** Run water through the faucet for the manufacturer's recommended time to flush out particles.
Best for beginners and first-time DIYers.
Tools & Materials
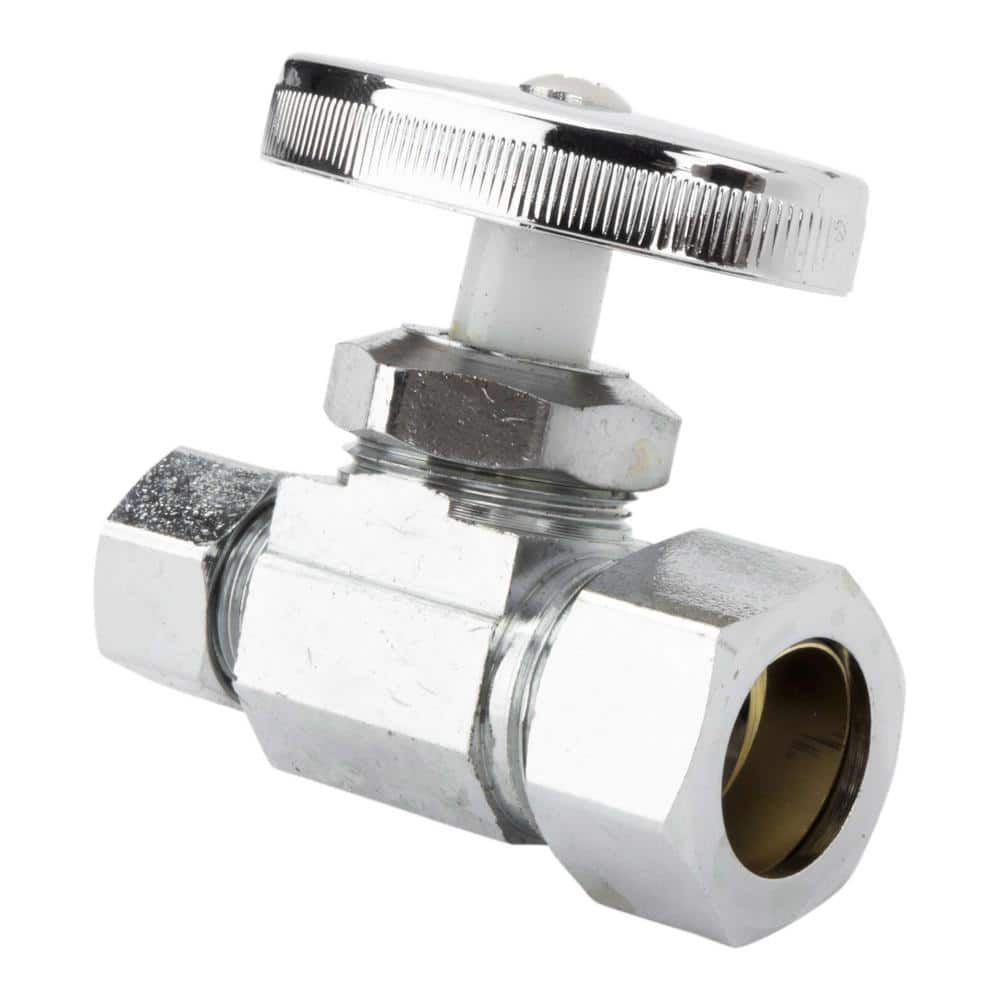
HOMEWERKS 1/2 in. Nominal Compression Inlet x 3/8 in. O.D. Compression Outlet Multi-Turn Straight Shut-Off Valve, Chrome 638 6202

FRESHFOLDS Orange 6-Piece Cotton Quick-Dry Bath Towel Set EC100706
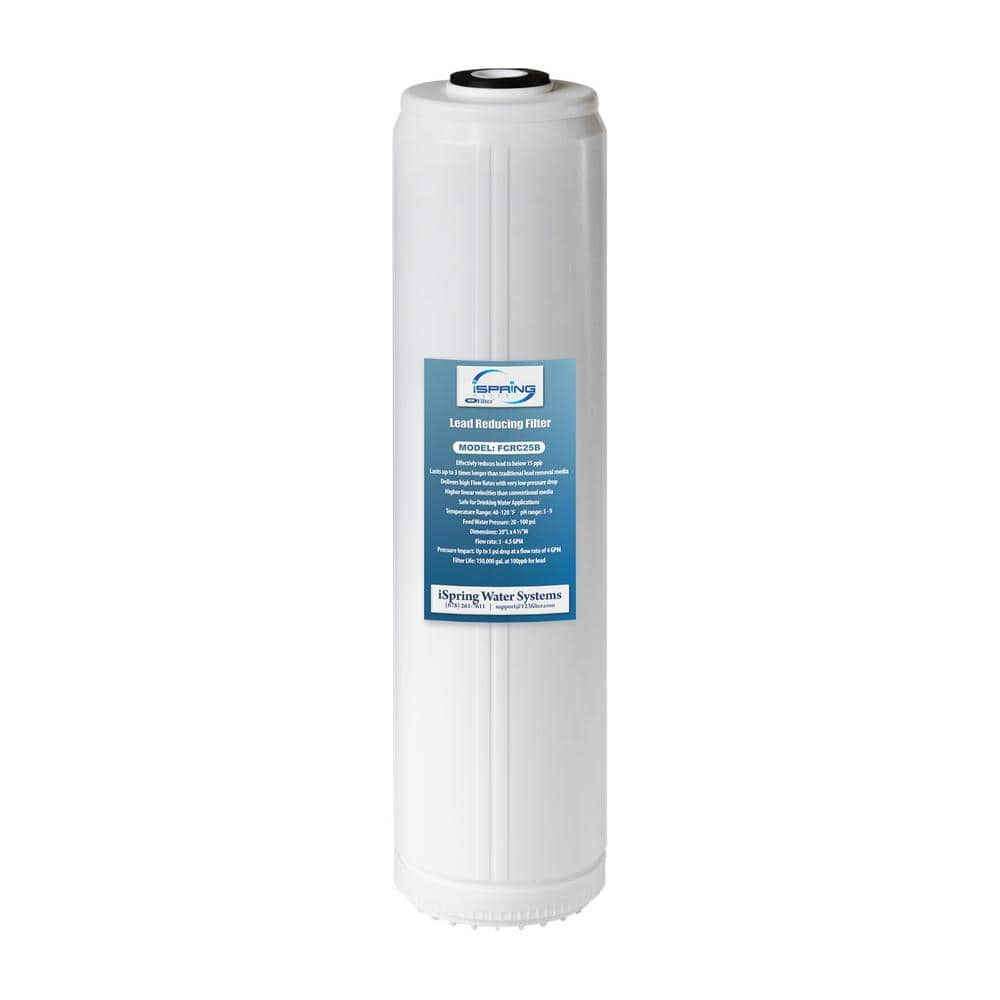
ISPRING Lead Removal Whole House Water Filter Replacement Cartridge FCRC25B
HOMEWERKS 1/2 in. Nominal Compression Inlet x 3/8 in. O.D. Compression Outlet Multi-Turn Straight Shut-Off Valve, Chrome 638 6202
The Homewerks 1/2 in. FIP x 3/8 in. O.D. compression multi-turn angle shut-off valve controls water flow to a plumbing fixture. It is used where the water pipe enters the room to allow for easy shut-off
FRESHFOLDS Orange 6-Piece Cotton Quick-Dry Bath Towel Set EC100706
This cotton towel is quick-drying, absorbent and features a soft cotton popcorn texture. These towels are low-twist and two-ply, so the fibers are thicker and more durable. The weave allows for more air
ISPRING Lead Removal Whole House Water Filter Replacement Cartridge FCRC25B
The FCRC25B is a whole house water filter cartridge constructed totally of FDA grade materials and media. It will remove lead from feed streams and demonstrates a capacity of 150,000 gallons at 100 ppb.
Steps

Shut Off the Water Supply
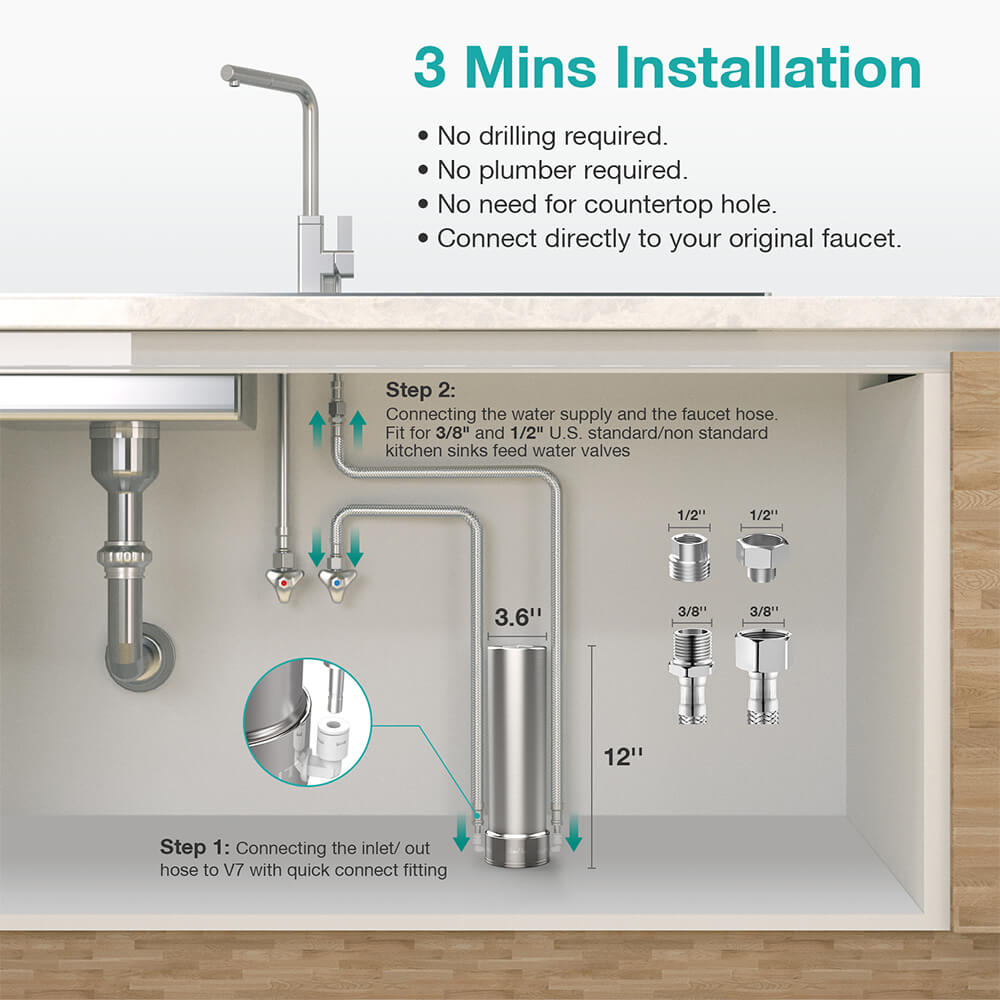
5 minsTurn off the water supply to the faucet-mounted filter. This is typically a small shut-off valve located under the sink. If your sink lacks a dedicated valve, you'll need to turn off the main water supply to your house. Remember to have towels ready to absorb any residual water.
Watch: Turn off water supply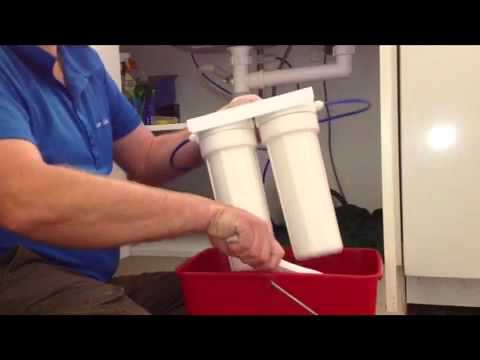

Remove the Old Water Filter
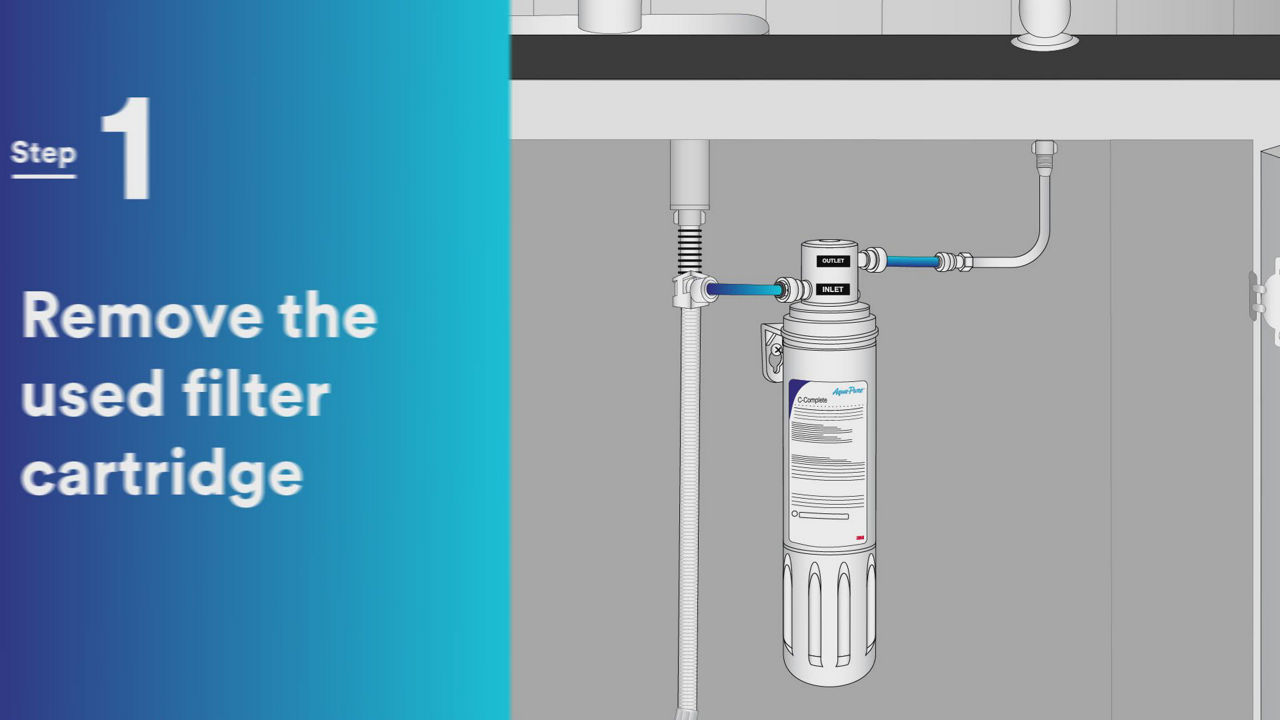
5 minsCarefully twist the filter housing counter-clockwise to remove the old filter cartridge. Most faucet-mounted filters use a simple twist-off mechanism. Refer to your filter's instructions if you encounter any difficulties.
Watch: Remove Old Filter (Internal Compartment)


Common Problems
Do not twist the cartridge.
Solution: To avoid this issue: Be mindful of this warning and take appropriate precautions.
Filter won't release from the faucet mount.
Solution: The filter must be swung all the way to the right to release.
A small amount of water will spill when the old filter is removed. Have a towel ready.
Solution: To avoid this issue: Be mindful of this warning and take appropriate precautions.
Leaky housing due to a damaged or dry O-ring.
Solution: Inspect the O-ring in the housing. If it's dry or cracked, it should be replaced or lubricated with food-grade silicone grease to ensure a proper seal.
Sediment in water after filter replacement.
Solution: You may see some sediment in the water after soaking; this is normal.
Unfiltered manufacturing dust can end up in your drinking water.
Solution: The goal is to push water through the filter to rinse out any manufacturing dust.
Water bypasses the filter, resulting in unfiltered water.
Solution: Ensure you have a good seal against the faucet so that water goes through the filter and not around it.
Frequently Asked Questions
How difficult is it to replace a faucet-mounted water filter for a beginner, and how long should I expect it to take?
This project is designed for beginners and is relatively straightforward. Most individuals can complete the filter replacement in about 45 minutes. Having your materials and understanding the steps beforehand will help keep the process quick and smooth.
What's the most critical safety step, and what should I do if I can't find a shut-off valve under my sink?
The most critical step is to shut off the water supply to prevent flooding and messes. If there isn't a dedicated shut-off valve for the sink, you'll need to turn off the main water supply to your entire home. Always keep towels handy to manage any residual water or small drips.
I've installed the new filter, but I'm seeing leaks. What should I troubleshoot?
Immediately turn off the water supply again. Carefully check that the filter cartridge is seated correctly and the housing is tightened snugly, but not overly so. Sometimes, the O-ring might be dislodged or dirty; ensure it's clean and properly aligned before re-tightening.
Do I need any special tools for this water filter replacement project?
For most faucet-mounted water filter replacements, no specialized tools are required, just your hands for twisting the housing. However, it's wise to have towels or a small basin ready for inevitable drips. Some stubborn housings might benefit from a filter wrench, often supplied with the new filter.
Why is it important to flush the new water filter, and how long should I do it?
Flushing the new filter removes any harmless carbon dust or air that might be present after manufacturing and installation. Run water through the faucet for the time recommended by your filter's manufacturer, typically a few minutes, to ensure optimal taste and filter performance. This also helps prevent cloudy water initially.
What's a common mistake to avoid when installing the new filter cartridge?
A common mistake is failing to properly align the new cartridge or overtightening the housing. Ensure the cartridge slides smoothly into place before gently twisting the housing clockwise until it feels secure. Overtightening can damage seals, while improper alignment can lead to leaks or poor filtration.
How do I ensure I purchase the correct replacement filter for my system?
Always refer to your existing filter cartridge's model number or consult your faucet's user manual for the exact replacement part. Using the manufacturer's specified filter ensures a proper fit and consistent water quality. Avoid generic filters unless they are explicitly stated as compatible with your specific model.