
How to Winterize an Outdoor Faucet to Prevent Burst Pipes
About This Project
A comprehensive guide to winterizing a standard outdoor faucet (sillcock) by isolating it from the indoor water supply, draining all residual water from the pipe and spigot, and insulating it to protect against freezing temperatures and prevent pipes from bursting.
Best for homeowners and DIY enthusiasts with basic plumbing knowledge.
Tools & Materials
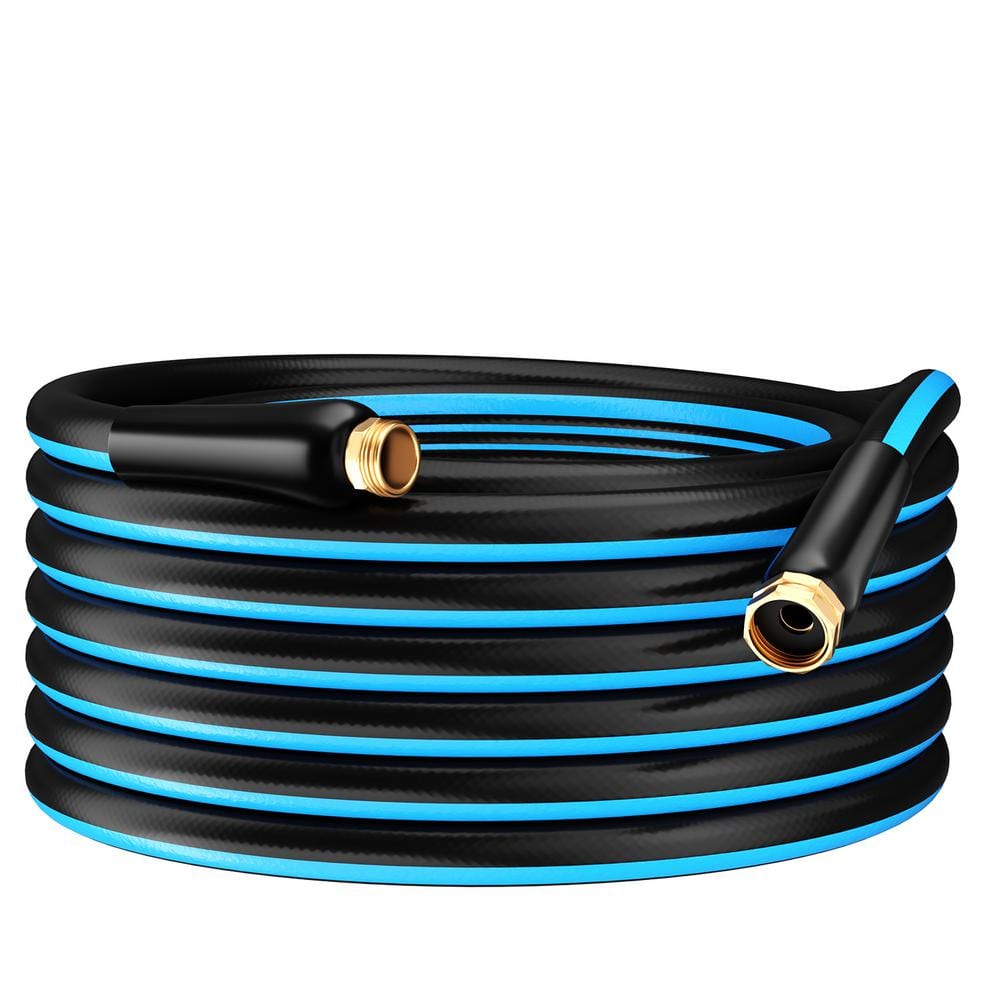
GardenJoy PVC Garden Hose 5/8 in. x 75 ft. Heavy-Duty Durable Hose Outdoor Water Hose LG-GHB5875
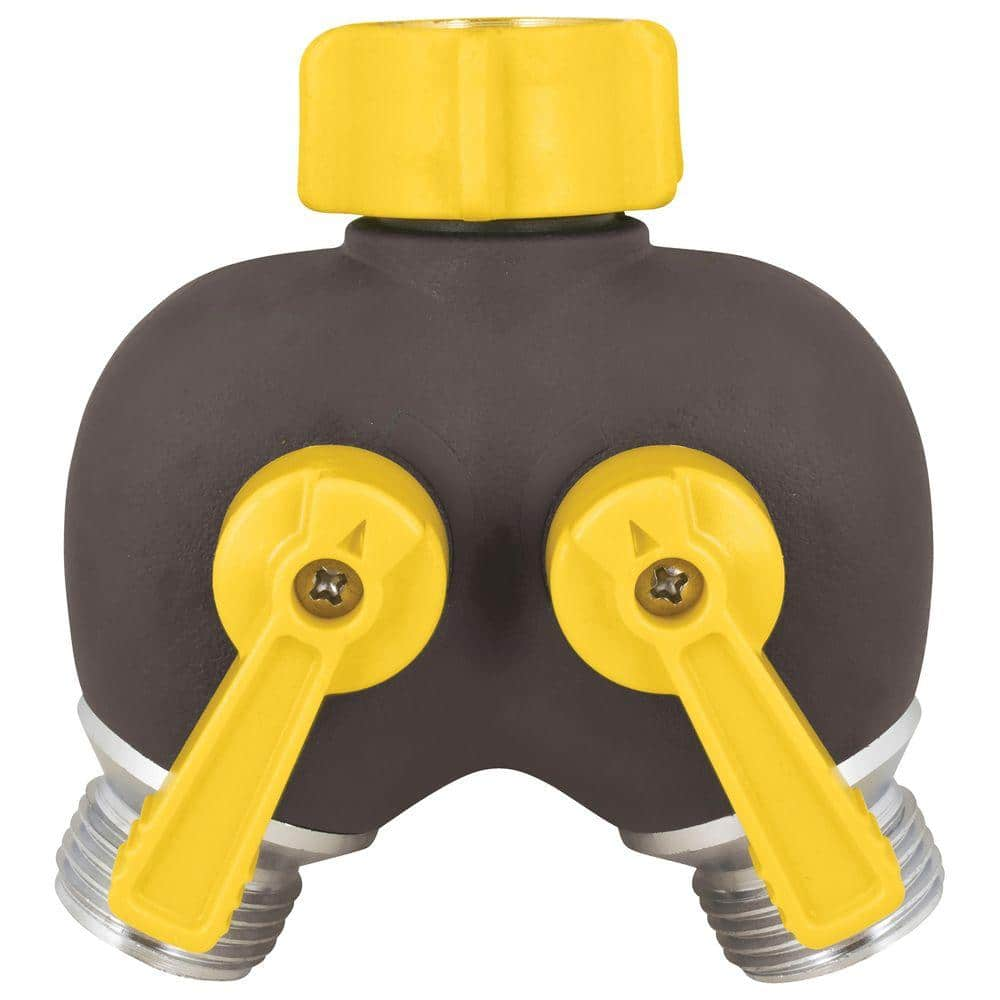
Melnor 2-Way Hose Connector 315S-6
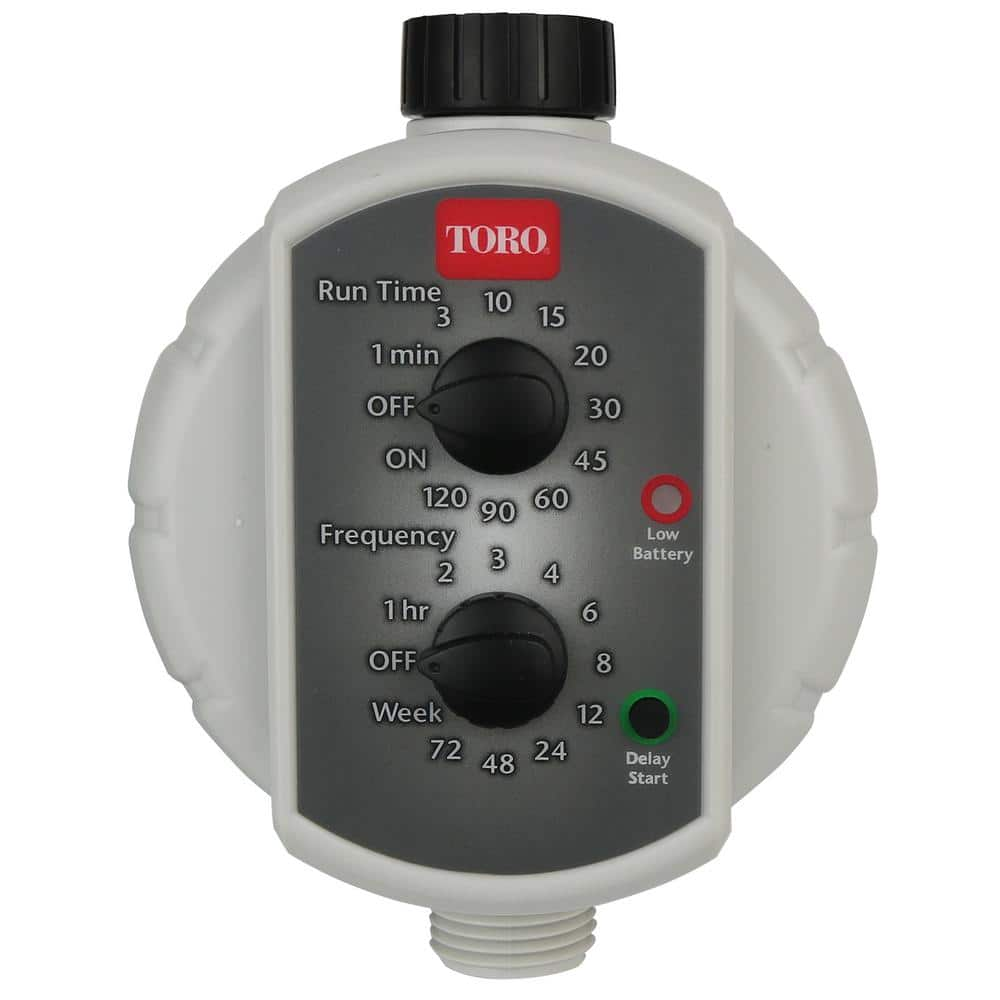
Toro Low-Pressure Tap Timer 53453
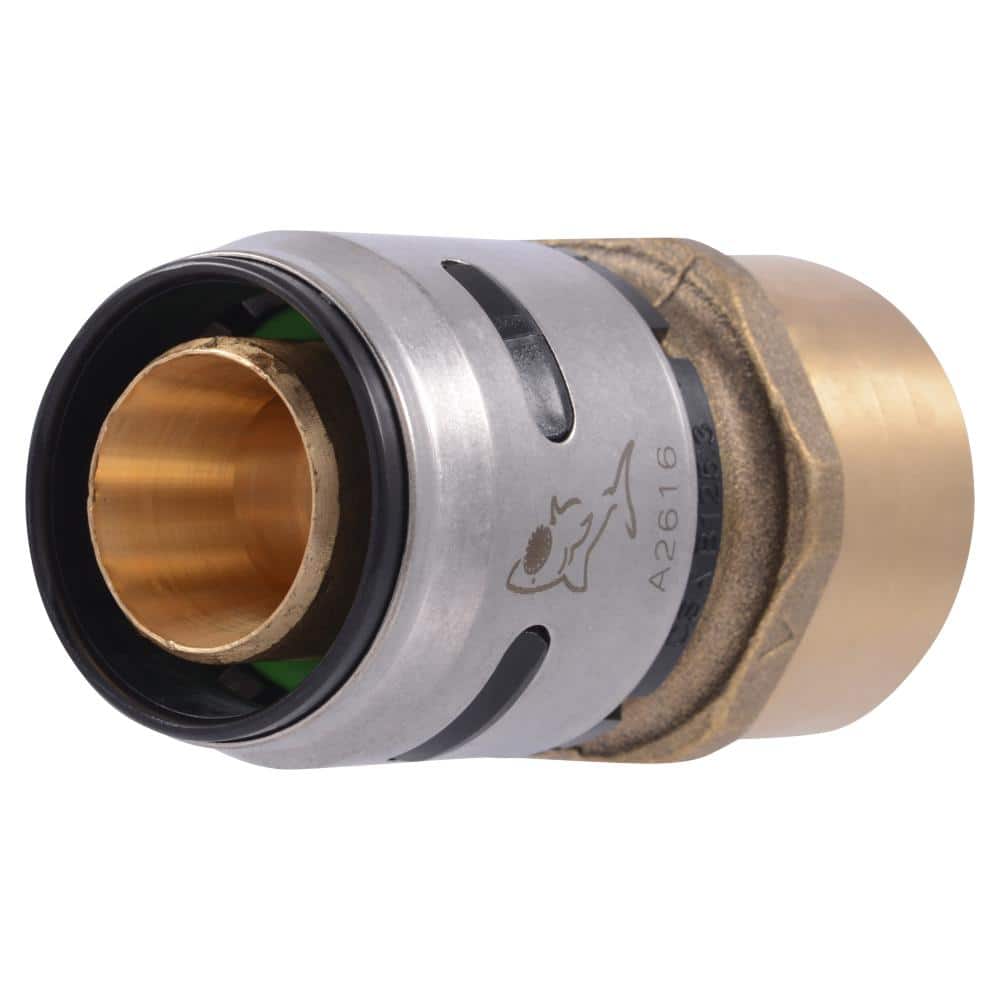
SharkBite 1 in. Push-to-Connect EVOPEX x FIP Brass Adapter Fitting K094A

Channellock 12 in. V-Jaw Tongue and Groove Pliers 442
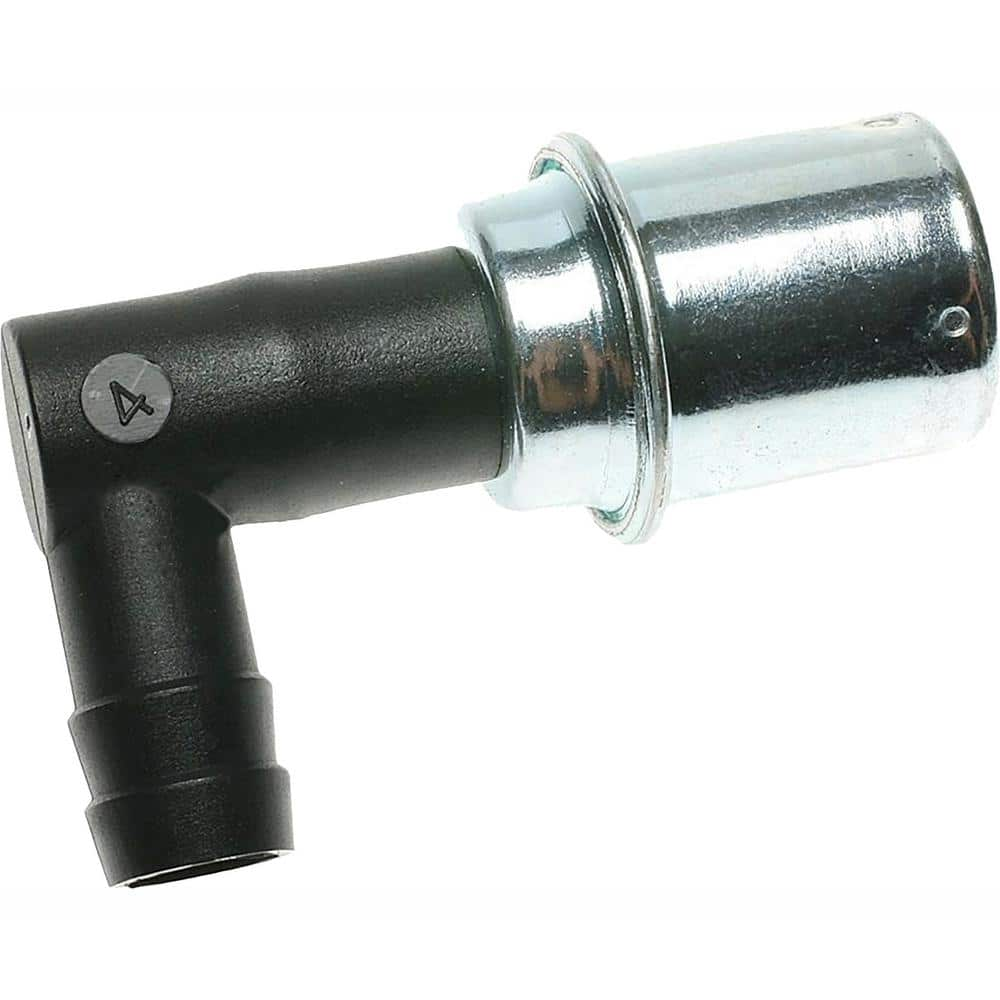
PCV Valve V178
GardenJoy PVC Garden Hose 5/8 in. x 75 ft. Heavy-Duty Durable Hose Outdoor Water Hose LG-GHB5875
Light-weight and Flexible: Made from premium PVC, our garden hose is both light-weight and durable, allowing for easy handling without kinks or tangles, ideal for all your watering and cleaning needs.
Melnor 2-Way Hose Connector 315S-6
Make water use twice as efficient with the 2 Way connector. Attach 2 hoses to one faucet, and water 2 areas at once, or water the garden while washing the car or set up 2 sprinklers the choice is easy.
Toro Low-Pressure Tap Timer 53453
This newly designed battery-powered tap timer is easy to program with simple dial settings. Just hook it up to the faucet for easy, timed operation of a hose or drip system. The ball valve mechanism provides
SharkBite 1 in. Push-to-Connect EVOPEX x FIP Brass Adapter Fitting K094A
The SharkBite EvoPEX System is the first PEX ONLY push-to-connect rough-in plumbing solution designed to use without the need for additional tools and rings. It is engineered to improve efficiency and
Channellock 12 in. V-Jaw Tongue and Groove Pliers 442
CHANNELLOCK 442 12" Tongue & Groove Pliers feature a unique v-jaw design that creates more points of contact on round stock and tubing. These pliers are built to last with a PERMALOCK fastener to eliminate
PCV Valve V178
Standard is the premier professional engine management brand in the automotive aftermarket today. Standard leads the way in advanced automotive technology with more than 40,000 products for complete vehicle
Steps

Disconnect Hoses and Accessories
5 minsThe first and most critical step is to disconnect everything from the outdoor faucet, also known as a spigot or sillcock. Unscrew any garden hoses, splitters, timers, or quick-connect adapters. Trapped water inside a connected hose or accessory can freeze and conduct the cold back into the pipe within the wall, causing it to burst even if other steps are followed. Once removed, drain the hose completely and store it indoors for the winter to prolong its life.

Shut Off Interior Water Supply Valve
5 minsEnter your home and locate the interior shutoff valve for the pipe that supplies water to the outdoor faucet. These are typically found in basements, crawl spaces, or utility closets, usually on the wall directly behind the outdoor faucet. Once located, turn the valve handle clockwise until it is snug. For a round 'gate valve' handle, turn it multiple times. For a lever 'ball valve' handle, turn it a quarter-turn so it is perpendicular to the pipe. This action stops the flow of water to the outdoor pipe.

Drain the Outdoor Faucet
2 minsReturn to the outdoor faucet. Turn the handle counter-clockwise to the fully open position, as if you were trying to get water. A small amount of water will drain out from the spigot. This action relieves the pressure in the pipe and allows air to enter, which is necessary for the pipe to drain completely in the next step. Leave the outdoor faucet in the open position for the duration of the winter.
Drain the Interior Pipe
5 minsGo back inside to the shutoff valve. Place a small bucket or pan directly underneath the valve body to catch water. Locate the small metal or plastic bleeder cap on the side of the valve. Using your fingers or a pair of pliers, gently turn the cap counter-clockwise to loosen it. Do not remove it completely. Water trapped in the pipe between the shutoff valve and the outdoor faucet will now drain out into your bucket. Once the water stops draining, lightly tighten the bleeder cap back on by turning it clockwise until it's snug.

Install Insulated Faucet Cover
3 minsFor an added layer of protection against extreme cold and wind, install an insulated faucet cover. These are typically made of a hard foam shell with a flexible gasket. Place the cover over the outdoor faucet, ensuring the gasket sits flush against the siding of your house. Secure the cover in place using its integrated loop and cinch mechanism, pulling the cord tight so the cover is held firmly against the house. This helps prevent any freezing at the very end of the spigot and provides peace of mind.
Common Problems
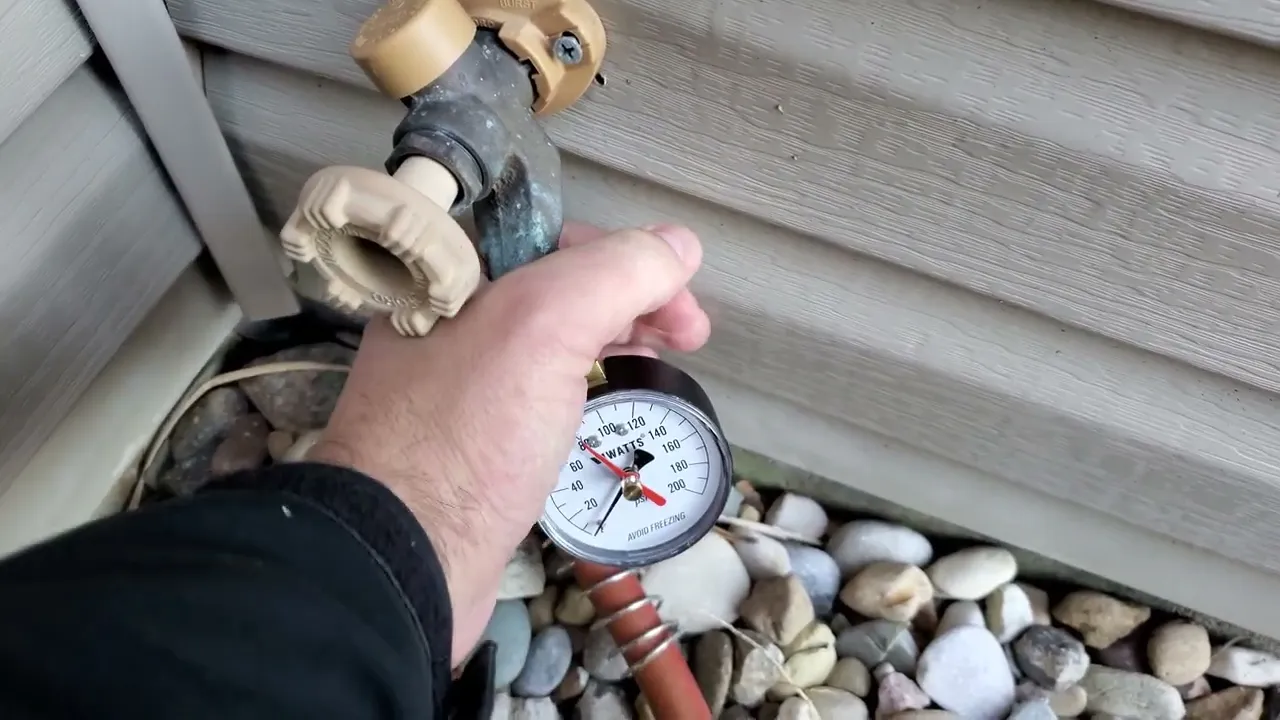
A small amount of water will be released when you unscrew the gauge. This is normal.
Solution: To avoid this issue: Be mindful of this warning and take appropriate precautions.
If you cannot find or operate the shutoff valves under the sink, you will need to shut off the main water valve for the entire house.
Solution: To avoid this issue: Be mindful of this warning and take appropriate precautions.
Water damage occurs if faucet leaks aren't wiped up quickly.
Solution: Keep a towel handy to clean up any spills immediately.
Water spills and puddles when disconnecting outdoor faucet lines.
Solution: Have a bucket and towels ready as there will be residual water in the pipes and softener head that will spill out upon disconnection.
Stuck shut-off valves can lead to broken plumbing when winterizing.
Solution: If the shut-off valves are stuck, do not force them. You may need to shut off the main water supply to the house.
Critters like rodents may chew on foam insulation, so it's important to inspect it periodically for damage.
Solution: To avoid this issue: Be mindful of this warning and take appropriate precautions.
Burst pipes due to hard freezes.
Solution: This step is optional but highly recommended for climates that experience hard freezes.
Frequently Asked Questions
How much time should I set aside for winterizing my outdoor faucet, especially as a beginner?
This is a quick and beginner-friendly project, typically taking only 15-30 minutes per faucet. The majority of the time is spent locating and operating the interior shut-off valve and ensuring complete drainage. It's a small investment of time that saves you from potentially costly pipe repairs.
What's the biggest mistake people make, and what are the consequences if I don't winterize correctly?
The most critical mistake is not completely draining all water from the pipe between the indoor shut-off valve and the outdoor faucet. Any residual water can freeze, expand, and burst the pipe, leading to significant water damage inside your home once temperatures rise. Ensure the pipe is completely empty before closing the outdoor faucet.
What if I can't find an interior shut-off valve for my outdoor faucet, or my home is older?
If you don't have an individual interior shut-off valve for the faucet, you'll need to turn off your home's main water supply, open the outdoor faucet to drain it, and then turn the main supply back on. Consider consulting a plumber to install a dedicated shut-off valve for easier future winterization, as this is a common upgrade.
What's the typical cost involved in winterizing an outdoor faucet?
The primary cost is usually for an insulated faucet cover, which typically ranges from $5-$20, like the Everbilt Hard Outdoor Faucet Cover 1981 listed. If you need to purchase a bucket, you might spend an additional $5-$10. Overall, it's a very inexpensive preventative measure compared to the cost of burst pipe repairs.
I've turned off the interior valve and opened the outdoor faucet, but I still hear dripping. What should I do?
A continuous drip after draining could indicate a faulty interior shut-off valve that isn't completely closing, or a slow leak further in the line. Ensure the outdoor faucet handle is fully open to allow maximum drainage. If the dripping persists, it's advisable to have the shut-off valve inspected or replaced by a plumber.
Does this winterization process apply to 'frost-free' outdoor faucets as well?
Frost-free faucets are designed to prevent freezing by extending the valve mechanism several inches into your heated home. While they generally don't require shutting off an interior valve, it's still crucial to disconnect all hoses and accessories from them. Water trapped in connected items can still freeze and damage even a frost-free spigot, so an insulated cover for extra protection is always a good idea.


