
How to Use a Drain Cleaning Bladder to Clear a Clog
About This Project
A comprehensive guide on utilizing a drain cleaning bladder, also known as a blow bag, to effectively clear stubborn clogs from a main drain line. This process involves attaching the bladder to a garden hose, inserting it into a drain cleanout, and using water pressure to inflate the bladder and blast away the obstruction.
Best for homeowners and DIY enthusiasts with basic plumbing knowledge and familiarity with power tools. Requires MCR Safety BearKat Safety Glasses MCSCRWBK110 and G & F Products 1628 L 100% Waterproof Winter Gloves for Outdoor Cold Weather 1628L and Safety Glasses.
Tools & Materials
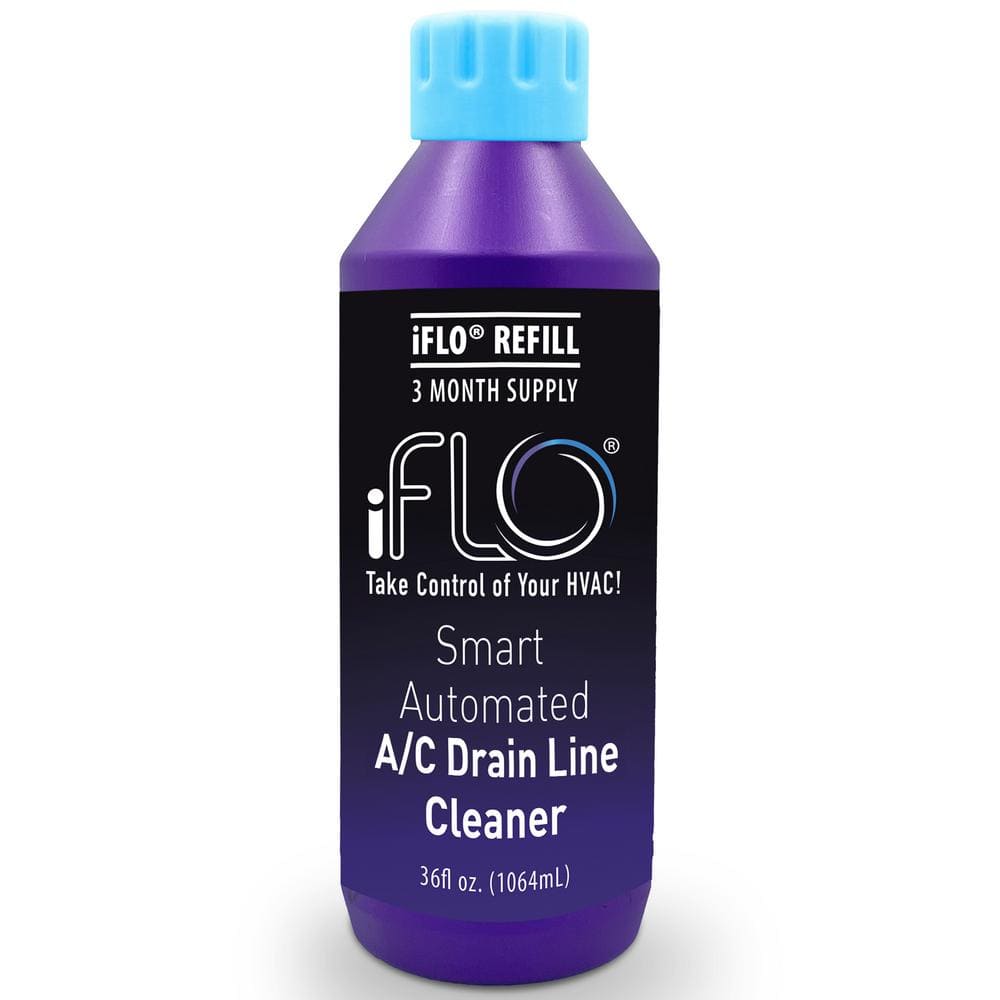
iFLO 36 oz. Drain Line Cleaner IFLO36DC
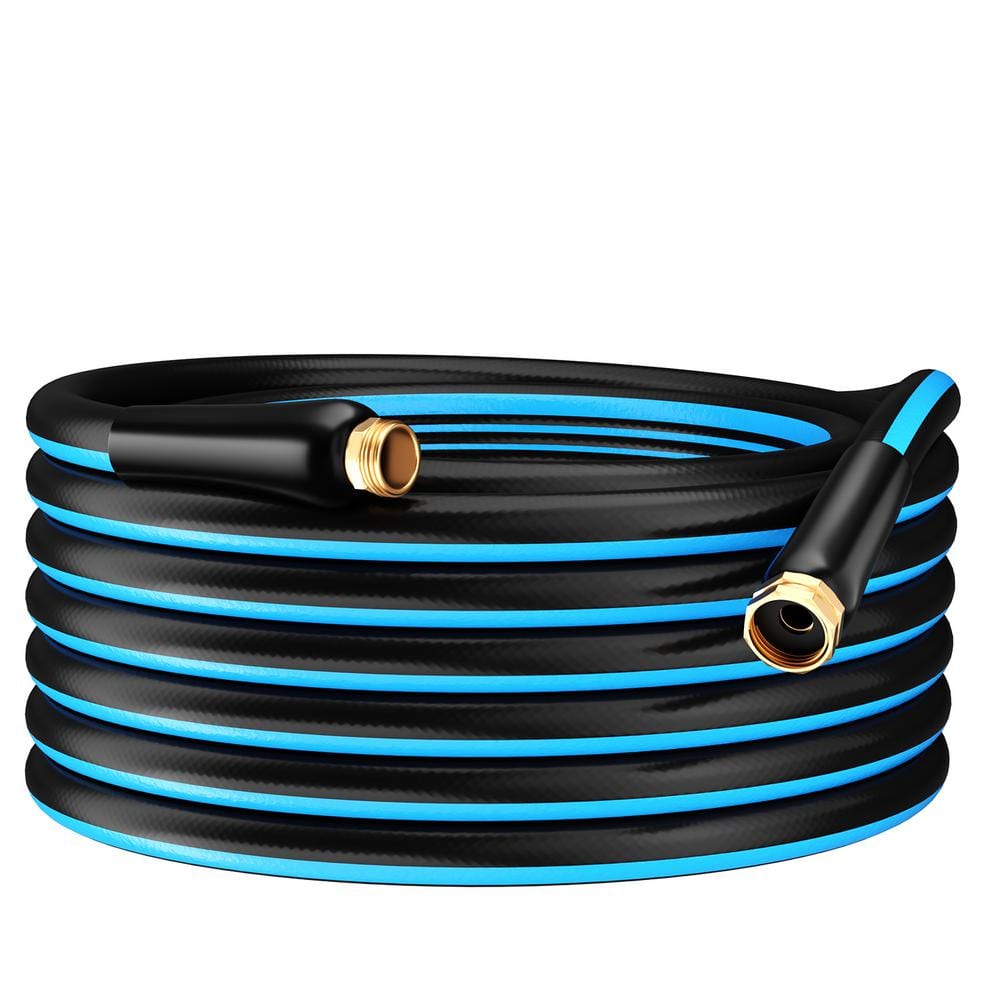
GardenJoy PVC Garden Hose 5/8 in. x 75 ft. Heavy-Duty Durable Hose Outdoor Water Hose LG-GHB5875
Bucket
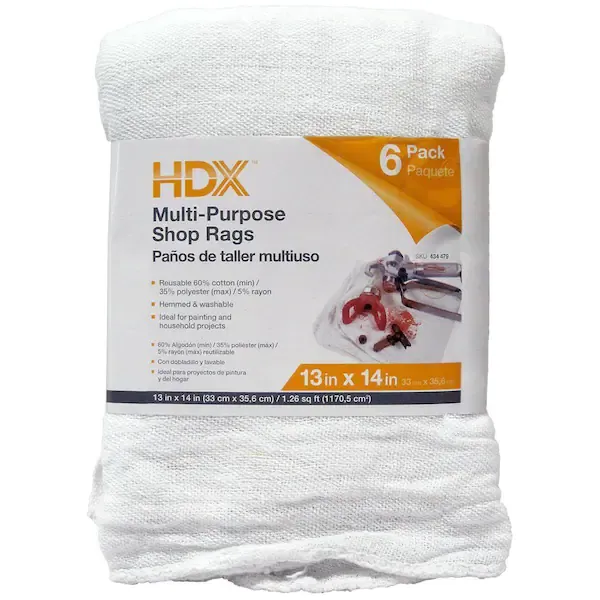
Rag
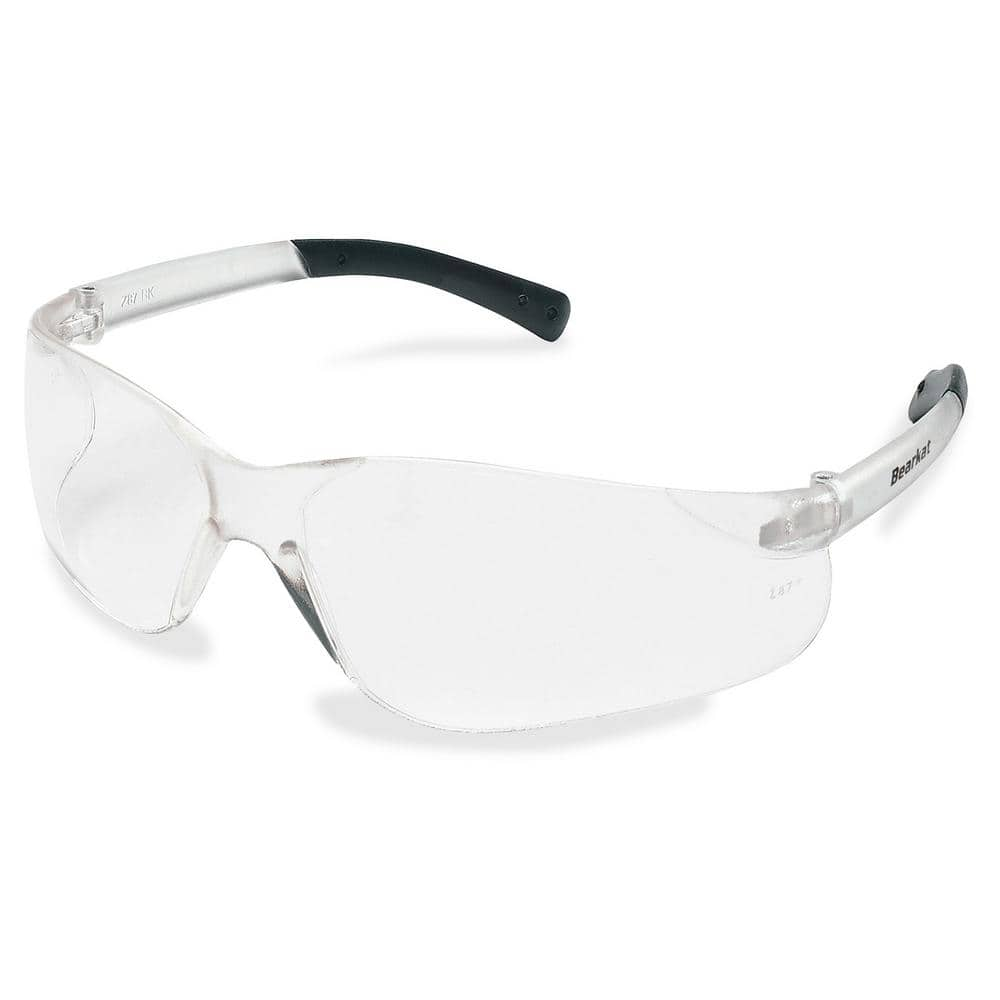
MCR Safety BearKat Safety Glasses MCSCRWBK110
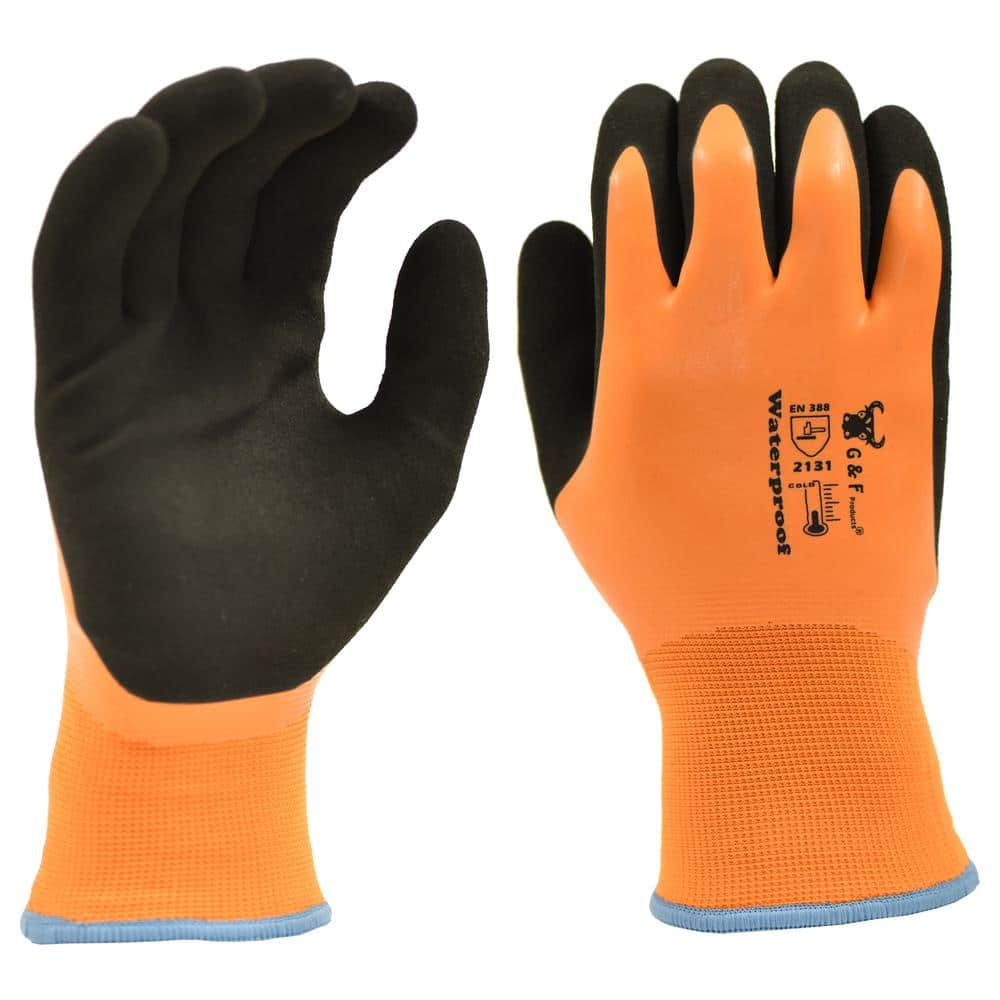
G & F Products 1628 L 100% Waterproof Winter Gloves for Outdoor Cold Weather 1628L
iFLO 36 oz. Drain Line Cleaner IFLO36DC
Keep your A/C going and the cool air flowing with iFLO - The world's first, automatic A/C drain line and drain pan cleaning system. Using patented technology, iFLO automatically dispenses a proven bio-enzymatic
GardenJoy PVC Garden Hose 5/8 in. x 75 ft. Heavy-Duty Durable Hose Outdoor Water Hose LG-GHB5875
Light-weight and Flexible: Made from premium PVC, our garden hose is both light-weight and durable, allowing for easy handling without kinks or tangles, ideal for all your watering and cleaning needs.
Bucket
Ideal for carrying or storing liquids.
Rag
Handy for cleaning or wiping tasks.
MCR Safety BearKat Safety Glasses MCSCRWBK110
Safety glasses feature a well thought-out construction that combines the best in safety, comfort and affordability. Your vision is unobstructed by the 1-piece wraparound lens which, by its tight fit, provides for maximum safety. Flexible temples enhance your comfort during extended use. Nonslip rubber head grips are notched for a clip-on breakaway cord.
G & F Products 1628 L 100% Waterproof Winter Gloves for Outdoor Cold Weather 1628L
This glove is not only made of double coating on the outside. Even the Glove shell itself(the black inner part ) is also made of double layers. The first layer is 15 g nylon gloves shell and the 2nd which
Steps

Safety and Preparation
5 minsBegin by gathering all necessary tools and safety equipment. Put on your safety glasses and waterproof gloves. Inspect the drain cleaning bladder for any cracks, tears, or signs of dry rot. Ensure the hose clamp on the bladder is secure. Lay out your garden hose to remove any kinks, and place a bucket and some old rags near the drain opening to manage any water spillage. This preparation ensures safety and efficiency once the process begins.

Access the Drain Cleanout
5 minsLocate the main drain line cleanout. This is typically a Y-shaped fitting with a threaded cap, found in the basement, crawlspace, or outside near the foundation of your house. Place your bucket and rags underneath the cleanout opening to catch any wastewater that may spill out. Using a pipe wrench or large pliers, turn the cleanout plug counter-clockwise to loosen and remove it. Be prepared for some water to drain out immediately.

Connect and Position the Bladder
5 minsSecurely attach the threaded metal end of the drain cleaning bladder to the male fitting of your garden hose. Hand-tighten the connection to ensure it is snug. Next, carefully feed the bladder and the attached hose into the open cleanout pipe. Push the bladder as far into the pipe as you can comfortably manage, ensuring it is at least one foot past the cleanout opening. The farther you can insert it, the closer it will be to the clog. Hold the hose firmly a few feet back from the opening.

Activate the Bladder
5 minsWhile firmly holding the hose, have a helper turn on the water at the spigot, or do it yourself if it's nearby. Turn the water on to full pressure. You will feel the hose stiffen as the bladder inflates to create a seal against the pipe walls. Once sealed, a powerful jet of water will shoot from the tip of the bladder toward the clog. Hold the hose steady and let the water run for a few minutes. You may feel a jolt or a sudden slackening in the hose, which indicates the clog has broken free.

Verify Clog Removal
5 minsOnce you suspect the clog is clear (e.g., you felt it release or water stops backing up), turn the water supply off completely. Wait for the bladder to deflate, which may take 15-30 seconds. You will feel the hose go limp. Before removing the bladder, have a helper flush a toilet or run water in a nearby sink that feeds into the same main line. Listen and watch at the cleanout opening. If the water flows past without backing up, the clog is clear. If it still backs up, you may need to repeat the process.

Cleanup and Reassembly
5 minsAfter confirming the drain is clear and the water is turned off, carefully pull the garden hose and the deflated bladder out of the drain pipe. Use your rags to wipe down the hose as you remove it. Replace the cleanout plug, tightening it clockwise with your pipe wrench or pliers to ensure a good seal. Clean up any water or debris on the floor. Disconnect the bladder from the hose, rinse both thoroughly, and store them for future use.
Common Problems
Stand clear of the cleanout opening when you first turn on the water, as there can be some initial spray or backup.
Solution: To avoid this issue: Be mindful of this warning and take appropriate precautions.
Hold the hose firmly, as the water pressure can cause it to kick back.
Solution: To avoid this issue: Be mindful of this warning and take appropriate precautions.
Difficulty controlling water flow alone, risking splashback or ineffective clearing.
Solution: It's helpful to have a second person to turn the water on and off on your command.
Be prepared for some water to splash back before the bladder fully inflates and seals the pipe.
Solution: To avoid this issue: Be mindful of this warning and take appropriate precautions.
Do not skip the water test. It is essential to identify and fix any potential leaks before closing up the wall.
Solution: To avoid this issue: Be mindful of this warning and take appropriate precautions.
Failure to turn off power and water can lead to electric shock and water damage.
Solution: To avoid this issue: Be mindful of this warning and take appropriate precautions.
Forgetting or misplacing parts can halt your project or lead to incorrect assembly.
Solution: Laying out all your parts before starting helps ensure you have everything you need and visualizes the assembly process.
Frequently Asked Questions
What are the essential safety precautions I need to take before and during this project?
Always wear safety glasses and waterproof work gloves to protect yourself from dirty water and potential splashes. Ensure the work area is well-ventilated and lay down old towels or tarps to contain any spills. Be mindful of the water pressure and avoid standing directly over the cleanout as water can spray out forcefully.
How do I choose the right size drain cleaning bladder for my main drain line?
Drain cleaning bladders are designed for specific pipe diameters, typically ranging from 1.5 inches to 6 inches. You must match the bladder size to the interior diameter of your drain cleanout pipe for it to work effectively and safely. Check the cleanout cover or consult your home's plumbing diagrams if you're unsure of your main line's diameter.
What should I do if the drain bladder doesn't clear the clog on the first try?
If the clog persists, try repositioning the bladder slightly deeper or shallower within the pipe and reactivate the water flow. You can also try increasing the water pressure incrementally, but never exceed the bladder's or your pipe's rated pressure. If after a few attempts it's still not clear, you might need to consider a different method.
Can using a drain cleaning bladder damage my pipes, and how can I avoid it?
While generally safe for most modern pipes, over-inflating the bladder in older, weaker, or corroded pipes can potentially cause damage. Always ensure the bladder is correctly sized for your pipe and avoid exceeding the recommended water pressure. If you feel resistance or hear unusual noises, reduce the pressure immediately.
Is this a suitable DIY project for someone with no plumbing experience, and how long should I expect it to take?
Yes, this is considered a beginner-friendly plumbing project, as it primarily involves connecting hoses and operating a water valve. The estimated time for completion is about 3 hours, which includes preparation, the clearing process, and thorough cleanup. Taking your time and following the steps carefully will ensure success.
If the drain cleaning bladder doesn't work, what are the next steps I should consider for a stubborn main drain clog?
If the bladder doesn't resolve the issue, the clog might be too dense or too far down the line. Your next steps could include trying a professional-grade drain snake (auger) or considering enzymatic drain cleaners specifically designed for main lines. For very persistent clogs, it's best to call a licensed plumber for professional hydro-jetting or snaking services.


