
How to Solder Copper Pipes for a Permanent, Watertight Joint
About This Project
A comprehensive guide to cutting, cleaning, fluxing, assembling, heating, and soldering copper pipes and fittings to create a strong, permanent, and leak-proof connection for plumbing systems.
Best for advanced DIYers and professionals with basic plumbing knowledge and familiarity with power tools. Requires Safety Glasses and Ironcat Large Premium Top Grain Goatskin Leather 20 in. Stick Welding Gloves with Fire Resistant Lining and Insulation 9070/L and First Alert General Purpose Fire Extinguisher 1-A:10-B:C - in Red FE1A10GOA.
Tools & Materials
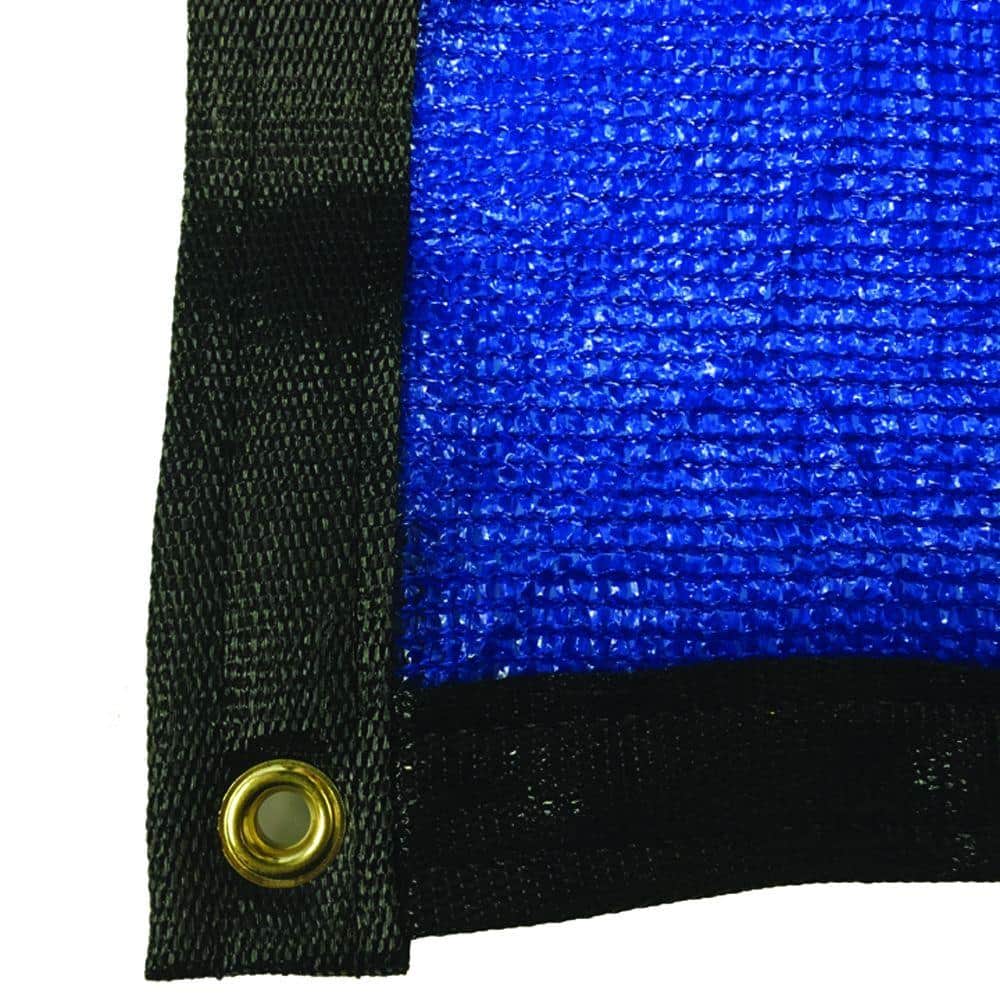
RSI 7.8 ft. x 12 ft. Blue 88% Shade Protection Knitted Privacy Cloth PF-812-BLUE

Safety Glasses
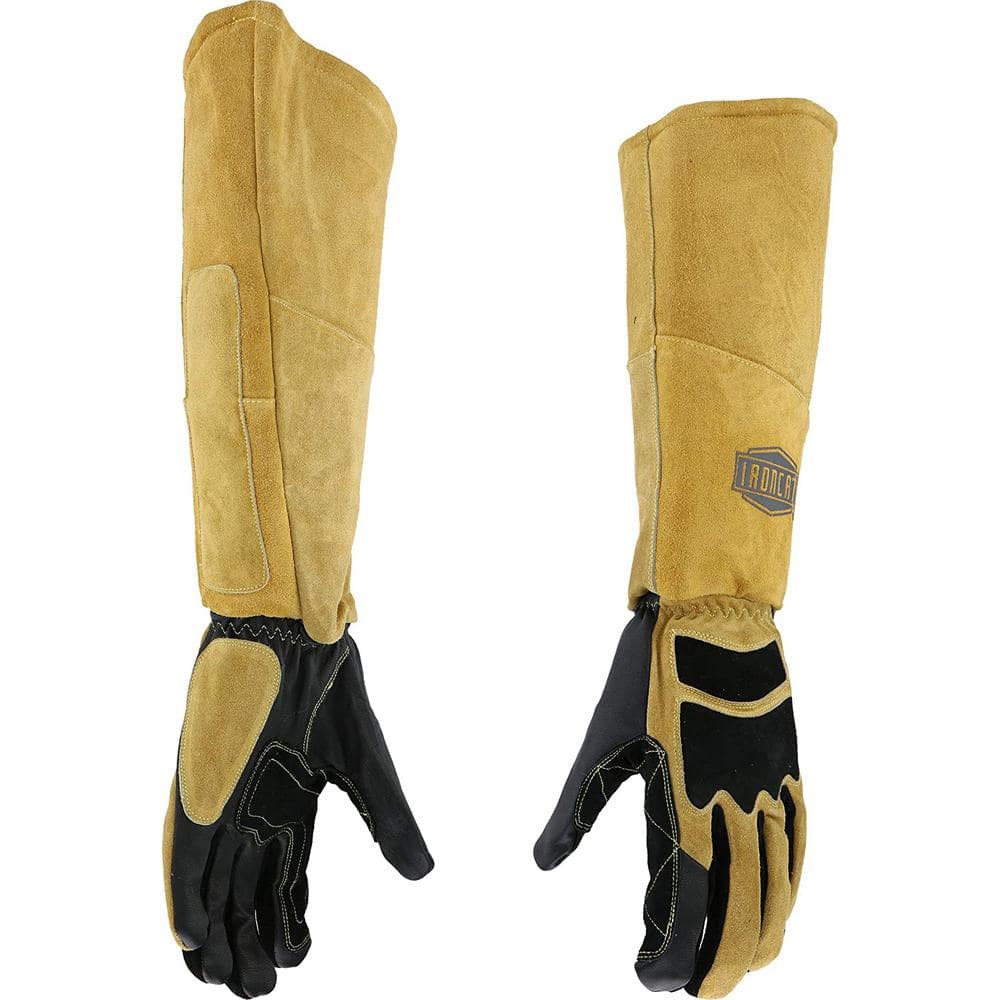
Ironcat Large Premium Top Grain Goatskin Leather 20 in. Stick Welding Gloves with Fire Resistant Lining and Insulation 9070/L
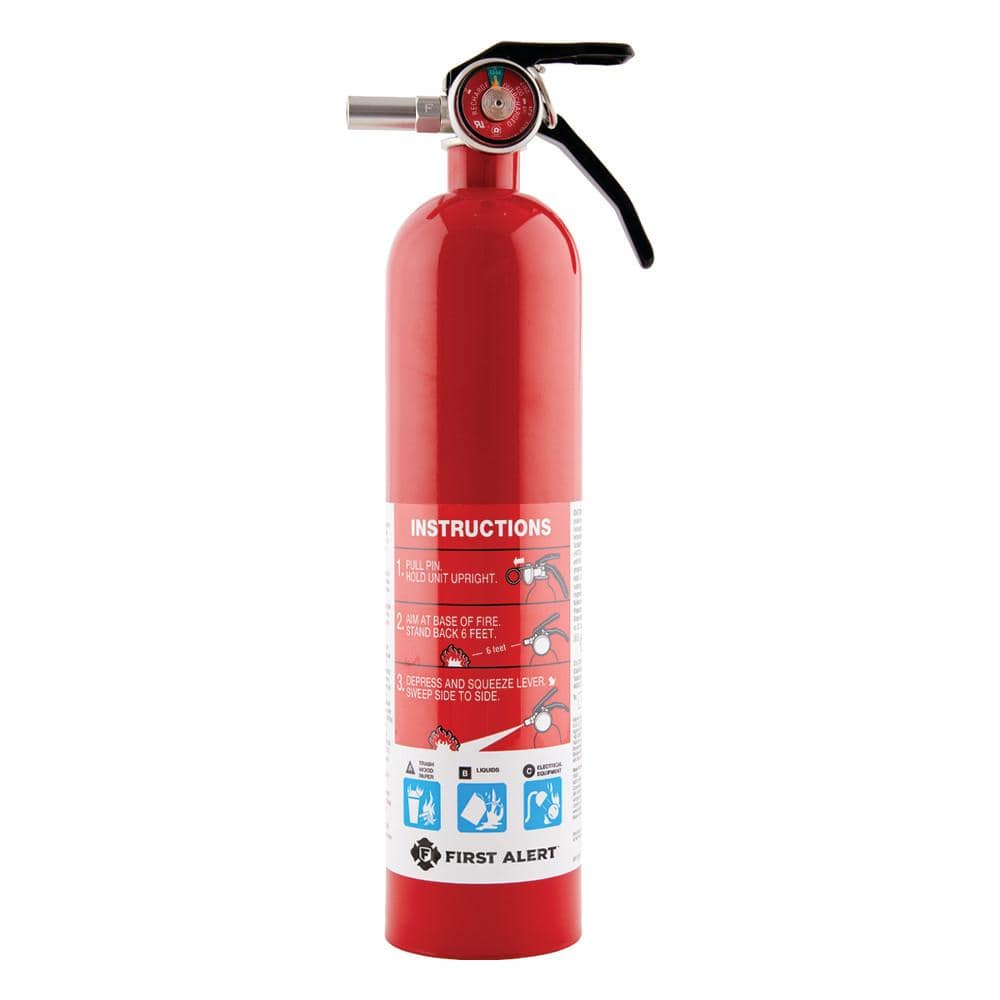
First Alert General Purpose Fire Extinguisher 1-A:10-B:C - in Red FE1A10GOA
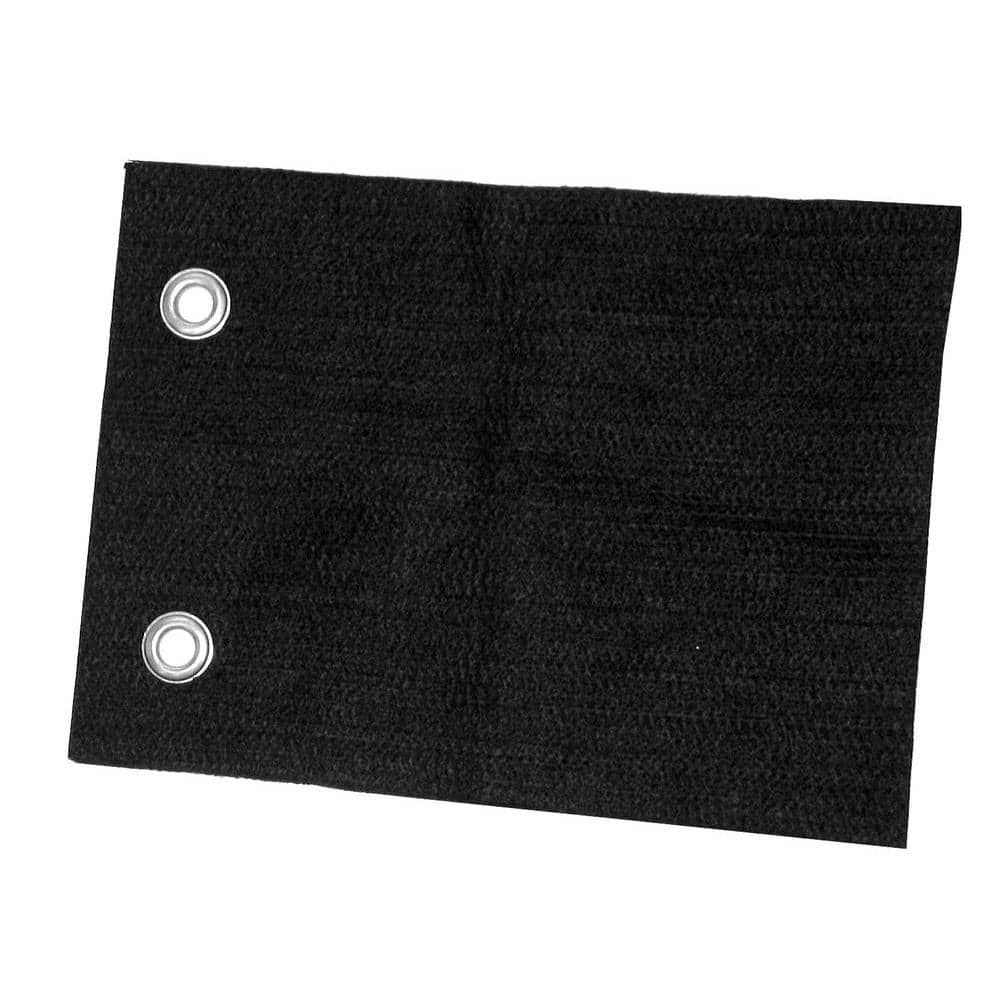
Oatey 9 in. x 12 in. Hands-Free Solder Heat Shield 314002
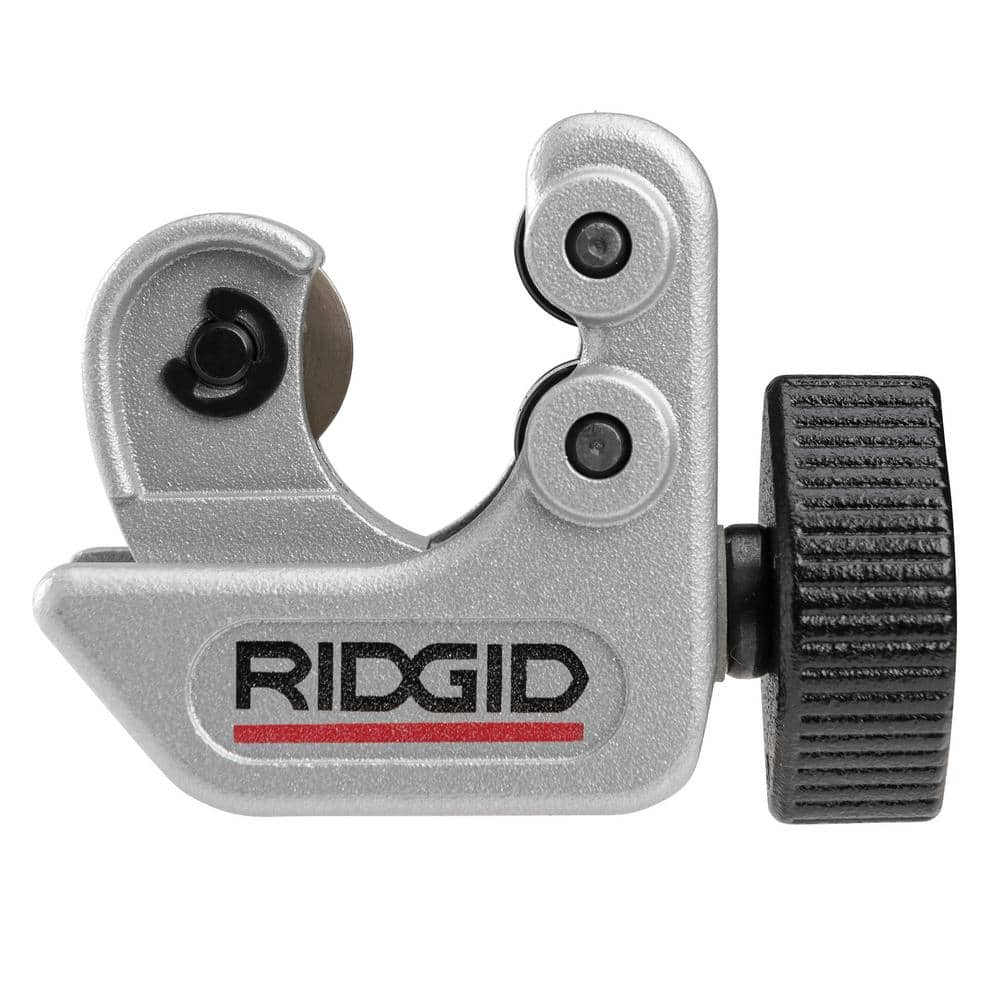
RIDGID 1/4 in. to 1-1/8 in. 101 Close Quarters Copper, Aluminum, Brass, and Plastic Tubing Cutter, Multi-Use Tubing Tool 40617
RSI 7.8 ft. x 12 ft. Blue 88% Shade Protection Knitted Privacy Cloth PF-812-BLUE
The Riverstone line of privacy shade cloths is designed to offer easy to use, shade producing cloth that is UV stable and will last for several years in the hottest environments. All our knitted shade
Safety Glasses
Keeps eyes safe from potential hazards.
Ironcat Large Premium Top Grain Goatskin Leather 20 in. Stick Welding Gloves with Fire Resistant Lining and Insulation 9070/L
Ironcat Stick welding gloves are crafted using premium top grain goatskin leather, renowned for its exceptional breathability, comfort, heat resistance and dexterity. This type of leather naturally repels
First Alert General Purpose Fire Extinguisher 1-A:10-B:C - in Red FE1A10GOA
A-B-C fire extinguisher designed for multi-purpose household use to fight wood, paper, plastic, flammable liquids and electrical fires. The commercial grade metal head is rechargeable and features an easy to read pressure Gauge. It comes with a plastic mounting bracket with strap for easy mounting and is U.S. Coast Guard approved for marine use when used with supplied bracket.
Oatey 9 in. x 12 in. Hands-Free Solder Heat Shield 314002
Oatey Flame Protector is a non-asbestos flame-retardant cloth that protects studs, walls, floors and other surfaces from flames and sparks when soldering. Made of oxidized polyacrylonitrile (OPAN) fibers,
RIDGID 1/4 in. to 1-1/8 in. 101 Close Quarters Copper, Aluminum, Brass, and Plastic Tubing Cutter, Multi-Use Tubing Tool 40617
Built on the trust of the trades, you need tools designed for experts and built to last. Experience the durability of the RIDGID 101 Close Quarters Tubing Cutter with 1/4"-1-1/8" capacity (catalog number
Steps

Preparation and Safety
15 minsBegin by ensuring your safety and preparing the work area. Locate the main water shutoff valve for the house and turn it off completely. Open the lowest faucet in the house (like a basement sink or outdoor spigot) and the highest faucet to allow all water to drain from the pipes you'll be working on. Lay down a drop cloth to protect surfaces. Put on your safety glasses and heat-resistant gloves. Keep a fire extinguisher and a heat shield within arm's reach for immediate use.

Cut the Copper Pipe
2 minsMeasure your copper pipe to the required length and mark it clearly. Place the tubing cutter on the mark, ensuring the cutting wheel is perfectly aligned. Tighten the adjustment knob until the wheel makes light contact with the copper. Rotate the cutter one full revolution around the pipe. After each rotation, slightly tighten the knob and rotate again. Continue this tighten-and-rotate process until the cutter cleanly severs the pipe. This method ensures a perfectly square cut without deforming the pipe's round shape.

Deburr and Clean
5 minsAfter cutting, a small ridge of copper, called a burr, is left on the inside edge of the pipe. Use the triangular blade on the tubing cutter or a dedicated deburring tool to ream the inside of the pipe and remove this burr. Next, aggressively clean the outside of the pipe end (about 1 inch) using sand cloth or a pipe cleaning brush until the copper is bright, shiny, and free of any tarnish or oxidation. Then, use a fitting brush to clean the inside of the copper fitting with the same thoroughness until it also shines. Wipe both surfaces with a clean, dry rag to remove any copper dust. This cleaning step is absolutely critical for a successful solder joint.

Apply Flux
1 minWith the pipe and fitting cleaned, use a dedicated flux brush to apply a thin, even layer of lead-free soldering flux to the cleaned outer surface of the pipe. Also apply a thin, even coat to the cleaned inner surface of the fitting. The flux serves two purposes: it chemically cleans the copper as it's heated, preventing re-oxidation, and it helps draw the molten solder into the joint via capillary action. Avoid using too much flux, as excess can run inside the pipe and cause corrosion over time. Never use your fingers to apply flux.

Assemble the Joint
1 minImmediately after fluxing, assemble the joint to prevent dust or debris from contaminating the clean surfaces. Push the copper pipe straight into the copper fitting until it bottoms out in the fitting's socket. Give the pipe a small quarter-turn twist as you push it in to ensure the flux is evenly spread across the mating surfaces. Use a clean rag to wipe off any excess flux that squeezes out of the seam.

Heat the Joint
1 minPlace your heat shield behind the joint if near flammable materials. Unroll about 8 inches of lead-free solder and bend the end 90 degrees. Light your propane torch, adjusting the flame so the inner blue cone is about 1-2 inches long. The tip of this inner cone is the hottest part. Apply the heat to the joint, focusing on the middle of the fitting, not on the pipe. The thicker metal of the fitting needs more heat. Sweep the flame back and forth across the fitting to heat it evenly. The joint is ready for solder when the flux begins to bubble and smoke, and the copper takes on a slightly hazy appearance. You can test the temperature by briefly touching the solder to the joint on the side opposite the flame; if it melts instantly, it's ready.

Apply Solder
10 minsOnce the joint reaches the correct temperature, remove the torch flame. Immediately touch the tip of the lead-free solder to the seam where the pipe enters the fitting. Touch it to the side opposite from where you were applying heat. Capillary action will instantly draw the molten solder into the full depth of the joint. You only need to apply solder to one or two points on the seam; it will flow all the way around. Feed the solder until you see a bright, continuous silver ring form at the seam. For a 1/2-inch pipe, this typically requires about 1/2-inch of solder. Once the joint is filled, remove the solder wire immediately. Do not apply more heat while applying solder.

Cool and Clean
5 minsAfter the solder has filled the joint, set the solder spool and torch aside safely. Allow the joint to cool down naturally without disturbance for several minutes. Do not touch or move the joint while it's cooling, as this can break the seal. Critically, do not quench the hot joint with a wet rag or water. Rapid cooling can cause thermal shock to the metal, creating stress fractures and resulting in a weak, leaky joint. Once the joint is cool to the touch, use a damp rag to wipe away all excess flux residue from the pipe and fitting. This is important because flux is acidic and will corrode the copper over time, causing ugly green stains and potential pinhole leaks.

Inspect and Test
10 minsPerform a final visual inspection of your work. A good solder joint will have a smooth, shiny, and continuous bead of solder visible all the way around the seam. There should be no pinholes, gaps, or large drips. After inspecting all your new joints and ensuring they are cool, it's time to test for leaks. Close all the faucets you opened to drain the system, except for the one at the highest point in the house. Go to the main water shutoff and open it very slowly and only partially. You should hear the pipes begin to fill with water. Let the air escape from the highest faucet until a steady stream of water comes out, then close it. Now, fully open the main shutoff valve. Carefully check every new joint for any sign of water, from a slow drip to a fine spray.
Common Problems
Failing to deburr copper pipe can lead to a damaged O-ring and a potential leak.
Solution: To avoid this issue: Be mindful of this warning and take appropriate precautions.
Pipes not fully inserted can lead to leaks.
Solution: Marking the insertion depth provides a clear visual confirmation of a proper connection.
Do not over-tighten the cutter handle at the start or between rotations, as this can damage or break the cutting wheel.
Solution: To avoid this issue: Be mindful of this warning and take appropriate precautions.
Not having a pipe cutter can lead to jagged, uneven pipe ends.
Solution: This is a good method to use 'in a pinch' if you already own a tube cutter for metal pipes.
This method is much slower than other options and is limited to smaller pipe diameters.
Solution: To avoid this issue: Be mindful of this warning and take appropriate precautions.
Rough pipe edges prevent a proper fit, leading to leaks.
Solution: For a clean thread start, it is recommended to deburr the inside and outside edges of the cut pipe using a deburring tool or file.
Uneven cuts lead to poor pipe seating and leaks.
Solution: For a straight cut, make sure the cutter's rollers are properly aligned before tightening the cutting wheel. Don't lead with the blade.
Frequently Asked Questions
Is soldering copper pipes truly a 'beginner' project, and is the 5-hour estimated time realistic for someone new to it?
While the fundamental steps are straightforward, achieving a perfectly watertight joint requires some practice. For a beginner, the 5-hour estimate is realistic to account for learning the heating technique, practicing on scrap pieces, and careful preparation and safety checks. Expect your first few joints to take longer as you get comfortable with the process.
What are the most crucial safety precautions I need to take when using a propane torch for soldering copper pipes?
Always ensure good ventilation to disperse any fumes from the flux or solder. Keep a fire extinguisher or a bucket of water readily available, and use a heat shield or fire-resistant mat to protect surrounding surfaces from the torch flame. Personal protective equipment like safety glasses and heavy-duty gloves are essential to prevent eye injury and burns.
I've completed my solder joint, but it's leaking. What are the most common reasons for a leaky copper pipe joint, and how can I fix it?
The most common reasons for leaks are insufficient cleaning of the pipe and fitting, preventing proper solder flow, or not applying enough flux. Uneven heating or not feeding enough solder into the joint can also cause issues. To fix it, drain the pipe, reheat the joint thoroughly (often until the old solder melts), apply more flux, and feed additional solder until it is fully absorbed around the joint. If severely problematic, cutting out the joint and redoing it might be necessary.
Beyond the basic pipe cutter and torch, what other specific tools are essential for achieving a high-quality soldered joint?
A deburring tool is crucial for removing sharp edges from inside and outside the pipe, ensuring a smooth fit and preventing flow restriction. An internal and external pipe cleaning brush (like the HDX 1/2 in. O.D. Tube Cleaning Brush) is vital for preparing surfaces. Additionally, a heat-resistant mat or shield and plenty of clean rags are indispensable for safety and cleanup.
If I'm not confident in my soldering abilities, are there any reliable alternative methods for joining copper pipes for plumbing?
Yes, push-fit fittings (such as those from SharkBite) offer a popular solder-free, quick, and reliable alternative that is very DIY-friendly. Compression fittings are another option, though they can be bulkier and require careful tightening to prevent leaks. Both are excellent choices for repairs or situations where traditional soldering might be challenging due to space or fire concerns.


