

How to Rough-In Plumbing for a Bathroom Vanity
About This Project
This guide provides comprehensive, step-by-step instructions for installing the drain, waste, vent (DWV), and water supply lines within a wall for a new bathroom vanity. It covers planning, accessing the wall cavity, installing PVC drain lines with proper slope, running PEX supply lines, and securing the entire assembly according to standard plumbing practices.
Best for advanced DIYers and professionals with basic plumbing knowledge and familiarity with power tools. Requires MCR Safety BearKat Safety Glasses MCSCRWBK110 and HDX Indoor Safety Glasses Clear (1-Pack) VS-9300, clear and Work Gloves.
Tools & Materials

25 ft. Tape Measure
1-3/4 in. x 14 in. x 20 ft. LVL LPLVL14(20)
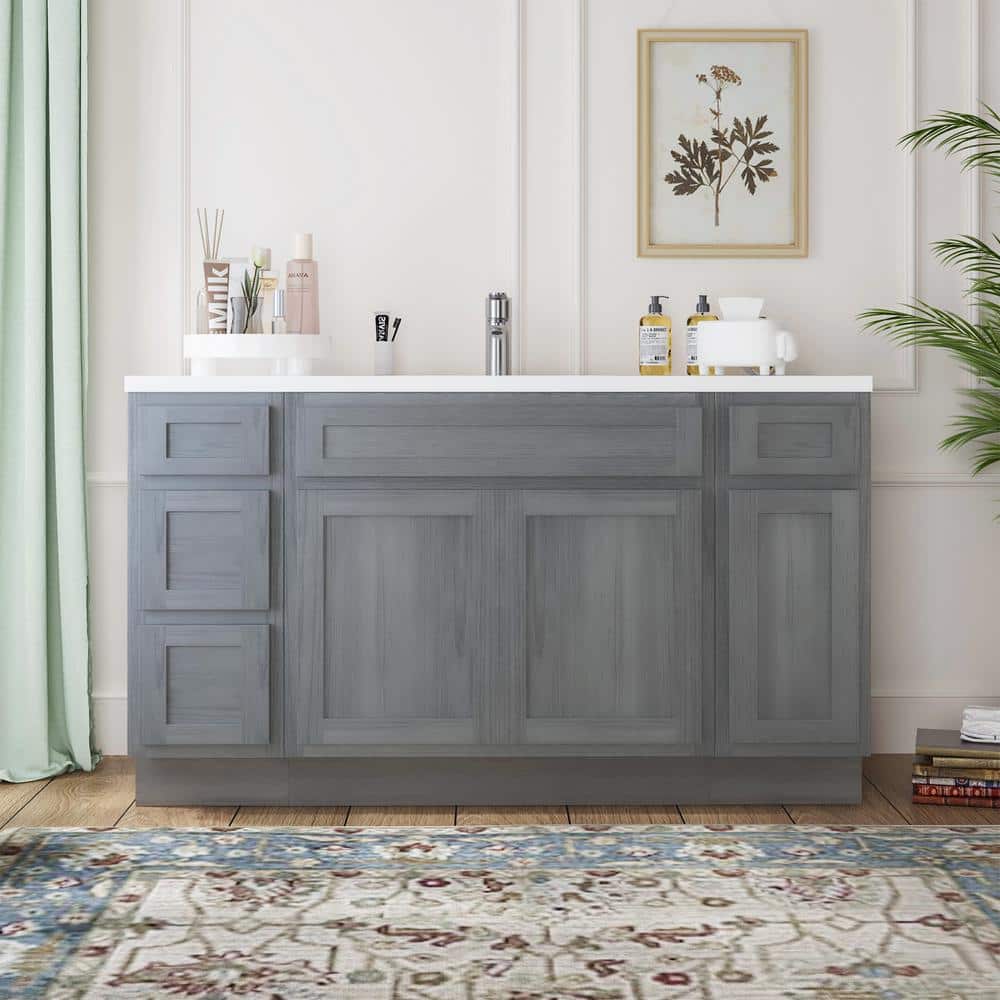
Vanity Art 57 in. W x 21 in. D x 32.5 in. H Bath Vanity Cabinet without Top in Silver VA4012-1S+12-3S+33-S

DEWALT 3/4 in. Stud Finder DW0100

Husky Pro Utility Knife 00004

Milwaukee Folding Jab Saw with 6 in. 8TPI SAWZALL Drywall Blade with Thin Metal Cutting SAWZALL Reciprocating Saw Blades (7-Piece) 48-22-0307-48-00-5186
25 ft. Tape Measure
Measure with precision and ease.
1-3/4 in. x 14 in. x 20 ft. LVL LPLVL14(20)
LP LVL is a strong, straight and durable framing product made for superior performance. It can be used in place of traditional lumber for greater consistency and design flexibility. Ultrasonically graded
Vanity Art 57 in. W x 21 in. D x 32.5 in. H Bath Vanity Cabinet without Top in Silver VA4012-1S+12-3S+33-S
If you are looking for a storage piece to organize your clutter, this storage piece from Vanity Art would be a great choice. This storage piece has a neat and elegant look that matches your bathroom perfectly.
DEWALT 3/4 in. Stud Finder DW0100
Eliminate the guesswork with this new Center Sensor Stud Finder that has a detection depth of 3/4 in. for wood and metal. While traditional stud sensors locate the edge of the stud, this 1 locates the
Husky Pro Utility Knife 00004
Offering a precise cut every time, Husky Pro Folding Utility Knife lets you easily adjust the blade to multiple angles to tackle a wide range of jobs. Aluminum die casting handle with plastic spraying
Milwaukee Folding Jab Saw with 6 in. 8TPI SAWZALL Drywall Blade with Thin Metal Cutting SAWZALL Reciprocating Saw Blades (7-Piece) 48-22-0307-48-00-5186
Our Milwaukee Folding Jab Saw fits all 6 in. Sawzall blades for quick cutting into multiple materials. The slide lock design offers the fastest blade change to increase productivity on the jobsite. The
Steps

Plan and Mark Pipe Locations
30 minsObtain the specification sheet for your new vanity to confirm its dimensions. Mark the vanity's total width on the wall. Determine the centerline of where the sink will be located within that width. Using this centerline, measure and mark the final locations for the drain and supply lines. A standard rough-in height for a vanity drain opening is 18-20 inches above the finished floor. The hot and cold water supply lines are typically located 2-3 inches above the drain and are spaced about 4 inches to the left and right of the drain's centerline (8 inches apart total). Use a tape measure, a 4-foot level, and a pencil to mark these precise locations on the wall surface or directly on the studs if the wall is open.

Open the Wall
30 minsFirst, use a stud finder to locate the studs that frame the bay where your plumbing will be installed. Mark the stud locations. To create the access opening, use a sharp utility knife to score the perimeter of the area you intend to remove. Then, using a drywall saw or a reciprocating saw with a suitable blade, carefully cut along your scored lines. The opening should be large enough to provide ample room to work with pipes, typically from the floor to about 48 inches high and spanning the full width between two studs. Remove the cut piece of drywall and set it aside if you plan to reuse it.
Install Drain and Vent Assembly
1 minThis step requires precision. Identify the main vertical drain stack (typically 3" or 4" PVC pipe). At the correct height, use a reciprocating saw to cut out a section of the stack just large enough to fit a new 1-1/2" sanitary tee fitting (using reducer couplings if needed). The tee's sweep must point downwards. Next, assemble the drain arm. Use a PVC cutter or hacksaw to cut sections of 1-1/2" PVC pipe. Deburr the cut ends with a deburring tool or file. Dry-fit all components first. To glue, apply purple PVC primer to the outside of the pipe end and the inside of the fitting socket. While the primer is wet, apply a liberal coat of PVC cement to both surfaces. Firmly push the pipe into the fitting with a quarter-turn twist and hold for 30 seconds to ensure a strong bond. Build the drain arm from the sanitary tee to the vanity location, ensuring a constant downward slope of 1/4 inch per foot. Use a level to check the slope. Terminate the arm with a 90-degree sanitary stub-out elbow that will emerge from the wall. Secure the entire drain arm assembly to the studs using plastic pipe straps and a drill/driver.

Run PEX Water Supply Lines
1 minEnsure the main water supply is off. Locate the nearest hot and cold water lines. Use a tubing cutter to make clean cuts in the existing pipes. Install PEX-compatible tee fittings into the lines. From these tees, run new 1/2" PEX tubing (red for hot, blue for cold) towards the vanity location. You may need to drill 3/4" holes through studs to route the tubing; use your drill/driver for this. Install a horizontal 2x4 wood block between the studs at your marked height for the supply lines. Securely mount two 1/2" drop-ear elbows to this block. These will serve as your stub-outs. Cut the PEX tubing to the final length with a dedicated PEX cutter. To make the connection, slide a PEX crimp ring over the end of the tubing, push the tubing onto the barbed fitting of the drop-ear elbow, position the ring 1/8" to 1/4" from the end of the pipe, and compress it using a PEX crimp tool until it clicks or fully closes.

Install Nail Plates and Test System
30 minsTo protect your new plumbing, place steel nail plates on the face of any stud where water or drain pipes pass through. Hammer them into place. These prevent accidental puncture from future drywall screws. Now, test the system. For the water lines, wrap the threads of two 1/2" NPT threaded caps with Teflon tape and screw them tightly onto the drop-ear elbow stub-outs using an adjustable wrench. Go to the main water shutoff and turn it on SLOWLY. Listen for running water. Return to the bathroom and meticulously inspect every new fitting and connection for any signs of dripping or moisture. Leave the system under pressure for at least 30 minutes. For the drain, you can cap the stub-out with a test plug and fill the new pipework with water from a higher cleanout (if available) to check the solvent-welded joints.
Common Problems
Incorrect toilet placement due to misinterpreting rough-in measurements from the finished wall.
Solution: Toilet Rough-In Dimensions are typically from the finished wall surface. Read the installation instructions for your specific toilet to be sure.
Insufficient clearance behind the sink makes faucet installation and cleaning impossible.
Solution: Ensure there's 3.5 inches of clearance from the back of the sink to the wall to allow for faucet installation and cleaning.
Faucet holes are spaced incorrectly for the chosen faucet.
Solution: A 4-inch spread faucet measures 4 inches from the center of the far-left hole to the center of the far-right hole.
Incorrect faucet hole spacing leads to an incompatible or misaligned faucet installation.
Solution: An 8-inch spread faucet will have three separate holes, with the outer holes being 8 inches apart on center.
Ensure you purchase the correct faucet type (4-inch or 8-inch spread) to match the pre-drilled holes in your new sink or vanity top.
Solution: To avoid this issue: Be mindful of this warning and take appropriate precautions.
Vanity mounted too high, leaving no space for the countertop.
Solution: Mark the mounting strip location 2 inches below the desired vanity top height.
Vanity may not be securely mounted if studs are missed.
Solution: Studs are typically located 16 inches apart on center.
Frequently Asked Questions
As an "intermediate" project, how challenging is roughing in plumbing for someone with limited prior plumbing experience?
While intermediate, this project requires precision for proper drain slope, watertight PEX connections, and adherence to plumbing codes. Take your time, double-check all measurements and connections, and be prepared to consult diagrams and local regulations. Mistakes in plumbing can be very costly to fix later.
Do I need all the specialized tools listed, like the PEX crimp tool and specific tubing cutters, or are there more budget-friendly alternatives?
Specialized PEX tools are highly recommended for reliable, leak-free connections that meet code. While some PEX systems offer push-to-connect fittings, traditional crimping or expansion tools provide a more robust rough-in. Renting expensive tools like PEX crimpers can be a cost-effective alternative for a one-time project.
Is it always necessary to get a permit and have an inspection for new plumbing rough-in work like this bathroom vanity?
Yes, new plumbing installations almost always require permits and inspections to ensure safety and compliance with local building codes. Failing to obtain permits can lead to costly rework, fines, or issues when selling your home. Always check with your local building department before starting any plumbing work.
What are the most common mistakes DIYers make during a plumbing rough-in, and how can I avoid them, especially regarding leaks?
Common mistakes include improper drain slope leading to clogs, poorly sealed DWV joints, and incorrect PEX connections causing leaks. To avoid these, ensure all PVC joints are dry-fitted and then properly cemented, and that PEX connections are correctly crimped/expanded and burr-free. Always pressure-test the system thoroughly before closing the wall.
When opening the wall and drilling studs, how can I safely avoid existing electrical wires or other pipes that might be hidden?
Before any demolition or drilling, use a reliable stud finder with electrical detection capabilities to scan the wall carefully. Drill pilot holes to verify the cavity is clear before drilling larger holes for pipes. If you encounter unexpected wiring or pipes, stop immediately and assess the situation; consult a professional if unsure.
How important is the correct slope for the PVC drain lines, and what's the best way to ensure I achieve it?
Proper drain slope (typically 1/4 inch per foot) is crucial for effective waste removal and preventing clogs and standing water in the pipes. Use a spirit level or a digital level on your drain lines to verify the correct downward pitch towards the main stack. Slight adjustments with pipe hangers and fittings can help you achieve the ideal slope.


