
How to Rough-In Plumbing for a Bathroom Vanity
About This Project
This guide provides comprehensive, step-by-step instructions for roughing-in the drain and water supply lines for a new bathroom vanity. It covers planning the layout, running the drain-waste-vent (DWV) system, installing PEX supply lines, and setting the shutoff valves in preparation for drywall and final fixture installation.
Best for advanced DIYers and professionals with basic plumbing knowledge and familiarity with power tools. Requires Safety Glasses and Garden Chem Large Green 11 mil Reusable Nitrile Glove 15122-012.
Tools & Materials
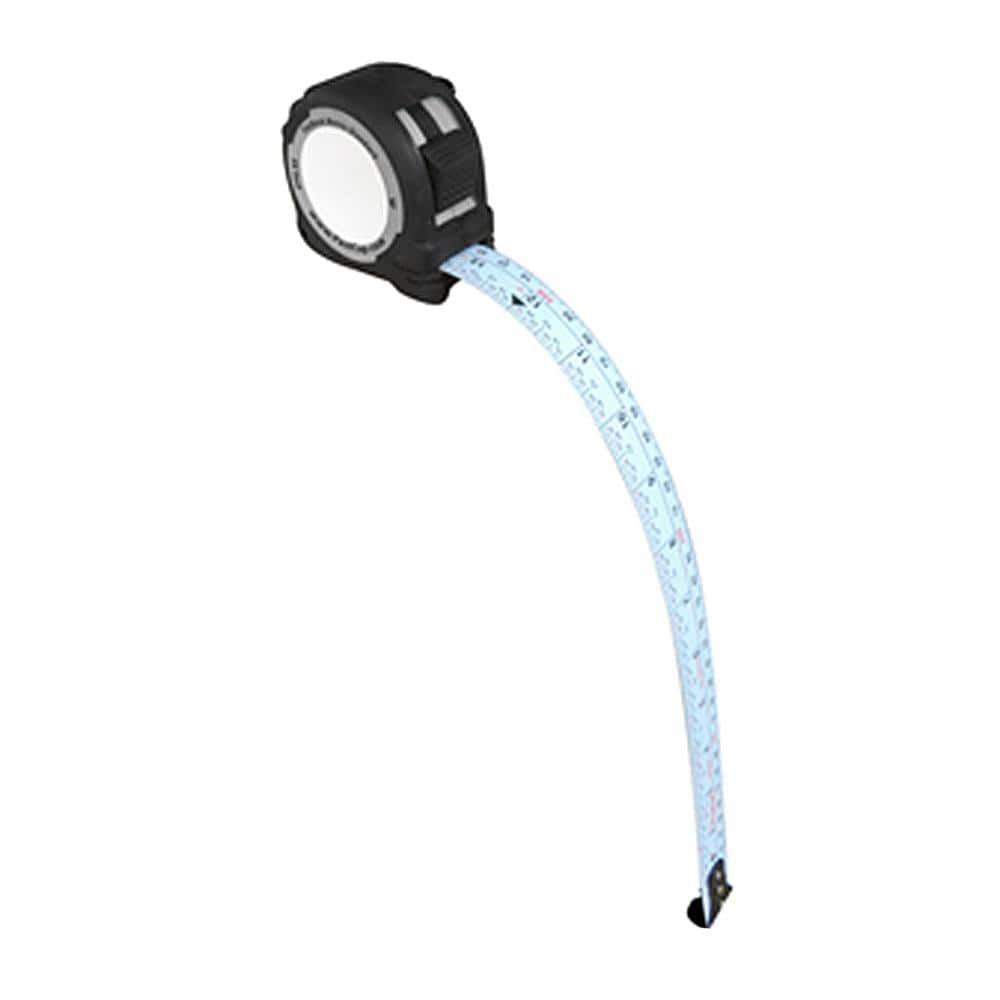
FASTCAP 16 ft. Metric/Standard Flat Back Measure Tape FC.PMS.F16

Level

LUMABASE Red Battery Operated 3D Wick Flame Taper Candles (Set of 4) 59704
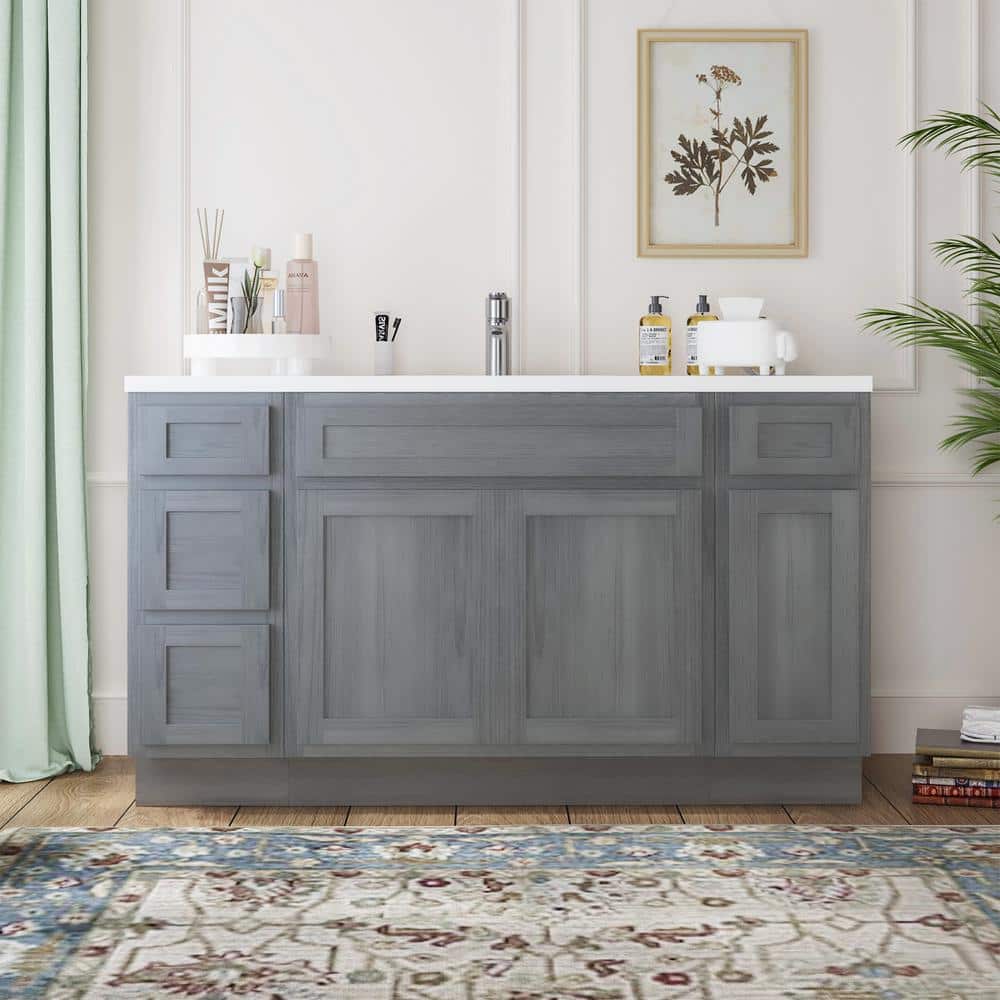
Vanity Art 57 in. W x 21 in. D x 32.5 in. H Bath Vanity Cabinet without Top in Silver VA4012-1S+12-3S+33-S
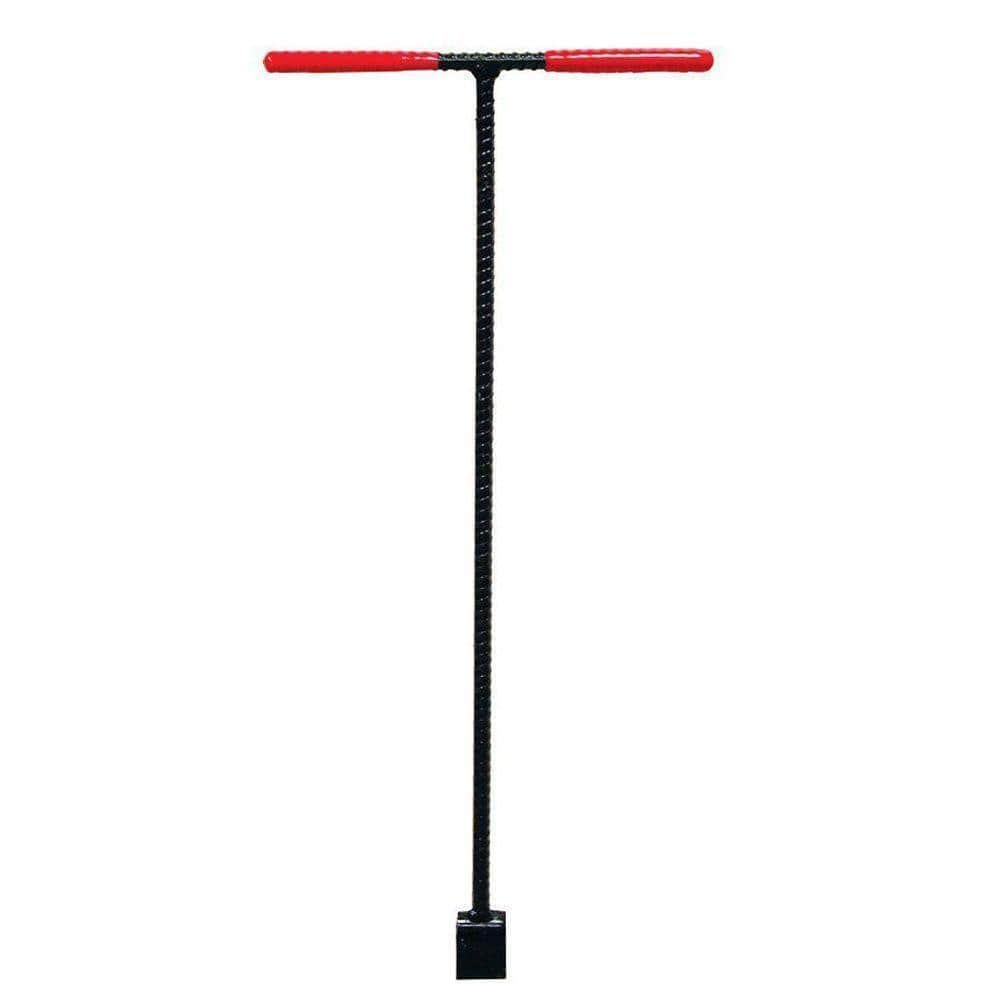
28 in. Solid Steel Water Meter Valve Key with Grips 410-302-0111

Adjustable Wrench
FASTCAP 16 ft. Metric/Standard Flat Back Measure Tape FC.PMS.F16
Face it, not all surfaces are flat. The ProCarpenter Flat back is a flexible tape for measuring curves and flat panels with precision and ease. The PMS blade style has both the metric and standard measurements
Level
Ensures surfaces are just right.
LUMABASE Red Battery Operated 3D Wick Flame Taper Candles (Set of 4) 59704
Add a touch of elegance to a special event or everyday home decor with the flickering glow of battery-operated 3D wick flame taper candles. This set of 4 red flameless candles have a pivoted flame-shaped
Vanity Art 57 in. W x 21 in. D x 32.5 in. H Bath Vanity Cabinet without Top in Silver VA4012-1S+12-3S+33-S
If you are looking for a storage piece to organize your clutter, this storage piece from Vanity Art would be a great choice. This storage piece has a neat and elegant look that matches your bathroom perfectly.
28 in. Solid Steel Water Meter Valve Key with Grips 410-302-0111
This water meter valve key was designed to turn on and off the main water supply valve for a house or building. Its extended 28 in. length is ideal for reaching into shallow meter/valve boxes. It features
Adjustable Wrench
Fits various nut and bolt sizes with its adjustable jaw.
Steps

Planning and Layout
30 minsFirst, determine the exact location and dimensions of your new vanity. Obtain the manufacturer's specification sheet or measure the vanity directly. Mark the center of the vanity on the floor and transfer this mark up the wall using a level. From this centerline, mark the standard heights: the drainpipe center should be between 16-20 inches from the finished floor. The hot and cold water supply lines should be 3-4 inches above the drain, and spaced 4-6 inches apart on either side of the drain centerline. The hot water supply (left) and cold water supply (right) should be clearly marked.

Shut Off Water and Drain System
20 minsLocate the main water shutoff valve for the house and turn it completely off. Open the lowest faucet in the house (like a basement or outdoor spigot) and the highest faucet to drain all remaining water from the supply lines. This prevents water from spilling when you cut into the existing pipes. If you are tying into an existing drain stack, ensure no water is being run from fixtures above.

Run the Drain and Vent Line
1 minThe vanity drain needs to connect to the home's main Drain-Waste-Vent (DWV) system. Using a drill with a 2-inch hole saw or auger bit, drill holes through the center of the studs leading from the vanity location to the main vertical drain stack. The holes must be pitched downwards towards the main stack at a rate of 1/4 inch per foot to ensure proper drainage. Use a level to verify the slope. Cut sections of 1.5-inch PVC pipe to run through the studs. You will need to cut into the main stack to install a new sanitary tee fitting that will accept the new vanity drain line. Dry fit all pieces first. Then, apply PVC primer to both the pipe end and the inside of the fitting, followed immediately by PVC cement, and firmly push the pipe into the fitting with a slight twist. Hold for 30 seconds.

Install the Drain Stub-Out
20 minsAt the vanity location, install a 1.5-inch PVC 90-degree elbow onto the drain arm inside the wall. Cut a short piece of 1.5-inch PVC pipe (the stub-out) long enough to extend about 4-6 inches past where the finished wall will be. Use primer and cement to glue this stub-out into the elbow. Finally, place a temporary test cap on the end of the stub-out to prevent debris and sewer gas from entering the room.

Run the Hot and Cold Water Supply Lines
45 minsUsing a drill and a 3/4-inch bit, drill holes through the studs from your hot and cold water main lines to the marked locations for the vanity supplies. Run a red 1/2-inch PEX tube for the hot supply and a blue 1/2-inch PEX tube for the cold supply through these holes. Leave several extra feet of tubing at both ends for flexibility. Secure the PEX tubing to the studs every 16-24 inches using PEX clamps or talons to prevent movement and noise.

Install Supply Stub-Outs and Shutoff Valves
1 minInstall a piece of 2x6 or 2x8 lumber horizontally between the studs at the height of your water supply marks. This is called backing and provides a solid mounting point. Secure two 1/2-inch PEX drop-ear elbows to the backing with wood screws at your marked locations. Cut the PEX tubing to length and connect them to the elbows using a PEX crimp tool and stainless steel crimp rings. Slide a crimp ring over the pipe, insert the pipe into the fitting, position the ring 1/8 to 1/4 inch from the end of the pipe, and compress it with the crimp tool until it clicks. Finally, wrap the threads of the drop-ear elbows with Teflon tape and screw on the 1/4-turn angle stops (shutoff valves) until they are hand-tight plus a quarter turn with a wrench.

Test the System for Leaks
30 minsWith the drain capped and the new angle stops in the closed position, you can now test for leaks. Go back to the main water shutoff valve and turn it on slowly to allow the pipes to fill gradually, which prevents water hammer. Return to the bathroom and carefully inspect all the new PEX connections and the threaded connections at the angle stops. Look and feel for any signs of moisture. For a more thorough test required by some codes, you can attach a pressure test gauge to one of the angle stops or an outdoor spigot and pressurize the system to check for any pressure drop over time.

Install Nail Plates
15 minsOnce you have confirmed there are no leaks, the final step is to protect your new plumbing. Install steel nail plates on the front edge of any stud where water or drain pipes pass through. These plates are hammered into the wood and will prevent future drywall screws or nails from accidentally puncturing your pipes. Your rough-in is now complete and the wall is ready for insulation and drywall.
Common Problems
Failure to shut off the water and relieve pressure will result in a significant water spray when the pipe is cut.
Solution: To avoid this issue: Be mindful of this warning and take appropriate precautions.
Gate valves can fail, leading to leaks or incomplete shut-off.
Solution: Ball valves are generally more reliable for a complete shut-off compared to older gate valves, which can fail or leak.
Confirm the water is completely off before proceeding to cut any pipes.
Solution: To avoid this issue: Be mindful of this warning and take appropriate precautions.
Failure to shut off the main water supply will result in a flood when you open the valve.
Solution: To avoid this issue: Be mindful of this warning and take appropriate precautions.
Failure to shut off the water supply before starting will result in significant water damage.
Solution: To avoid this issue: Be mindful of this warning and take appropriate precautions.
Failing to turn off the main water supply will result in uncontrolled water flow and potential flooding when you remove the cartridge.
Solution: To avoid this issue: Be mindful of this warning and take appropriate precautions.
Pipes vibrate loose, causing leaks and damage.
Solution: Secure pipes with clamps to the floor or structure to prevent damage from vibration, especially in a mobile environment like an RV.
Frequently Asked Questions
How difficult is it to rough-in plumbing for a vanity, and how long should I expect it to take?
This project is rated "intermediate" because it requires precise measurements, proper pipe joining techniques, and an understanding of plumbing codes. For a DIYer with some experience, expect 8-16 hours of work, depending on existing wall access and any unforeseen issues. Costs can range from $150-$300 for materials, assuming you already own basic tools.
What are the most crucial safety precautions I should take when roughing-in plumbing?
Always shut off the main water supply before cutting into existing lines to prevent flooding. Wear appropriate personal protective equipment (PPE) like safety glasses, gloves, and hearing protection, especially when using power tools like drills and hole saws. Be mindful of electrical wires inside walls when drilling or cutting.
The guide mentions PEX for supply lines; can I use copper or CPVC instead, and what are the pros of PEX?
While copper and CPVC are alternatives, PEX is often preferred for DIY projects due to its flexibility, ease of installation (fewer fittings, no soldering), and resistance to freezing. However, PEX requires specific crimp or expansion tools. If you're comfortable with soldering, copper is a durable choice, and CPVC offers a rigid, solvent-weld option.
What are the most common mistakes DIYers make when roughing-in a vanity's drain and supply lines?
A common mistake is incorrect drain slope, leading to clogs – ensure a 1/4 inch per foot slope for DWV lines. Another error is misplacing supply stub-outs, making fixture installation difficult; always double-check vanity and sink specifications. Also, failing to properly prime and cement PVC joints can cause leaks.
Do I need all the specialized PEX tools listed, like the crimp tool, or are there simpler options?
Yes, if you choose PEX-B (as listed in materials), a PEX crimp tool is essential for secure connections. For PEX-A, an expansion tool is needed. While there are push-to-connect fittings (like SharkBite) that require no special tools, they are typically more expensive per fitting. The listed tools ensure robust, code-compliant connections.
How do I ensure my drain and supply stub-outs are at the correct height and spacing for my specific vanity and sink?
Before rough-in, always measure the exact dimensions and specifications of your chosen vanity, sink, and faucet. Typically, the drain stub-out should be 18-24 inches from the floor, and supply lines 2-4 inches above the drain, spaced 4-8 inches apart. Use a level and mark precise locations on the studs based on your fixtures' requirements.
What's the best way to thoroughly test the plumbing system for leaks before covering the walls with drywall?
For DWV, cap all open ends and fill the system with water, letting it sit for several hours (or overnight) to check for drips. For the PEX supply lines, pressurize the system with water and visually inspect every connection. For both, run a dry paper towel along joints to easily detect any moisture. Don't skip this crucial step!


