

How to Replace a Shower Arm
About This Project
This guide provides detailed instructions for safely removing an old shower head and shower arm, cleaning the wall fitting, and installing a new shower arm and head. The process involves using basic plumbing tools and thread sealant to ensure a leak-free connection.
Best for experienced DIYers and homeowners with some experience with basic plumbing knowledge.
Tools & Materials
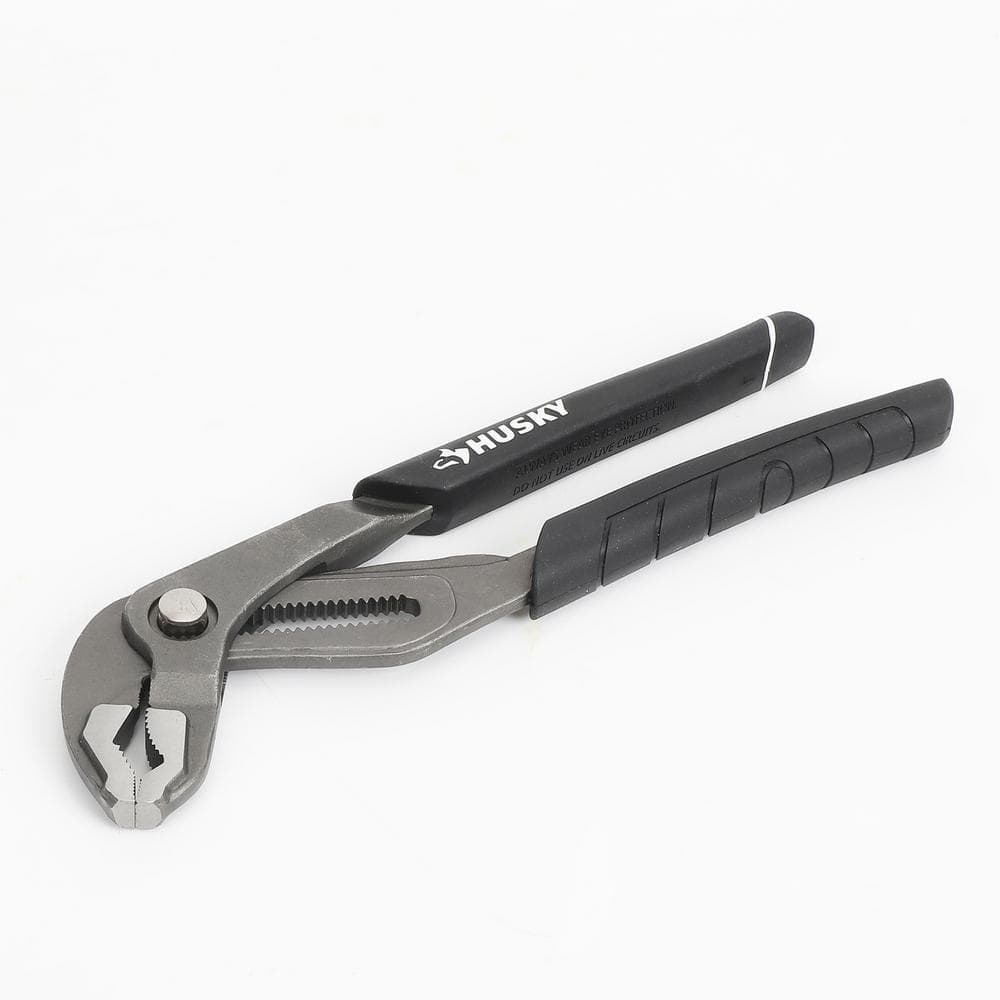
Husky 10 in. Quick Adjusting Groove Joint Pliers with Curved Jaw 90141
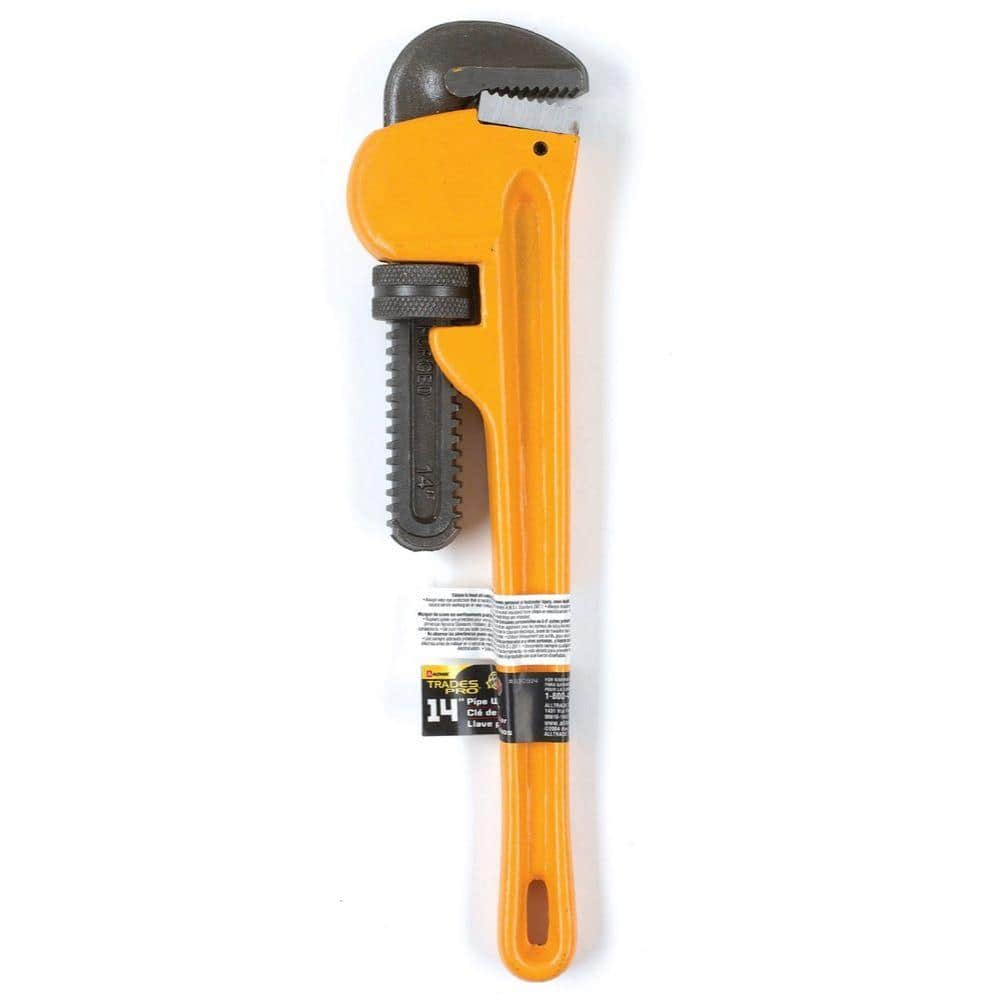
TradesPro 14 in. HD Pipe Wrench 830914
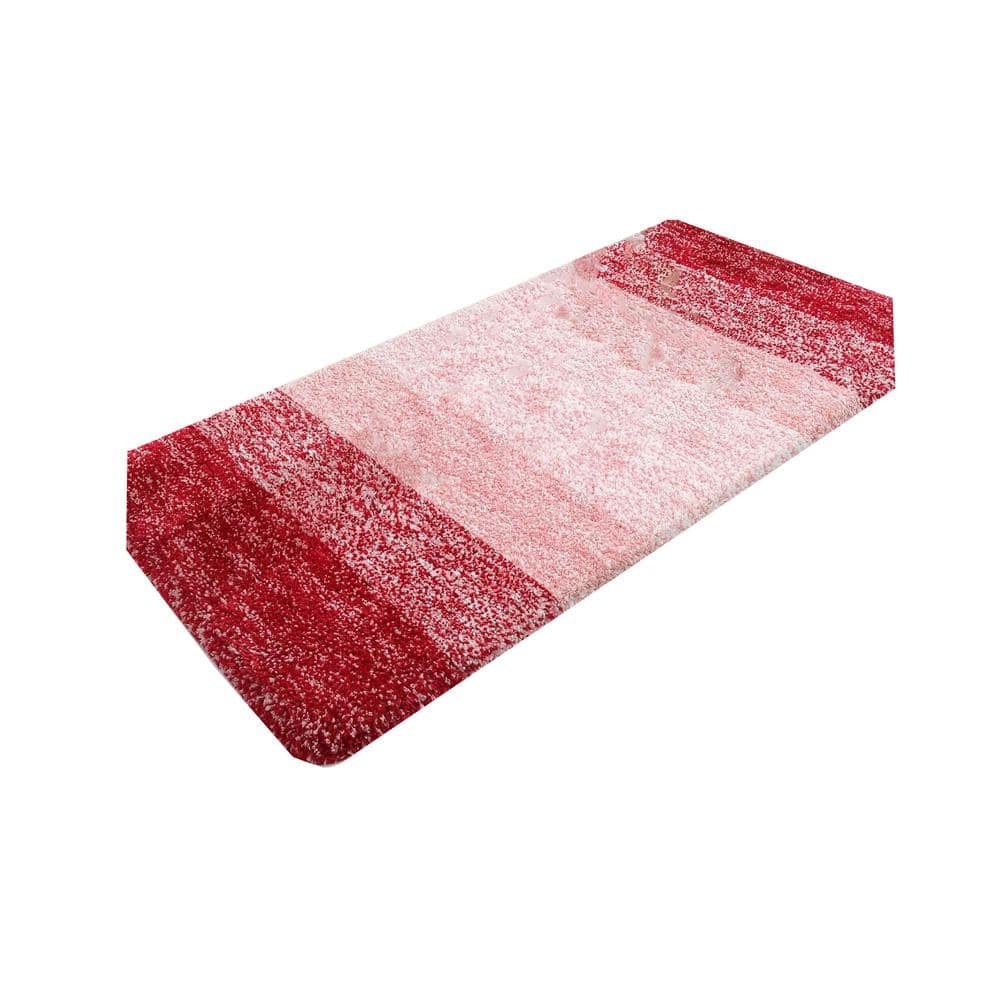
Afoxsos 59 in. x 20 in. Red Stripe Microfiber Rectangular Shaggy Bath Rugs SNPH004IN316
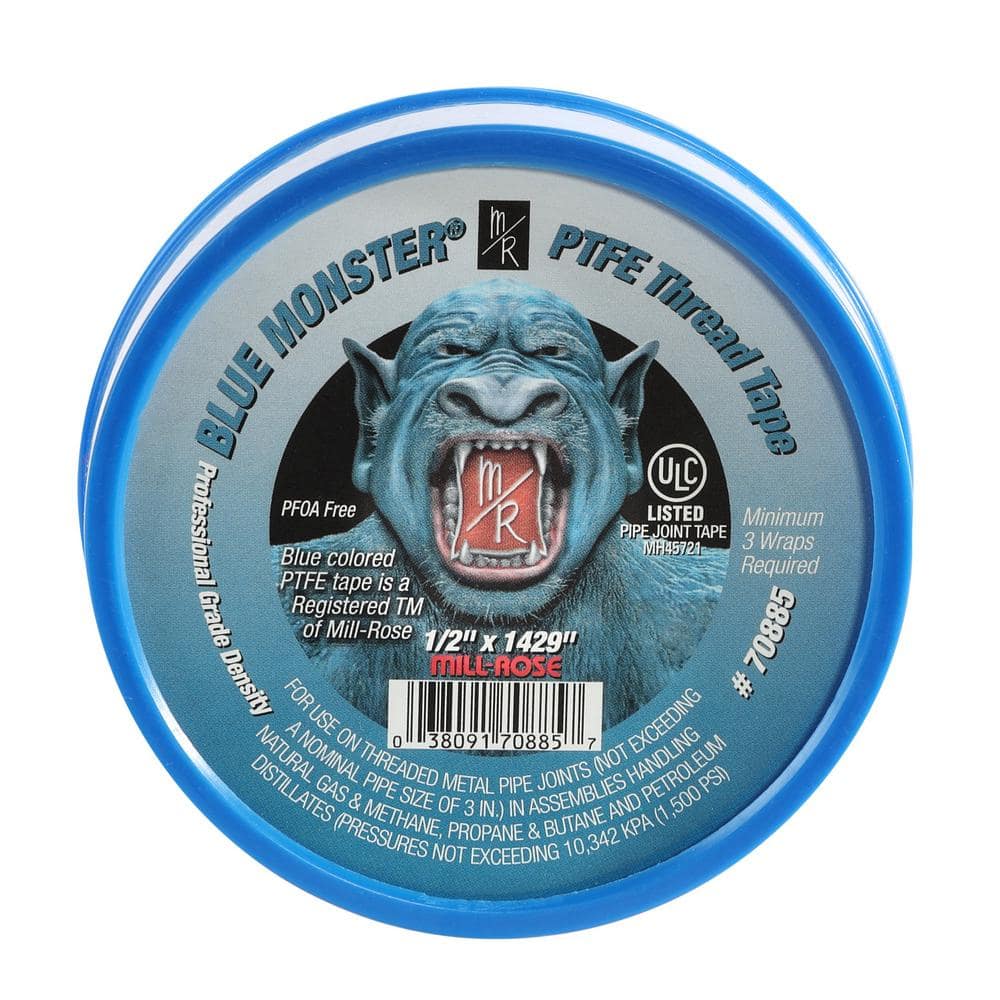
Blue Monster 1/2 in. x 1429 in. PTFE Thread Seal Tape 70885
Westbrass 8 in. S-Shaped Shower Arm, Polished Chrome D303-81-26
JONES STEPHENS 3 in. O.D. Bell Pattern Escutcheon for 1-1/4 in. Tubular in Brushed Nickel E0812BN
Husky 10 in. Quick Adjusting Groove Joint Pliers with Curved Jaw 90141
The Husky quick adjusting groove joint pliers are easier to adjust for the perfect fit. At the touch of a button, the jaws can be moved to quickly fit a fastener without having to guess which the appropriate
TradesPro 14 in. HD Pipe Wrench 830914
A simple tool that's simply irreplaceable around the house, yard, garage and worksite. Nothing works better at biting, clamping and turning stubborn pipes, fittings and more. This wrench has all the essentials
Afoxsos 59 in. x 20 in. Red Stripe Microfiber Rectangular Shaggy Bath Rugs SNPH004IN316
This Toilet Rugs appear to be designed for use in the bathroom, specifically around the base of a toilet. To use these rugs, simply place them around the base of your toilet to provide a soft and absorbent
Blue Monster 1/2 in. x 1429 in. PTFE Thread Seal Tape 70885
Blue Monster PTFE Thread Seal Tape is a blue color-coded, professional-grade density thread sealing tape for thousands of applications. Blue Monster is not to thick and not too thin. It was developed by Mill-Rose in response to the demand for a higher-quality PTFE thread sealing tape that is easier to apply ensuring dependable, leak-proof joints. Use Blue Monster on threads made from galvanized steel, iron, brass, copper, aluminum, stainless steel, polyethylene, polypropylene, PVC, CPVC, ABS, fiberglass and more. Blue Monster is suitable for use on lines carrying diluted acids, compressed air, alcohol, aliphatic acid, ammonia, aromatic solvents, chlorinated solvents, cutting oils, diesel fuel oils, ethylene glycol, fatty acids, gasohol, glycerin, heating oils, hydraulic oils, hydrogen, jet fuel, kerosene, ketones, LPG, mineral oils, natural gas, nitrogen, petroleum solvents, soap, steam, vegetable oils, potable water.
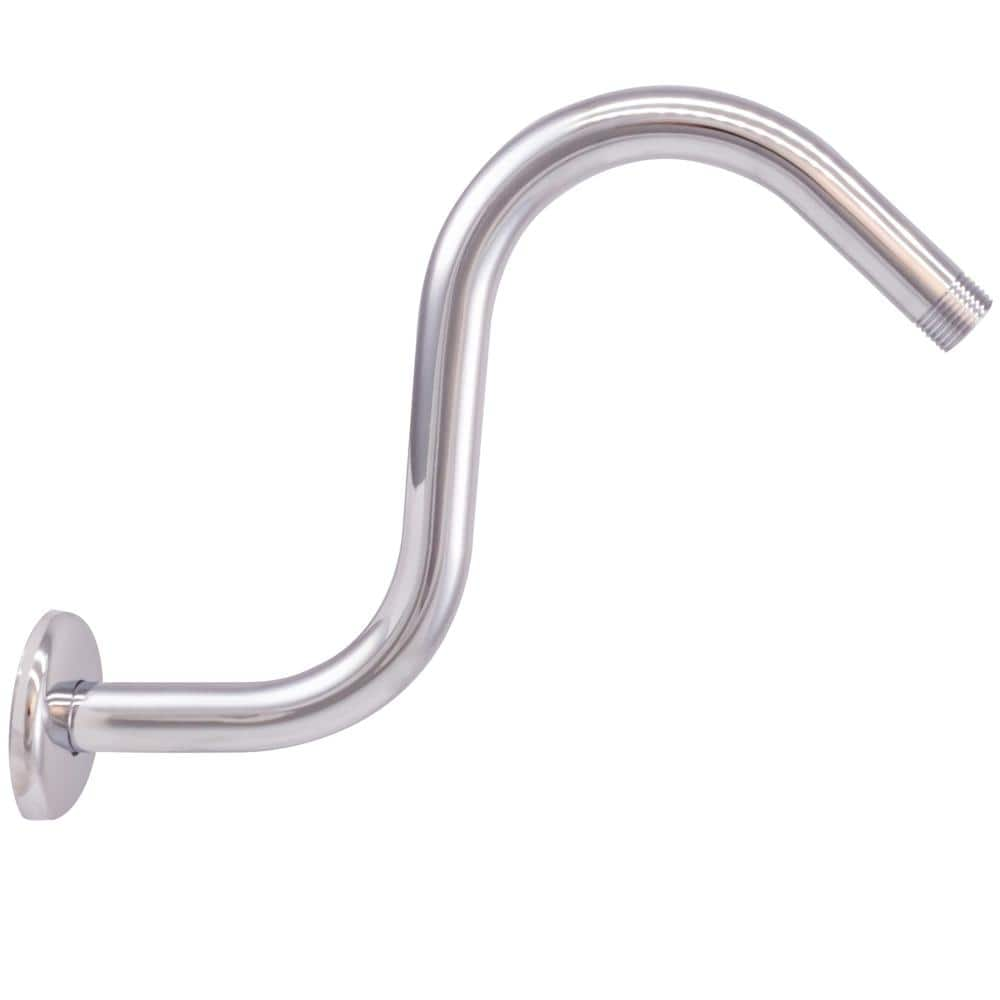
Westbrass 8 in. S-Shaped Shower Arm, Polished Chrome D303-81-26
This 8 in. wall-mounted S-shaped shower arm with flange from Westbrass is the last piece you are looking for to complete your shower installation. It mounts to the wall at a 90° angle and lifts up to raise the shower head. Available in many stylish finishes, this item is sure to complement your existing fixtures. A Sure Grip shower flange, finishes the installation. Designed to extend shower head into the shower for easy bathing.
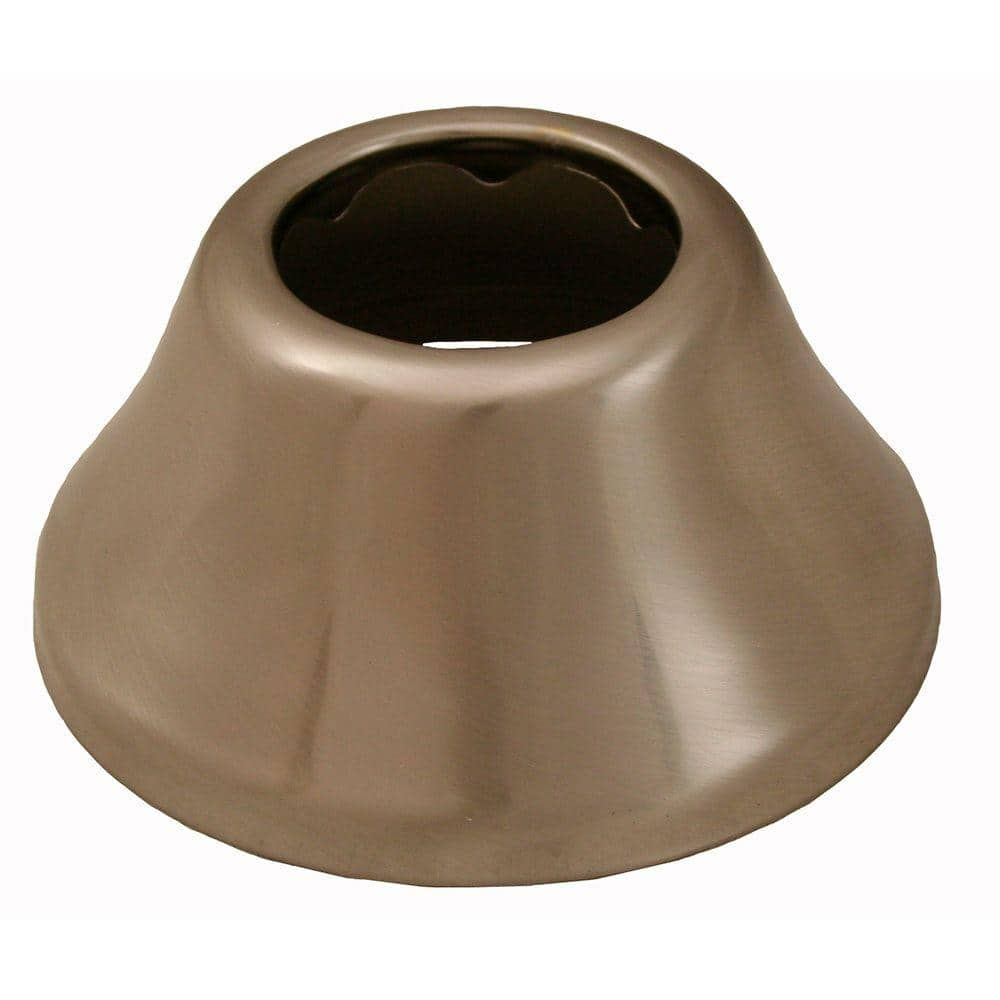
JONES STEPHENS 3 in. O.D. Bell Pattern Escutcheon for 1-1/4 in. Tubular in Brushed Nickel E0812BN
Update your bathroom with the Jones Stephens Bell Pattern Escutcheon. This escutcheon lays flat against a surface. It is excellent for covering the gap between the outside diameter of the tubular drainage
Steps
Gather Tools and Supplies
5 minsBefore starting, gather all necessary tools and supplies. You will need a pair of adjustable pliers or a pipe wrench to remove the old components, a rag or soft cloth to protect finishes, a new roll of Teflon tape (also known as thread seal tape) for sealing the new connections, and potentially a small utility knife or pick to clean old tape from the wall fitting. Having everything ready will make the process smoother and prevent trips to the hardware store mid-job. Lay out your new shower arm, escutcheon, and shower head to ensure you have all the parts.

Protect the Work Area
2 minsPlace a thick towel or a rubber mat on the floor of the shower or tub. This serves two purposes: it protects the surface from being scratched or chipped if you accidentally drop a tool, and it will cushion the fall of the old shower head and arm. Also, place a smaller rag or cloth over the drain opening to prevent any small parts, like the old washer from the shower head or chunks of old tape, from falling down the drain and causing a clog.

Remove the Old Shower Head
5 minsUnscrew the existing shower head from the shower arm. Most of the time, this can be done by hand by turning it counter-clockwise. If it's too tight, wrap a rag around the connecting nut on the shower head to protect its finish, then use adjustable pliers to grip it and turn it counter-clockwise. Once it's loose, finish unscrewing it by hand and set it aside.

Remove the Old Shower Arm
10 minsThe shower arm is threaded into a fitting inside the wall. First, try to remove the decorative flange, or escutcheon, at the wall. It may be loose, held by friction, or sealed with caulk. If caulked, carefully score the caulk with a utility knife before pulling it away. Now, grip the shower arm pipe itself with adjustable pliers or a pipe wrench. To provide a better grip and protect any surrounding tile, wrap a rag around the pipe first. Turn the entire arm counter-clockwise to unscrew it from the wall fitting. Apply firm, steady pressure. Be careful not to apply excessive force that could break the fitting in the wall. You will need several full rotations to remove it completely.

Clean the Female Threads
5 minsOnce the old arm is removed, look inside the fitting in the wall (this is called a drop-ear elbow). You will likely see remnants of old Teflon tape, pipe dope, or mineral deposits. It is crucial to clean these threads thoroughly. Use a small pick or the tip of a utility knife to carefully pick out any old tape or sealant. Then, use a small wire brush or an old toothbrush to scrub the threads clean. Finally, wipe the inside of the fitting with a damp rag to remove any loose debris. A clean surface is essential for a good seal with the new arm.

Prepare and Install the New Shower Arm
5 minsTake your new shower arm and slide the new escutcheon (flange) onto the end that will go into the wall. Now, take your roll of Teflon tape. Holding the threaded end of the shower arm, wrap the tape clockwise around the threads 3 to 4 times. Wrapping clockwise ensures the tape tightens as you screw the arm in, rather than unraveling. The tape should be snug and conform to the threads. Now, insert the threaded end into the wall fitting and begin turning it clockwise by hand. Continue to hand-tighten until it is snug and pointing in the correct downward direction. If it's not tight enough when it's properly aligned, give it one more full turn with your pliers (using a rag to protect the finish). Do not overtighten. Slide the escutcheon flush against the wall.
Install the New Shower Head
3 minsWith the new shower arm securely in place, it's time to install the new shower head. Most new shower heads come with a rubber washer or o-ring; ensure it is properly seated inside the connecting nut. Screw the shower head onto the threads of the new shower arm in a clockwise direction. In most cases, you can hand-tighten it sufficiently to create a seal. If the manufacturer's instructions recommend it, or if it leaks when testing, you can give it a slight final turn (about a quarter-turn) with adjustable pliers, using a rag to protect the finish.

Check for Leaks
5 minsTurn on the water supply to the shower and observe the connections. Check carefully for any drips or leaks at the point where the shower arm enters the wall and where the shower head connects to the arm. Let the water run for a minute or two. If you see any leaks at the shower head connection, try tightening it slightly more. If a leak persists at the wall connection, you will need to turn off the water, unscrew the arm, and re-apply the Teflon tape, ensuring the threads in the wall were perfectly clean and that you used enough tape.
Common Problems
Cross-threading the shower arm can damage the fitting.
Solution: Hand-tighten first to avoid cross-threading, then use tools for the final turn.
Do not overtighten as this can damage the fittings or the showerhead.
Solution: To avoid this issue: Be mindful of this warning and take appropriate precautions.
Scratched or damaged new showerhead finish.
Solution: Use a rag to protect the finish of the new showerhead from the pliers.
Do not overtighten, as it could damage the threads or the fixture.
Solution: To avoid this issue: Be mindful of this warning and take appropriate precautions.
Scratching the chrome finish on the shower arm during removal.
Solution: Use a cloth between the pliers and the shower arm to prevent scratching the chrome finish.
Scratched chrome finish on shower arm when removing old fixture.
Solution: Place a rag or cloth between the pliers and the showerhead nut to avoid scratching the chrome finish, in case you want to reuse or save the old fixture.
Leaky shower arm connection due to improper thread sealing.
Solution: Wrap Teflon tape 3-4 times around the threads in a clockwise direction. This ensures the tape tightens as you screw the fitting on.
Frequently Asked Questions
What should I do if my old shower arm is stuck and won't unscrew easily?
If the old shower arm is stubborn, try applying some penetrating oil around the threads and letting it sit for a few minutes. Use your pipe wrench with firm, steady counter-clockwise pressure. You might need a longer handle or cheater bar for added leverage, but be careful not to overtighten and damage the in-wall fitting.
How can I prevent leaks after installing the new shower arm?
The most crucial step is properly applying thread sealant. Wrap 3-5 layers of Blue Monster PTFE Thread Seal Tape clockwise around the new shower arm's threaded end before screwing it in. Ensure the female threads inside the wall fitting are thoroughly cleaned of old tape or debris with a wire brush or pick tool for a tight seal.
What's the most important safety precaution I need to take before starting this project?
Always turn off the main water supply to your house or at least the specific bathroom before beginning any work. This prevents accidental flooding and allows you to work safely without water pressure. Double-check that the water is off by turning on another faucet nearby.
How long should this project take for a beginner, and what's the typical cost saving compared to hiring a plumber?
For a beginner, this project typically takes 30-60 minutes, assuming you have all the tools and materials ready. Doing it yourself can save you significantly, as plumber call-out fees and labor for such a simple job can range from $100-$300, while materials often cost under $50.
My new shower arm doesn't sit flush with the wall, or there's a gap. What went wrong?
A gap often means the escutcheon plate (the decorative flange) isn't sitting correctly or the wall opening is too large. Ensure the escutcheon is slid fully onto the shower arm and pressed firmly against the wall. If the hole is oversized, you might need a larger escutcheon or some caulk behind it to fill the void and prevent water intrusion.
Do I absolutely need all the specific tools listed, like the Husky and KNIPEX pipe wrenches?
While the listed tools are recommended for their quality and specific functions, you can often get by with a single sturdy pipe wrench or large adjustable wrench. The key is having tools that provide sufficient grip and leverage without stripping or damaging the fittings. A robust pick tool is also essential for cleaning old threads.


