How to Replace a Garbage Disposal: A Step-by-Step DIY Guide
About This Project
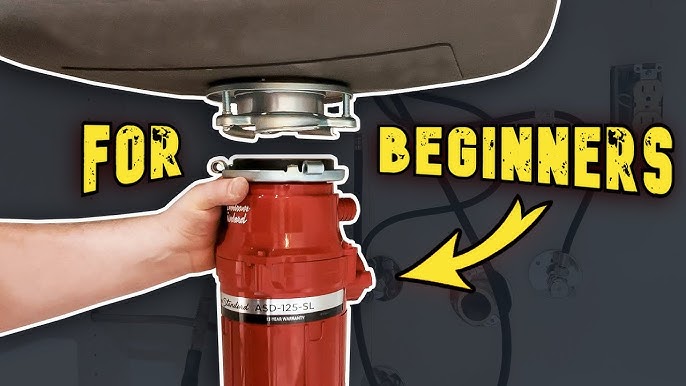
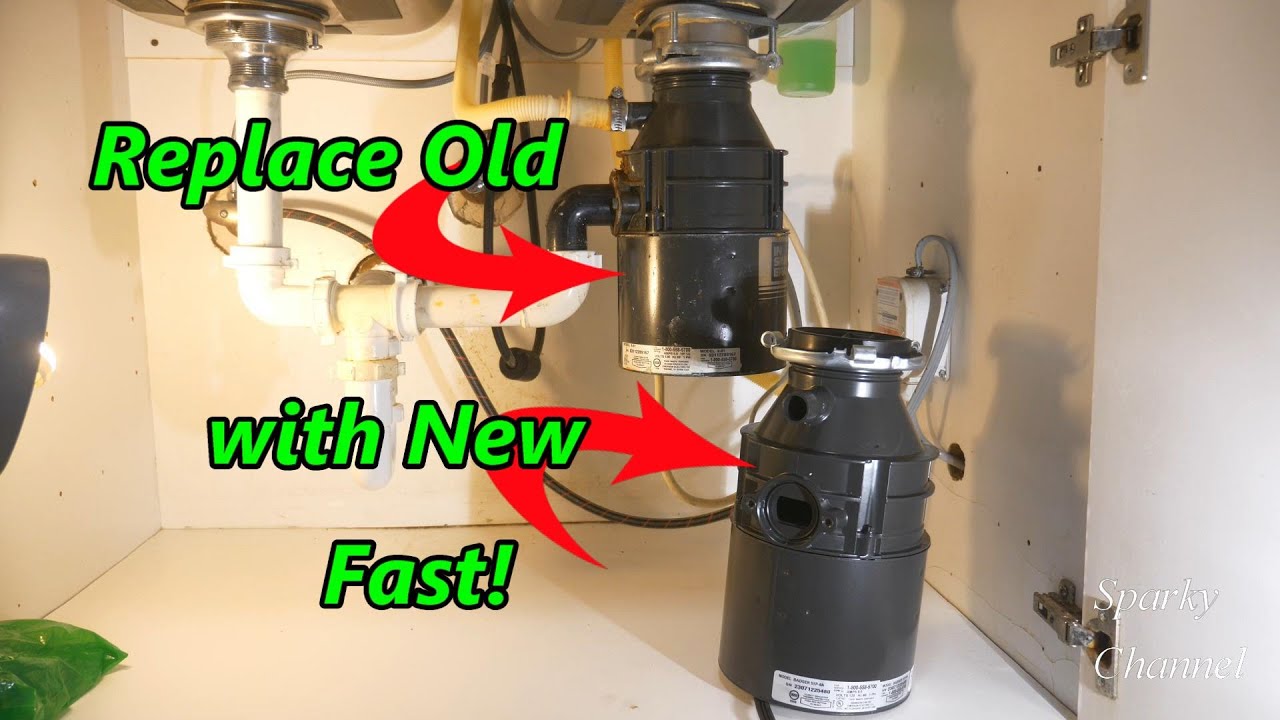
This DIY guide demonstrates how to replace a garbage disposal unit. The process begins by disconnecting the power at the circuit breaker and the water supply. Next, the plumbing, including the dishwasher drain and discharge pipe, is disconnected, followed by detaching the old unit from the sink flange using a disposal wrench. The final step involves installing the new disposal, connecting the plumbing and wiring securely, and testing for leaks and proper function.
Best for experienced DIYers and homeowners with some experience.
Tools & Materials
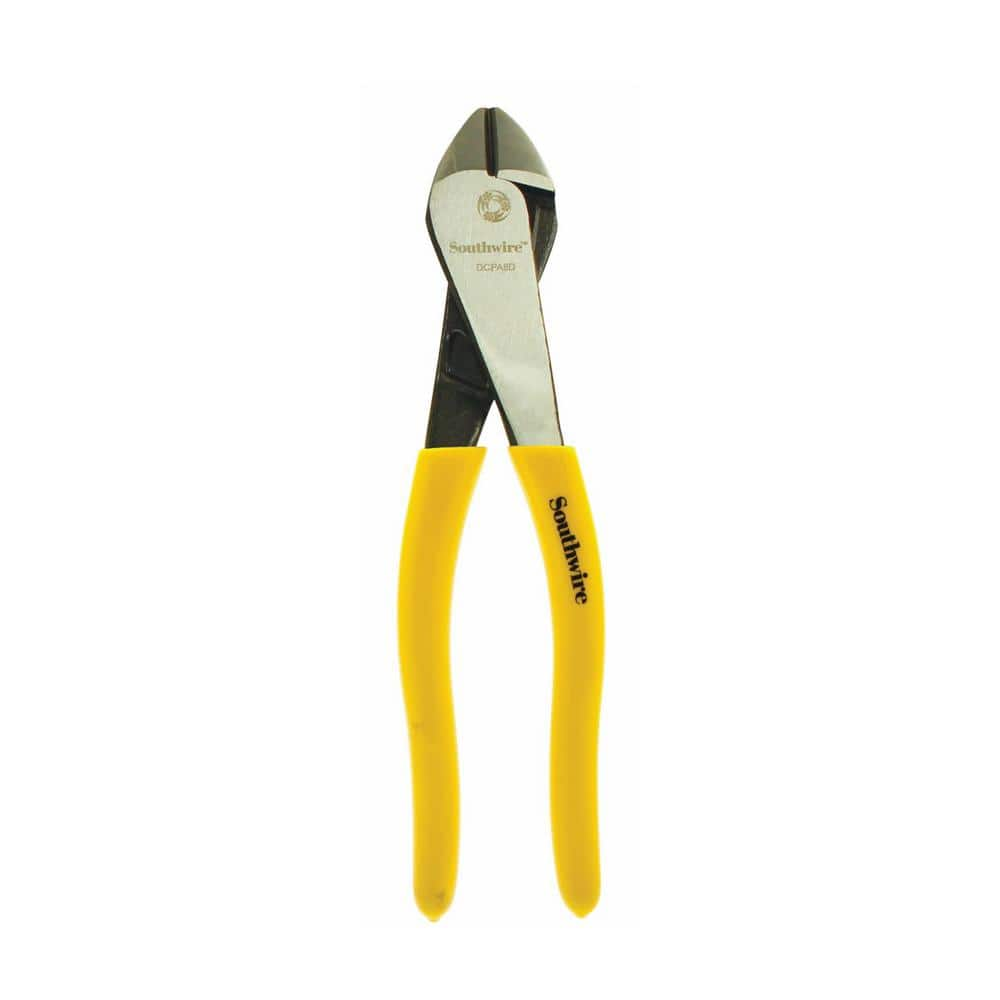
Southwire 8 in. Angled Head High-Leverage Diagonal Cutting Pliers with Dipped Handles 58289540

Unger 6 Gal. Heavy-Duty Plastic Bucket DB02
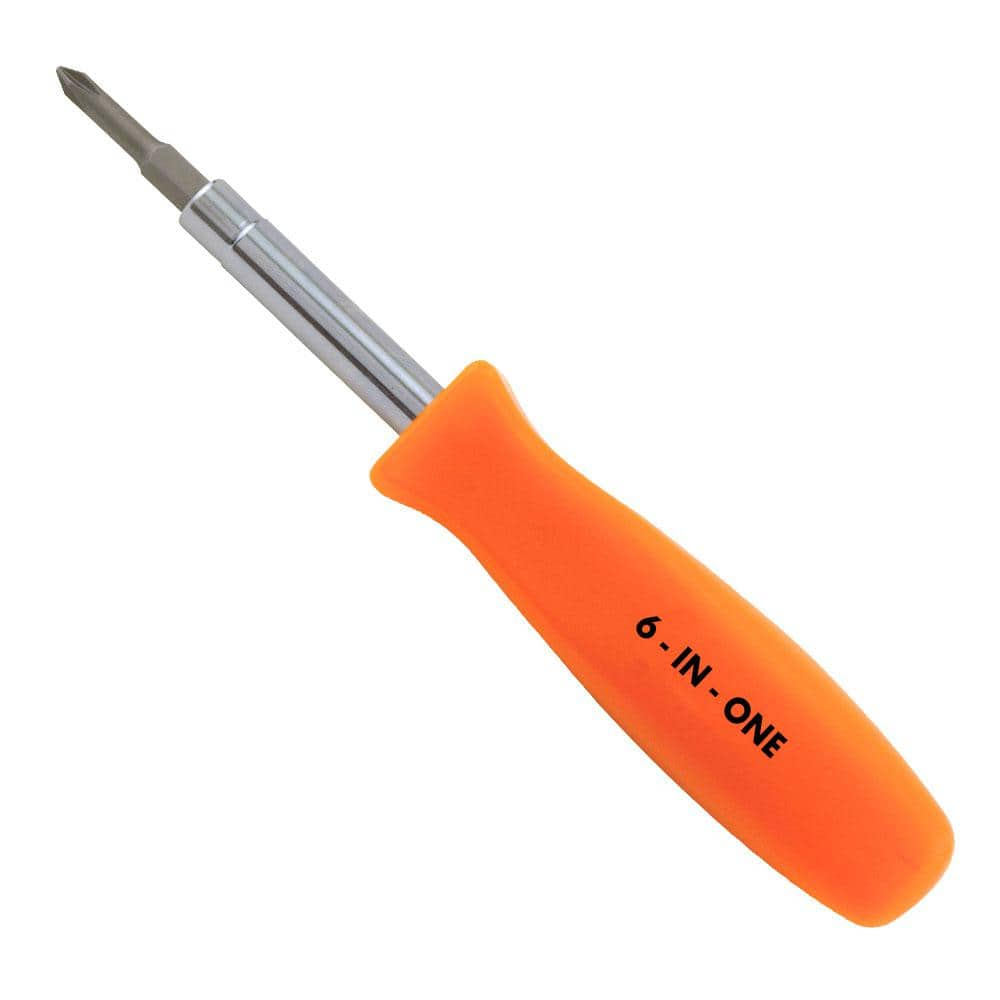
HDX 3-1/4 in. 6-in-1 Screwdriver 120SD12D
Southwire 8 in. Angled Head High-Leverage Diagonal Cutting Pliers with Dipped Handles 58289540
Made from drop forged steel, these 8 in. angled head diagonal cutting pliers come with plastic dipped handle. The high-leverage, hot-riveted pivot joint ensures smooth action and no handle wobble. The
Unger 6 Gal. Heavy-Duty Plastic Bucket DB02
The Unger 6-Gallon Heavy-Duty Professional Cleaning Bucket holds more than 6 Gal. of liquid. The bucket can accommodate a scrubber up to 14 in. L. This bucket features measurement marks and 2-pour spouts
HDX 3-1/4 in. 6-in-1 Screwdriver 120SD12D
The HDX 3-1/4 in. 6-in-1 Screwdriver features double-sided bits with the four most common screwdriver tip styles, including a #1 Phillips bit, a #2 Phillips bit, a 3/16 in. flathead bit and a 1/4 in. flathead bit. Both ends of the shaft can be used as 1/4 in. nut drivers when the bits are removed, offering convenient, versatile use. The high-visibility orange handle makes the handy tool easy to find on a job site or in a toolbox.
Steps
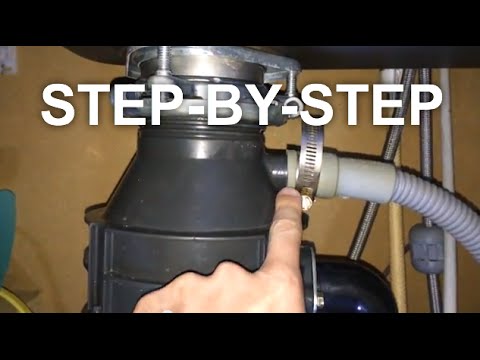
Disconnect Power: Safety First!
15 minsBefore starting any work, prioritize safety. Turn off the power to the garbage disposal at the circuit breaker. Double-check the power is off using a non-contact voltage tester. Then, shut off the water supply to the unit using the shut-off valves under the sink.
Watch: Safety Preparations
Disconnect Plumbing: Prepare for Removal
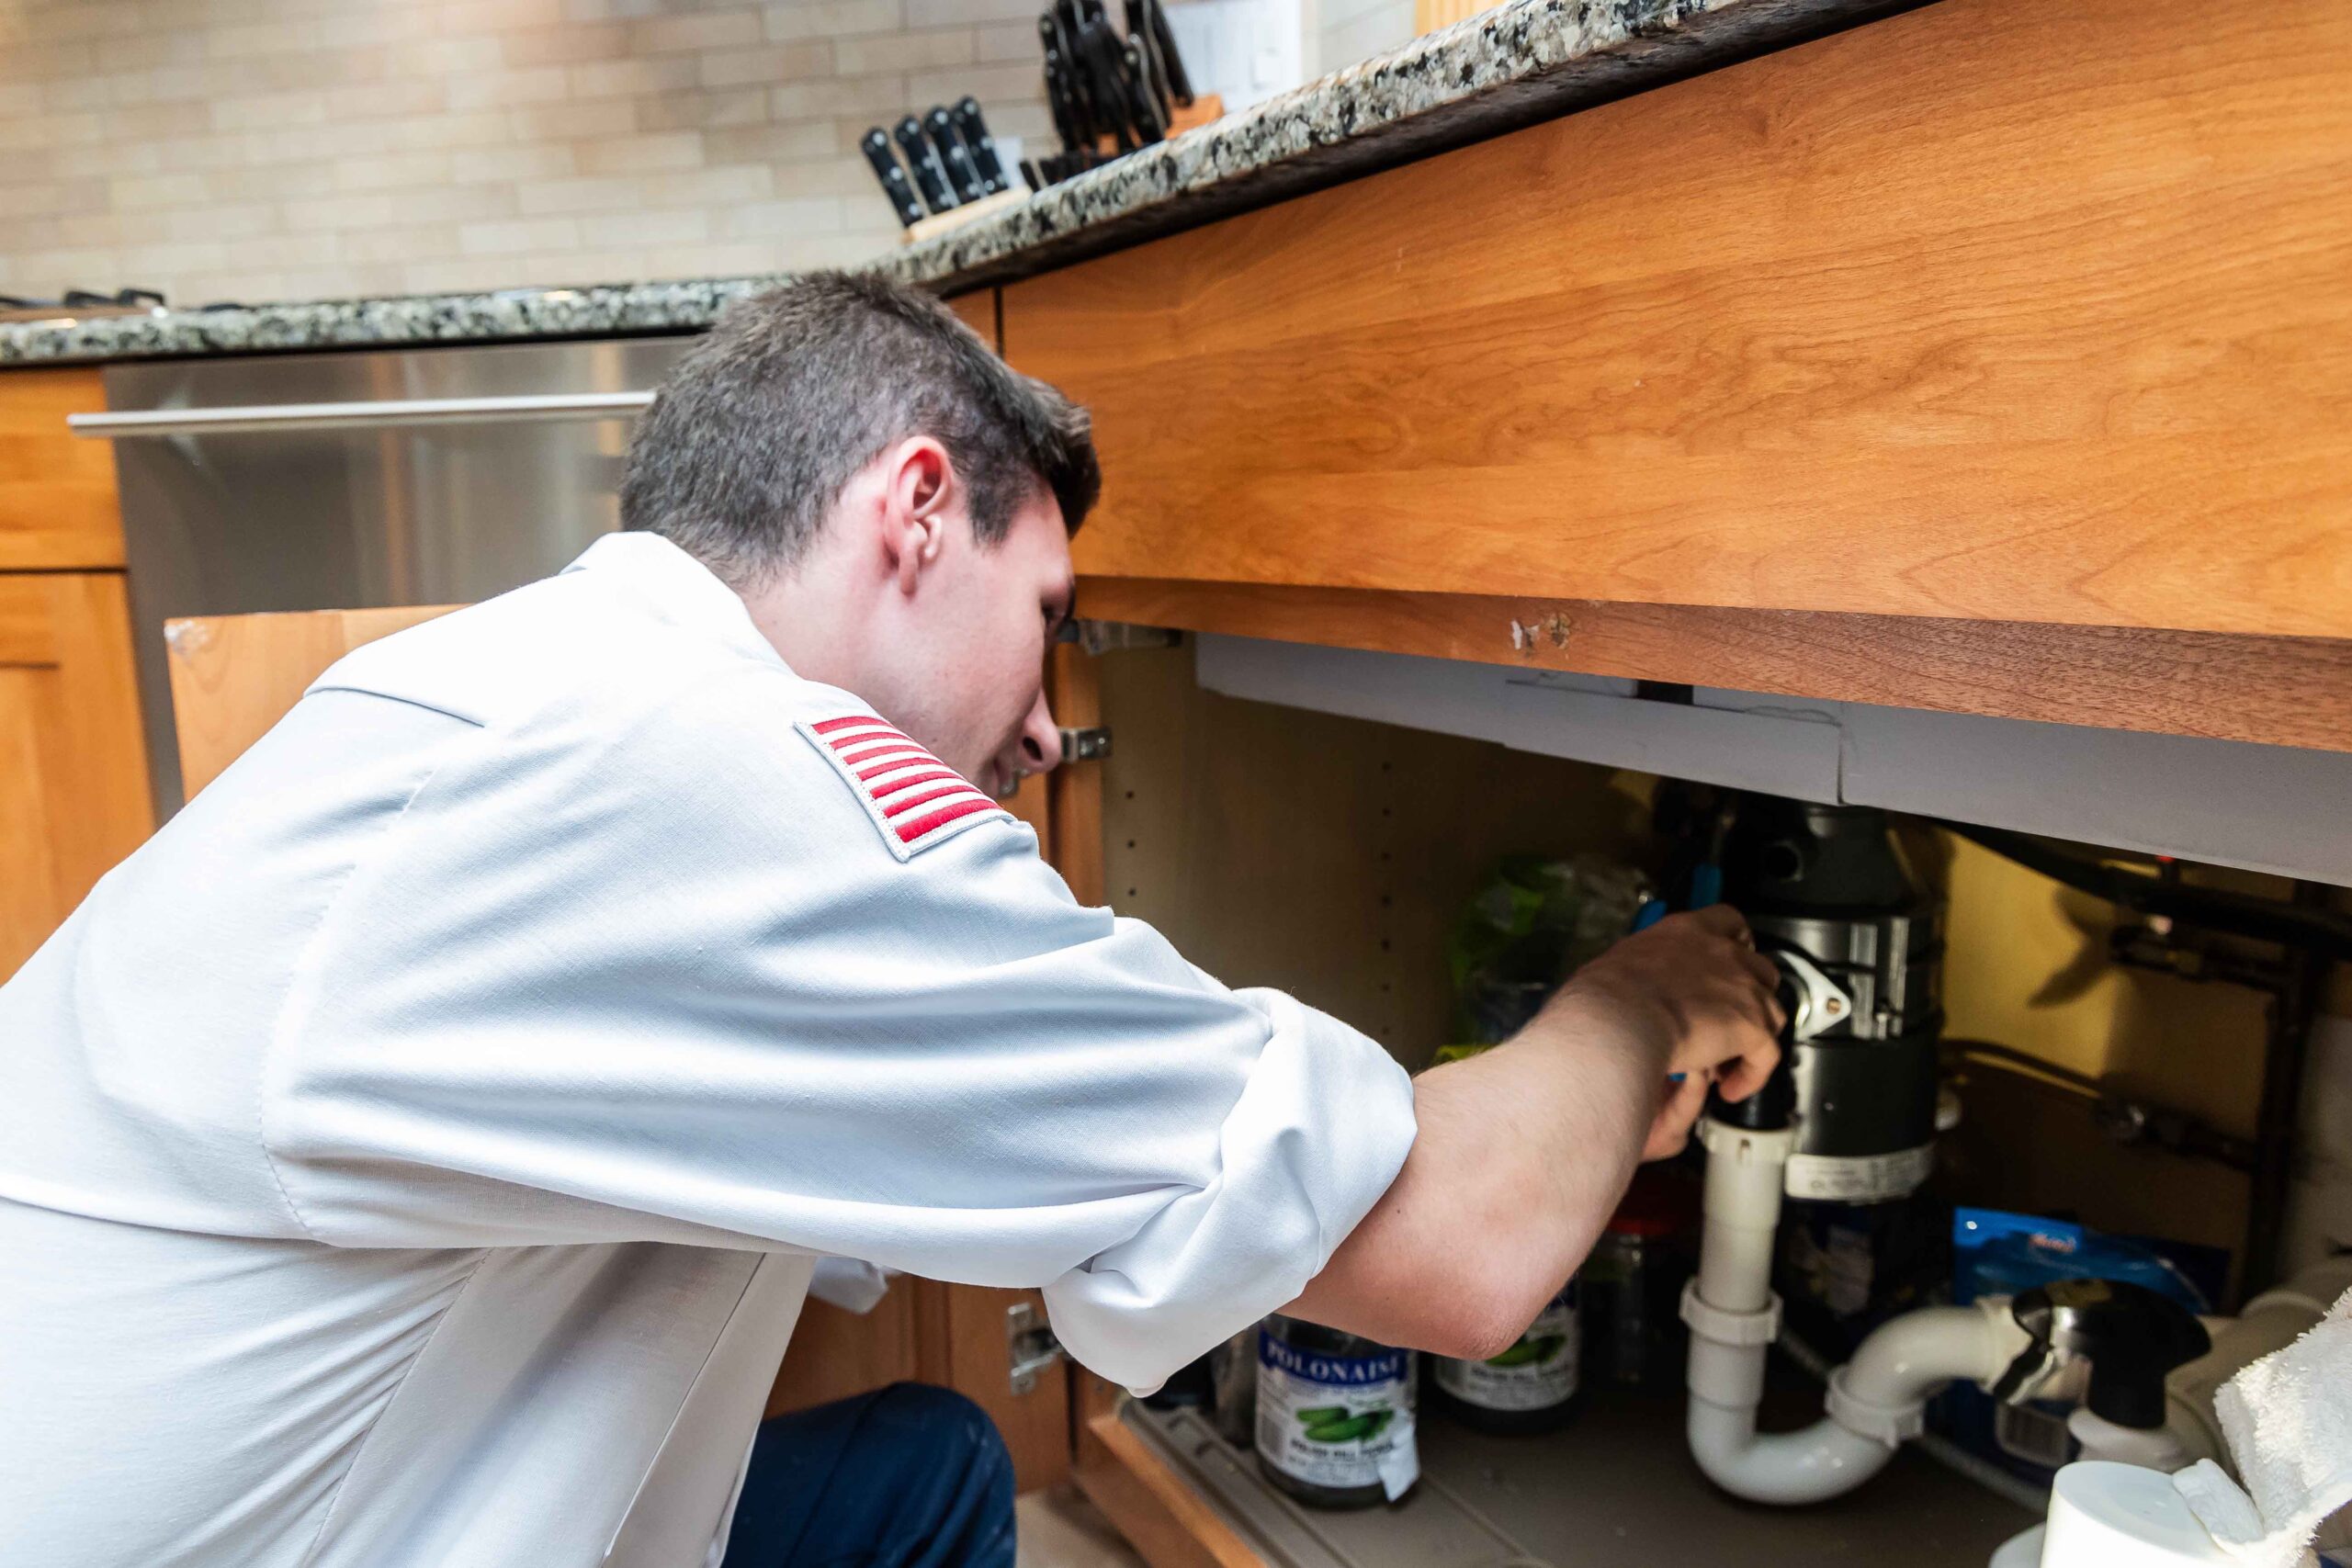
20 minsPlace a bucket under the disposal to catch any remaining water. Disconnect the dishwasher drain line (if applicable) and the discharge pipe from the disposal unit. Use pliers to carefully loosen any slip nuts or clamps. If using a P-trap, disconnect it gently to avoid water spillage.
Watch: Disassemble the P-Trap

Install the New Garbage Disposal: The Final Steps
45 minsFollow the manufacturer's instructions precisely for installing the new garbage disposal. Connect the plumbing and wiring securely. Carefully tighten all connections to prevent leaks. Test the new unit by running water and turning it on. Listen for unusual noises and check for leaks.
Watch: Reconnect PlumbingCommon Problems
The garbage disposal is heavy and can fall unexpectedly. Ensure it is well-supported before and during the disconnection process.
Solution: To avoid this issue: Be mindful of this warning and take appropriate precautions.
Difficulty reassembling plumbing after disposal replacement.
Solution: Taking a picture of the plumbing configuration before you start can be a helpful reference for reassembly.
The disposal unit is heavy and will drop once the locking ring is disengaged. Ensure you are supporting it from below.
Solution: To avoid this issue: Be mindful of this warning and take appropriate precautions.
The disposal is heavy. Ensure you have a firm grip and support its weight to avoid dropping it.
Solution: To avoid this issue: Be mindful of this warning and take appropriate precautions.
Water spills onto the floor when removing the old disposal.
Solution: Have a bucket ready to catch any water remaining in the pipes.
Garbage disposals can be heavy. Get a good grip before detaching it completely.
Solution: To avoid this issue: Be mindful of this warning and take appropriate precautions.
Water spills from pipes during disposal replacement, creating a mess.
Solution: Having a bucket and some old towels ready will help manage any water that spills from the pipes.
Frequently Asked Questions
What are the absolute must-do safety precautions before I start replacing my garbage disposal?
Always begin by turning off the power to the disposal circuit at your home's breaker box and verifying with a non-contact voltage tester. Additionally, turn off the hot and cold water supply valves under the sink to prevent accidental flooding while working on plumbing connections.
Do I need special tools to replace a garbage disposal, or can I get by with basic household items?
While standard tools like a screwdriver (e.g., HDX 6-in-1) and pliers (e.g., Southwire diagonal cutting pliers) are essential, a garbage disposal wrench (often included with new units or sold separately) is highly recommended for easy removal of the old unit. You'll also need a bucket (like the Unger 6 Gal.) to catch residual water and plumber's putty for sealing.
The project is rated as 'beginner' and '3 hours.' Is this realistic for someone with limited DIY experience?
Yes, this project is generally beginner-friendly if you carefully follow the step-by-step guide and prioritize safety. The 3-hour estimate is reasonable for someone prepared with all tools and parts, but unexpected plumbing challenges or a particularly stubborn old unit could extend the time slightly.
What's the most common mistake that leads to leaks after installing a new garbage disposal, and how can I prevent it?
The most frequent cause of leaks is improper sealing of the sink flange with plumber's putty. Ensure you apply a generous, continuous bead of putty under the flange before seating it in the sink and tighten the mounting bolts evenly. Also, double-check that all drain connections, especially the discharge pipe and dishwasher drain, are tightly secured with their gaskets or rubber washers.
My new disposal isn't turning on after installation. What should I check first?
First, verify that the circuit breaker for the disposal is back in the 'on' position. Then, check the disposal's reset button, usually a small red button on the bottom of the unit, and press it firmly. If wired directly, double-check all electrical connections are secure and correctly matched (e.g., black to black, white to white, ground to ground).
Can I reuse the existing mounting assembly from my old garbage disposal, or should I always install the new one that comes with the unit?
It is strongly recommended to always use the new mounting assembly that comes with your new garbage disposal. While some brands might have similar designs, using the new parts ensures proper fit, a secure seal, optimal performance, and full warranty coverage, minimizing the risk of leaks or future issues.
Besides the cost of the new disposal unit, are there any other significant expenses I should budget for?
Beyond the unit itself, you will definitely need plumber's putty for sealing the sink flange. Depending on your existing plumbing's condition or if your new disposal has a different configuration, you might also need new drainpipe sections, a new dishwasher connector kit, or fresh P-trap components.