

How to Replace a Frost-Free Outdoor Spigot (Sillcock)
About This Project
This guide provides comprehensive, step-by-step instructions for removing an old or leaking frost-free outdoor spigot (sillcock) and installing a new one. The process involves shutting off the main water supply, disconnecting the old unit from the interior plumbing, installing the new sillcock, creating a watertight connection via soldering, and ensuring a leak-free result.
Best for advanced DIYers and professionals with basic plumbing knowledge and familiarity with power tools. Requires MOEN Flo 1 in. Smart Water Monitor and Automatic Water Shut Off Valve 900-006 and Lincoln Electric Fire Resistant Large Black Cloth Welding Shirt KH809L and MCR Safety BearKat Safety Glasses MCSCRWBK110.
Tools & Materials
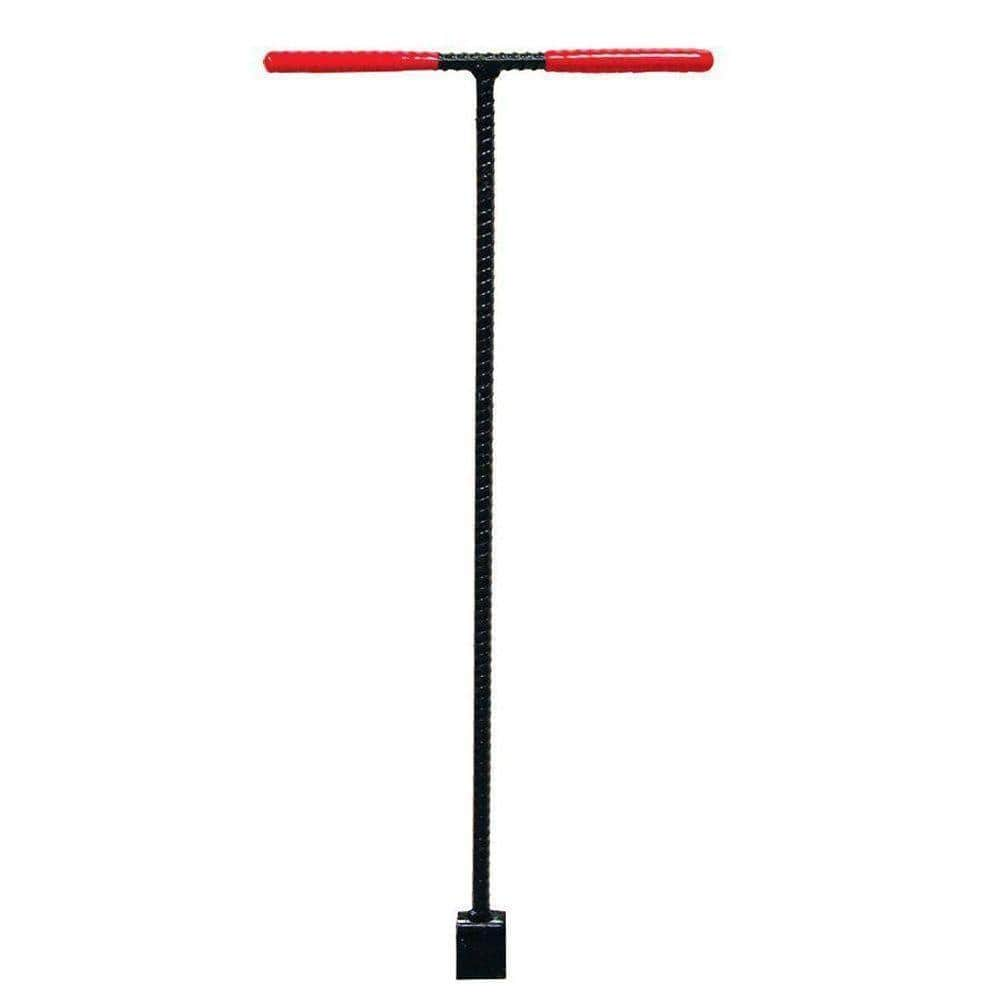
36 in. Solid Steel Water Meter Valve Key with Grips 410-303-0111

MOEN Flo 1 in. Smart Water Monitor and Automatic Water Shut Off Valve 900-006

Milwaukee Folding Jab Saw with 6 in. 8TPI SAWZALL Drywall Blade with Thin Metal Cutting SAWZALL Reciprocating Saw Blades (7-Piece) 48-22-0307-48-00-5186

Energizer Vision HD Pro 550 Lumen LED Headlamp ENHDEB32H

Work Gloves
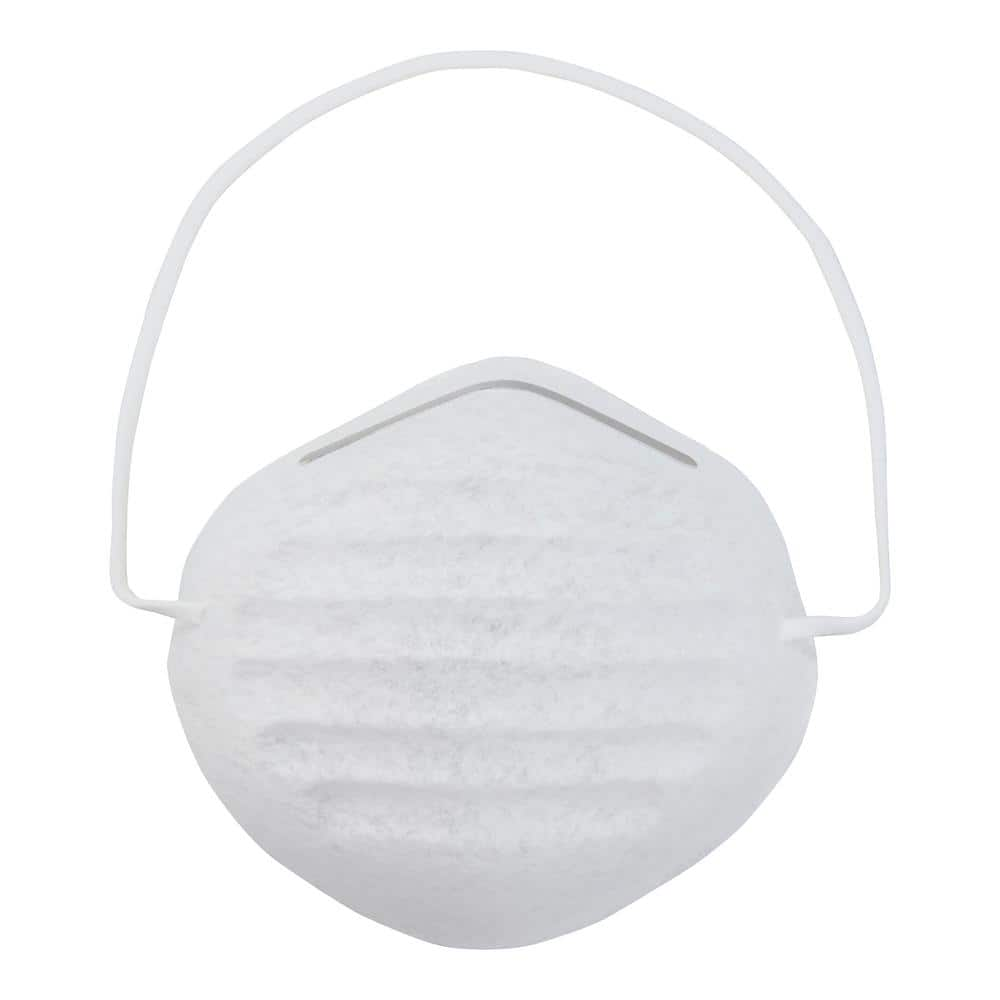
HDX Dust Mask 5 Pack E101W
36 in. Solid Steel Water Meter Valve Key with Grips 410-303-0111
This water meter valve wrench turns on and off the main water supply valve for a house or building. Its extended 36 in. length is ideal for reaching into shallow meter/valve boxes that are less than 30
MOEN Flo 1 in. Smart Water Monitor and Automatic Water Shut Off Valve 900-006
Bring smart plumbing to your home with the Flo Smart Water Monitor and Shutoff. The Smart Water Monitor and Shutoff is a smart home water security system that provides 24/7 protection by monitoring for
Milwaukee Folding Jab Saw with 6 in. 8TPI SAWZALL Drywall Blade with Thin Metal Cutting SAWZALL Reciprocating Saw Blades (7-Piece) 48-22-0307-48-00-5186
Our Milwaukee Folding Jab Saw fits all 6 in. Sawzall blades for quick cutting into multiple materials. The slide lock design offers the fastest blade change to increase productivity on the jobsite. The
Energizer Vision HD Pro 550 Lumen LED Headlamp ENHDEB32H
Energizer Vision HD Pro 550-Lumen LED Headlamp packs outstanding performance into a compact LED headlamp with innovative features. Aim bright light onto your projects or activities-indoors or outdoors-from
Work Gloves
Protects hands during tasks.
HDX Dust Mask 5 Pack E101W
These masks can guard against solid particulate, such as dusts and powders. They are extremely durable but feature a soft, comfortable inner surface. The adjustable nose piece and elastic head band work
Steps

Shut Off Water Supply and Drain System
10 minsLocate the main water shut-off valve for your home, which is typically found in the basement, a utility closet, or near the water meter. Turn the valve handle clockwise until it stops to completely shut off the water. Next, open the outdoor spigot you are replacing and the lowest faucet inside your home (e.g., a basement sink) to drain as much water as possible from the plumbing system.

Access the Interior Connection
15 minsGo to the area inside your home (basement or crawlspace) directly opposite the outdoor spigot. You will need clear access to the pipe where the sillcock connects. You may need to move stored items or push aside insulation. If the connection is behind drywall, you will need to cut a small access hole using a drywall saw.

Measure and Purchase Replacement
5 minsBefore disconnecting anything, use a tape measure to determine the length of the existing sillcock. Measure from the back of the exterior mounting flange to the center of the interior pipe connection. You must buy a new frost-free sillcock of the exact same length. Also, verify the connection type (in this case, a 1/2-inch or 3/4-inch female sweat connection) and the pipe size to ensure compatibility.

Disconnect the Old Sillcock (Sweat Joint)
15 minsDrape a fire-resistant cloth over any wood joists or other flammable materials directly behind the solder joint. Put on safety glasses and heat-resistant gloves. Using a propane torch, apply heat evenly to the fitting where the sillcock connects to the copper pipe. Do not heat the pipe itself. Once the solder begins to look wet and shiny, use a pair of channel-lock pliers to grip the sillcock's pipe and gently twist and pull it off the copper water line.

Remove Old Sillcock from Exterior
5 minsMove to the outside of the house. Use a screwdriver or a drill with a driver bit to remove the screws that secure the sillcock's mounting flange to the siding. Once the screws are removed, firmly grasp the spigot and pull the entire assembly straight out of the wall.
Prepare Copper Pipe and New Fitting
10 minsA clean pipe is essential for a leak-proof solder joint. Use an emery cloth to sand the outside of the copper pipe end until it is bright and shiny, removing all old solder and oxidation. Then, use a fitting brush to clean the inside of the new sillcock's connection point until the copper is equally shiny. Wipe both surfaces with a clean, dry rag to remove any dust or debris.

Install New Sillcock and Apply Flux
10 minsFrom the outside, carefully guide the new sillcock through the hole in the wall. Ensure the spigot nozzle is pointing downwards. Go back inside. Apply a thin, even layer of lead-free flux with a small brush to the cleaned exterior of the copper pipe and the cleaned interior of the sillcock fitting. Firmly push the sillcock fitting onto the end of the copper pipe until it is fully seated.

Solder the New Connection
15 minsPlace the fire-resistant cloth behind the joint. Heat the fitting with the propane torch, focusing the flame on the thickest part of the fitting, not the pipe. After about 15-30 seconds, touch the tip of the lead-free solder to the joint on the side opposite the flame. The heat from the fitting should instantly melt the solder, which will be drawn into the joint by capillary action. Move the solder around the entire circumference of the joint until you see a continuous silver ring. Remove the heat and allow the joint to cool naturally for several minutes. Do not touch or disturb it while it cools.

Secure Sillcock to Exterior Wall
5 minsReturn to the exterior of the house. Align the sillcock's mounting flange with the holes in the siding. Ensure the sillcock is pitched slightly downwards toward the outside to promote proper drainage and prevent freezing. Secure the flange to the wall using new corrosion-resistant screws. Do not overtighten.

Seal the Exterior Penetration
5 minsUsing a caulking gun, apply a continuous bead of 100% silicone or exterior-grade polyurethane sealant around the entire perimeter of the sillcock's mounting flange. This creates a weatherproof seal that prevents water, air, and pests from entering the wall cavity through the penetration.

Restore Water and Check for Leaks
10 minsFirst, ensure the new outdoor spigot is in the fully closed position. Go to the main water shut-off valve and open it SLOWLY, turning it counter-clockwise. Listen carefully for any sounds of rushing water, which could indicate a major leak. Once the valve is fully open, return to the basement/crawlspace and meticulously inspect the new solder joint for any signs of moisture. Wipe the joint with a dry paper towel to make it easy to spot even the smallest drip. If the joint is dry, the installation is complete. Go outside and test the new spigot's operation.
Common Problems
Soldering creates high heat and fumes. Work in a well-ventilated area and have a fire extinguisher on hand.
Solution: To avoid this issue: Be mindful of this warning and take appropriate precautions.
Joints won't seal if solder isn't melted by fitting heat.
Solution: Heat the fitting, not the solder directly. The heated copper will melt the solder and pull it into the joint.
Leaky or weak solder joints will result from dirty or unfluxed pipes.
Solution: A thoroughly cleaned and properly fluxed pipe is key to a successful solder joint. Don't skip this step.
It is essential to remove the spigot's stem before soldering to prevent melting the rubber washer and gasket.
Solution: To avoid this issue: Be mindful of this warning and take appropriate precautions.
Confirm the water is off by turning on a faucet elsewhere in the house. If water still flows, you have not shut off the main valve.
Solution: To avoid this issue: Be mindful of this warning and take appropriate precautions.
The last thing you want in your bathroom is the Trevi Fountain. Make sure the water is completely off.
Solution: To avoid this issue: Be mindful of this warning and take appropriate precautions.
Failure to shut off the water supply before starting will result in significant water damage.
Solution: To avoid this issue: Be mindful of this warning and take appropriate precautions.
Frequently Asked Questions
Is soldering really required for this project, and how difficult is it for a beginner DIYer?
While this project is rated beginner, the soldering step can be intimidating. With practice on scrap copper pipe first, a propane torch, and proper flux, it's achievable. The 6-hour estimated time accounts for careful work and ensures a watertight, durable connection.
What are the most important safety precautions I need to take, especially with a propane torch?
Always have a fire extinguisher or a bucket of water nearby when soldering. Wear safety glasses to protect your eyes, use heat shields if working near combustible materials, and ensure good ventilation. Crucially, confirm the main water supply is completely off and the system drained before beginning any work.
What's the most common mistake that leads to leaks after replacing a sillcock, and how can I prevent it?
The most common mistake is an inadequate solder joint or insufficient exterior sealant. To prevent leaks, ensure your copper pipes are clean, the flux is evenly applied, and the joint is heated properly for the solder to flow smoothly. After installation, apply a generous bead of high-quality exterior sealant like GE Supreme Silicone around the new sillcock where it meets the house.
How do I know which type of replacement sillcock to buy (e.g., PEX, FIP, different lengths)?
You must measure the exact length of your existing sillcock from the exterior wall to its interior connection point. Then, inspect your interior plumbing to determine the connection type – whether it's copper pipe for soldering, PEX, or a threaded pipe (FIP). This ensures you purchase a compatible replacement like the Woodford 1/2 in. PEX or Everbilt 3/4 in. FIP models.
I'm nervous about soldering. Are there any alternative connection methods that don't require a torch?
Yes, if your interior plumbing allows, you can often use push-to-connect fittings (like SharkBite) or PEX crimp/expansion fittings. These methods eliminate the need for a torch and solder, but they require specific tools for installation. While soldering offers a durable and compact connection, these alternatives are great for DIYers hesitant to solder.
My old 'frost-free' spigot still froze and burst. How can I ensure the new one truly won't freeze?
To prevent freezing, ensure the new sillcock is installed with a slight downward slope towards the exterior, allowing all water to drain out when closed. Always disconnect hoses and any attachments during cold weather, as trapped water in them can negate the frost-free feature. Also, make sure to select a sillcock with the correct length to ensure the valve body is well within your home's heated space.

