
How to Replace a Deck-Mount Garden Tub Faucet
About This Project
This guide provides comprehensive, step-by-step instructions for safely removing an old deck-mounted garden tub faucet and installing a new widespread faucet. The process covers shutting off the water supply, working through an access panel, disconnecting old plumbing, installing the new valve body, spout, and handles, and thoroughly checking for leaks.
Best for advanced DIYers and professionals with basic plumbing knowledge and familiarity with power tools.
Tools & Materials
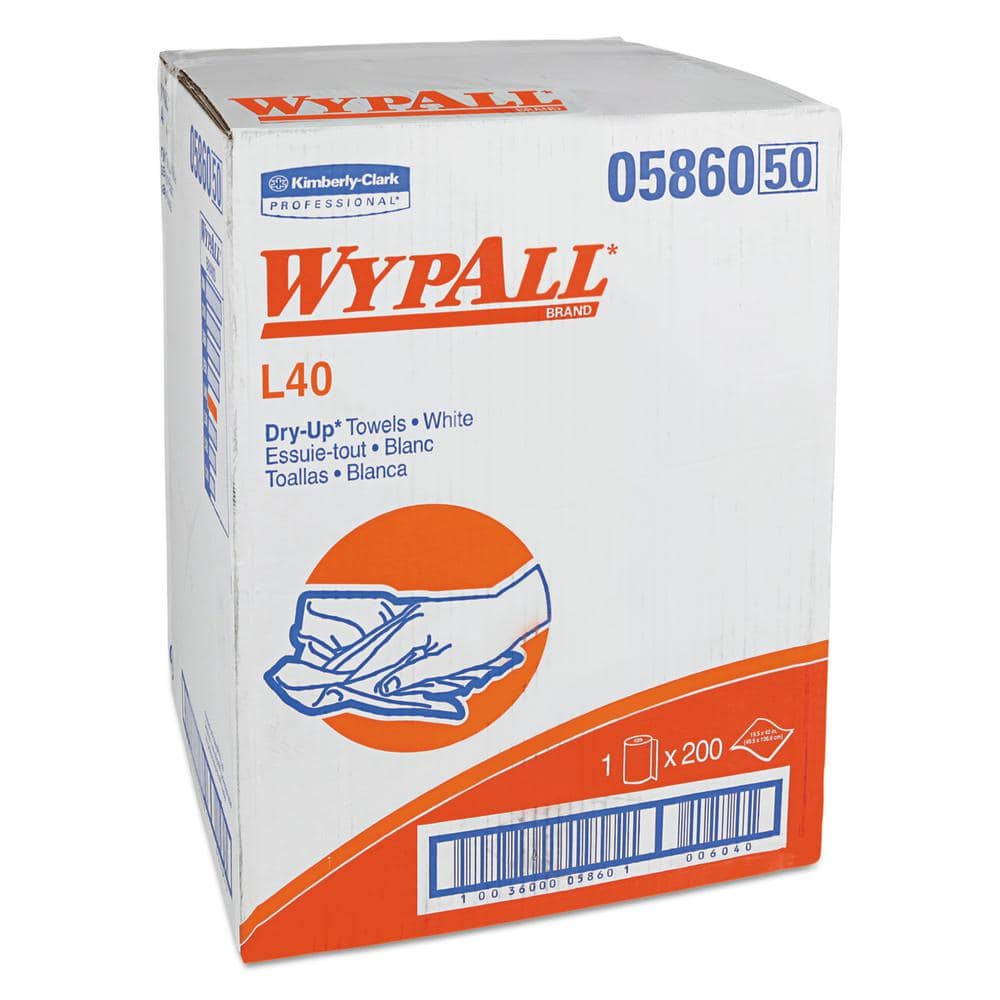
WYPALL L40 Towels, Dry Up Towels, 19-1/2 in. x 42 in., White, 200 Towels/Roll KCC05860

Bucket

Coast HL40 300 Lumen LED Headlamp with Hardhat Compatibility HL40
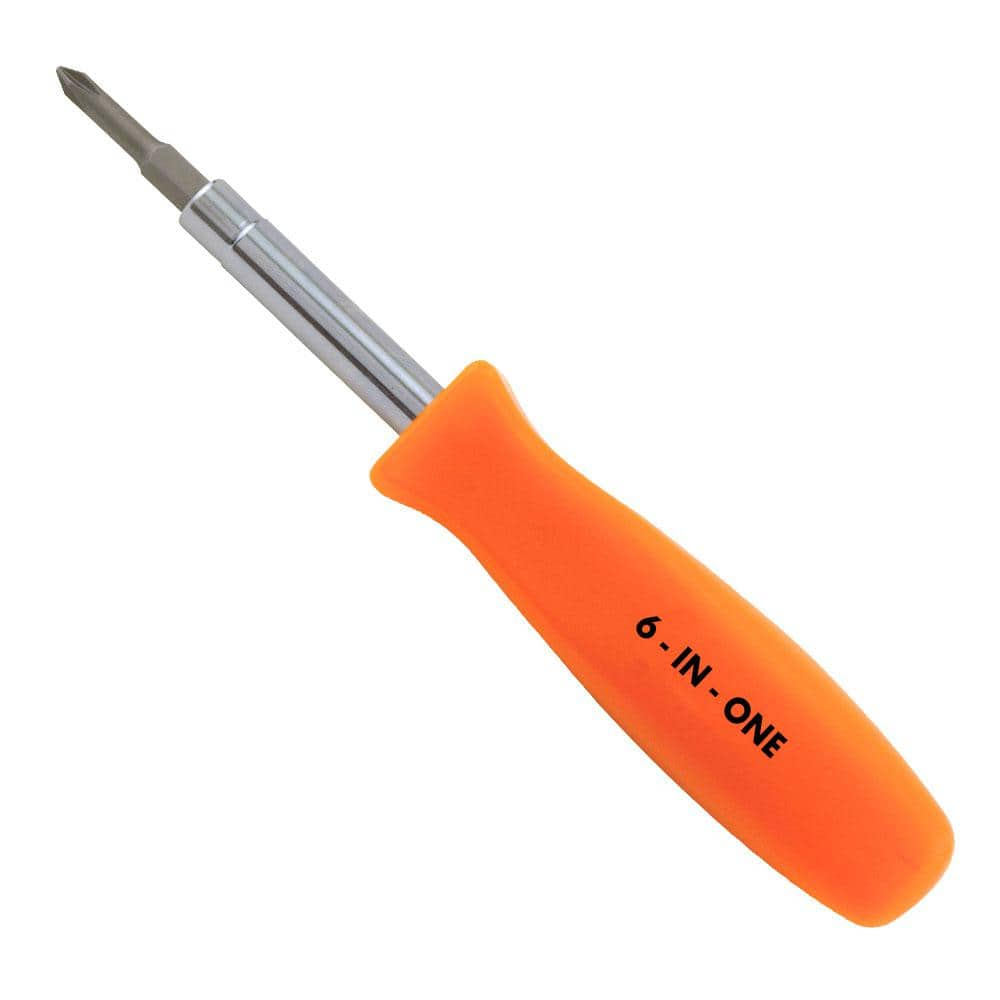
HDX 3-1/4 in. 6-in-1 Screwdriver 120SD12D
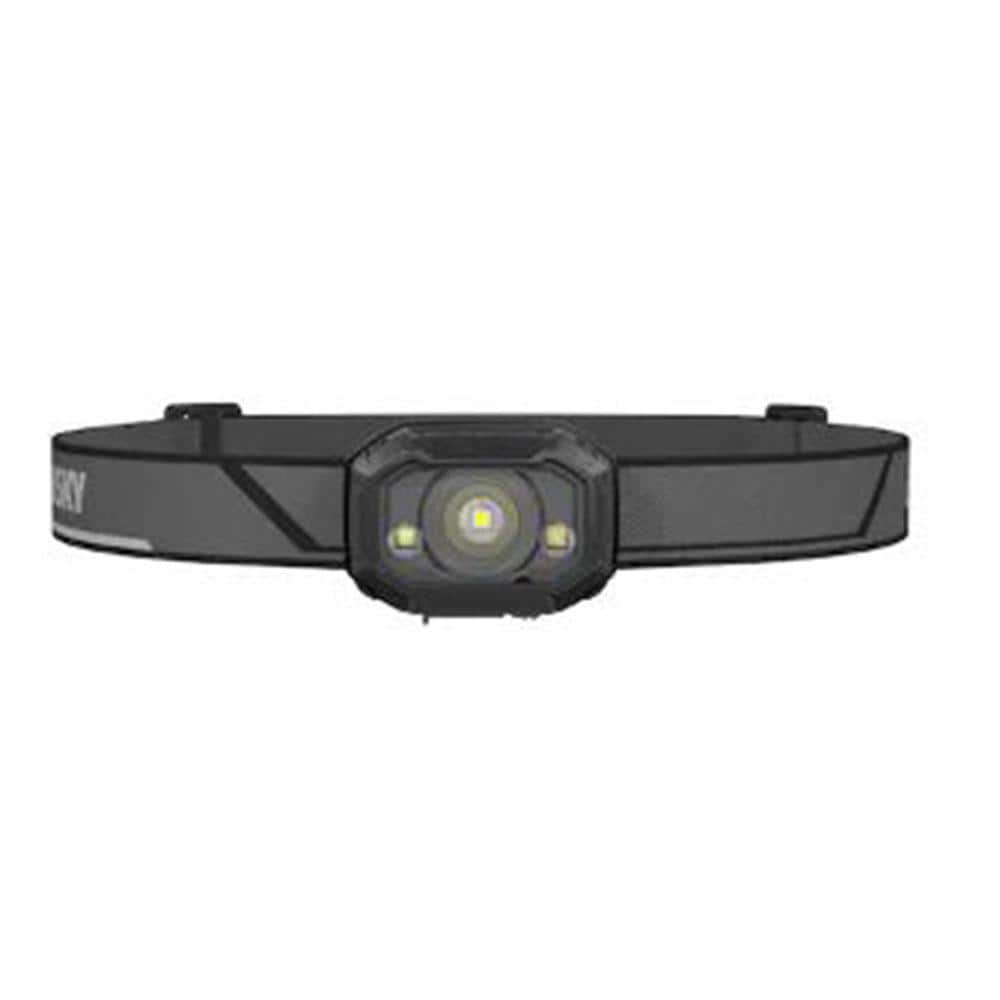
Husky 400 Lumens LED Micro Rechargeable Headlamp PVL-HLP-0004

Adjustable Wrench
WYPALL L40 Towels, Dry Up Towels, 19-1/2 in. x 42 in., White, 200 Towels/Roll KCC05860
WYPALL L40 Wipers are effective wipers that absorb liquids lightning-fast. These wipes are made of bonded cellulose using DRC (double re-creped) technology for strength, softness and absorbency. As a wiping cloth, it soaks up liquids fast, but all you'll feel is softness, thanks to a plush, touchable outer layer. In fact, it's a popular choice for patient wiping in healthcare industries, for bathing and patient drying. These utility wipes are specially designed to absorb liquids, lubricants and oils (in restaurants for wiping counters, in mechanic shops, industrial and commercial factories and more), yet they're soft enough for use on face and hands. Experience the difference in superior absorbency and cleaning at your home or office today. Towel/Wipe Type: Dry Wipes; Application: Bathrooms; Material(s): Cloth-Like; Number of Plies: 1.
Bucket
Ideal for carrying or storing liquids.
Coast HL40 300 Lumen LED Headlamp with Hardhat Compatibility HL40
Whether you want to put it on your hardhat or simply on your head, the HL40 Headlamp is a great all around headlamp for day-to-day use. Equipped with our Wide Angle Flood Beam, this headlamp is perfect
HDX 3-1/4 in. 6-in-1 Screwdriver 120SD12D
The HDX 3-1/4 in. 6-in-1 Screwdriver features double-sided bits with the four most common screwdriver tip styles, including a #1 Phillips bit, a #2 Phillips bit, a 3/16 in. flathead bit and a 1/4 in. flathead bit. Both ends of the shaft can be used as 1/4 in. nut drivers when the bits are removed, offering convenient, versatile use. The high-visibility orange handle makes the handy tool easy to find on a job site or in a toolbox.
Husky 400 Lumens LED Micro Rechargeable Headlamp PVL-HLP-0004
The Husky 400 Lumens Micro Rechargeable Headlamp packs superior brightness in a compact size. This rechargeable headlamp provides crisp, clean color illumination. The headlamp has 8-light modes, including
Adjustable Wrench
Fits various nut and bolt sizes with its adjustable jaw.
Steps

Preparation and Water Shut-Off
15 minsBegin by preparing your work area. Clear any items from the tub deck and place towels or rags on the floor around the access panel to catch any residual water. The most critical action in this step is to shut off the water supply to the faucet. Locate the main water shut-off valve for your house (often in the basement, a utility closet, or near the water heater) and turn it fully clockwise until it stops. Return to the garden tub and open both the hot and cold handles of the old faucet to drain any remaining water from the lines and relieve pressure.

Access the Plumbing
5 minsWith the water off, you must now access the faucet's plumbing. Locate the access panel on the wall of the tub surround or an adjacent wall. These panels may be held in place by screws, clips, or simply pressure-fit. If screwed in, use the appropriate screwdriver to remove the screws. Carefully pry the panel open and set it aside. Use your headlamp to inspect the plumbing, familiarizing yourself with the hot and cold supply lines, the valve bodies, and the connections leading to the spout.

Disconnect Water Supply Lines
20 minsPlace a bucket and some rags directly beneath the faucet's water connections to catch any trapped water. Using an adjustable wrench, grip the coupling nut on the flexible supply line that connects to the hot water valve inlet. Turn the nut counter-clockwise to loosen and disconnect it. Repeat the exact same process for the cold water supply line. Expect a small amount of water to drain out.

Remove the Old Faucet Assembly
45 minsThis is often the most challenging step. First, disconnect the flexible hoses that run between the hot/cold valves and the central spout tee. These are usually hand-tightened or require pliers. Next, use a basin wrench to reach up behind the tub deck to the large mounting nuts that secure the faucet handles and spout to the deck. The basin wrench is designed for this tight space. Latch its jaws onto a nut and turn counter-clockwise to loosen. It will take several turns. Once all three mounting nuts are removed, have a helper lift the old spout and handles from the top of the tub deck.

Clean the Mounting Surface
15 minsAfter removing the old faucet, the tub deck will likely have residue from old plumber's putty or sealant. Use a plastic putty knife to gently scrape away all of this old material. Be careful not to scratch the surface of the tub deck. Once the bulk of the material is removed, use a rag with an all-purpose cleaner or mineral spirits to wipe the surface completely clean. A clean, smooth surface is essential for creating a watertight seal with the new faucet.

Mount the New Faucet and Valves
45 minsUnpack your new faucet and review the manufacturer's instructions, as assembly can vary. Typically, you will first install the valve bodies. From underneath the deck, feed the threaded shanks of the hot and cold valve bodies up through the handle holes. From the top, place any included gaskets or seals and thread on the decorative handle bodies. From below, thread on the mounting washers and nuts. Hand-tighten them first, then use the basin wrench for a final quarter-turn to secure them. Next, apply a bead of plumber's putty or silicone sealant (check instructions) to the underside of the new spout's base. Insert the spout into its deck hole, and secure it from below with its mounting hardware. Finally, connect the flexible hoses from the valve bodies to the spout's tee fitting.
Connect New Water Supply Lines
20 minsNow, reconnect the main water supply. First, wrap the male threads on the new hot and cold valve inlets with Teflon tape. Wrap the tape 3-4 times in a clockwise direction (the same direction you will tighten the nut). Align the flexible braided hot water supply line with the hot valve inlet and thread the coupling nut on by hand until it's snug. Then, using two adjustable wrenches—one to hold the faucet valve body steady and one to turn the nut—give it a final quarter to half turn. This two-wrench technique prevents stress on the new faucet. Repeat the entire process for the cold water supply line.

Turn On Water and Check for Leaks
15 minsThis is the moment of truth. Go back to your main water shut-off valve. Turn it on SLOWLY, only about a quarter turn at first. This allows the pipes to fill with water under less pressure, reducing the shock to the system. Immediately return to the access panel with your headlamp and dry paper towels. Meticulously inspect every connection you made: where the supply lines connect to the valves, and where the valves connect to the spout. Wipe each connection with a dry paper towel to easily spot any moisture. If all is dry, go back and open the main valve all the way. Check for leaks again.

Test Faucet and Final Cleanup
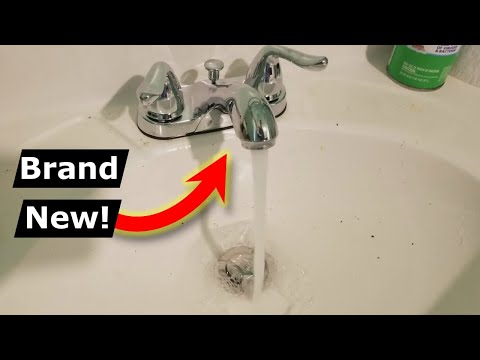
10 minsWith the water on and no leaks detected from below, it's time to test the faucet's operation. Turn the hot water handle and let the water run for a minute to purge any air from the line. Check that the water flows smoothly from the spout. Turn it off and repeat with the cold water handle. Then, turn on both to check the mixed flow. While the water is running, perform one final leak check at the access panel. Once you are confident everything is working correctly and is completely dry, you can clean up your tools, wipe down the tub deck, and reinstall the access panel.
Common Problems
Lost screws down the drain during faucet replacement.
Solution: Closing the sink drain is a simple but crucial step that can prevent a lot of frustration if a small screw is dropped.
Difficulty reassembling plumbing after faucet replacement due to forgotten connections.
Solution: Taking a photo of the plumbing setup before you start is a great way to remember how everything connects.
Failure to turn off the water supply will result in flooding.
Solution: To avoid this issue: Be mindful of this warning and take appropriate precautions.
Lost faucet parts down the drain, requiring difficult retrieval.
Solution: Covering the drain is a simple step that can save you the major headache of retrieving a lost part.
Stuck shutoff valves can break, leading to water damage.
Solution: If the shutoff valves are stuck, do not force them. You may need to shut off the main water supply to the house instead.
Using a pipe wrench can damage the spout's finish. Only use it on fixtures you are discarding.
Solution: To avoid this issue: Be mindful of this warning and take appropriate precautions.
Ensure water valves are completely shut off to avoid leaks. Open the faucet handle after shutting off the valves to relieve any pressure in the lines.
Solution: To avoid this issue: Be mindful of this warning and take appropriate precautions.
Frequently Asked Questions
How challenging is this 'beginner' project, and what's a realistic time estimate for someone new to plumbing?
While rated beginner, accessing the plumbing under a garden tub can be physically demanding due to tight spaces. Plan for 2-4 hours if you have an access panel, but allow more time (up to a full day) if you encounter stuck connections or need to create access.
Why are specific Husky Basin Wrenches recommended, and can I use a different type of basin wrench?
The specific Husky basin wrenches are recommended for their telescoping and quick-release features, which are invaluable in the cramped spaces under a garden tub. While a standard basin wrench might work, these models significantly ease the difficulty of reaching and loosening nuts in tight spots.
What if my garden tub doesn't have an existing access panel?
If there's no access panel, you'll need to gain access to the plumbing from an adjacent wall, floor, or by carefully removing a side panel of the tub surround. This adds significant complexity and time to the project, potentially requiring professional help or additional DIY steps like cutting drywall.
What are the most critical steps to prevent leaks after installing the new widespread faucet?
Ensure you use plumber's putty or silicone sealant around the base of the spout and handles before installation, and apply Teflon tape to all threaded pipe connections. Hand-tighten supply lines, then give them a quarter to half turn with a wrench, and thoroughly inspect all connections for drips during the water test.
Can I reuse my existing water supply lines with the new faucet?
It's generally recommended to replace old supply lines with new ones when installing a new faucet. Old lines can be brittle or corroded, increasing the risk of leaks, especially when disturbed. New supply lines are inexpensive and provide peace of mind.
What should I do if the holes in my tub deck don't perfectly align with the new widespread faucet?
Most widespread faucets offer some flexibility in handle placement, so slight misalignments might be adjustable. However, if the spacing is significantly different, you might need a different faucet model or potentially need to widen existing holes with specialized tools, which adds complexity to the project.
Is it necessary to use both plumber's putty and silicone sealant, or can I choose one?
Plumber's putty is ideal for creating a waterproof, pliable seal under the faucet base and is easy to remove if needed. Silicone sealant provides a more permanent and stronger waterproof bond, best for sealing gaps or fixed escutcheons. Often, putty is used for the faucet base and silicone for secondary seals or where a very strong, lasting bond is desired.


