

How to Replace a Cracked Section of Cast Iron Drain Pipe with PVC
About This Project
This project involves safely removing a damaged or cracked section of a cast iron drain pipe and replacing it with a modern PVC pipe. The process includes properly supporting the heavy cast iron pipe, cutting it with a reciprocating saw, and then connecting the new PVC section using specialized shielded flexible transition couplings to ensure a durable, leak-proof seal.
Best for advanced DIYers and professionals with basic plumbing knowledge and familiarity with power tools. Requires MCR Safety BearKat Safety Glasses MCSCRWBK110 and Husky Large Heavy Duty Glove 67812-06 and 3M 6311 P95 Reusable Large Paint Project Respirator 6311PA1-A.
Tools & Materials
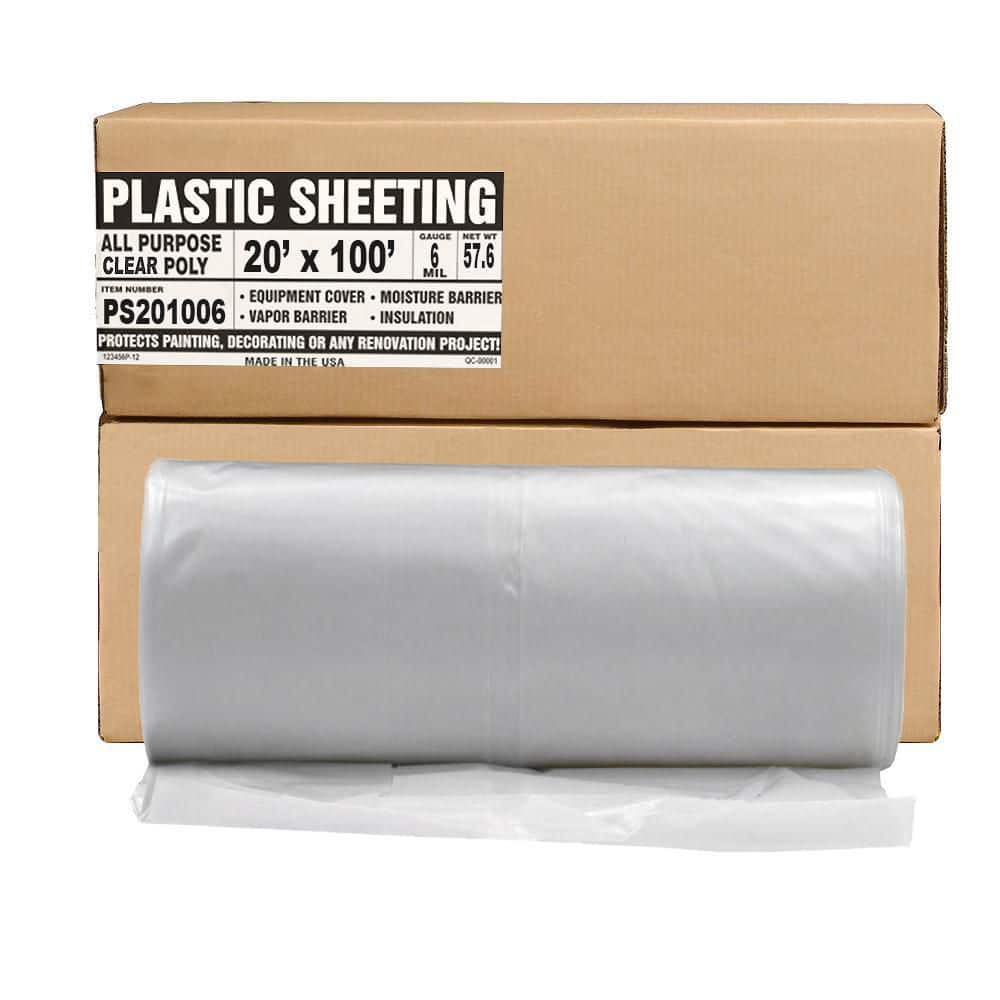
Aluf Plastics Plastic Sheeting - 20 ft. x 100 ft., 6 mil Gauge - Clear Vapor and Moisture Sheet Cloth for Furniture Covers PS201006
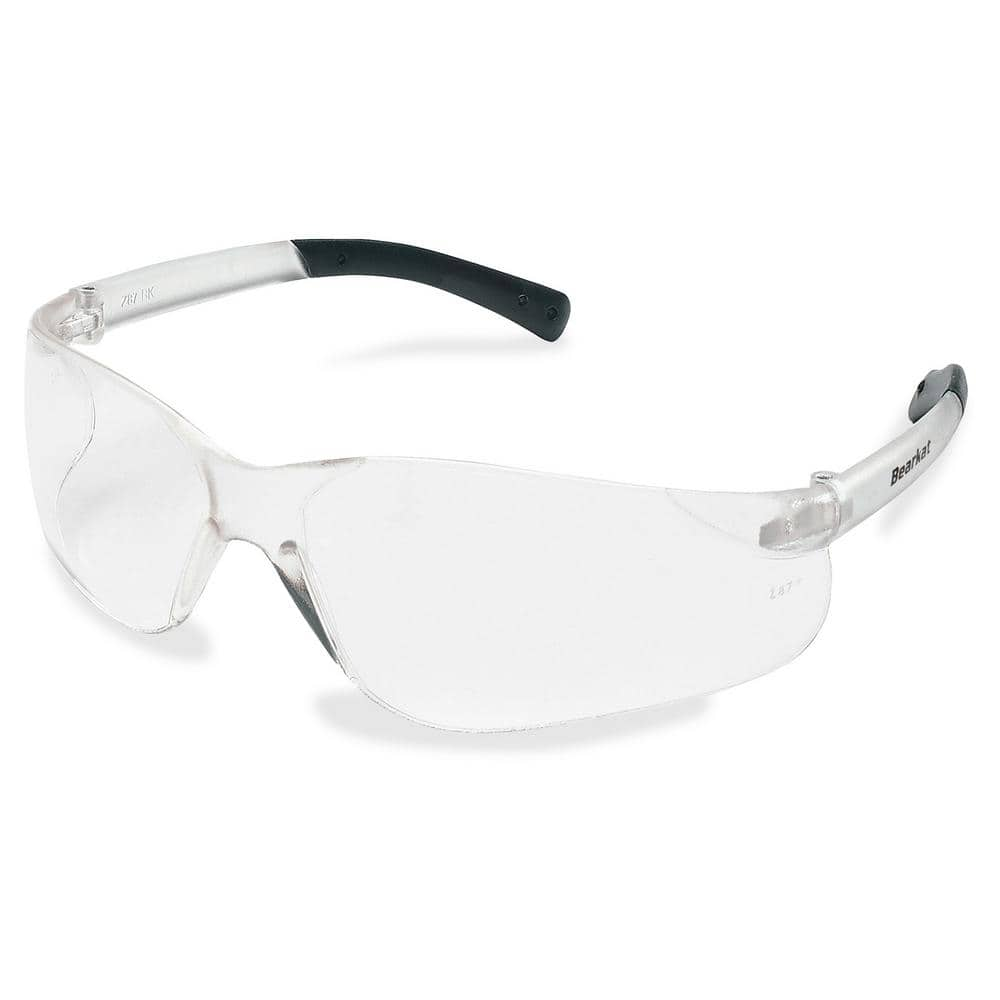
MCR Safety BearKat Safety Glasses MCSCRWBK110

Husky Large Heavy Duty Glove 67812-06
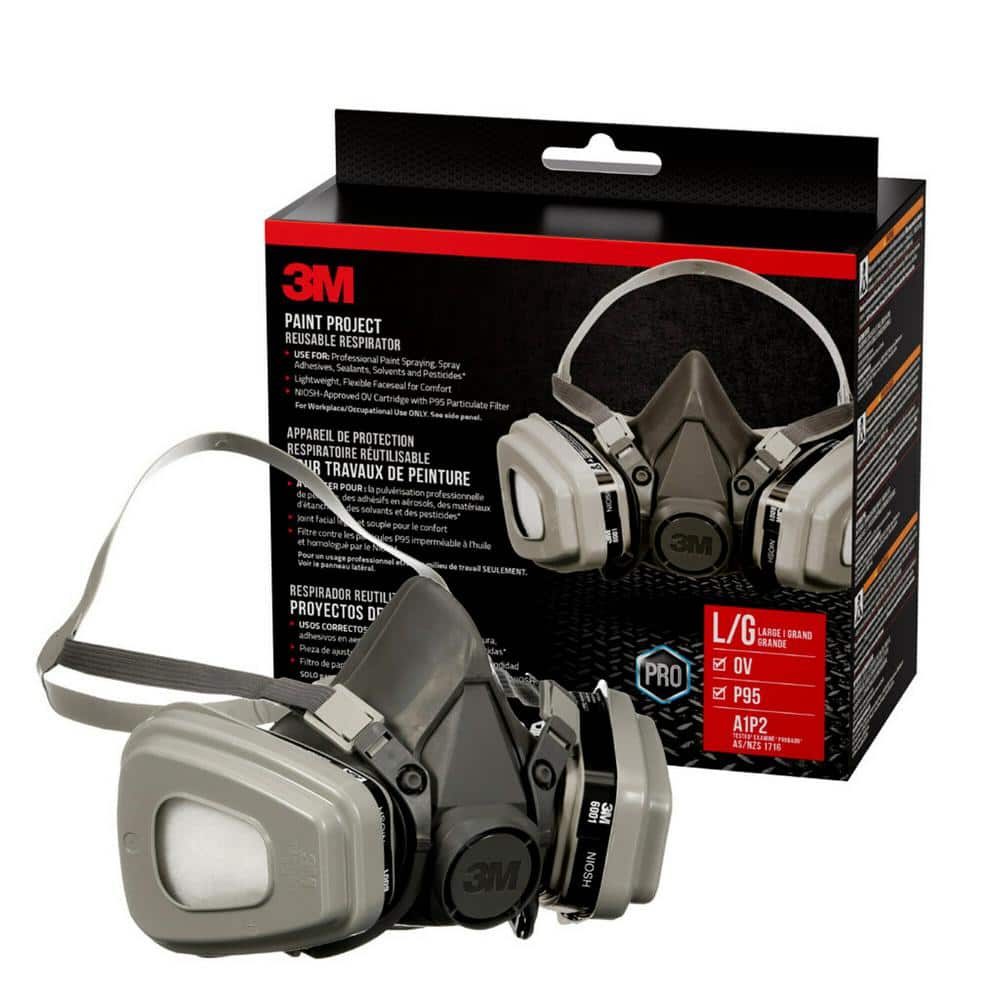
3M 6311 P95 Reusable Large Paint Project Respirator 6311PA1-A
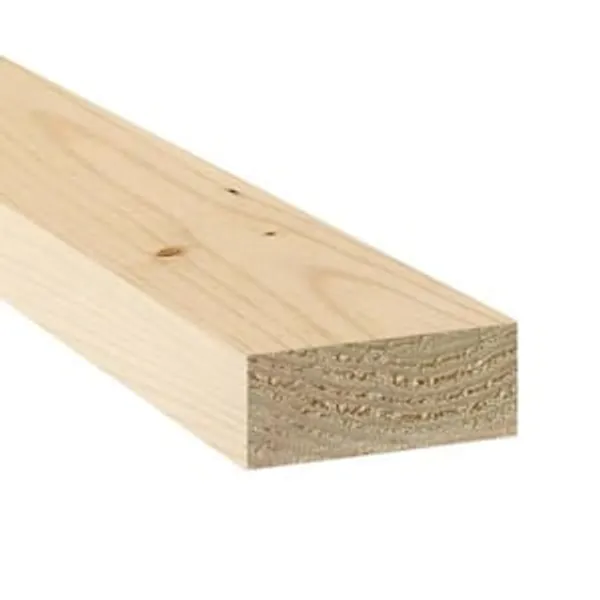
2”x4” Lumber
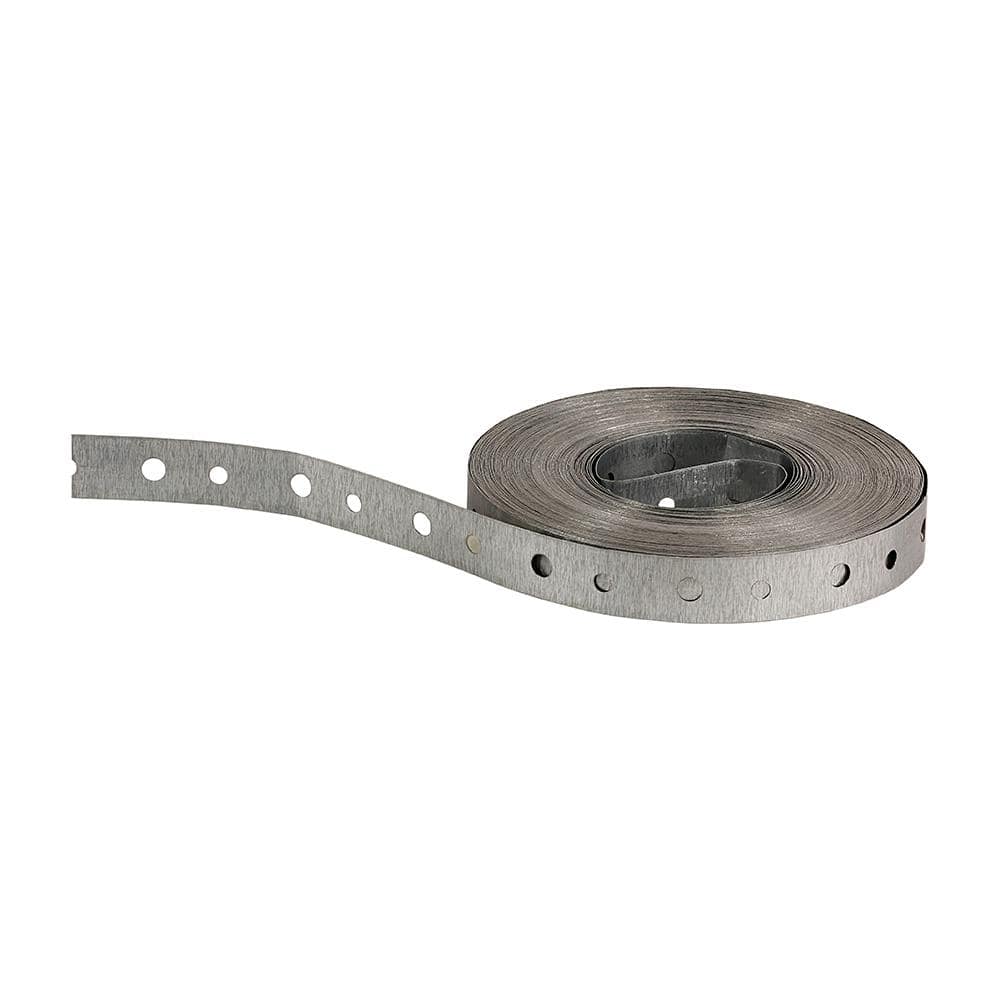
Master Flow Perforated Metal Hanger Straps 3/4HS
Aluf Plastics Plastic Sheeting - 20 ft. x 100 ft., 6 mil Gauge - Clear Vapor and Moisture Sheet Cloth for Furniture Covers PS201006
It doesn't matter if you're on a job, on a site or on your lawn; we got you covered. With over 40-years experience and millions of bags sold every year, we know a thing or 2 about garbage bags. We are
MCR Safety BearKat Safety Glasses MCSCRWBK110
Safety glasses feature a well thought-out construction that combines the best in safety, comfort and affordability. Your vision is unobstructed by the 1-piece wraparound lens which, by its tight fit, provides for maximum safety. Flexible temples enhance your comfort during extended use. Nonslip rubber head grips are notched for a clip-on breakaway cord.
Husky Large Heavy Duty Glove 67812-06
Husky Heavy Duty Mechanic Gloves are form-fitting and highly breathable while offering maximum protection. The knuckle and back of hand padding is designed to offer natural hand movement with maximum protection. The synthetic leather palm provides superior durability, and also has printed non-slip silicone for a secure grip. The glove also features a double reinforced neoprene padded palm that protects from both abrasions and vibration fatigue.
3M 6311 P95 Reusable Large Paint Project Respirator 6311PA1-A
3M Paint Project Reusable Respirator 6311 helps provide respiratory protection against airborne particles and certain organic vapors with the convenience of an all-in-one kit. Designed for professionals
2”x4” Lumber
Essential for construction and DIY tasks.
Master Flow Perforated Metal Hanger Straps 3/4HS
Help prevent your vent system from sagging over long runs with the Perforated metal Hanger Straps. You can hang insulated flexible duct, round pipe or rectangular duct with these straps. This durable,
Steps

Prepare the Work Area and Ensure Safety
20 minsBegin by ensuring no water will flow through the drain pipe during the repair. Inform everyone in the house not to use any sinks, showers, or flush any toilets. Clear the workspace directly below the damaged pipe section. Lay down heavy-duty plastic sheeting to catch dust, debris, and any residual water. Gather all your tools and materials and place them within easy reach. Most importantly, put on your safety equipment: safety glasses, heavy-duty work gloves, and a respirator to protect against cast iron dust.

Support the Cast Iron Pipe
30 minsCast iron is brittle and incredibly heavy. Before cutting, you must prevent the pipe from sagging or falling. On each side of the section you intend to remove, install robust supports. You can use strong metal strapping (pipe hangers) secured to the ceiling joists above, or build temporary supports from 2x4 lumber wedged firmly between the floor and the pipe. Riser clamps that bolt around the pipe and can be fastened to a support structure are an excellent option. The supports should be as close to the cut lines as possible without interfering with your saw.

Cut and Remove the Damaged Section
45 minsIdentify the cracked area. Using a marker, mark two cut lines on the pipe, one on each side of the crack. Ensure the marks are at least 2-3 inches away from the visible damage and any nearby pipe joints or fittings. Install a new blade designed for cutting metal or cast iron (diamond grit or carbide grit is best) into your reciprocating saw. Apply some cutting oil to the blade or the cut line to reduce heat. Begin cutting at your first mark, using firm pressure but letting the saw do the work. The process will be slow, loud, and will create sparks. Once the first cut is complete, repeat the process on the second mark. Have a helper ready to assist in controlling and lowering the heavy, cut section of pipe into a bucket or onto the plastic sheeting.

Clean the Existing Pipe Ends
15 minsFor the new flexible couplings to create a perfect seal, the ends of the remaining cast iron pipe must be clean and smooth. Use a heavy-duty wire brush to scrub the outside surface of both pipe ends, removing all loose rust, scale, and grime. If there are any significant burrs or high spots left from the cutting process, use a metal file to smooth them down. The goal is a clean, uniform surface approximately 2-3 inches from the end of each pipe, where the rubber gasket of the coupling will sit.

Measure and Cut the PVC Replacement Pipe
15 minsFirst, test-fit the shielded flexible couplings by sliding them onto each of the prepared cast iron ends. Don't tighten them yet. Now, measure the exact distance between the internal pipe stops inside the two opposing couplings. This measurement is the precise length your new PVC pipe needs to be. Transfer this measurement to your new piece of Schedule 40 PVC pipe and mark it. Use a PVC pipe cutter, handsaw, or miter saw to make a clean, square cut. After cutting, use a deburring tool or a simple utility knife to shave off any plastic burrs from the inside and outside edges of the cut.

Install the PVC Section with Transition Couplings
15 minsSlide one of the flexible couplings completely onto one of the cast iron pipe ends. On the other cast iron pipe, slide the second coupling on but then roll the rubber gasket back over itself, exposing the inside of the coupling. Now, insert one end of your new PVC pipe fully into the first coupling until it hits the internal stop. Carefully flex the PVC pipe into position and guide the other end into the second coupling. Once it's in place, unroll the rubber gasket so it sits flat against the PVC pipe. Adjust the PVC pipe and both couplings so that everything is aligned and the pipe is seated against the stops in both couplings. The metal shields should be centered over the rubber gaskets.
Tighten Couplings and Test the Repair
15 minsUsing a nut driver or, preferably, a torque wrench set to the manufacturer's specification (usually 60 inch-pounds, often printed on the stainless steel band), tighten the clamps on both couplings. Tighten the screws on each band evenly, alternating between them if there are multiple, to ensure even pressure. The band should cinch down firmly. Once both couplings are fully tightened, it's time to test. Go to an upstairs fixture and run a significant amount of water (e.g., flush a toilet a few times, run a sink for a minute). While the water is running, use a flashlight to carefully inspect the top and bottom of both couplings for any sign of dripping or leaking.
Common Problems
Wear heavy-duty work gloves when handling broken cast iron to prevent cuts.
Solution: To avoid this issue: Be mindful of this warning and take appropriate precautions.
Wear safety glasses and heavy-duty gloves. Cutting metal creates sharp edges and can send small particles flying.
Solution: To avoid this issue: Be mindful of this warning and take appropriate precautions.
Standard blades struggle, making cuts difficult and potentially damaging the pipe.
Solution: A cast iron specific blade (often diamond grit) will cut much more effectively than a standard metal blade.
The P-trap is designed to hold water to block sewer gases, so expect water to spill out when it is removed.
Solution: To avoid this issue: Be mindful of this warning and take appropriate precautions.
Metal shavings and debris can fly into your eyes when cutting cast iron pipe.
Solution: Wear safety glasses to protect your eyes from metal shavings and debris.
Failing to use a metal-cutting blade will make it impossible to cut through cast iron pipe.
Solution: A blade specifically designed for cutting metal is essential for efficiently cutting through cast iron.
Applying too much pressure can crush the copper pipe, especially if its walls are thin from corrosion. Tighten only enough to stop the leak.
Solution: To avoid this issue: Be mindful of this warning and take appropriate precautions.
Frequently Asked Questions
How difficult is this project for a typical DIYer, and how long should I expect it to take?
This is an intermediate-level plumbing project due to the weight of cast iron, the need for specialized cutting tools, and the precision required for leak-proof connections. Expect to dedicate 4-8 hours for preparation, cutting, installation, and thorough testing, depending on your experience and the accessibility of the pipe. While not extremely complex, it requires careful planning and execution.
What are the most critical safety precautions I need to take when working with heavy cast iron drain pipes?
Safety is paramount; always securely support the heavy cast iron pipe *before* making any cuts to prevent it from collapsing and causing injury or further damage. Wear heavy-duty work gloves, eye protection, and a dust mask, as cutting cast iron produces sharp shards and fine dust. Ensure your work area is well-ventilated, and consider having a helper for managing the heavy pipe sections.
Is a reciprocating saw with a diamond grit blade absolutely necessary for cutting cast iron, or can I use a different tool?
Yes, a powerful reciprocating saw equipped with a high-quality diamond grit blade, such as the DIABLO DS0930DGX005, is highly recommended for efficiently and safely cutting cast iron pipe. Standard metal-cutting blades will quickly dull or break, and angle grinders can be dangerous due to kickback and excessive sparks in confined plumbing spaces. Using the correct blade ensures a cleaner cut and reduces effort.
What are the most common mistakes people make when replacing cast iron with PVC, and how can I avoid them?
A common mistake is inadequate support for the heavy cast iron, leading to dangerous collapses or misalignments. Another is neglecting to thoroughly clean and deburr the existing pipe ends before installing new couplings, which can compromise the seal and lead to leaks. Ensure all pipe ends are smooth and free of debris, and torque the transition couplings precisely to the manufacturer's specifications.
Why do I need specialized shielded flexible transition couplings instead of standard rubber couplings and hose clamps?
Specialized shielded flexible transition couplings are essential because they provide the necessary structural integrity and compression to create a durable, leak-proof seal between dissimilar pipe materials like cast iron and PVC. Standard rubber couplings with hose clamps lack the reinforced metal shield, making them prone to shifting, sagging, and eventual leaks under the weight and constant flow of drain water. These couplings are engineered to handle the differing outer diameters and expansion rates of the two pipe types.
My cast iron pipe only has a small crack; do I really need to replace an entire section, or can I just patch it?
For a lasting and reliable repair in a drain pipe under continuous use, replacing the cracked section with PVC is generally the most effective solution. While temporary patching products exist for small leaks, they are rarely a permanent fix for structural cracks in cast iron drain lines. Patching often fails over time due to thermal expansion, vibrations, and constant exposure to wastewater, leading to more significant and costlier problems down the line.


