

How to Replace a Bathtub Drain Flange
About This Project
This guide provides comprehensive, step-by-step instructions for removing an old bathtub drain flange and installing a new one. The process involves removing the stopper, unscrewing the old flange, cleaning the drain opening, and sealing and setting the new flange to prevent leaks.
Best for advanced DIYers and professionals with basic plumbing knowledge.
Tools & Materials

THE CLEAN STORE Microfiber Pink/White Cleaning Cloths (Pack of 100) 79136
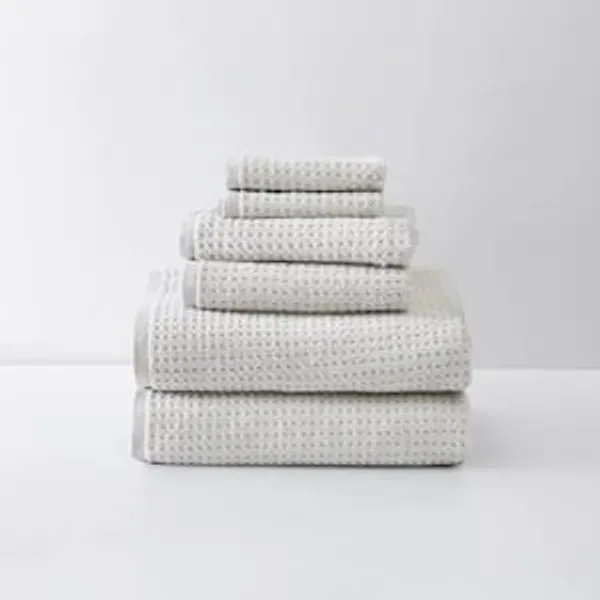
Towel
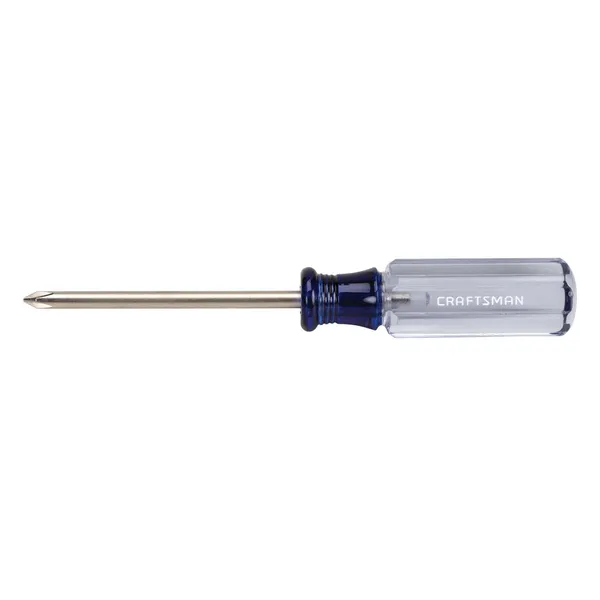
Phillips head screwdriver
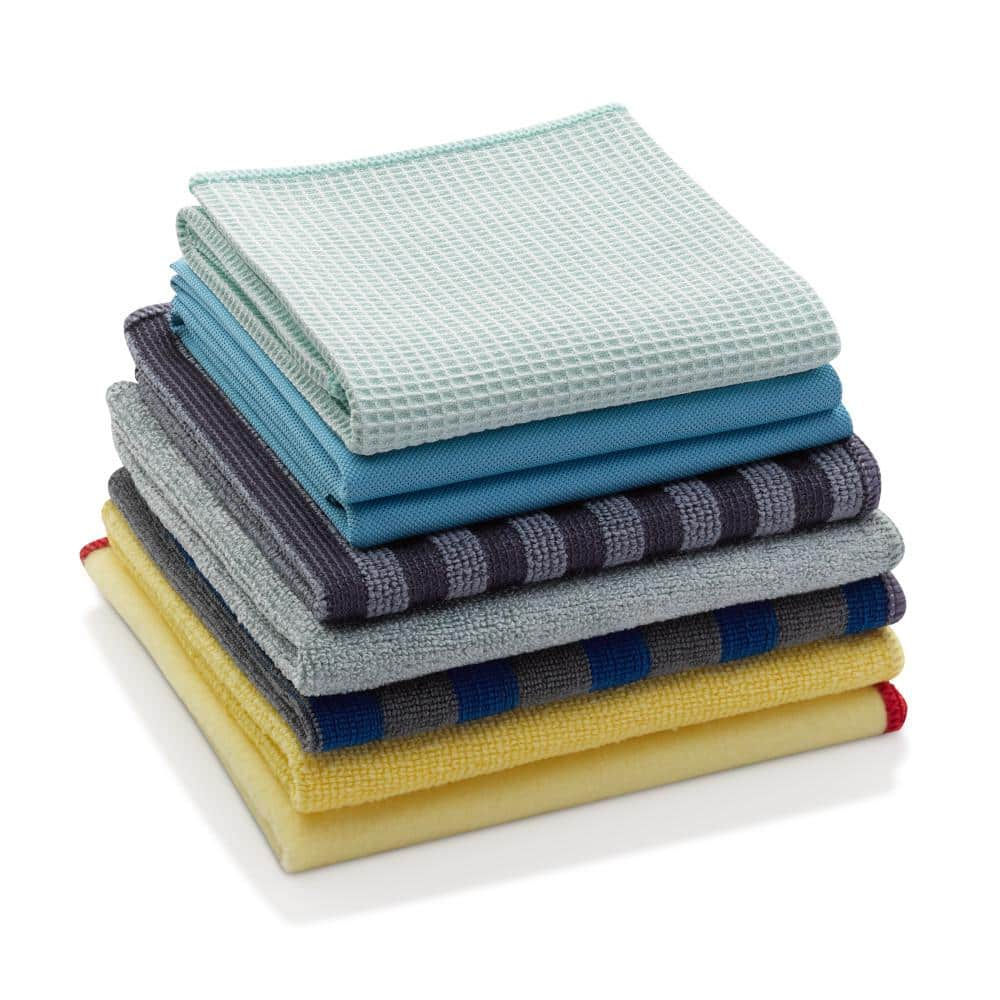
E-Cloth 20 in x 16 in. Microfiber Home Cleaning Cloth - 8 Cloth Set 10903M
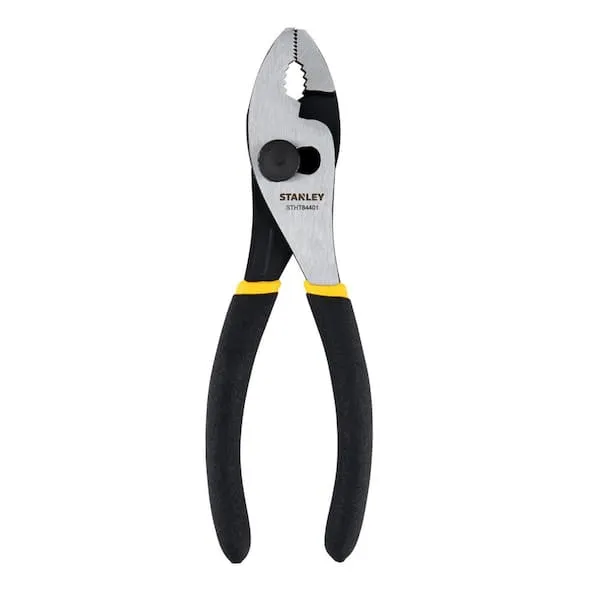
Pliers
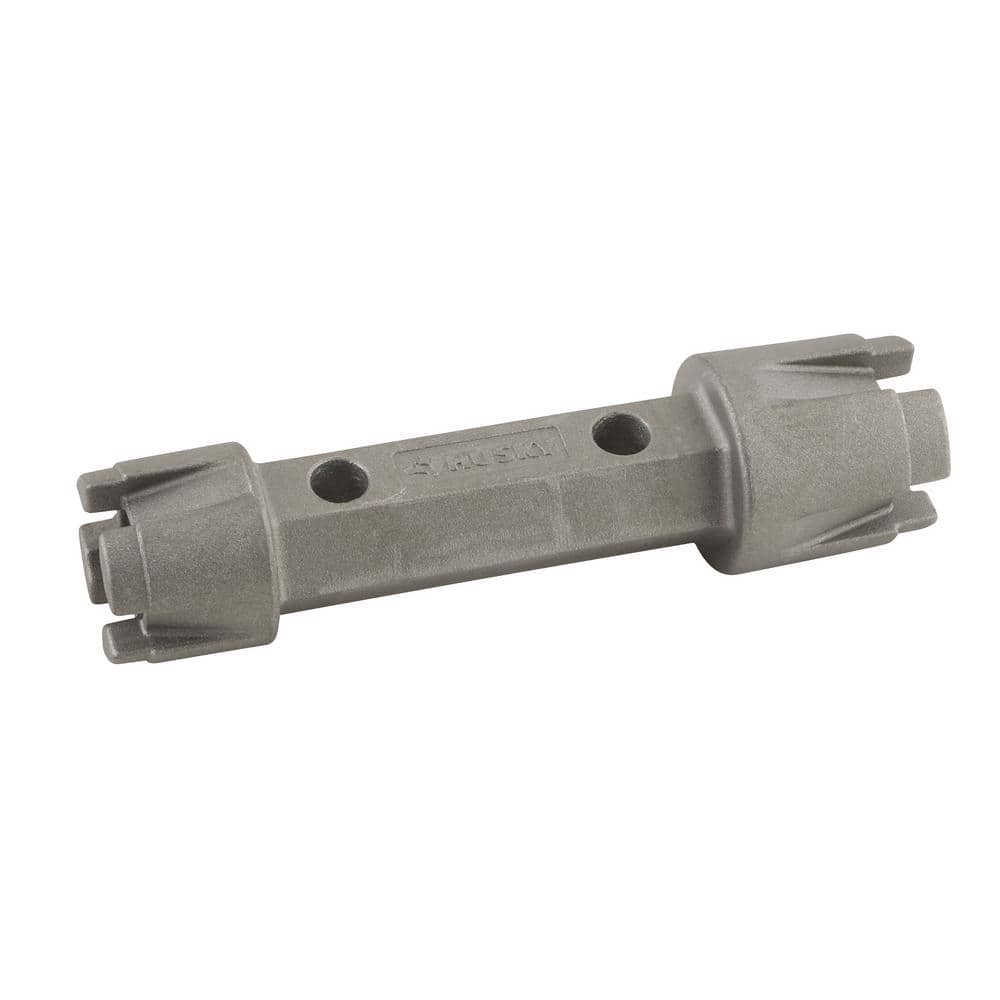
Husky Double Ended Tub Drain Wrench 16PL0128
THE CLEAN STORE Microfiber Pink/White Cleaning Cloths (Pack of 100) 79136
The Pull N Wipe Microfiber Cleaning Rags are the ideal cleaning cloths for all your cleaning needs. Whether you keep a box at Home to clean around the house, In the Kitchen to clean up after cooking or
Towel
Absorbs moisture and dries surfaces.
Phillips head screwdriver
This is a type of screwdriver that has a cross-shaped tip.
E-Cloth 20 in x 16 in. Microfiber Home Cleaning Cloth - 8 Cloth Set 10903M
With 1 purchase, the E-Cloth Home Cleaning Set equips you to clean and shine every surface in your home, from countertop to stovetop and windows to tile. This 8-piece set includes 7 cloths that remove
Pliers
Grips and manipulates objects.
Husky Double Ended Tub Drain Wrench 16PL0128
This Double Ended Tub Drain Wrench removes most old tub and shower drains and helps during replacement installations. A heavy-duty aluminum die-cast construction ensures long-lasting durability. Its double-ended
Steps

Prepare the Work Area
10 minsBegin by thoroughly cleaning the bathtub, especially around the drain area, to remove any soap scum and residue. Lay down an old towel or thick cloth in the bottom of the tub to protect its surface from accidental scratches by tools. Gather all the tools and materials you will need for the job and place them within easy reach.

Remove the Stopper
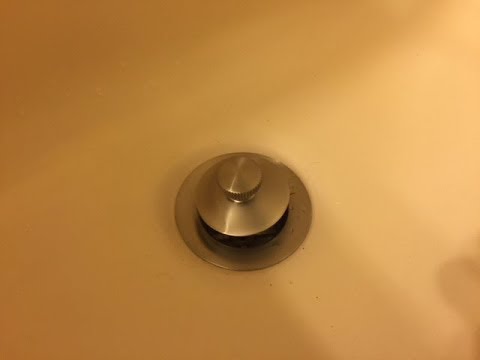
5 minsTo remove a Push-and-Lock (or Toe-Touch) stopper, first ensure it is in the open position. Grip the top cap of the stopper and unscrew it counter-clockwise. Some may be tight and require pliers with a cloth to protect the finish. Once the cap is off, it will reveal a central screw post. Use a Phillips or flathead screwdriver to unscrew this central component, which will release the entire stopper mechanism from the drain flange's crossbars.

Remove the Old Drain Flange
30 minsThis is often the most challenging step. Insert a specialized drain wrench, such as a Smart Dumbbell or drain key, into the drain opening so it firmly engages with the crossbars of the flange. Attach an adjustable wrench or large pliers to the top of the drain wrench. Apply firm, steady pressure counter-clockwise to unscrew the flange. If it's stuck, do not force it. Instead, apply penetrating oil around the edge and let it sit for 15-20 minutes. You can also use a hairdryer to gently warm the flange, which can help break the seal of old plumber's putty. Once loosened, continue to unscrew the flange until it is completely free from the drain shoe below.
Clean the Drain Opening
10 minsWith the old flange removed, use a plastic putty knife to carefully scrape away all the old, hardened plumber's putty from the surface of the tub around the drain opening. Be careful not to scratch the tub's finish. Use a rag dampened with mineral spirits or rubbing alcohol to wipe the area clean, removing any remaining residue. Also, use the rag to clean the threads inside the drain shoe below the tub, ensuring a clean connection for the new flange.

Apply Plumber's Putty
5 minsTake a generous amount of plumber's putty from its container. Knead and warm it in your hands for a minute to make it soft and pliable. Roll the putty between your palms to form a uniform rope that is slightly thicker than a pencil (about 1/4 to 3/8 inch in diameter). Carefully press this rope of putty onto the underside of the new drain flange's lip, ensuring it forms a complete, unbroken circle.

Install the New Drain Flange
10 minsCarefully lower the new flange, with putty applied, into the drain opening. Gently turn it clockwise by hand to engage the threads with the drain shoe below. Be very careful not to cross-thread it; if you feel resistance, back it out and try again. Once it is hand-tight, insert the drain wrench. Use your adjustable wrench or pliers to give it another quarter to a half turn until it is snug. You should see a uniform ring of excess plumber's putty squeeze out around the entire perimeter of the flange. This indicates a good seal.

Final Cleanup and Stopper Installation
5 minsUse your finger or a plastic putty knife to wipe away the ring of excess plumber's putty that squeezed out from under the flange. Use a clean rag to polish the area. Now, reinstall the drain stopper. Screw the central post back into the flange's crossbars until snug, but do not overtighten. Finally, screw the stopper cap back onto the post until it is hand-tight.

Test for Leaks
25 minsTo ensure your work is successful, perform a thorough leak test. Close the new drain stopper and fill the tub with several inches of water. Let the water sit for at least 15-20 minutes. If you have an access panel or can see the drain from below, use a flashlight to inspect the underside of the drain assembly for any drips. If there is no access, look for any water seeping out around the flange inside the tub. After checking for static leaks, open the drain and let the water flow out. Observe the drain closely as it empties to ensure no water is leaking from under the flange's edge.
Common Problems
Be careful not to cross-thread the drain flange into the pipe. It should screw in smoothly by hand at first.
Solution: To avoid this issue: Be mindful of this warning and take appropriate precautions.
Risk of scratching or cracking the bathtub when removing the old drain flange.
Solution: Using a screwdriver and hammer is a more controlled method than a sawzall, reducing the risk of damaging the bathtub surface.
Stuck drain flange, no specialized tool.
Solution: The optimal tool for this job is a tub drain puller, but this method with pliers and a wrench is a viable alternative if you don't have one.
The old drain may be very tight due to corrosion and old sealant. Apply steady, firm pressure to avoid stripping the drain's crossbars or damaging your tools.
Solution: To avoid this issue: Be mindful of this warning and take appropriate precautions.
Be careful not to damage the plastic PVC pipe threads underneath the tub with the hammer claw.
Solution: To avoid this issue: Be mindful of this warning and take appropriate precautions.
Apply force slowly and steadily. Sudden, jerky movements can break the drain's crossbars, making removal much more difficult.
Solution: To avoid this issue: Be mindful of this warning and take appropriate precautions.
Be cautious of the lever slipping, which could cause injury or damage the surface of the bathtub.
Solution: To avoid this issue: Be mindful of this warning and take appropriate precautions.
Frequently Asked Questions
Do I really need a specialized tub drain wrench, or can I make do with other tools I might have?
A specialized tub drain wrench, like the Husky 16PL0128, is highly recommended as it provides the necessary grip and leverage to remove stubborn flanges without damage. While you might get lucky with pliers or screwdrivers for very loose flanges, using the wrong tool can strip the drain or scratch your tub. It's a small investment that saves a lot of potential headaches and damage.
My old drain flange is completely seized and won't budge. What's the best approach to remove it without damaging my tub?
First, generously apply a penetrating oil like KROIL and allow it to soak for at least 30 minutes, or even a few hours. If it's still stuck, try tapping the wrench gently with a hammer to break the corrosion. As a last resort, consider a reciprocating saw with a metal blade to carefully cut cross-sections of the flange from the inside, but extreme caution is required to avoid cutting the tub.
What's the most critical step to ensure my new drain flange doesn't leak, and how do I properly test it?
The most critical step is applying a consistent, sufficient bead of plumber's putty around the underside of the new flange and tightening it correctly. Ensure the putty forms a watertight seal as it squeezes out. To test for leaks, plug the drain, fill the tub with water past the flange level, and let it sit for at least 30 minutes while checking the plumbing underneath for any drips.
How do I ensure the new drain flange, like the Schluter Kerdi-Drain mentioned, will fit my specific bathtub?
Bathtub drain flanges vary in size, thread type, and how they connect to the drain shoe. Before purchasing, measure the diameter of your existing drain opening and the thread size if possible, or take the old flange with you to the store. While the Schluter Kerdi-Drain is a high-quality option, always verify compatibility with your specific tub material and existing drain body to prevent fitment issues.
Can I use silicone sealant instead of plumber's putty when installing the new drain flange, and what's the difference?
While silicone can create a seal, plumber's putty is generally preferred for drain flanges because it remains pliable, allowing for easier removal if future repairs are needed. Plumber's putty also provides an excellent watertight seal without adhering permanently, unlike silicone, which can be very difficult to scrape off. Ensure you use stain-free plumber's putty, like Oatey 31177, to avoid discoloration on sensitive tub materials.
What are the most important safety precautions to take when doing this plumbing project, especially for a beginner?
Always wear appropriate personal protective equipment, including safety glasses and gloves, especially when handling penetrating oils or cleaning chemicals. Ensure good ventilation if using strong-smelling products. If your project requires accessing plumbing under the tub, always turn off the main water supply if there's any risk of breaking a pipe or causing a major leak during work.
The project is rated 'beginner' and 3 hours. What common issues might make this project take longer or be more challenging?
The biggest challenge for beginners is often a heavily corroded or seized old drain flange that refuses to budge, which can significantly extend the time. Other issues include damaged drain pipes encountered during removal, difficulty achieving a leak-free seal, or finding that the replacement flange isn't perfectly compatible. Patience and having extra materials or tools on hand for unexpected problems are key.


