

How to Remove Old, Hardened Plumber's Putty
About This Project
This guide provides comprehensive, step-by-step instructions for safely and effectively removing old, hardened plumber's putty from plumbing fixtures. The process involves mechanical scraping, applying heat to soften the putty, using solvents to dissolve residue, and final cleaning to prepare the surface for a new installation.
Best for experienced DIYers and homeowners with some experience with basic plumbing knowledge and familiarity with power tools. Requires MCR Safety BearKat Safety Glasses MCSCRWBK110.
Tools & Materials

Towel
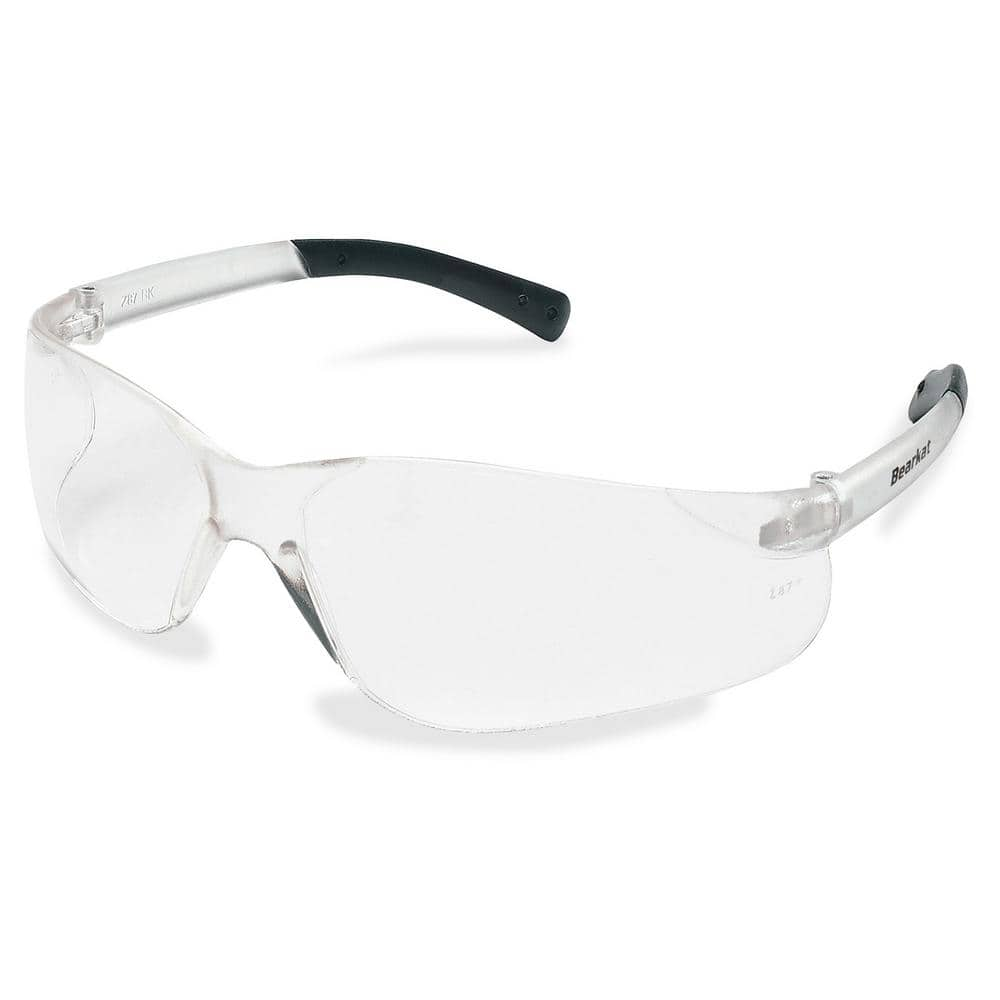
MCR Safety BearKat Safety Glasses MCSCRWBK110
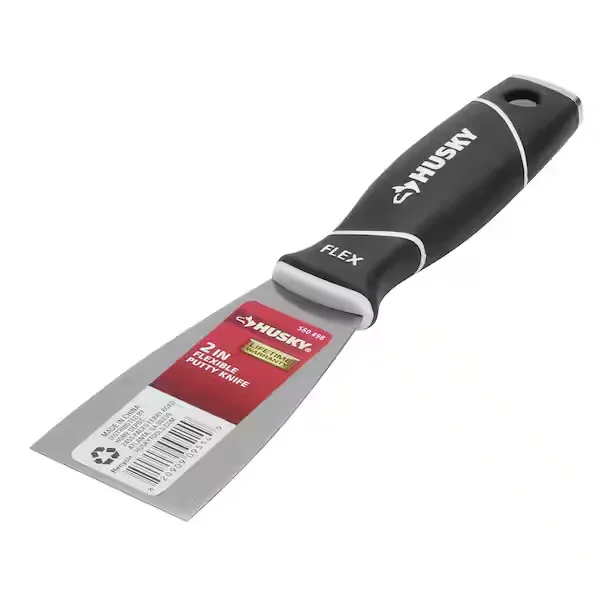
Putty knife

Aoibox 1800-Watt Water Ionic Hair Dryer with Magnetic Nozzle 2 Speed and 3 Heat Settings Powerful Low Noise Fast Drying HDDB1448
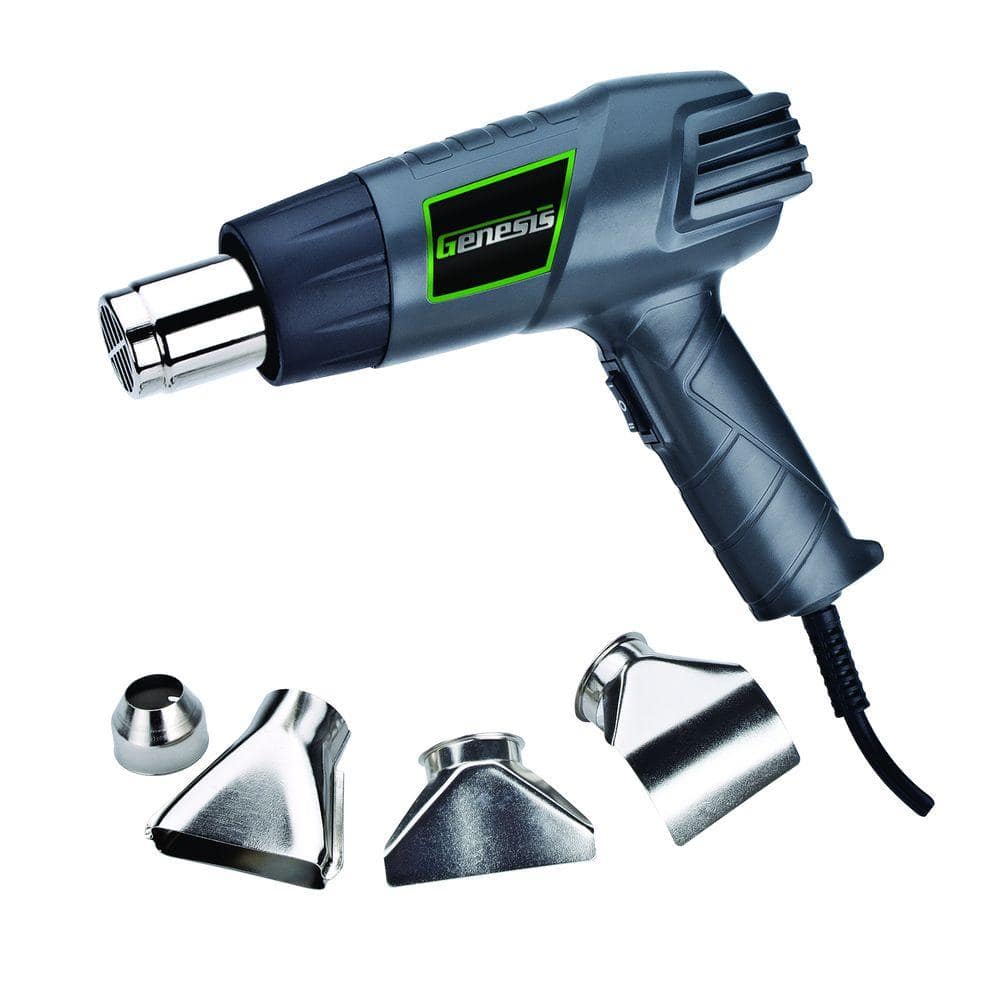
Genesis 12.5-Amp Dual-Temperature Heat Gun with High/Low Settings and Air Reduction, Reflector, and 2 Deflector Nozzles GHG1500A
Reviews for Anvil 2 in. Plastic Paint Scraper Putty Knife | Pg 4
Towel
Absorbs moisture and dries surfaces.
MCR Safety BearKat Safety Glasses MCSCRWBK110
Safety glasses feature a well thought-out construction that combines the best in safety, comfort and affordability. Your vision is unobstructed by the 1-piece wraparound lens which, by its tight fit, provides for maximum safety. Flexible temples enhance your comfort during extended use. Nonslip rubber head grips are notched for a clip-on breakaway cord.
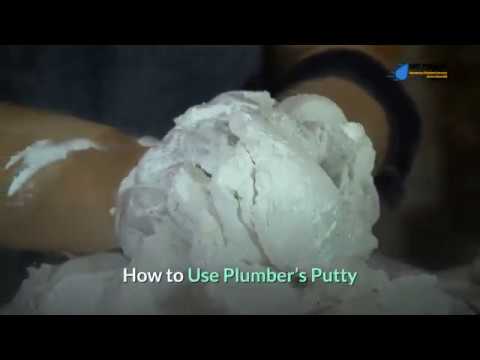
Putty knife
Spreads putty with its flat blade.
Aoibox 1800-Watt Water Ionic Hair Dryer with Magnetic Nozzle 2 Speed and 3 Heat Settings Powerful Low Noise Fast Drying HDDB1448
Our professional hair dryer uses the improved water ionic patent technology that will release 10 million water ions to maintain the moisture balance inside the hair when blowing. Long-term use of the portable hair dryer can improve hair health. Help reduce frizz split ends and have shiny and smooth hair.
Genesis 12.5-Amp Dual-Temperature Heat Gun with High/Low Settings and Air Reduction, Reflector, and 2 Deflector Nozzles GHG1500A
Discover the many uses of the Genesis 1500W Dual Temperature Heat Gun. It's a Versatile Tool for Stripping Paint and Varnish, Softening Caulking and Putty for Removal, Removing Adhesive Labels, Thawing
Reviews for Anvil 2 in. Plastic Paint Scraper Putty Knife | Pg 4
Read page 4 of our customer reviews for more information on the Anvil 2 in. Plastic Paint Scraper Putty Knife.
Steps

Preparation and Safety
5 minsBegin by preparing your workspace to protect it from debris and cleaning agents. Lay down an old towel or rag in the sink basin and on the countertop around the work area. This will catch any putty flakes and prevent scratches. Most importantly, put on your safety glasses to protect your eyes from small, sharp pieces of hardened putty that can fly off during removal.

Initial Mechanical Removal
5 minsTake a plastic putty knife or a similar non-marring scraper. Start by gently chipping and prying at the edges of the hardened putty ring. Because it's old and brittle, large chunks may break off easily. Work your way around the entire circumference. The goal here is to remove the bulk of the material without applying excessive force that could damage the porcelain surface. Do not use a metal tool at this stage.
Apply Heat to Soften Putty
5 minsTo deal with the stubborn, bonded putty that remains, you'll need to soften it. Use a standard hairdryer on its highest heat setting, or a heat gun on its lowest setting. Hold the heat source about 2-3 inches from the putty and move it continuously in a slow, circular motion around the ring. Do this for a few minutes until the putty becomes visibly softer and slightly glossy. This heat application breaks down the linseed oil in the putty, making it pliable again.

Scrape Away Softened Putty
10 minsWhile the putty is still warm and soft from the heat, immediately resume scraping with your plastic putty knife. It should now come off much more easily in larger, gummy pieces. For any extremely stubborn, thin layers, you may carefully use the edge of a utility knife blade. Hold the blade at a very low angle (almost flat) against the porcelain and use a shaving motion to lift the residue. Reheat the putty as needed if it begins to harden again.
Dissolve Residue with a Solvent
5 minsAfter scraping, a thin, oily film or residue will likely remain. To remove this, apply a small amount of a suitable solvent to a clean cloth. Mineral spirits are highly effective. Alternatively, rubbing alcohol or a commercial adhesive remover like Goo Gone can be used. Gently rub the residue in a circular motion until it dissolves and lifts from the surface. Remember to test the solvent on a hidden spot first.

Final Cleaning and Inspection
5 minsThe final step is to thoroughly clean the surface to ensure it is completely free of any oils or residues, which is critical for a good seal with the new putty or sealant. Use a degreasing cleaner or denatured alcohol on a fresh, clean cloth or paper towel. Wipe down the entire area where the putty was located. Run your finger over the surface; it should feel perfectly smooth and clean ('squeaky clean'). This ensures the new fixture will seal properly without leaks.
Common Problems
Oil stains ruin your workspace.
Solution: Using a protective surface like cardboard makes cleanup much easier and prevents oil stains on your floor or workbench.
Ensure proper ventilation and wear gloves when working with chemical solvents.
Solution: To avoid this issue: Be mindful of this warning and take appropriate precautions.
Female threads are dirty, causing a poor connection.
Solution: Also clean the female threads of the corresponding fitting to remove any impurities that could interfere with the connection.
Uneven sealant finish and pulling issues when removing hardened putty.
Solution: Wetting your finger or tooling instrument helps to achieve a smoother finish and prevents the sealant from pulling.
Overtightening a compression fitting can damage the pipe or the olive inside, potentially making the leak worse. Be firm but careful.
Solution: To avoid this issue: Be mindful of this warning and take appropriate precautions.
Uneven putty leaves a rough, noticeable seam after installation.
Solution: Feel the surface with your fingers to check for smoothness. It should be indistinguishable from the surrounding tub.
Be careful not to enlarge the crack or create new damage when removing the loose piece.
Solution: To avoid this issue: Be mindful of this warning and take appropriate precautions.
Frequently Asked Questions
How long does it typically take to remove old, hardened plumber's putty, and how difficult is this project for a beginner?
This is a beginner-friendly project, but patience is key. For a single fixture, expect to spend anywhere from 30 minutes to a few hours, depending on how much putty is present and how hard it has become. The most time-consuming part is often patiently softening very stubborn areas.
What essential safety precautions should I take, especially when using heat guns and chemical solvents?
Always ensure excellent ventilation in your workspace to disperse fumes from solvents like acetone. Wear appropriate personal protective equipment, including safety glasses to protect your eyes and chemical-resistant gloves to protect your skin. Be extremely cautious with heat guns to prevent burns and avoid damaging surrounding materials.
Can I use a regular hairdryer instead of a heat gun to soften the hardened plumber's putty?
A regular hairdryer (like the Aoibox HDDB1448) might work for very thin or moderately old putty. However, for truly hardened or thick plumber's putty, a dedicated heat gun (such as the Genesis GHG1500A or Master Appliance VT-751D) is significantly more effective, providing the higher, concentrated heat needed to soften it thoroughly and efficiently.
The putty is extremely hard and won't scrape off easily even after heating. What should I do?
If the putty remains stubborn, reapply heat more intensely or for a longer duration directly onto the hardened areas, allowing the heat to penetrate deeper. After heating, let the area cool slightly before applying solvents like Goo Gone Pro-Power (2180A) or Acetone (Klean-Strip CAC18) and allow them sufficient time to soak in before attempting to scrape again.
Are there any less harsh alternatives to acetone or Goo Gone for dissolving the final residue, or are these essential?
While acetone and Goo Gone are highly effective for dissolving stubborn residue, you can try mineral spirits or a strong degreaser like ZEP Fast 505 (ZU505128) as milder alternatives. However, these might require more scrubbing and multiple applications, especially for very sticky or dried-on remnants. Always test any solvent in an inconspicuous area first.
How can I prevent scratching or damaging my plumbing fixtures while scraping off the old putty?
Always start with plastic putty knives or scrapers (like the Anvil 2 in. Plastic Paint Scraper) as they are less likely to scratch delicate surfaces. If using a utility knife (Alltrade 150003) or metal scraper, keep the blade at a very shallow angle to the fixture and use minimal, gentle pressure. Adequate heat application will soften the putty enough to be removed with less force, significantly reducing the risk of damage.


