
How to Make a Quick Pipe Repair with Push-to-Connect Fittings
About This Project
This guide provides step-by-step instructions for performing a quick, reliable repair on a leaking pipe using push-to-connect fittings. The process involves shutting off the water supply, removing the damaged pipe section, preparing the pipe ends, and installing the new fitting without the need for soldering or special glues.
Best for homeowners and DIY enthusiasts with basic plumbing knowledge.
Tools & Materials

Bucket
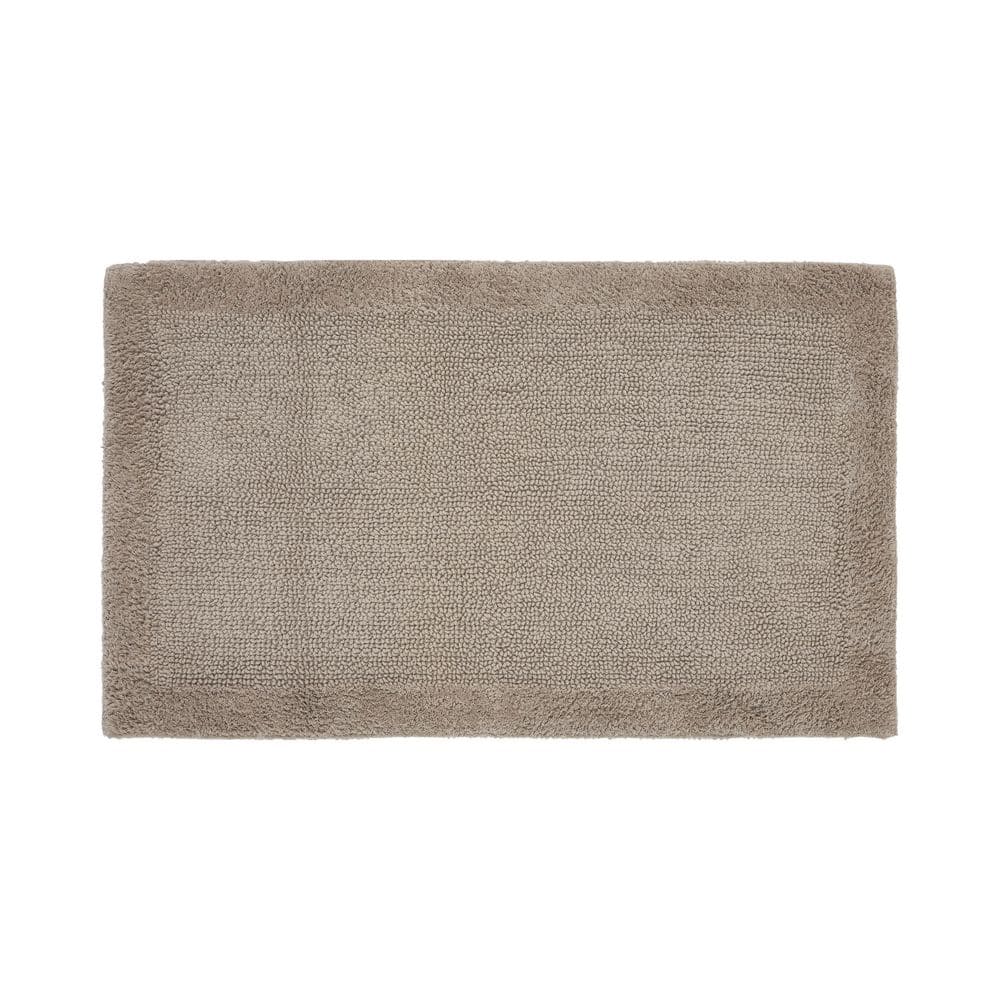
Better Trends Edge Collection 24 in. x 40 in. Brown 100% Cotton Rectangle Bath Rug BAEG2440SD
AUTOCUT 1/2 in. Copper Pipe Tubing Cutter ATC12
Tectite 1/2 in. Brass Push-to-Connect Coupling FSBC12
Sharpie King Size Black Permanent Marker (3 per Pack) 2003570
MCR Safety BearKat Safety Glasses MCSCRWBK110
Bucket
Ideal for carrying or storing liquids.
Better Trends Edge Collection 24 in. x 40 in. Brown 100% Cotton Rectangle Bath Rug BAEG2440SD
This one is a perfect option if you are looking for a highly durable and sustainable rug for the bathroom. This collection of bathroom mats and rugs sets is a worth investing offer from Better Trends.
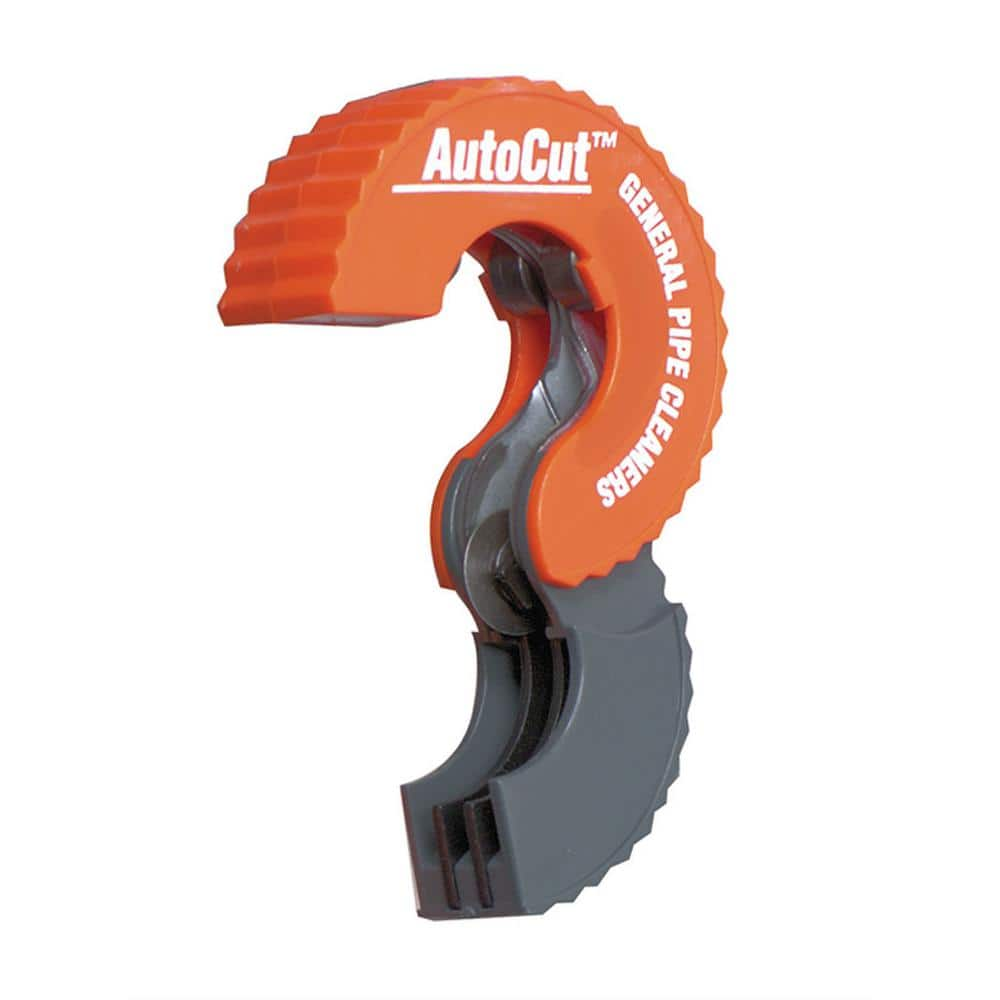
AUTOCUT 1/2 in. Copper Pipe Tubing Cutter ATC12
Autocut copper tubing cutters are a great tool to have when you don't have enough swing room to use a full-size tubing cutter. You can cut copper tubing with less than one inch of clearance or you can
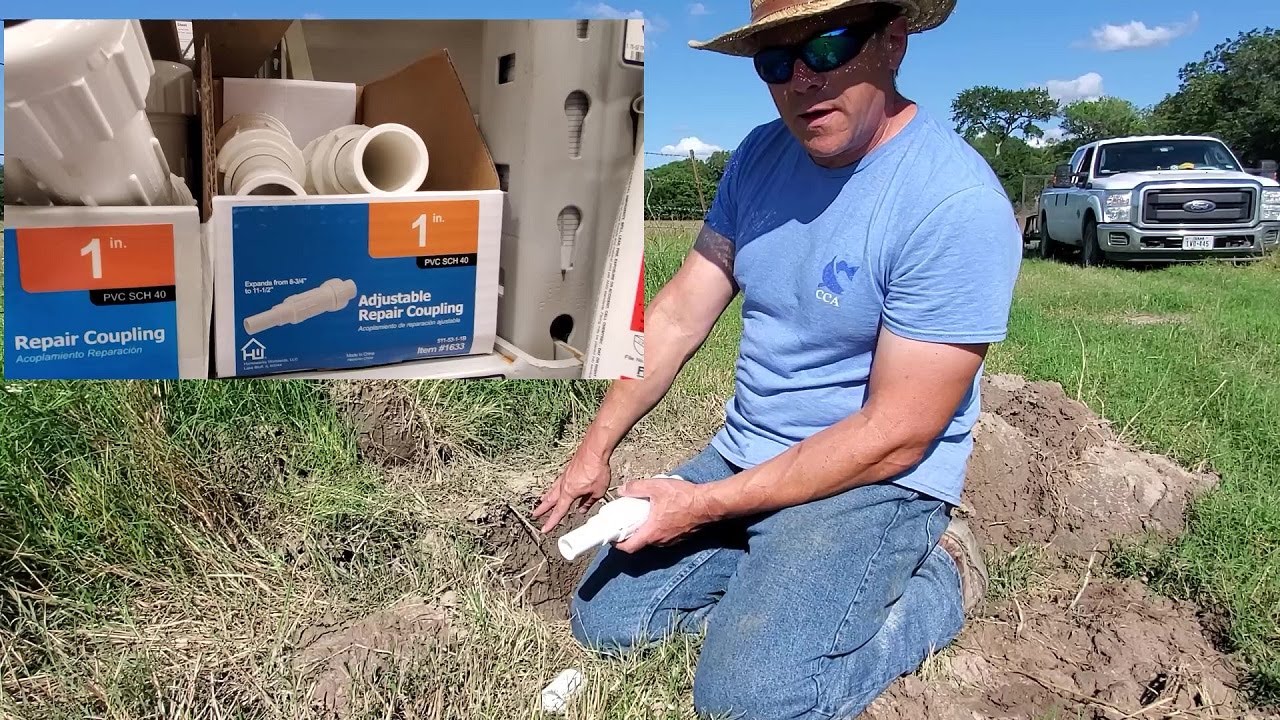
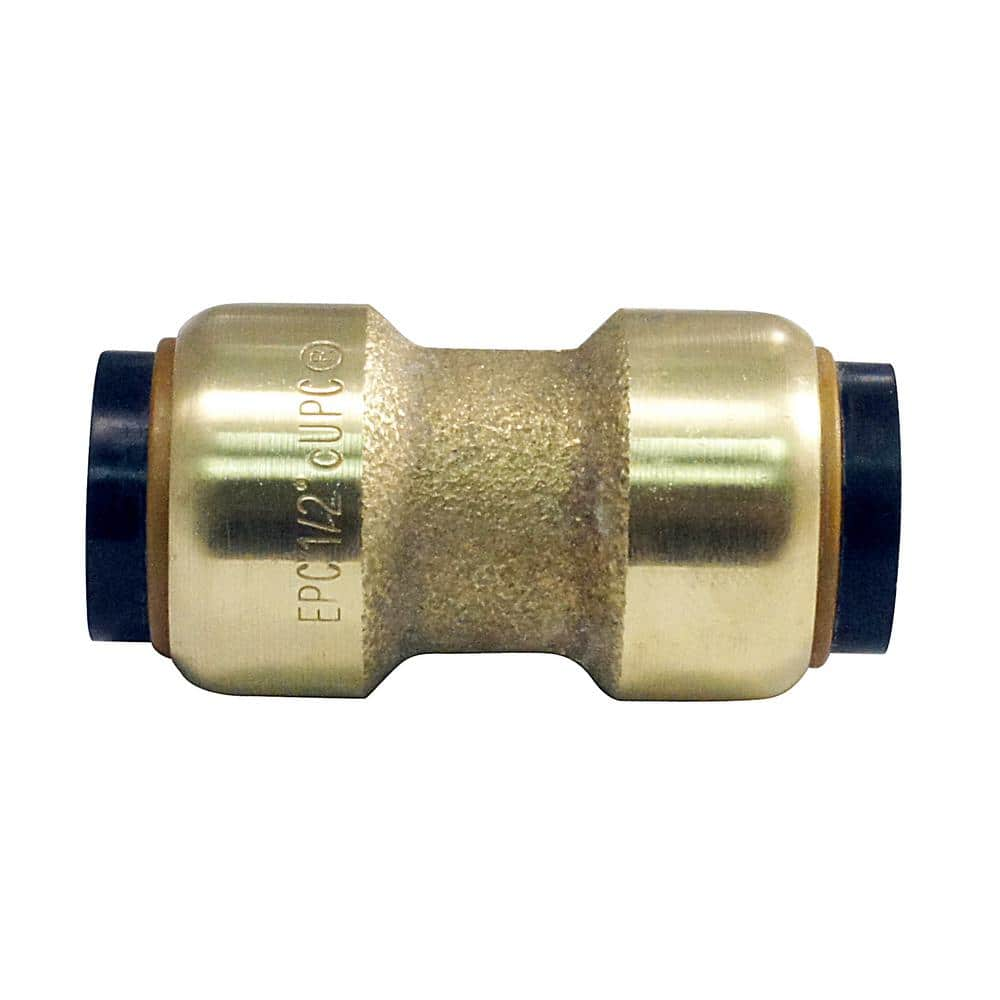
Tectite 1/2 in. Brass Push-to-Connect Coupling FSBC12
The 1/2 in. Tectite by Apollo Push-To-Connect coupling is the fastest, cleanest and simplest way to join any combination of copper, CPVC, PE-RT and PEX pipe without the use of tools, solder, open flame
Sharpie King Size Black Permanent Marker (3 per Pack) 2003570
Pro King Size permanent markers by Sharpie provide the industrial strength needed for the toughest applications. The markers feature an incredibly durable chisel tip that can use on a variety of surfaces.
MCR Safety BearKat Safety Glasses MCSCRWBK110
Safety glasses feature a well thought-out construction that combines the best in safety, comfort and affordability. Your vision is unobstructed by the 1-piece wraparound lens which, by its tight fit, provides for maximum safety. Flexible temples enhance your comfort during extended use. Nonslip rubber head grips are notched for a clip-on breakaway cord.
Steps

Shut Off Water Supply and Drain the Line
5 minsFirst, locate the main water shut-off valve for your house, which is often found in the basement, a crawlspace, or near the water meter. Turn the valve handle clockwise until it is fully closed. Next, relieve the pressure in the system by opening a faucet at the lowest point in your house (like a basement utility sink or an outdoor spigot) and also a faucet near the repair area. This will allow the water in the pipes to drain out. Place a bucket and have some rags or towels ready directly under the section of pipe you'll be cutting to catch any residual water.

Cut Out the Damaged Pipe Section
5 minsIdentify the leaking section of the 1/2-inch copper pipe. To ensure a clean, perpendicular cut, use a tubing cutter. Place the cutter around the pipe at one side of the damaged area and tighten the knob until the cutting wheel makes contact. Rotate the cutter around the pipe, tightening the knob slightly with each rotation until the pipe is cut through. Repeat this process on the other side of the damage, removing the faulty section. The goal is to create a gap that is slightly shorter than your push-to-connect coupling, allowing you to insert the pipe ends into the fitting.

Deburr and Clean Pipe Ends
5 minsThis is a critical step for a successful repair. Take your deburring tool and insert it into the freshly cut pipe end, rotating it to remove any burrs from the inside edge. Then, use the tool's outer slots to smooth the outside edge. After deburring, take a piece of emery cloth or fine-grit sandpaper and thoroughly clean the outside surface of both pipe ends, extending about one inch back from the cut. The surface must be completely smooth, clean, and free of any oxidation, paint, or grime to allow the O-ring inside the fitting to create a perfect seal. Wipe the ends with a clean rag when finished.

Mark the Insertion Depth
2 minsTo guarantee the pipe is inserted fully into the fitting, you must mark the correct insertion depth. For a 1/2-inch pipe, the typical insertion depth is 15/16 of an inch. You can confirm this by using the manufacturer-provided depth gauge or by holding the pipe next to the fitting and marking where the pipe bottoms out inside. Use a permanent marker to draw a clear line around the circumference of both pipe ends at the measured depth. This line will serve as a visual indicator during installation.
Install the Push-to-Connect Fitting
2 minsTake the 1/2-inch push-to-connect coupling. Align it with one of the prepared pipe ends. Apply firm, even pressure to push the fitting onto the pipe. A slight twisting motion as you push can help it slide on smoothly. Continue pushing until the edge of the fitting meets the depth mark you made earlier. You will feel a distinct 'click' or 'thump' as the pipe passes over the O-ring and seats against the internal stop. Repeat this process for the other pipe end, flexing the pipe slightly if necessary to achieve alignment. Pull gently on the fitting to ensure the internal teeth have grabbed the pipe and it is secure.

Test the Repair
5 minsOnce the fitting is securely in place, you must test the repair under pressure. Go back to the faucets you opened earlier and close them completely. Return to the main water shut-off valve and turn it on very slowly. A sudden rush of water can cause a 'water hammer' effect, stressing your plumbing. Once the valve is fully open, return to the repair site. Carefully inspect the fitting on all sides for any signs of moisture. Wipe the fitting and the surrounding pipe with a dry paper towel or rag to make even the smallest bead of water visible. Check for leaks again after 15 minutes and then after a few hours to ensure the seal is holding.
Common Problems
Even if a connection feels snug, it may not be fully seated. Without a visual mark, it's easy to make a mistake that leads to water damage.
Solution: To avoid this issue: Be mindful of this warning and take appropriate precautions.
Incorrect pipe insertion depth can lead to leaks.
Solution: Always check the manufacturer's documentation or website for the correct insertion depth, as it varies by pipe size.
Ensure the valve is turned off completely before proceeding to the next steps.
Solution: To avoid this issue: Be mindful of this warning and take appropriate precautions.
Confirm the water is completely off by checking a faucet before you start loosening any fittings.
Solution: To avoid this issue: Be mindful of this warning and take appropriate precautions.
Make sure you know where your main water shutoff is before you start any plumbing project.
Solution: To avoid this issue: Be mindful of this warning and take appropriate precautions.
Ensure the water is completely off by checking a faucet. Failure to do so can result in significant water damage.
Solution: To avoid this issue: Be mindful of this warning and take appropriate precautions.
Losing a small, crucial fitting down the drain during a pipe repair.
Solution: Covering the drain is a simple step that can save you from the major headache of retrieving a lost part.
Frequently Asked Questions
How easy is this repair for someone with no plumbing experience, and what's the hardest part?
This project is designed for beginners because push-to-connect fittings eliminate the need for soldering or glues, making the process very accessible. The most challenging part is often working in confined spaces or ensuring the pipe is properly deburred, but the steps are straightforward. Follow the instructions carefully for a successful repair.
Do I really need all the specific tools and materials listed, or are there cheaper essentials?
The absolute essentials for this repair are a pipe cutter (like the AUTOCUT 1/2 in. Copper Pipe Tubing Cutter) and a deburring tool (Husky 1-5/8 in. Inner/Outer Reamer and Deburring Tool). While other items like specific markers or towels are recommended for convenience and cleanliness, you can substitute them with what you have on hand, focusing on clean cuts and proper pipe preparation.
What are the most important safety precautions I need to take before and during this pipe repair?
The most critical safety steps are always shutting off the main water supply to prevent flooding and wearing eye protection (like MCR Safety BearKat Safety Glasses) to guard against debris. Ensure the pipe is fully drained into a bucket before cutting to avoid unexpected water pressure and spills. Always wear appropriate personal protective equipment.
What's the most common mistake DIYers make when using push-to-connect fittings, and how can I avoid it?
A common mistake is failing to properly deburr and clean the pipe ends, or not fully inserting the pipe into the fitting. Burrs or debris can damage the internal O-ring seal, leading to leaks. Always use a deburring tool and mark the insertion depth (as described in the first step) to ensure a complete and secure connection.
Can I use push-to-connect fittings on all types of pipes, like PEX or CPVC, or just copper?
Push-to-connect fittings, such as the Tectite 1/2 in. Brass Push-to-Connect Coupling, are generally compatible with copper, PEX, and CPVC pipes. However, it's crucial to always check the specific fitting's manufacturer specifications to confirm compatibility with your pipe material and size to ensure a reliable and code-compliant seal.
Are push-to-connect fittings a permanent solution for a pipe leak, or just a temporary fix?
When installed correctly, push-to-connect fittings are considered a permanent and reliable repair solution, meeting most plumbing codes for potable water systems. They are designed for long-term use and offer excellent durability, making them a trusted alternative to soldering or crimping in many applications.


