
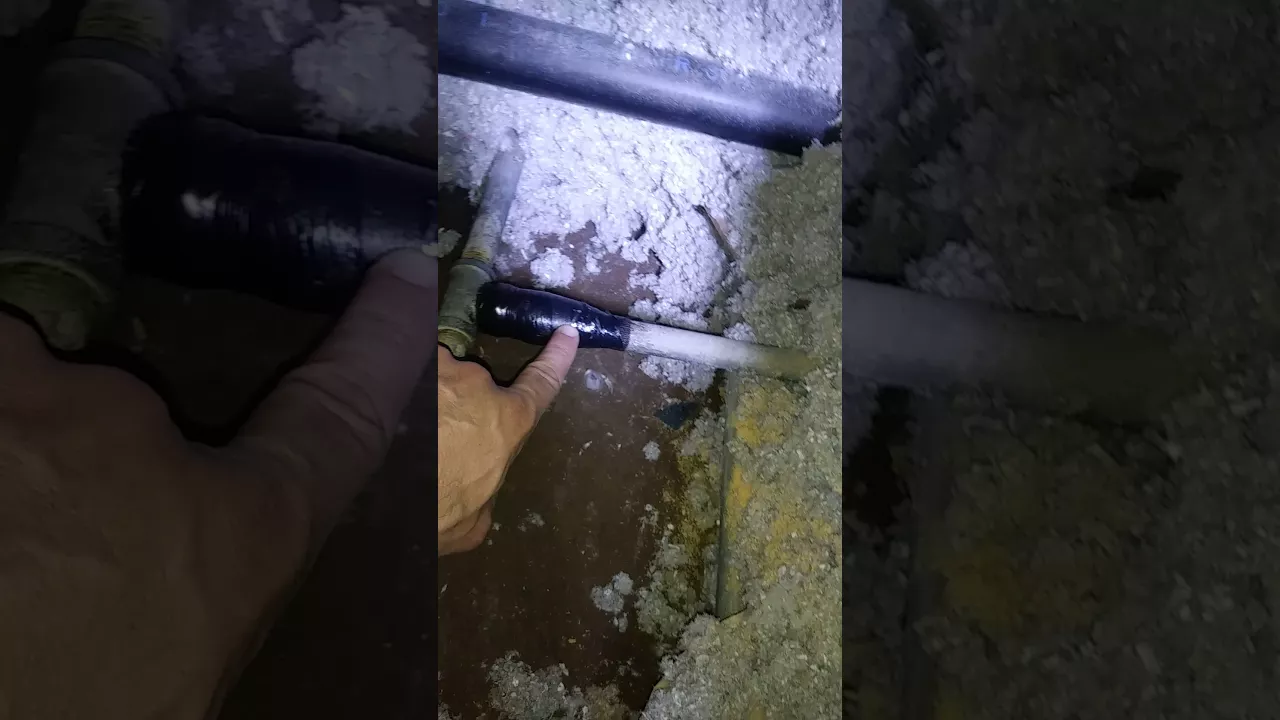
How to Make a Quick Pipe Repair with Push-to-Connect Fittings
About This Project
This guide provides comprehensive, step-by-step instructions for performing a quick and reliable repair on a leaking pipe using push-to-connect fittings. The process involves shutting off the water, removing the damaged pipe section, preparing the pipe ends, and installing the new fittings and pipe segment.
Best for homeowners and DIY enthusiasts with basic plumbing knowledge and familiarity with power tools. Requires Safety gloves.
Tools & Materials
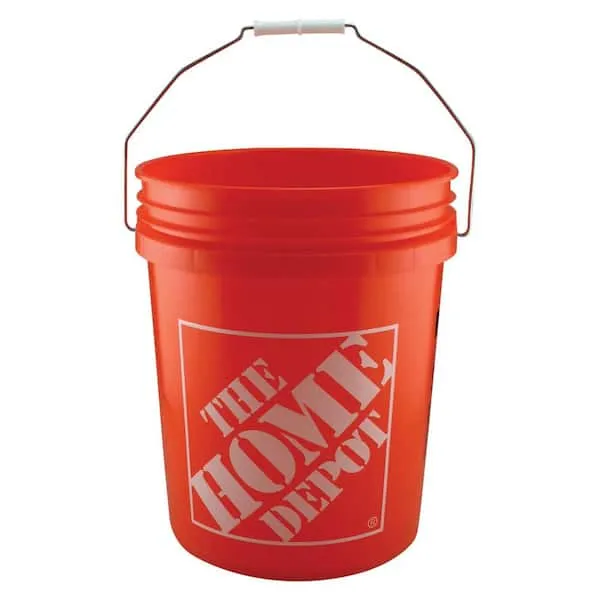
Bucket
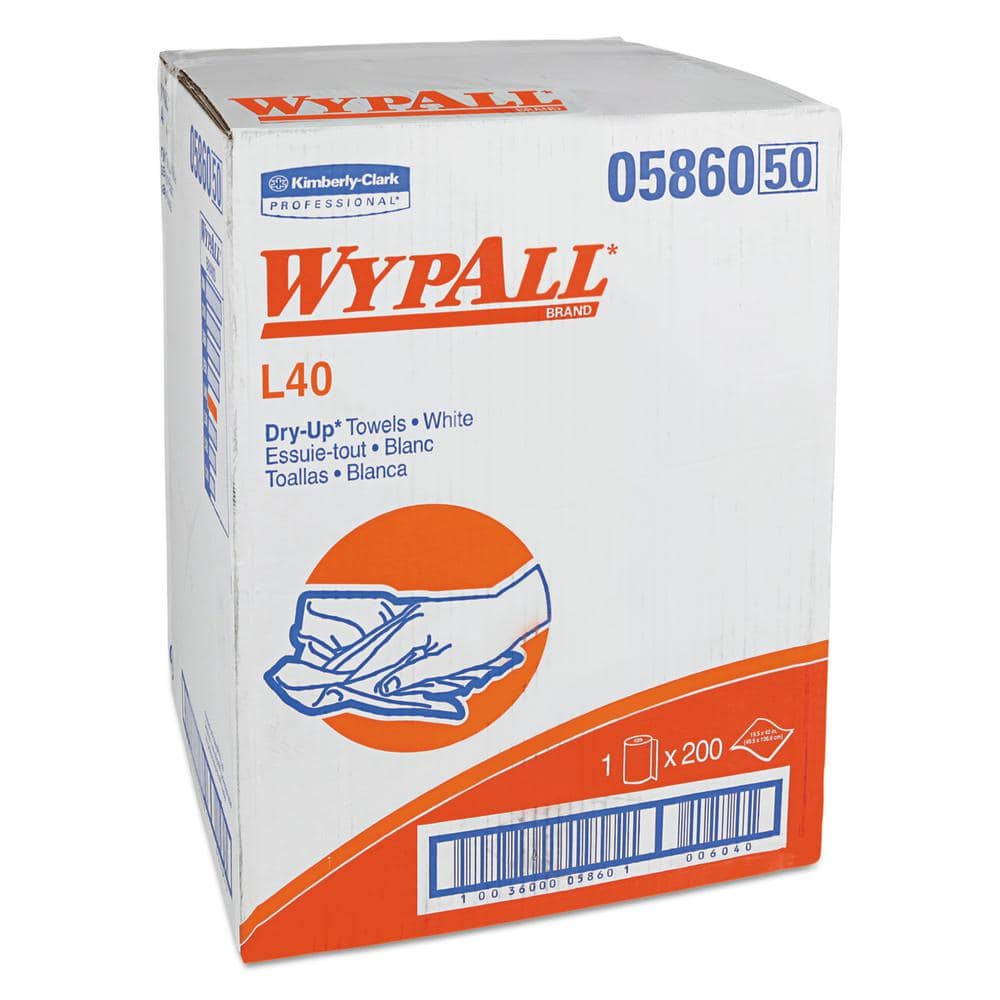
WYPALL L40 Towels, Dry Up Towels, 19-1/2 in. x 42 in., White, 200 Towels/Roll KCC05860
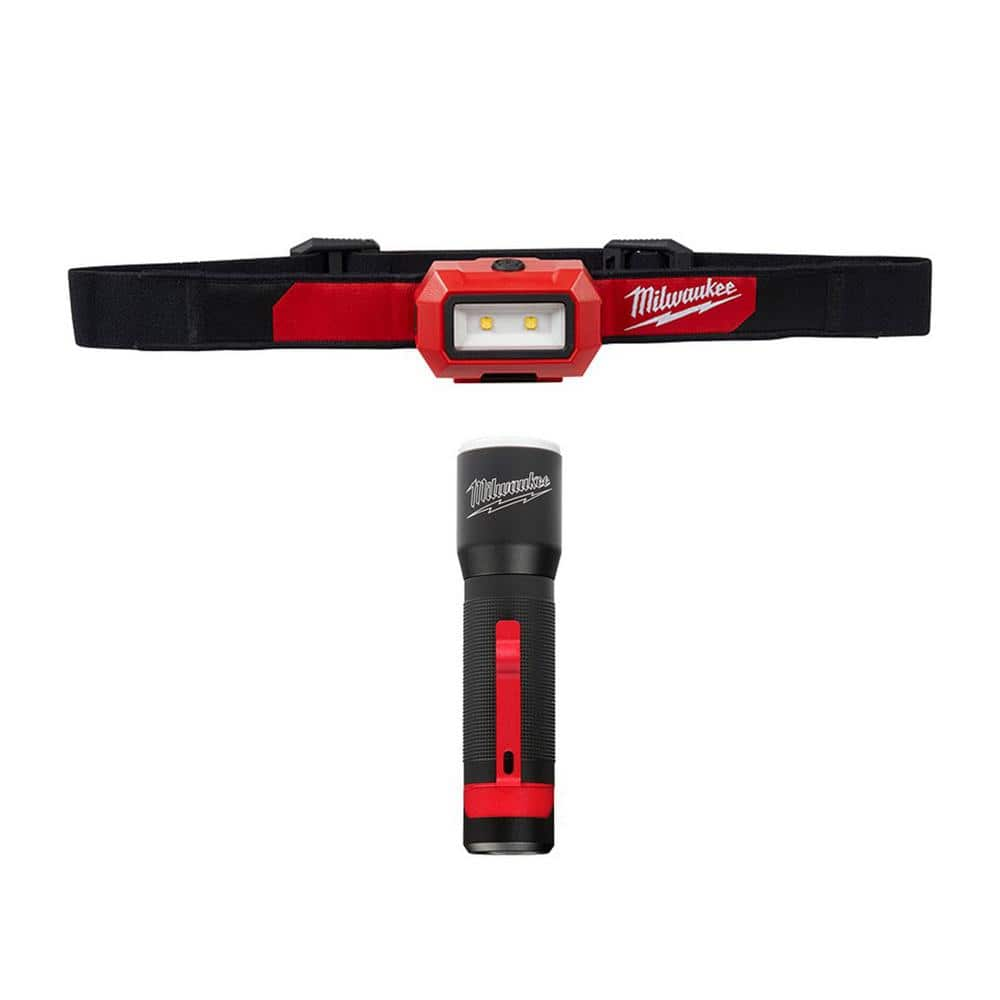
Milwaukee 350 Lumens LED Headlamp With 325 Lumens LED Aluminum Flashlight 2103-2107
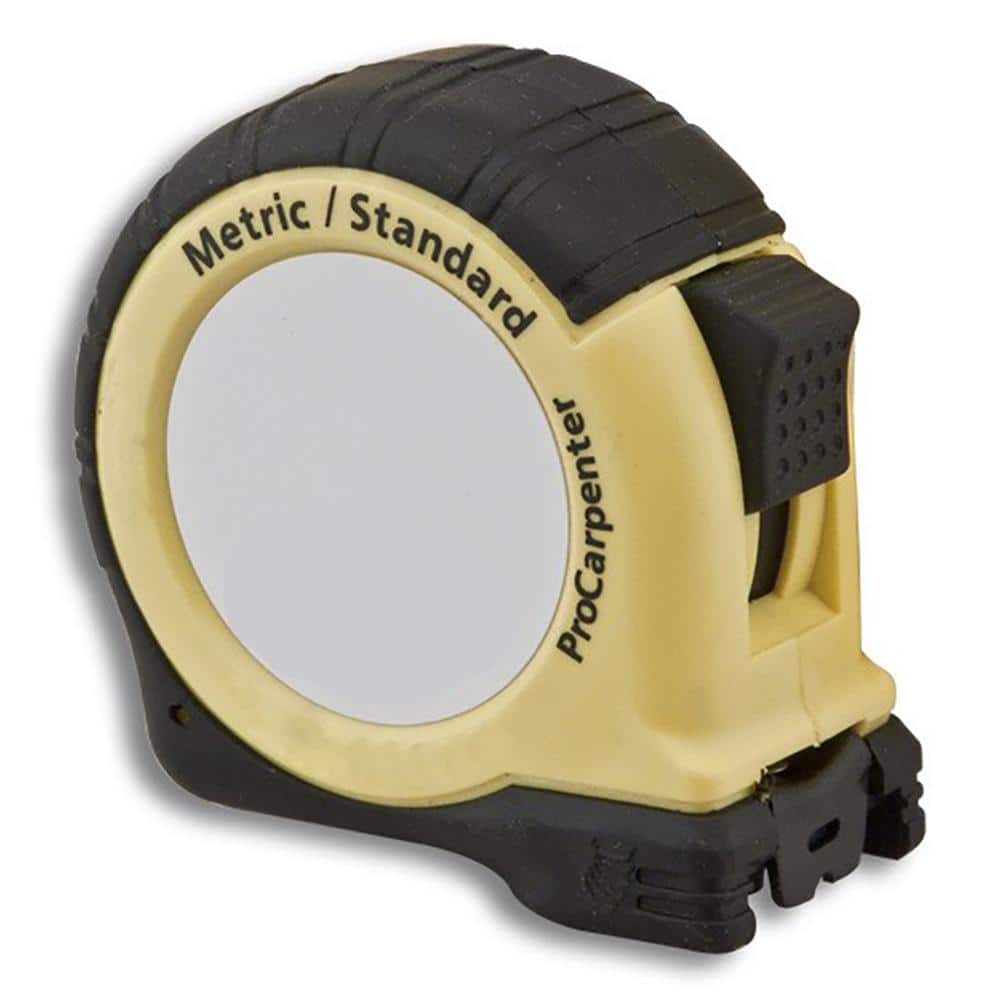
FASTCAP 16 ft. Metric/Standard Measure Tape FC.PMS.16
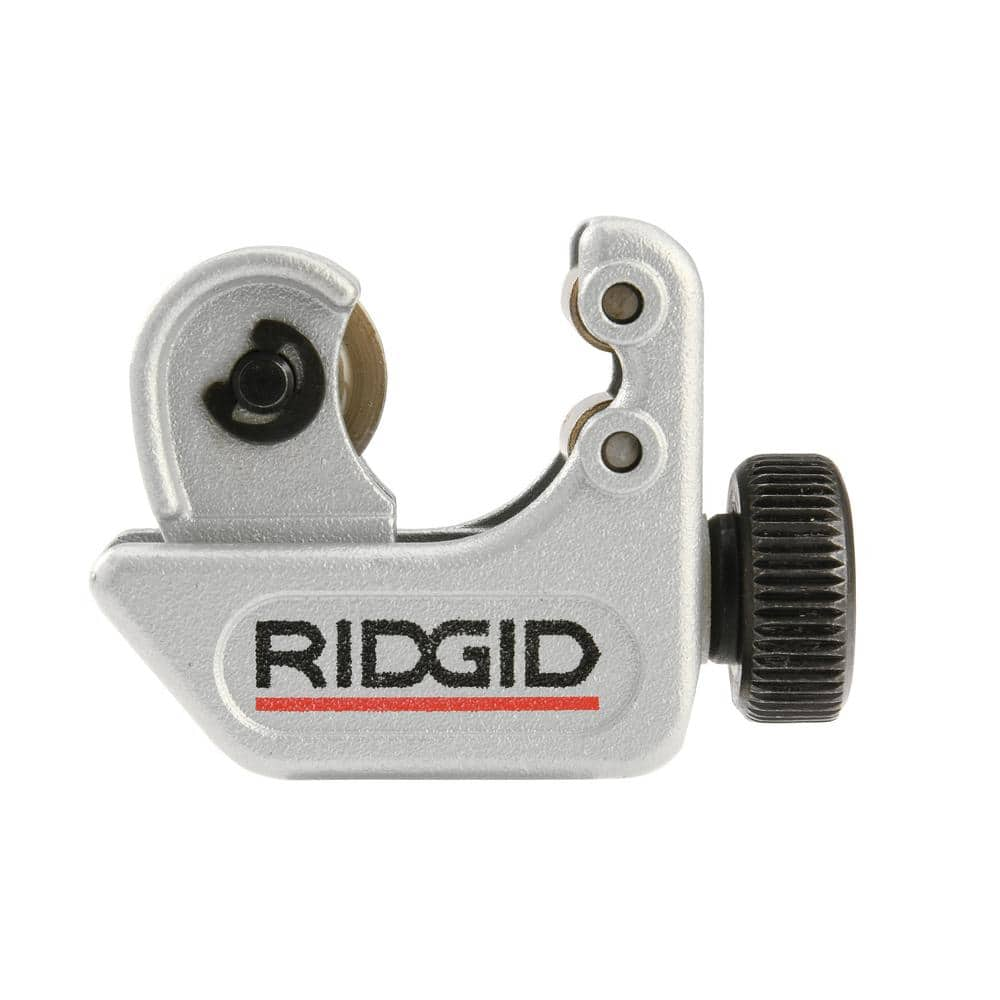
RIDGID 3/16 in. to 15/16 in. 104 Close Quarters Copper, Aluminum, Brass, and Plastic Tubing Cutter, Multi-Use Tubing Tool 32985
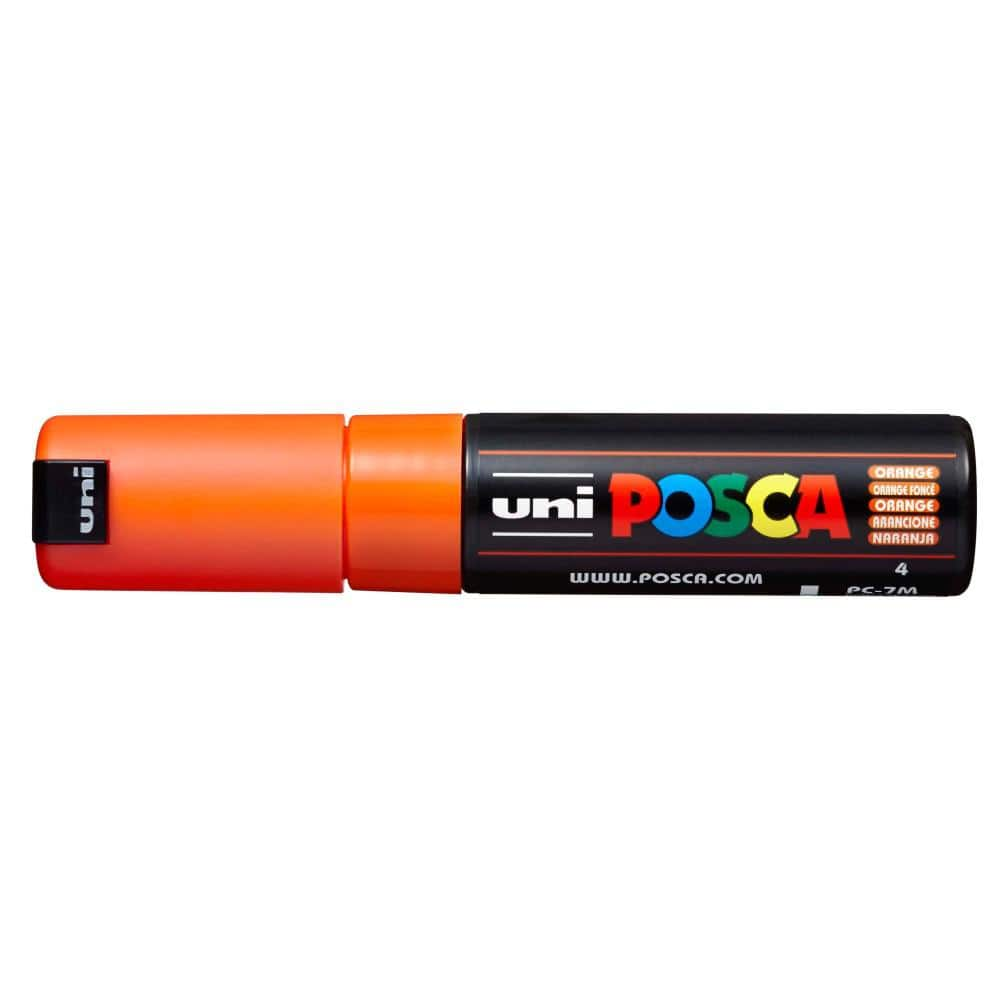
POSCA PC-7M Broad Bullet Paint Marker, Orange 082717
Bucket
Ideal for carrying or storing liquids.
WYPALL L40 Towels, Dry Up Towels, 19-1/2 in. x 42 in., White, 200 Towels/Roll KCC05860
WYPALL L40 Wipers are effective wipers that absorb liquids lightning-fast. These wipes are made of bonded cellulose using DRC (double re-creped) technology for strength, softness and absorbency. As a wiping cloth, it soaks up liquids fast, but all you'll feel is softness, thanks to a plush, touchable outer layer. In fact, it's a popular choice for patient wiping in healthcare industries, for bathing and patient drying. These utility wipes are specially designed to absorb liquids, lubricants and oils (in restaurants for wiping counters, in mechanic shops, industrial and commercial factories and more), yet they're soft enough for use on face and hands. Experience the difference in superior absorbency and cleaning at your home or office today. Towel/Wipe Type: Dry Wipes; Application: Bathrooms; Material(s): Cloth-Like; Number of Plies: 1.
Milwaukee 350 Lumens LED Headlamp With 325 Lumens LED Aluminum Flashlight 2103-2107
The Milwaukee Headlamp is more compact for all day comfort and delivers 350 Lumens of TRUEVIEW High Definition output in a wide flood beam. The LED headlamp is optimized to be lightweight and compact with a strap made from a washable, sweat absorbing microfiber, providing all-day comfort when worn on the forehead. The headlamp light's impact-resistant housing is built to withstand the toughest conditions. It survives drops and is IP54 rated for water and dust resistance. With 7 different tilt positions, users can direct the light by pivoting the light head. The Milwaukee headlamp has 3 light output modes to manage brightness and runtime, giving users up to 28 hours of runtime. The headlamp includes four clips for secure attachment to hard hats while users are on the jobsite. This headlamp is covered by a limited lifetime warranty. The Milwaukee 325L Focusing Flashlight delivers 325 Lumens of TRUEVIEW High Definition Output and is a Brighter, More Durable Everyday Flashlight.
FASTCAP 16 ft. Metric/Standard Measure Tape FC.PMS.16
The Fastcap ProCarpenter Tape Measures are developed with 7 innovative features that are helpful in building fine furniture or cabinets. Exclusively available on the Metric/Standard 16 ft. tape measures
RIDGID 3/16 in. to 15/16 in. 104 Close Quarters Copper, Aluminum, Brass, and Plastic Tubing Cutter, Multi-Use Tubing Tool 32985
Built on the trust of the trades, you need tools designed for experts and built to last. Experience the durability of the RIDGID 104 Close Quarters Copper, Aluminum, Brass, and Plastic Tubing Compact Cutter with 3/16"-15/16" capacity (catalog number 32985, model 104). This powerful cutter allows you to make clean and precise cuts on copper, brass, aluminum, and plastic tubing with a capacity of 3/16 inch to 15/16 inch. Specifically designed for use in restricted spaces, this compact cutter makes tight cutting jobs significantly easier and more manageable. It features a strong yet lightweight slide and wheel housing for ease of operation and long-lasting durability as well as a large knurled feed screw knob that provides users with optimal cutting pressure control to produce superior clean cuts. Engineered for maximum accuracy, this cutter is constructed with a high-quality steel cutting wheel for a long life and contains a spare wheel stored in the knob. RIDGID is a global manufacturer trusted by the skilled trades in more than 100 countries. RIDGID products are purpose built for professionals in the evolving commercial, industrial and energy markets who install and maintain the world's infrastructure. BUILT FOR THOSE WHO KNOW.
POSCA PC-7M Broad Bullet Paint Marker, Orange 082717
Non-toxic, water-based POSCA paint markers can be used on almost any surface and are loved by professionals, creative hobbyists and amateurs alike. The alcohol and solvent-free opaque paint covers well,
Steps
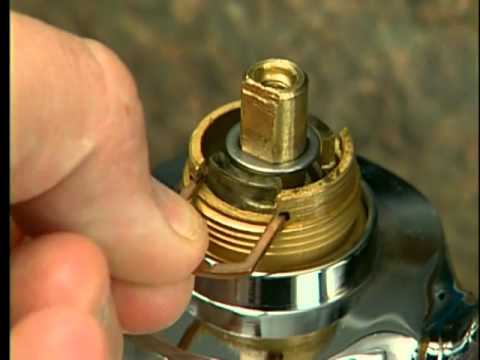
Shut Off Water Supply and Drain Pipes
5 minsThe first and most critical step is to completely shut off the water supply to the area you are working on. Locate the main water shut-off valve for your home, which is typically found where the water service line enters the house, often in a basement, crawlspace, or utility closet. Turn the valve handle clockwise until it is fully closed. To drain the remaining water from the system, open a faucet at the lowest point in your house (like a basement sink or an outdoor spigot) and another faucet at the highest point (like a second-floor bathroom). This will relieve pressure and drain most of the water from the pipes, minimizing mess during the repair.

Cut Out the Damaged Pipe Section
5 minsIdentify the leaking section of the pipe. Using a tape measure and a marker, mark two points for cutting, one on each side of the damaged area. Ensure there is at least 1-2 inches of clean, straight pipe on either side of the leak. Place a compact tubing cutter around the pipe at your first mark. Tighten the knob until the cutting wheel makes contact, then rotate the cutter around the pipe, tightening the knob slightly after each full rotation. Continue this process until the pipe is cut cleanly. Repeat for the second mark to remove the damaged section completely. Wear your safety glasses during this step to protect your eyes from any small metal fragments.

Deburr and Clean Pipe Ends
5 minsAfter cutting, the pipe ends will have sharp edges or burrs. Use a deburring tool to smooth both the inside and outside edges of the cut pipe. This prevents the burrs from slicing or damaging the O-ring inside the push-to-connect fitting. Once deburred, take a piece of emery cloth or fine-grit sandpaper and thoroughly clean the outside surface of the two pipe ends, going back about 1-2 inches from the end. The goal is to remove all oxidation, paint, dirt, and grime, leaving a smooth, bright, and shiny copper surface for the fitting to seal against.

Measure and Cut Replacement Pipe
5 minsMeasure the length of the gap created by removing the damaged section. Next, check the push-to-connect coupling's packaging or the manufacturer's website for the specified insertion depth. You must add this insertion depth for *each* of the two fittings to your gap measurement. For example, if the gap is 4 inches and the insertion depth is 1 inch, you will need a new piece of pipe that is 6 inches long (4" gap + 1" left fitting + 1" right fitting). Measure this total length on your new piece of copper pipe and mark it. Use your tubing cutter to make a clean, square cut. After cutting, be sure to deburr and clean both ends of this new pipe piece just as you did with the existing pipes.

Mark the Insertion Depth
2 minsTo guarantee a secure, leak-proof connection, you must ensure the pipe is fully inserted into the fitting. Most push-to-connect fitting brands provide a simple plastic depth gauge tool in the packaging. Alternatively, you can use a tape measure and the insertion depth measurement from the previous step. Place the gauge on the end of the pipe and use a permanent marker to make a clear line on the pipe at the edge of the gauge. Do this for all four pipe ends: the two existing pipes and both ends of your new replacement piece. This mark will serve as a visual confirmation that the pipe is pushed in all the way.
Install Fittings and New Pipe
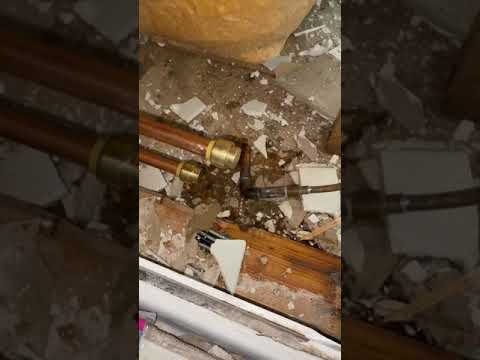
5 minsWith the pipe ends prepared and marked, you are ready to assemble. Take one push-to-connect coupling and push it onto one of the existing pipes. Use a firm, steady pressure. You may find a slight twisting motion helps it slide on smoothly. Push until the edge of the fitting meets the depth mark you made. You will feel a distinct 'click' or 'thump' as the pipe seats past the O-ring and grab ring. Repeat this for the second coupling on the other existing pipe. Finally, take your new pipe section and insert one end into one of the couplings, pushing to the depth mark. You may need to gently flex the existing pipes apart to create enough space to align and insert the other end into the second coupling. Push the second end in until it also meets its depth mark.

Restore Water and Inspect Repair
5 minsOnce the assembly is complete, it's time to test your work. Close the faucets you opened earlier. Go back to the main water shut-off valve and turn it back on SLOWLY. Opening it slowly allows air to escape and the pipes to fill gradually, preventing a sudden pressure surge known as 'water hammer' which could damage your plumbing. Once the valve is fully open, return to your repair. Use a clean, dry rag or paper towel to wipe the entire repair area, including the pipe and both fittings, completely dry. Watch the connections closely for several minutes for any sign of moisture, drips, or spraying. A dry paper towel is excellent for detecting even the smallest of leaks.
Common Problems
ABS cement sets too fast, causing leaks if not applied quickly.
Solution: Work quickly once the glue is applied, as ABS cement sets fast.
Mallet striking pipe end directly can cause damage.
Solution: Tapping the pipe with a wood block distributes the force and prevents the mallet from damaging the end of the pipe.
Stopping at the O-ring without pushing past it will result in a leak. Ensure the pipe is pushed all the way in until it stops.
Solution: To avoid this issue: Be mindful of this warning and take appropriate precautions.
Pipe won't seat properly in fitting, causing a leak.
Solution: Applying a small amount of lubricant to the pipe end can ease insertion.
Even if a connection feels snug, it may not be fully seated. Without a visual mark, it's easy to make a mistake that leads to water damage.
Solution: To avoid this issue: Be mindful of this warning and take appropriate precautions.
Failure to deburr the pipe can lead to a damaged fitting and potential leaks.
Solution: To avoid this issue: Be mindful of this warning and take appropriate precautions.
A sharp, un-deburred pipe edge can easily slice or damage the rubber O-ring inside the SharkBite fitting, causing a leak.
Solution: To avoid this issue: Be mindful of this warning and take appropriate precautions.
Frequently Asked Questions
How difficult is this push-to-connect pipe repair for a beginner, and how long should I expect it to take?
This project is rated beginner-friendly, primarily due to the simplicity of push-to-connect fittings. While the estimated time is 3 hours, allow extra time for unexpected issues, proper water shut-off, and thorough pipe preparation to ensure a leak-free repair.
Are all the listed tools strictly necessary, especially the specific pipe cutters and deburring tools?
For a reliable, leak-free connection with push-to-connect fittings, a proper pipe cutter that provides a clean, square cut and a deburring tool are essential. Using an inadequate cutting tool or skipping deburring is a common cause of leaks, as the fitting's O-ring can be damaged by burrs or uneven edges.
What are the most critical safety steps I need to take before starting this pipe repair?
The absolute first step is to completely shut off the main water supply to your home and drain the pipes to prevent water damage. Always wear safety gloves and eye protection when cutting pipes to protect against debris and sharp edges, as listed in the materials.
What are the most common mistakes DIYers make when installing push-to-connect fittings that lead to leaks?
The most frequent issues stem from inadequate pipe preparation. Failing to properly deburr and clean the pipe ends, or not pushing the pipe fully to the marked insertion depth, can prevent the O-ring from sealing correctly. Ensure your cuts are square and smooth.
Can push-to-connect fittings be used on any type of pipe, or are there specific limitations I should be aware of?
Push-to-connect fittings are generally compatible with copper, PEX, and CPVC pipes. They are not suitable for galvanized, black iron, or cast iron pipes. Always verify the fitting's specifications and your local plumbing codes for approved applications, especially if the repair is behind a wall.
How do I accurately measure and cut the replacement pipe section to ensure a perfect fit with the new fittings?
First, measure the exact length of the damaged pipe section you're removing. Then, consult the push-to-connect fitting's specifications for its required insertion depth. Subtract *twice* this insertion depth from the original damaged section's length to determine the exact length of your replacement pipe segment, following the 'Measure and Cut Replacement Pipe' step.


