
How to Install an ADA-Compliant Under-Sink Plumbing Shield
About This Project
This guide provides detailed instructions for installing an ADA-compliant protective shield over the hot water and drain pipes beneath a sink. The process involves preparing the area, measuring and trimming the shield components, and securely attaching them to the P-trap, water supply lines, and shut-off valves to prevent contact, burns, or abrasions, ensuring compliance with accessibility standards.
Best for homeowners and DIY enthusiasts with basic plumbing knowledge. Requires FIRM GRIP Large ANSI A5 Cut Resistant Gloves 79007-06.
Tools & Materials
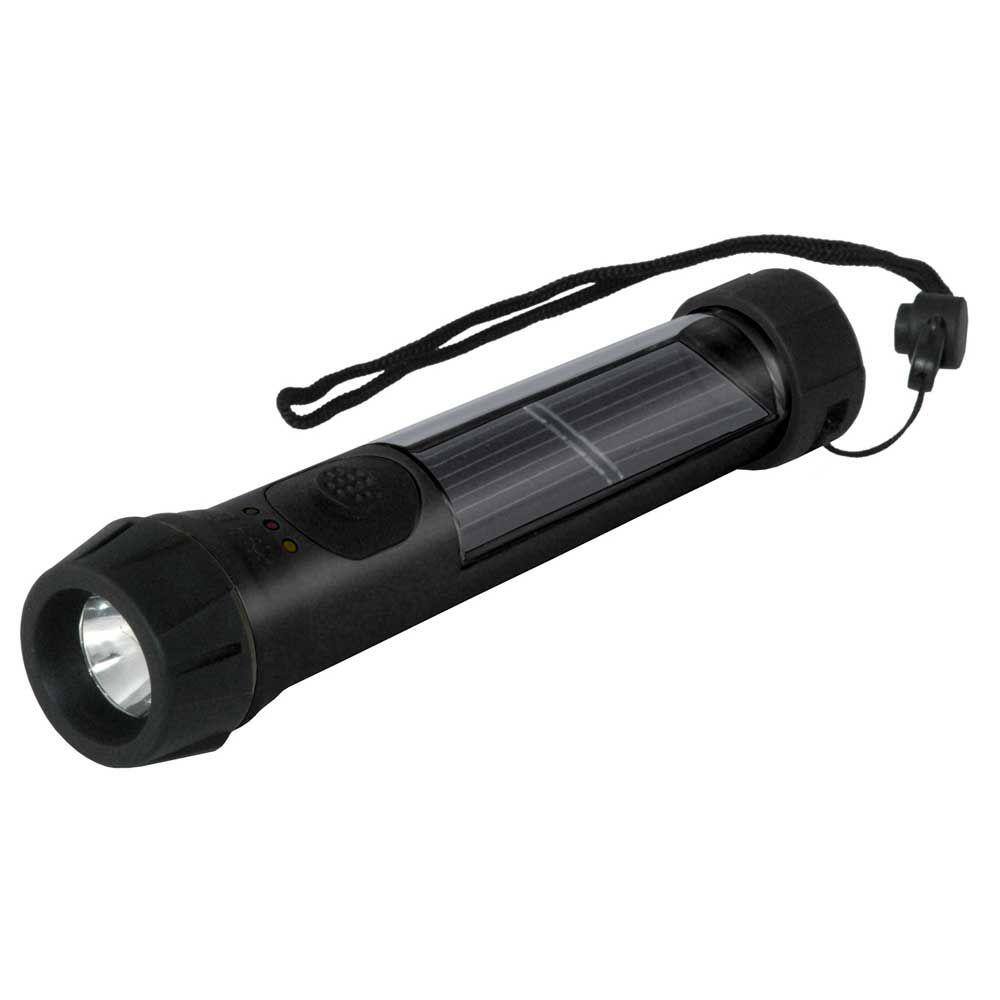
Hybrid Light Solar Flashlight - Black 001175
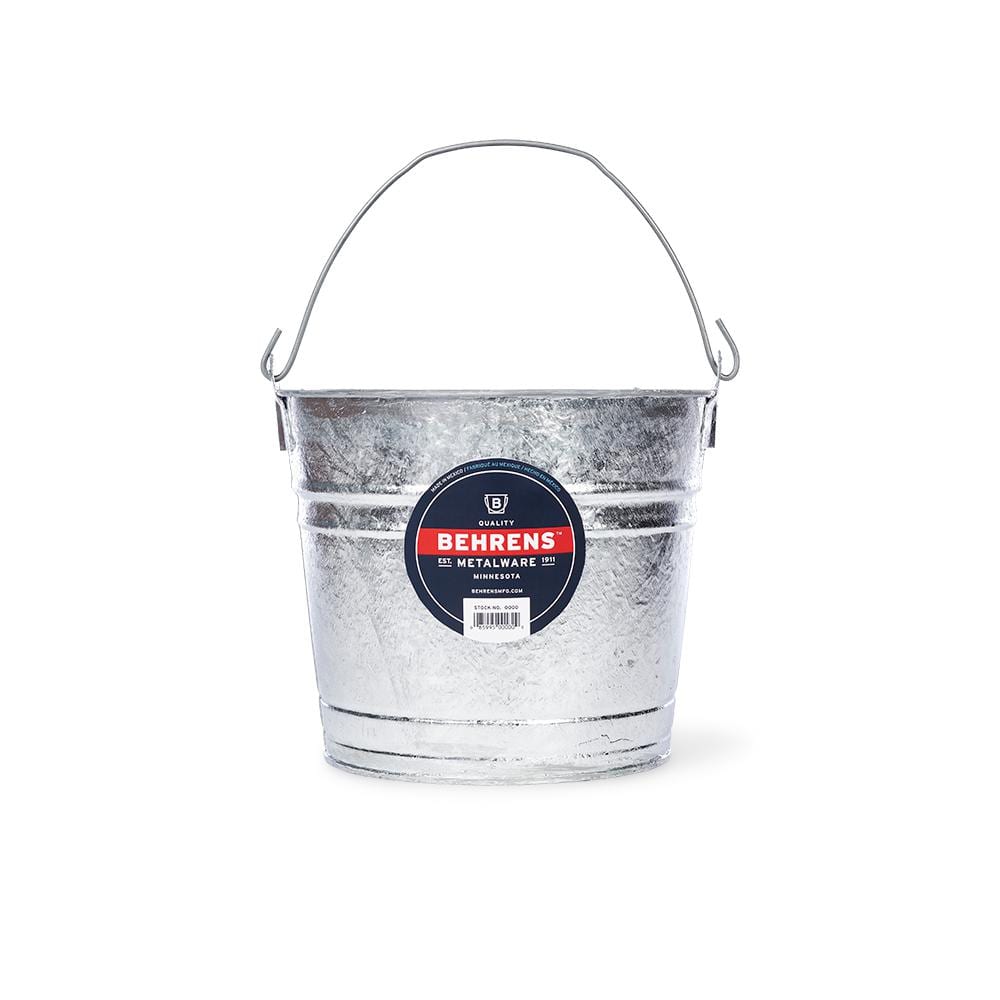
Behrens 8 Qt. Steel Hot Dipped Pail 00001

THE CLEAN STORE Microfiber Pink/White Cleaning Cloths (Pack of 100) 79136
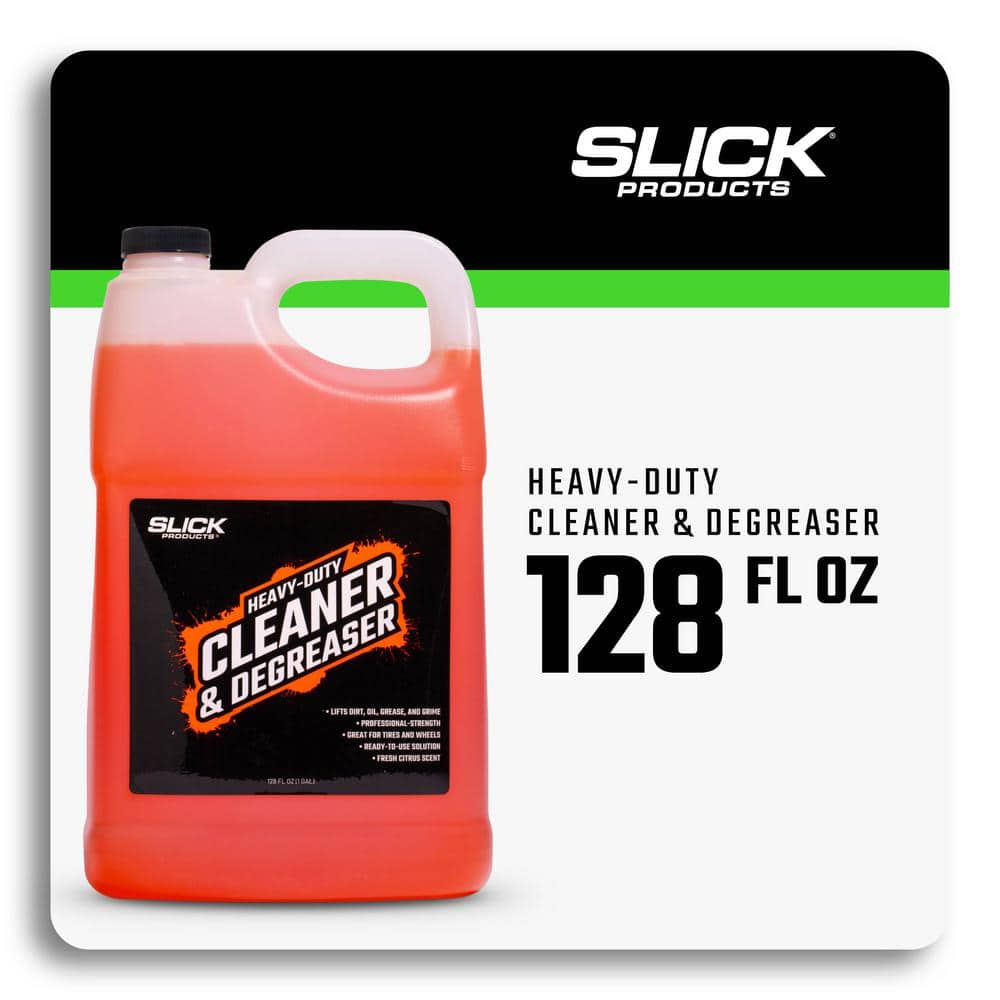
SLICK PRODUCTS 128 oz. Heavy-Duty Cleaner and Degreaser SP-HDCD-128
FASTCAP 16 ft. Metric/Standard Flat Back Measure Tape FC.PMS.F16
OX TOOLS OX Tuff Carbon - Marking Pencil Value Pack OX-P503210
Hybrid Light Solar Flashlight - Black 001175
The Hybrid Solar Light uses revolutionary technology that generates power from any light source, indoor lighting or sun light and stores it for later use. The Hybrid Solar Light is always collecting power
Behrens 8 Qt. Steel Hot Dipped Pail 00001
Built with the highest quality hot dipped steel, this 8 Qt. pail is durable and made to last. Features an offset bottom to keep the pail off the ground and a durable wire handle for easy portability. This pail is ideal for cleanup, storage, wet or dry carry, home/event decor, farm/agricultural use and more. A stronger alternative to plastic, this pail is rodent proof, recyclable and weather resistant. Sealed for wet or dry contents.
THE CLEAN STORE Microfiber Pink/White Cleaning Cloths (Pack of 100) 79136
The Pull N Wipe Microfiber Cleaning Rags are the ideal cleaning cloths for all your cleaning needs. Whether you keep a box at Home to clean around the house, In the Kitchen to clean up after cooking or
SLICK PRODUCTS 128 oz. Heavy-Duty Cleaner and Degreaser SP-HDCD-128
Slick Products Heavy-Duty Cleaner and Degreaser penetrates and lifts dirt, oil, grease, and tough grime from surfaces. This professional-strength cleaning solution is best used on tires, wheels, engine
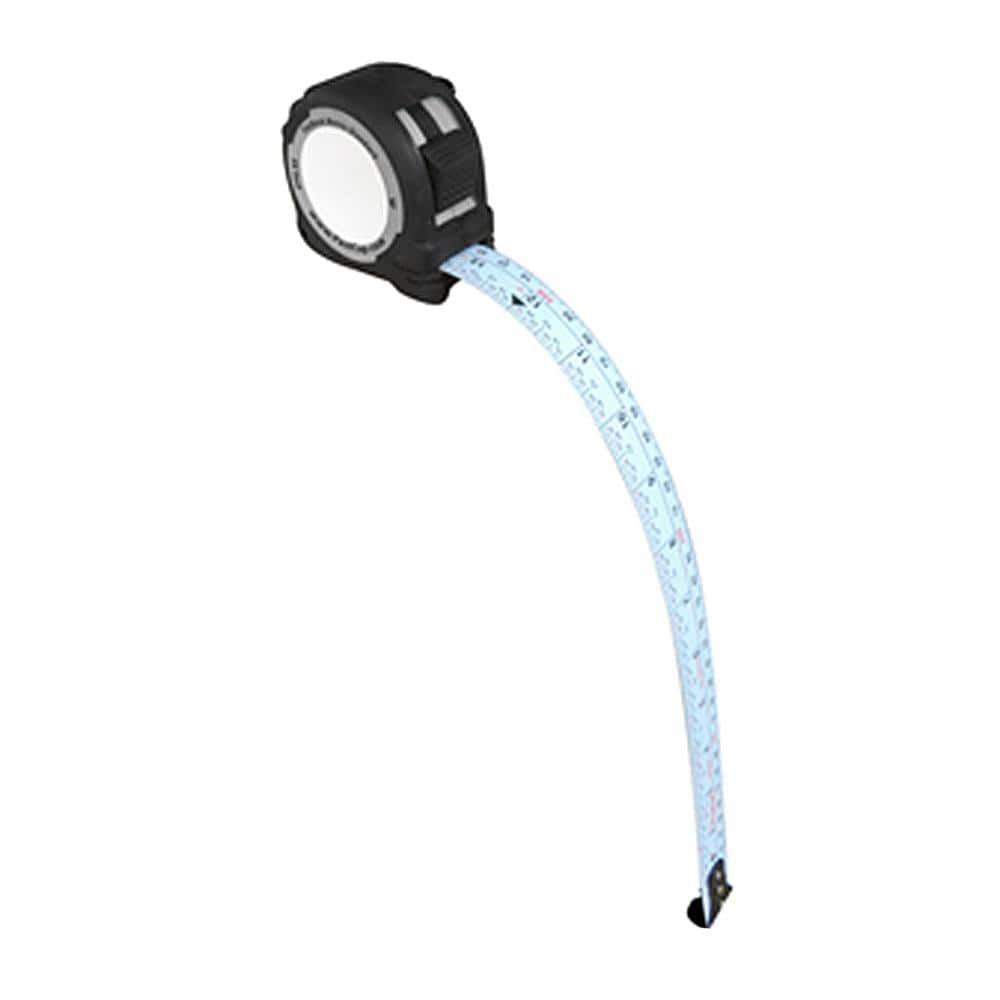
FASTCAP 16 ft. Metric/Standard Flat Back Measure Tape FC.PMS.F16
Face it, not all surfaces are flat. The ProCarpenter Flat back is a flexible tape for measuring curves and flat panels with precision and ease. The PMS blade style has both the metric and standard measurements
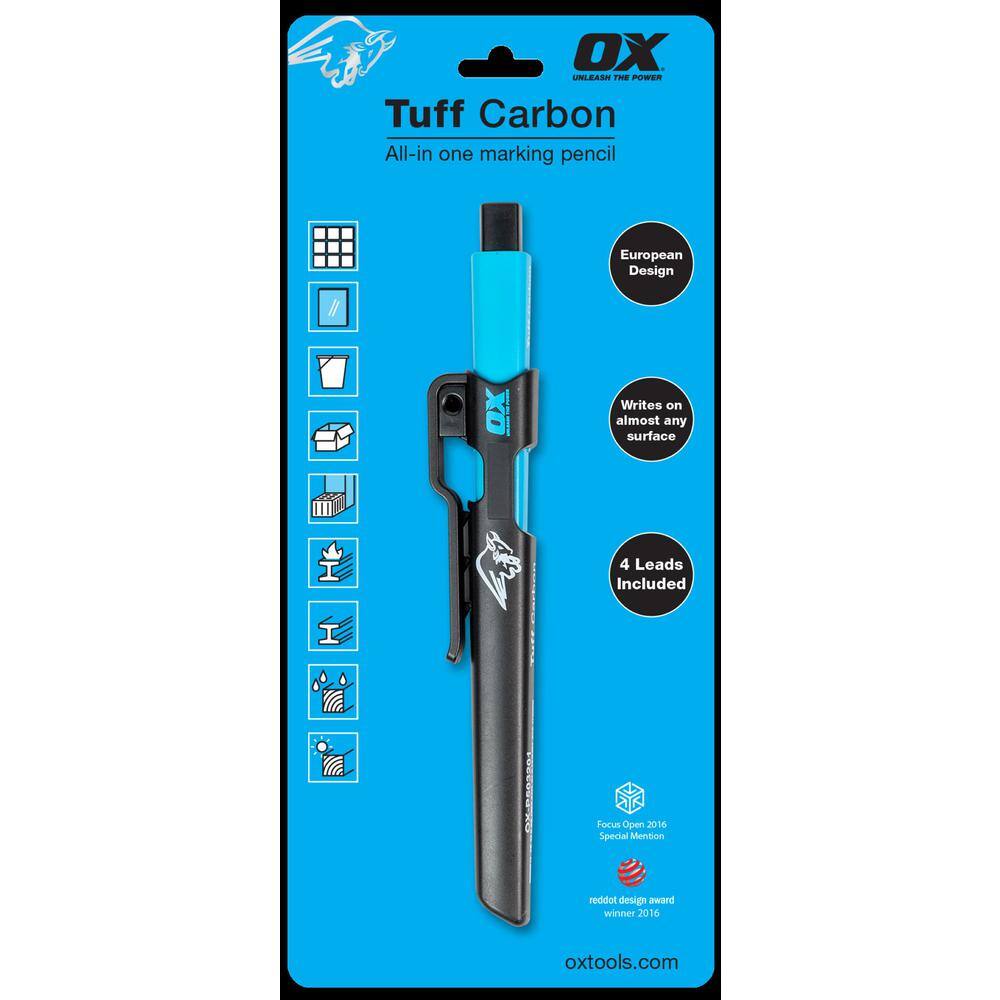
OX TOOLS OX Tuff Carbon - Marking Pencil Value Pack OX-P503210
OX Tools Tuff Carbon Marking Pencils are packed with features and are an excellent choice for any tradesman. The unique square design prevents the pencil from rolling off surfaces, unlike traditional round design. This pencil is designed to be able to write on almost any surface on a job site including metal, wood, plastic, brick, stone, block, concrete, glass, tile and much more. It features a belt clip and an integrated lead sharpener built into the cap. The pack comes with four leads, one standard graphite, one red, one yellow, and one white that can be used interchangeably.
Steps

Preparation and Safety Check
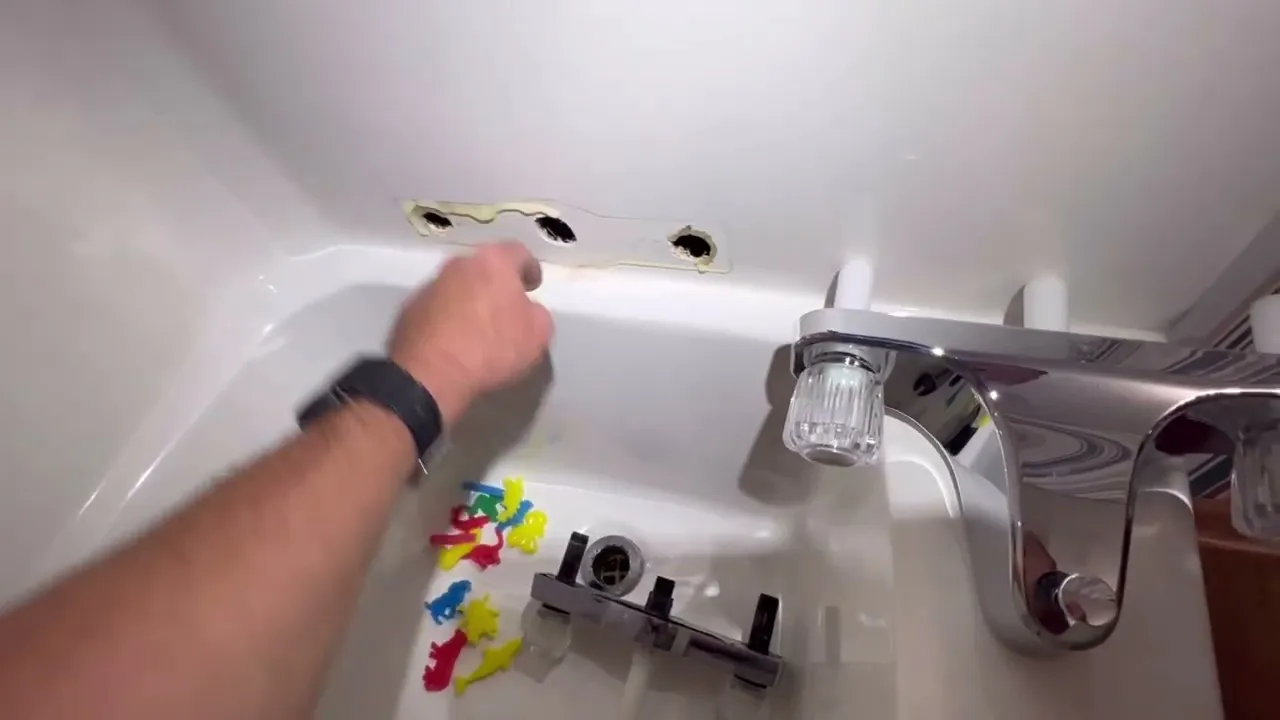
5 minsBegin by completely clearing out the cabinet or area under the sink. Remove all cleaning supplies, baskets, and other items to create an unobstructed workspace. Use a flashlight to inspect the pipes for any pre-existing drips or leaks. Place a small bucket or pan under the P-trap to catch any residual water. Turn off the hot and cold water supply by turning the handles on the angle stop valves clockwise until they stop. Finally, use cleaning rags and a degreasing cleaner to wipe down the P-trap, supply lines, and valves to ensure the new shields will have a clean surface to wrap around.

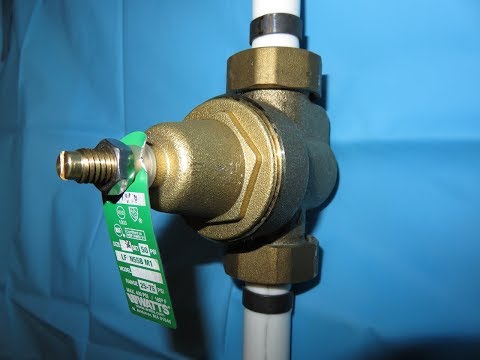
Measure Pipes and Valves
5 minsUsing a flexible tape measure, carefully measure the lengths of all plumbing components that need to be covered. This includes: the full length of the P-trap assembly (from the wall connection to the sink tailpiece), the height of the hot and cold angle stop valves, and the length of the hot and cold water supply lines (from the valve to the faucet connection). Write down these measurements, noting which measurement corresponds to which part.

Trim Shields to Size
5 minsUnroll the vinyl shield components from the kit. Using the measurements you just took, mark the cutting lines on the back of the vinyl pieces. Place the vinyl on a protected surface or a cutting mat. Use a sharp utility knife or a pair of heavy-duty scissors to carefully cut each shield piece to its required length. Ensure your cuts are straight and clean for a professional-looking installation. Most kits will have separate, pre-formed pieces for the P-trap, the valves, and the supply lines.
Install P-Trap Shield
5 minsTake the large, trimmed shield piece designated for the P-trap. Open the hook-and-loop fasteners along its seam. Carefully wrap the shield around the entire P-trap assembly, ensuring it molds to the curves of the trap. Overlap the seam and press the hook-and-loop fastener strips firmly together along their entire length to create a secure, snug fit. Adjust as needed to ensure there are no gaps and the entire trap is insulated.

Install Valve and Supply Line Shields
5 minsFirst, take the trimmed covers for the angle stop valves. Wrap one around the hot water valve and the other around the cold water valve, securing them with their hook-and-loop fasteners. Next, take the trimmed shields for the supply lines. Wrap one around the hot water supply line and the other around the cold water supply line, ensuring they cover the lines from the top of the valve cover all the way to the connection at the base of the faucet. Press the fasteners together securely. The goal is to create a continuous, insulated barrier with no exposed pipe or sharp connection points.
Final Inspection and Water Test
5 minsVisually inspect the entire installation. Check that all shields are securely fastened and that there are no exposed sections of pipe, valves, or abrasive fittings. Gently tug on each shield to ensure it is secure. Slowly turn the angle stop valve handles counter-clockwise to restore the water supply. Turn on the hot water at the faucet and let it run for a minute. Using your flashlight, carefully inspect all connections at the valves and faucet for any signs of dripping or leaks. If everything is dry and secure, the installation is complete.
Common Problems
Leakage Test: Insert the plugs for a water test. Ensure there is no leakage at any joint.
Solution: To avoid this issue: Be mindful of this warning and take appropriate precautions.
Hidden leaks behind walls cause water damage and mold if not detected early.
Solution: It's best to leave the water on for several minutes and check for slow leaks before closing up the wall.
Water can spray unexpectedly from new connections, causing damage or injury.
Solution: Have a second person inside to watch the new connections for leaks when you first turn the water on.
Unnoticed small leaks can cause water damage.
Solution: Placing a dry paper towel under the connections can make it easier to spot very small drips.
Hand-tighten connections first, then give them a final quarter-turn with a wrench to avoid over-tightening and cracking the plastic nuts.
Solution: To avoid this issue: Be mindful of this warning and take appropriate precautions.
Cross-threading and damaging plastic drain fittings.
Solution: Hand-tighten all plastic drain parts to avoid cross-threading, then use channel-lock pliers for a final quarter-turn if needed.
Do not overtighten the water supply line nuts, as this can crack the plastic fittings or damage the rubber gasket, causing a leak.
Solution: To avoid this issue: Be mindful of this warning and take appropriate precautions.
Frequently Asked Questions
Why is installing an ADA-compliant under-sink shield important, and what does "ADA-compliant" mean in this context?
This shield is crucial for preventing contact with hot drain pipes and sharp edges, protecting individuals, especially those using wheelchairs, from burns or abrasions. "ADA-compliant" means it meets specific requirements for clear under-sink space and protection, ensuring accessibility and safety for all users.
This project is rated "beginner" and "3 hours." What's the most challenging part, and what commonly makes it take longer than expected?
The most challenging part is often precisely measuring and trimming the shield components to fit your specific plumbing configuration. Unexpected issues like corroded pipes, tight spaces, or needing to replace an old P-trap can extend the estimated 3-hour completion time. Always double-check measurements before making cuts.
Do I need specialized plumbing tools for this installation, or will standard household tools suffice?
You primarily need basic tools like a utility knife for trimming the shield, a measuring tape, and a marking pencil. While a pail is essential for catching water when working with the P-trap, no highly specialized plumbing tools are typically required if your existing plumbing is in good condition and only needs a shield.
What are the most common mistakes beginners make when installing these shields, and how can I avoid them?
Common mistakes include inaccurate measuring leading to ill-fitting shields and not securely attaching all components. To avoid this, meticulously measure twice before cutting, dry-fit the shields before final attachment, and ensure all straps or fasteners are tightened properly according to the manufacturer's instructions.
What essential safety precautions should I take before starting this project, especially concerning water lines?
Always turn off both the hot and cold water supply lines under the sink before beginning any work, and have a bucket or pail ready to catch residual water from the P-trap. Wear appropriate safety glasses to protect your eyes, especially when cutting materials with the utility knife.
What if my existing P-trap or pipes don't seem to fit the new shield material, or appear to be an unusual size?
Most ADA-compliant shields, like the TRUEBRO LAV GUARD, are designed to be trimmable and flexible to accommodate various pipe configurations. If your plumbing is exceptionally non-standard or severely corroded, you might consider upgrading to a standard P-trap (like the Insta-Plumb PVC P-trap) for an easier and more secure shield fit.


