

How to Add a Handheld Shower Head Using a Shower Arm Diverter
About This Project
This guide provides detailed, step-by-step instructions for installing a handheld shower head by adding a shower arm diverter. The process involves removing the existing shower head, cleaning the pipe threads, installing the diverter valve, and then attaching both the original shower head and the new handheld shower assembly. This upgrade adds versatility to your shower, allowing you to switch between a fixed head and a handheld sprayer.
Best for beginners and first-time DIYers with basic plumbing knowledge.
Tools & Materials
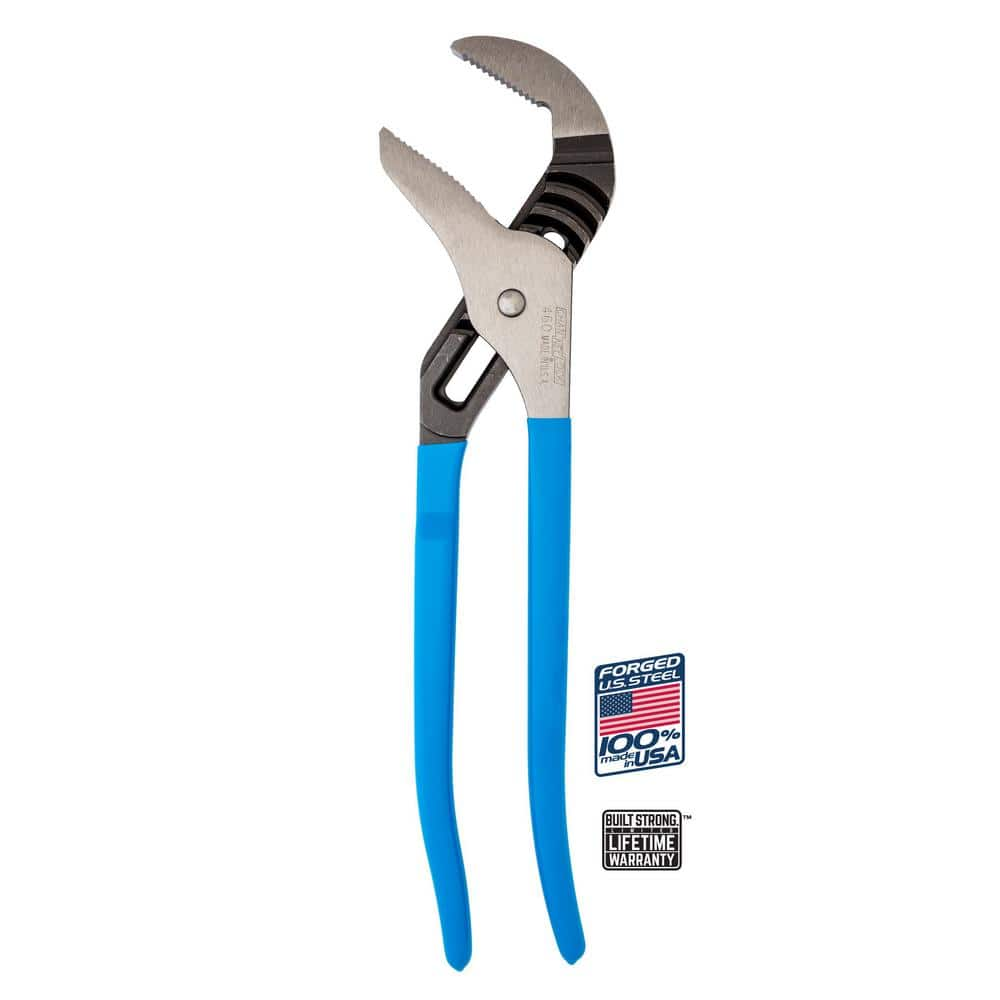
Reviews for Channellock 16-1/2 in. Tongue and Groove Slip Joint Plier | Pg 5
Waterpik 12-spray 5 in. High PressureDual Shower Head and Handheld Shower Head in Chrome YBW-933E/SBW-383ME

FRESHFOLDS Combed Cotton Absorbent Textured 6 Piece Hand Towel Set EC100757
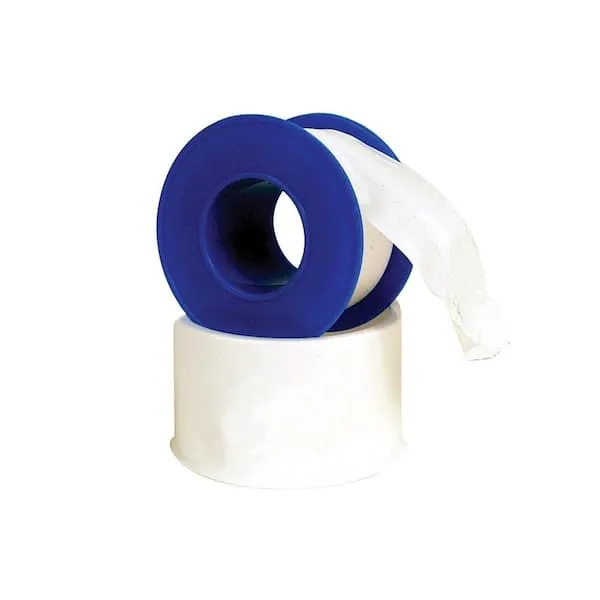
Teflon Tape
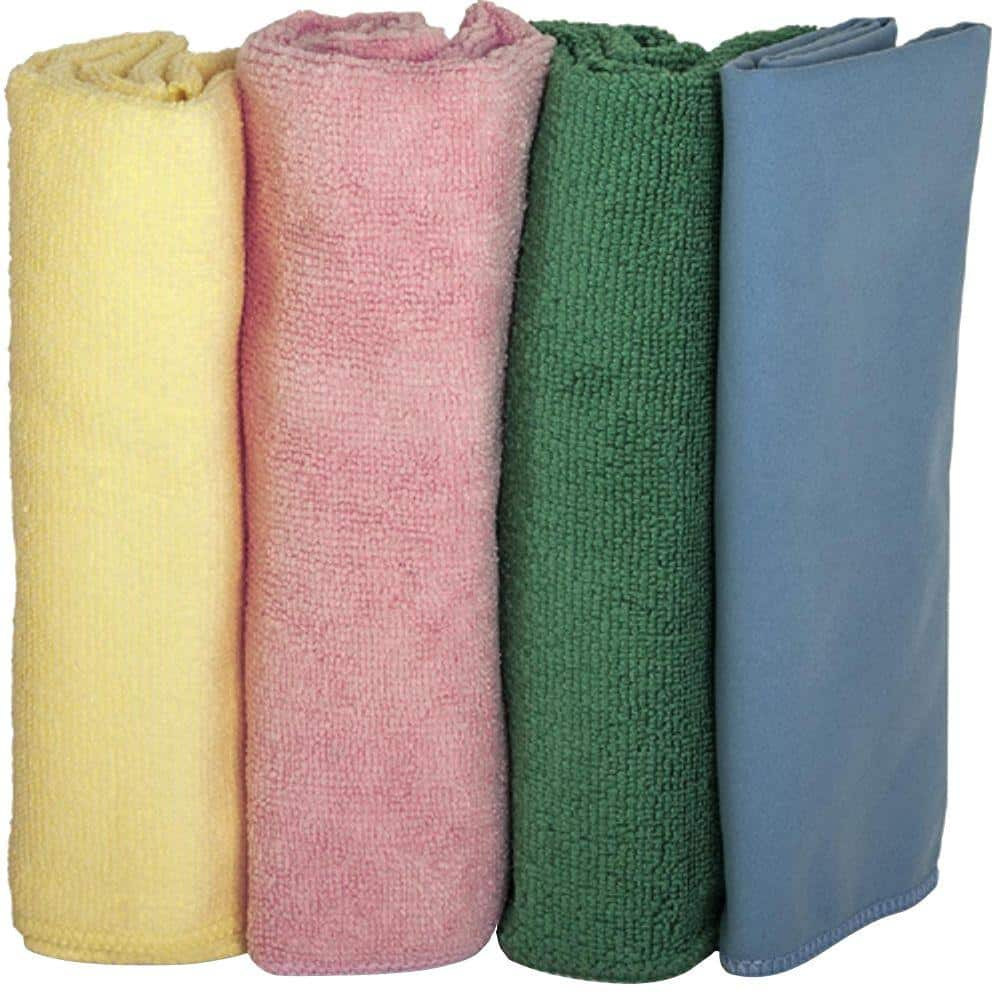
Genuine Joe Microfiber Cleaning Cloths GJO48261

Adjustable Wrench
Reviews for Channellock 16-1/2 in. Tongue and Groove Slip Joint Plier | Pg 5
Read page 5 of our customer reviews for more information on the Channellock 16-1/2 in. Tongue and Groove Slip Joint Plier.
Waterpik 12-spray 5 in. High PressureDual Shower Head and Handheld Shower Head in Chrome YBW-933E/SBW-383ME
The HairWand Spa System includes a contoured wand and 9-mode shower head - a luxurious way to nurture hair and body. Its PowerComb spray penetrates deep for a thorough rinse, scalp massage, and more manageable
FRESHFOLDS Combed Cotton Absorbent Textured 6 Piece Hand Towel Set EC100757
Versatile, stylish, and functional are only a few ways to describe these bath towels. These towels are made with long cotton fibers that are looped to create a soft feel while still offering optimal absorbency
Teflon Tape
Seals pipe threads without leaks.
Genuine Joe Microfiber Cleaning Cloths GJO48261
Microfiber cleaning cloths provide excellent lint-free cleaning for any surface. Ideal for countertops, porcelain, chrome, glass and wood. Ultra-fine densely bundled microscopic fibers form a cleaning
Adjustable Wrench
Fits various nut and bolt sizes with its adjustable jaw.
Steps

Gather Tools and Prepare Work Area
5 minsGather all the necessary tools and materials in your work area. Unpack your new handheld shower head kit and ensure all parts are present: the handheld shower head, the flexible hose, the shower arm diverter, the wall-mount bracket, and any included rubber washers or plumber's tape. Lay down a soft towel in the bottom of the tub or shower stall to prevent scratches from dropped tools or parts.
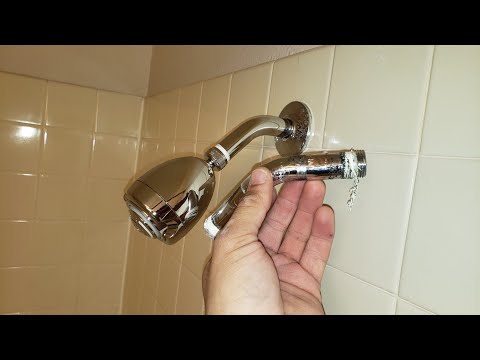
Remove the Existing Shower Head
5 minsUsing your hands, attempt to unscrew the existing shower head from the shower arm by turning it counter-clockwise. If it's too tight, wrap a soft cloth around the base of the shower head where it connects to the arm. Then, use an adjustable wrench or channel-lock pliers over the cloth to grip the base and turn it counter-clockwise to loosen and remove it.
Clean Shower Arm Threads
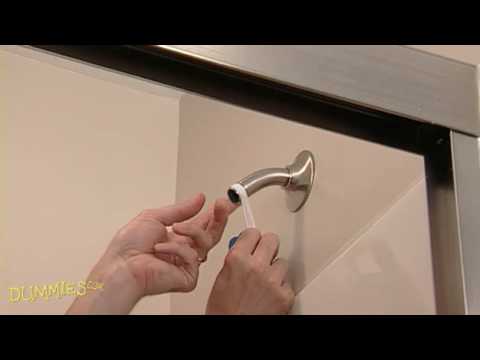
5 minsOnce the shower head is removed, inspect the threads on the end of the shower arm. Use a rag to wipe away any water and debris. If there is old, shredded plumber's tape or mineral buildup, use an old toothbrush or a small wire brush to gently clean the threads until they are clear of any residue.

Apply New Plumber's Tape
2 minsTake the roll of plumber's tape (Teflon tape) and wrap it tightly around the cleaned threads of the shower arm. Wrap in a clockwise direction 3 to 4 times. Wrapping clockwise ensures that the tape will not unravel when you screw on the diverter. The tape should conform to the shape of the threads.
Install the Shower Arm Diverter
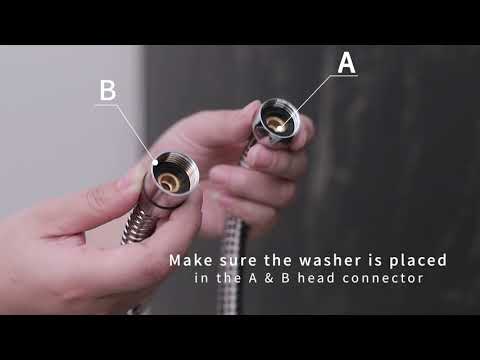
5 minsTake the shower arm diverter and ensure its internal rubber washer is properly seated inside the female connection. Thread the diverter onto the tape-wrapped shower arm by turning it clockwise. Hand-tighten it as much as you can. If it needs further tightening to be secure and properly aligned, use your soft cloth and adjustable wrench to give it an additional quarter-turn. Do not over-tighten.

Attach Fixed Shower Head and Handheld Hose
5 minsFirst, take your original fixed shower head. You may want to apply a fresh wrap of plumber's tape to its threads as well. Screw it onto the designated outlet on the diverter (usually the forward-facing one). Hand-tighten it securely. Next, take the flexible hose for the handheld unit. Ensure there is a rubber washer in the connecting nut, and screw it onto the other diverter outlet (usually the downward-facing one). Hand-tighten this connection.
Connect Handheld Head and Install Wall Mount
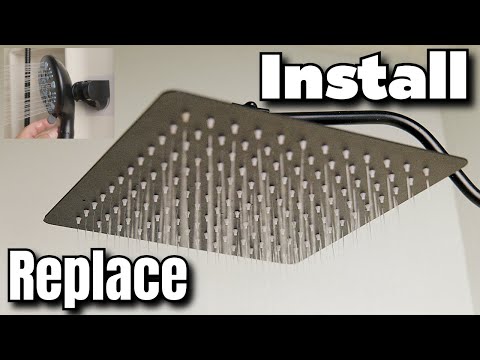
5 minsTake the other end of the flexible hose and ensure its rubber washer is in place. Screw this end onto the handheld shower head itself. Hand-tighten securely. Next, determine the best location for the wall mount. Clean the chosen area of the shower wall thoroughly with a cloth and let it dry completely. If your mount uses an adhesive strip, peel the backing and press it firmly against the wall for at least 30 seconds. Place the handheld shower head into its new holder.
Test for Leaks
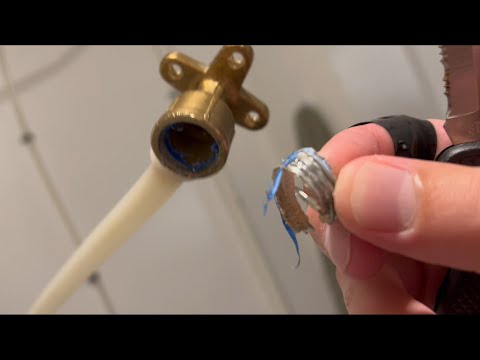
3 minsTurn on the water supply to the shower. Check all new connections for any drips or leaks: where the diverter meets the shower arm, where the fixed head meets the diverter, and where the hose meets both the diverter and the handheld head. Operate the diverter valve to switch between the fixed head, the handheld head, and both (if applicable). If you see any leaks, turn off the water, and gently tighten the leaking connection another eighth of a turn. If it still leaks, you may need to disassemble, re-tape, and reassemble the connection.
Common Problems
Do not skip this step. It is critical to identify and fix leaks before closing up the wall.
Solution: To avoid this issue: Be mindful of this warning and take appropriate precautions.
Persistent leaks after installation.
Solution: If a leak persists, you may need to tighten the fitting slightly more or re-apply the plumber's tape.
Leaky shower head connections after installation.
Solution: If any leaks are detected, tighten the connections or adjust the teeth alignment as necessary.
Cross-threading and damaging the shower arm or diverter connections.
Solution: Hand-tighten connections first to avoid cross-threading, then use a wrench for the final tightening.
Leaking connections due to overtightened or loose fittings.
Solution: Hand-tighten the hose and shower heads first, then give them a slight turn with a wrench or pliers (with a cloth to prevent scratching) if needed to prevent leaks. Do not overtighten.
Difficulty and risk of injury when lifting and hanging the panel alone.
Solution: Having a second person can make lifting and hanging the panel easier and safer.
Over-tightening connections can damage the finish or strip threads.
Solution: Hand-tightening is usually sufficient for these connections, but you can use a cloth and pliers to gently snug them if needed, being careful not to scratch the finish.
Frequently Asked Questions
How difficult is this project, and can a beginner really complete it in 2 hours?
This project is rated as beginner-friendly because it primarily involves screwing and unscrewing components and requires minimal specialized plumbing knowledge. Most DIYers can complete it within the estimated 2 hours, especially if all tools and materials are gathered beforehand. The main challenges are often ensuring a tight, leak-free seal and managing space in the shower.
What should I do if my new shower head setup leaks after installation?
If you encounter a leak, first turn off the water supply and re-tighten the connection that is leaking, ensuring not to overtighten. Often, leaks are due to insufficient plumber's tape or a missing/damaged rubber washer. Remove the connection, reapply fresh plumber's tape (3-5 wraps clockwise), ensure washers are correctly seated, and reassemble.
How important is plumber's tape, and how much should I use for a secure, leak-free connection?
Plumber's tape (Teflon tape) is crucial for creating a watertight seal on threaded pipe connections and preventing leaks. Wrap the tape clockwise around the male threads of the shower arm 3-5 times, ensuring it's snug in the threads but not excessive. This lubricates the threads for easier tightening and fills tiny gaps for a leak-proof seal.
Will adding a shower arm diverter reduce my water pressure?
Generally, adding a high-quality shower arm diverter should have a minimal impact on your overall water pressure. If you notice a significant drop, check for any debris in the diverter or shower heads, ensure all connections are tight, and verify your existing water pressure is adequate. Some older or lower-quality diverters might restrict flow slightly.
Are the 'Tongue and Groove Slip Joint Pliers' listed truly necessary, or can I use a different type of wrench?
While an adjustable wrench is essential for tightening most connections, Channellock-style slip joint pliers are highly recommended for their excellent grip and adjustable jaw, which helps prevent stripping plastic nuts on some shower components. You can likely use a standard adjustable wrench for all tasks, but be careful not to overtighten plastic parts. Always protect finishes with a rag when using metal tools.
How can I avoid damaging the shower arm threads or overtightening connections?
Always hand-tighten connections first to ensure they are properly aligned and avoid cross-threading, which can strip the threads. For final tightening with a wrench, use firm but controlled pressure. Overtightening, especially on plastic components, can crack fittings or strip threads, leading to leaks or damage. Stop tightening once it feels snug and the leak is resolved; a quarter to half turn past hand-tight is often sufficient.


