Garbage Disposal Repair
About This Project
This outline provides a high-level overview for diagnosing and repairing common garbage disposal issues, such as leaks, jams, or lack of power. It covers safety precautions, troubleshooting steps, and potential solutions.
Tools & Materials
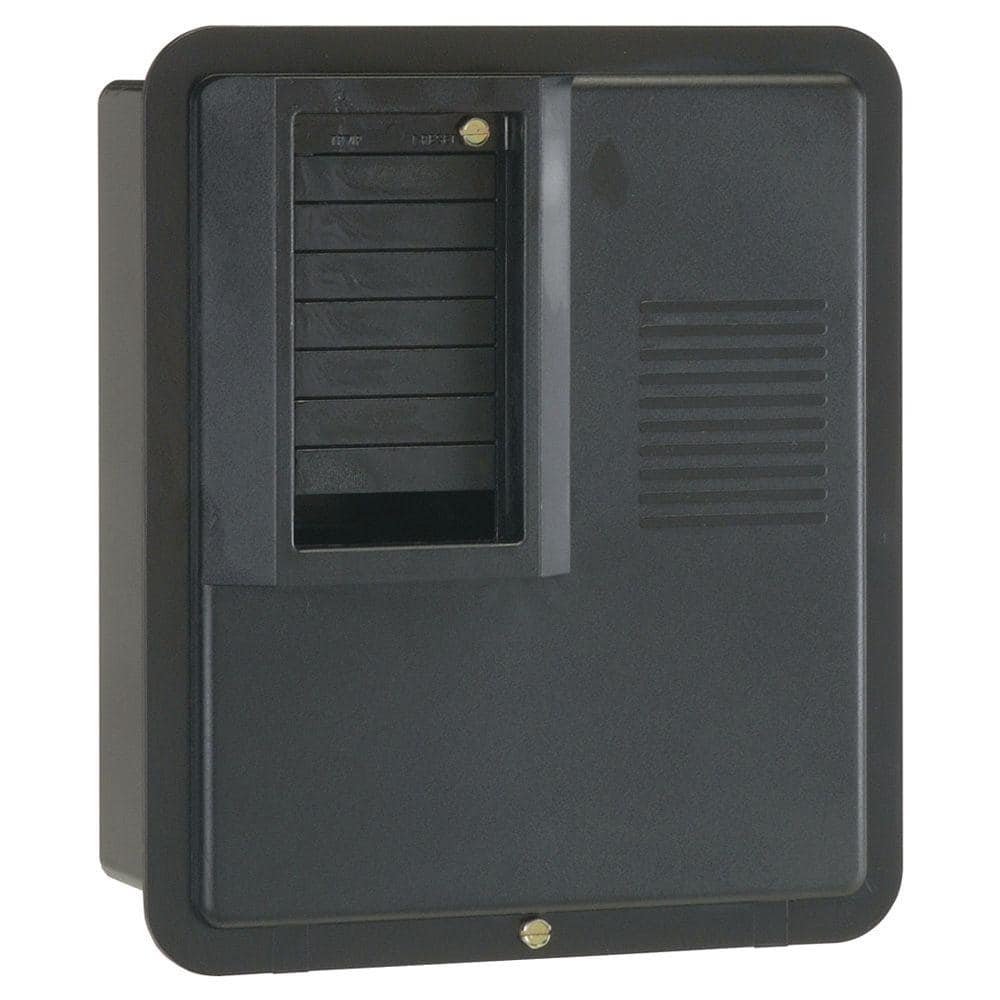
GE PowerMark Plus125 Amp 4-Space 8-Circuit Indoor Main Lug Circuit Breaker Panel TPL412CP
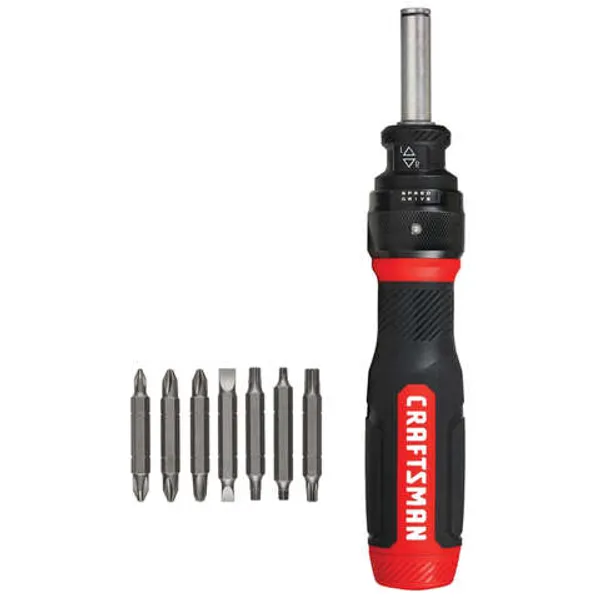
Screwdriver
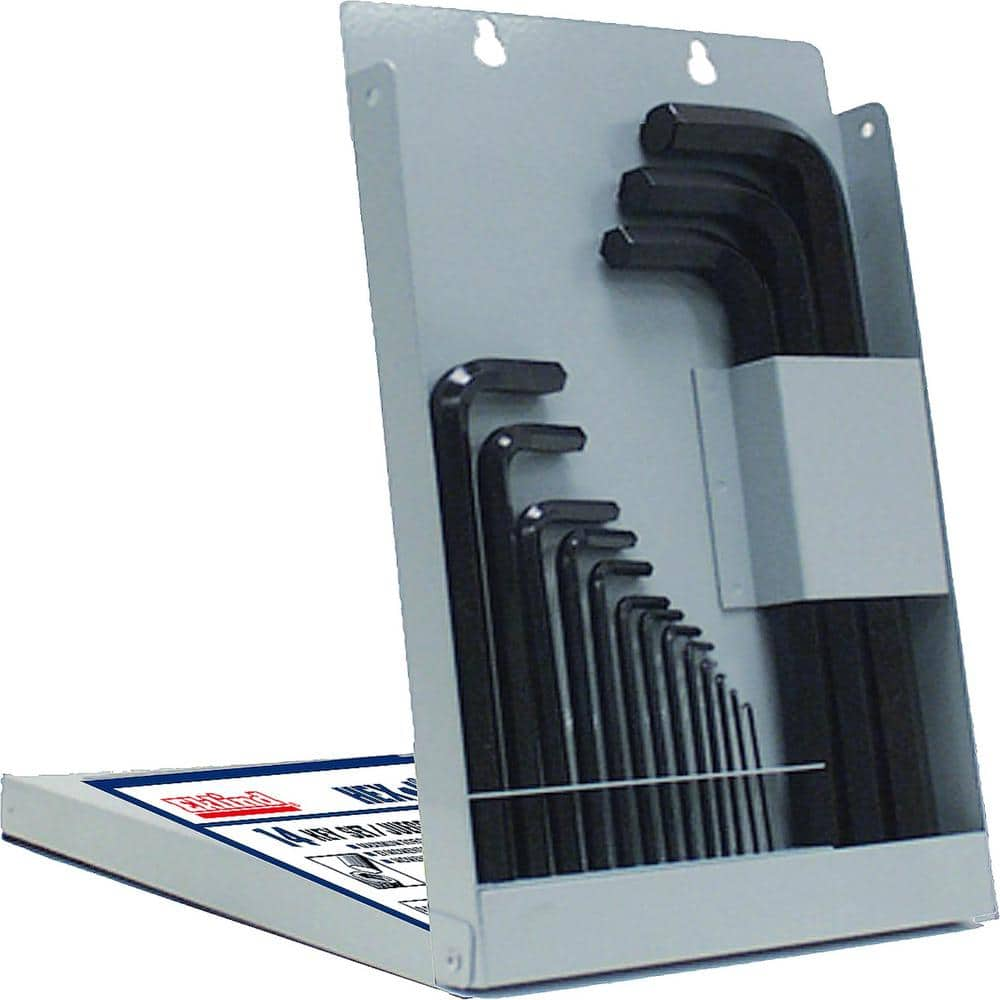
Eklind Hex-L Key Allen Wrench - 14-Pieces Set Metric MM Sizes 0.9-17 Long Series with Metal Box 10614
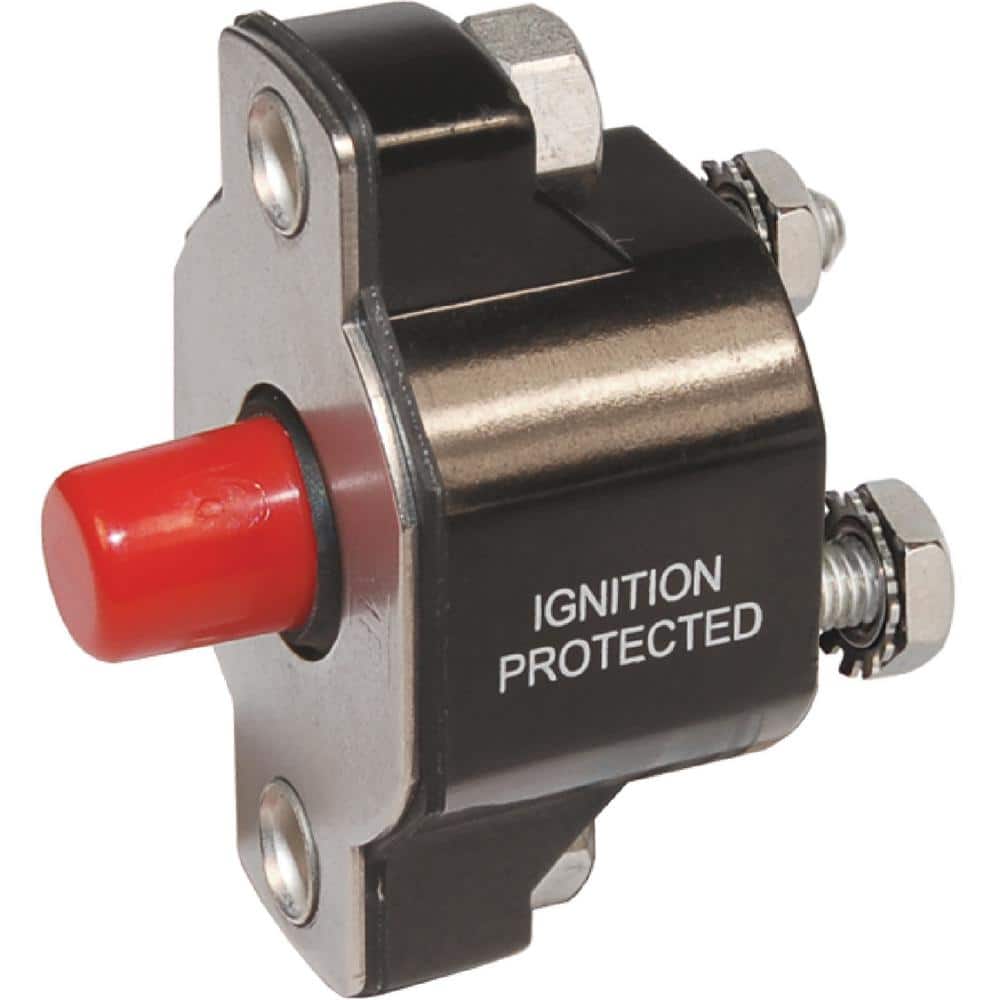
Blue Sea Systems Medium Duty Push Button Reset Only Circuit Breaker - 50A 2142

Defiant 2000 Lumens LED Slide-to-Focusing Aluminum Flashlight 90706

Towel
GE PowerMark Plus125 Amp 4-Space 8-Circuit Indoor Main Lug Circuit Breaker Panel TPL412CP
The load center includes a sturdy tin-plated copper buss bar and a galvanized box for increased durability and reliability. The one-piece interior removes and re-installs easily. Indoor NEMA 1 enclosure
Screwdriver
A tool used to turn screws.
Eklind Hex-L Key Allen Wrench - 14-Pieces Set Metric MM Sizes 0.9-17 Long Series with Metal Box 10614
Hex-L Key Allen wrench - 14-pieces set Metric MM sizes 0.9-17 Long series with metal box. High quality, Industrial Grade Professional Tools. Contains MM Sizes: 0.9, 1.3, 1.5, 2, 2.5, 3, 4, 5, 6, 8, 10,
Blue Sea Systems Medium Duty Push Button Reset Only Circuit Breaker - 50A 2142
Provides circuit protection for 15 to 60 Amp loads when switching is provided elsewhere or not required. Weatherproof, compact design can be used as Main, Branch or 24-hour circuit protection. "Trip Free"
Defiant 2000 Lumens LED Slide-to-Focusing Aluminum Flashlight 90706
This Defiant 2000-Lumens LED Slide-to-Focusing Aluminum Flashlight features high- powered LED chips to emit up to 2000-Lumens of light, illuminating your work area and beyond. Its tough aluminum material
Towel
Absorbs moisture and dries surfaces.
Steps
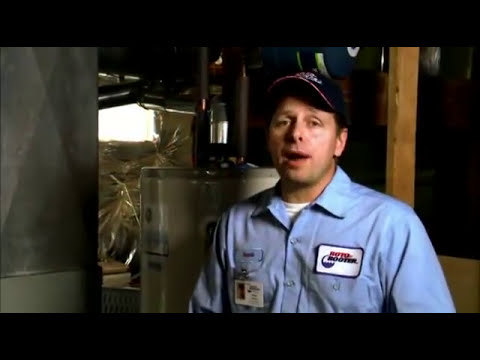
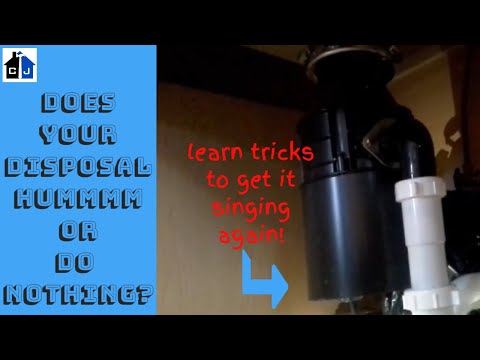

Clear Jam with Allen Wrench
10 minutesWith the Allen wrench inserted into the bottom center hole, apply firm pressure to rotate the grinding plate back and forth. Continue to work the wrench until the plate moves freely. This action can help break up or dislodge the item causing the jam.
Watch: Clear Jam with Allen Key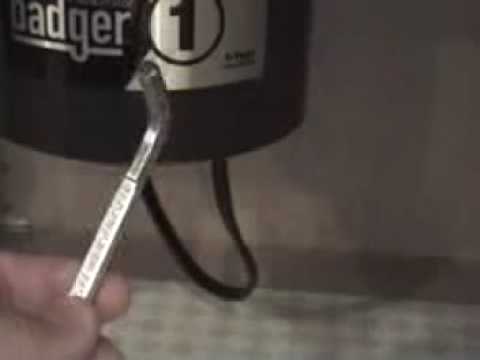
Inspect for Leaks
10 minutesCarefully examine the housing of the disposal, the connections to the sink flange, the dishwasher drain hose connection, and the trap and drain pipes leading away from the unit. Look for drips, wet spots, or mineral deposits that indicate a leak.
Watch: Check for Leaks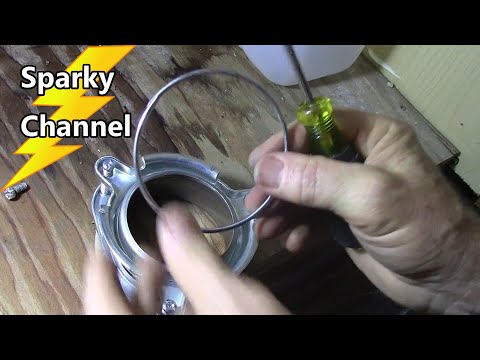


Common Problems
Accidental electrical shock during repair.
Solution: If you experience a shock, immediately remove yourself from the source. Before resuming any work, ensure the power is definitively off at the main electrical panel (circuit breaker). Use a non-contact voltage tester if you have one to confirm there is no power at the disposal's wiring.
Prevention: Always, without exception, disconnect the power to the garbage disposal at your home's main electrical panel (circuit breaker) before starting any work. Verify it's off by trying to turn the disposal on. If you can access the plug under the sink, unplug it as an additional safety measure.
Sticking your hand into the disposal to clear a jam, risking injury.
Solution: Immediately stop. Never put your hand or fingers inside the garbage disposal, even if the power is off, as the sharp blades can still cause injury. Use long-handled tongs, pliers, or the Allen wrench access hole at the bottom of the disposal to clear the jam.
Prevention: Always use the proper tools for clearing a jam: the Allen wrench at the bottom of the disposal to free the motor, or long-handled tongs/pliers for removing visible objects from the top. Ensure power is off before reaching into the drain with any tool.
The Allen wrench doesn't fit the bottom hole, or the motor won't budge.
Solution: First, double-check that you are using the correct size Allen wrench (most disposals use a 1/4-inch wrench). Insert it firmly into the center hole on the bottom of the disposal. Wiggle it back and forth with strong, consistent pressure. If it's still stuck, try rocking it counter-clockwise and clockwise a few times to break free the jam. If you have a longer wrench or can use pliers to get more leverage on the wrench, try that carefully.
Prevention: Keep the correct size Allen wrench (often included with the disposal or readily available) easily accessible. Refer to your disposal's manual for the exact wrench size if you're unsure.
Overtightening drain pipe connections, leading to cracked pipes or stripped threads.
Solution: If a plastic pipe is cracked, it must be replaced. For metal pipes with stripped threads, the connection fitting or entire component might need replacement. For minor leaks, disassemble the connection, inspect for damage, clean the surfaces, replace the gasket if it looks worn, and reassemble. Tighten only until snug, then a quarter to a half turn more until the leak stops, but do not use excessive force.
Prevention: When tightening nuts on drain pipes, especially plastic ones, use an adjustable wrench or pliers and tighten only until the connection is snug and the leak stops. Avoid using brute force, as this can easily damage the threads or crack the plastic. The goal is a watertight seal, not maximum compression.
The disposal still doesn't turn on or hums after clearing a jam and pressing the reset button.
Solution: First, reconfirm the circuit breaker for the disposal is in the 'ON' position. Sometimes, it might have tripped partially without looking fully 'OFF'; flip it completely off, then firmly back to 'ON.' If it still hums but doesn't spin, there might be a remaining, unseen jam; try the Allen wrench again. If it does nothing at all, ensure the disposal is plugged in, and test the outlet with another small appliance to rule out a faulty outlet. If all these fail, the motor might be burned out, requiring professional repair or replacement.
Prevention: Always follow the complete troubleshooting sequence: 1. Disconnect power. 2. Clear jam with Allen wrench. 3. Firmly press the red reset button on the bottom of the disposal. 4. Reconnect power and check the circuit breaker. This systematic approach usually resolves most power-related issues.
Leaks persist or appear after replacing gaskets or tightening connections.
Solution: Carefully inspect where the leak is originating. It could be from a loose connection, a worn or improperly seated gasket, or plumber's putty that hasn't created a good seal. Disassemble the leaking connection, clean the surfaces thoroughly, replace any old or cracked rubber gaskets, and ensure new gaskets are seated perfectly flat without being twisted or pinched. If using plumber's putty for the sink flange, ensure an even bead is applied before tightening the flange nut.
Prevention: When replacing gaskets, use new ones designed for your specific disposal or plumbing connections. Ensure all mating surfaces are clean and free of debris. Apply plumber's putty generously and evenly around the drain opening under the sink flange, ensuring a complete seal before tightening. Avoid reusing old, brittle, or cracked gaskets.
Frequently Asked Questions
What tools are essential for a basic garbage disposal repair, and why?
An Allen wrench (typically 1/4 inch or 5/16 inch, often provided with the disposal) is crucial for clearing jams by manually rotating the impellers. A flashlight helps you see inside the drain. Pliers and an adjustable wrench are needed for tightening plumbing connections to stop leaks.
How long does a typical garbage disposal repair take, and is it a difficult DIY project?
Most common garbage disposal repairs, such as clearing a jam or resetting the motor, can take as little as 15-30 minutes. Fixing a leak by tightening connections or replacing a gasket might take 1-2 hours. Overall, it's considered a beginner-friendly project, but electrical and plumbing work always requires careful attention.
My disposal hums but doesn't spin. What's the first thing I should check?
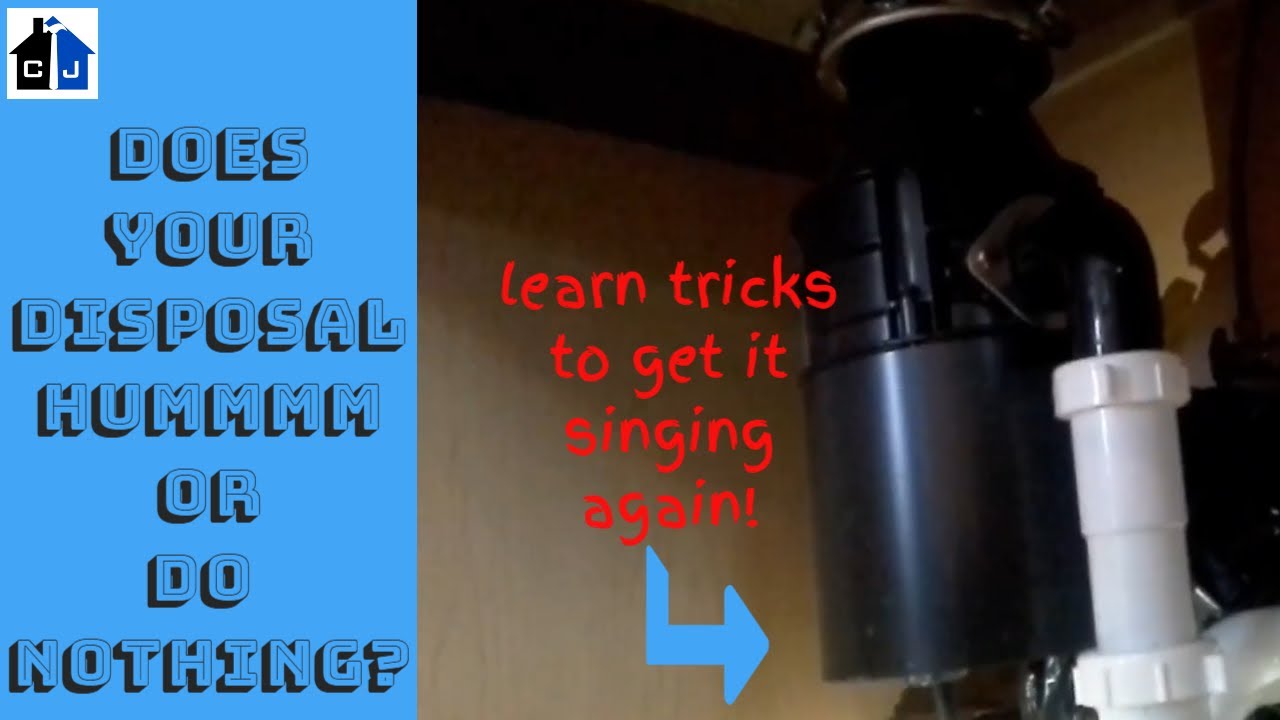
A humming disposal usually indicates a jam. First, ensure the power is off. Then, look into the drain opening with a flashlight for any obstructions and try to remove them. If that doesn't work, use the hex key (Allen wrench) in the center hole at the bottom of the disposal to manually rotate the impellers until they move freely.
What should I do if my garbage disposal is leaking?
Identify the source of the leak first. Common leak points include the sink flange, dishwasher connection, or discharge pipe connections. Tighten any loose nuts or bolts with an adjustable wrench. If tightening doesn't work, you may need to replace worn gaskets or the rubber seal under the sink flange.
How can I avoid common mistakes during garbage disposal repair?
The most common mistake is forgetting to disconnect power, leading to a risk of electric shock. Another mistake is using your hand to clear jams instead of an Allen wrench or pliers. Always double-check plumbing connections for tightness after working on them to prevent new leaks.