Garbage Disposal Leaking From Bottom - Stesso
About This Project
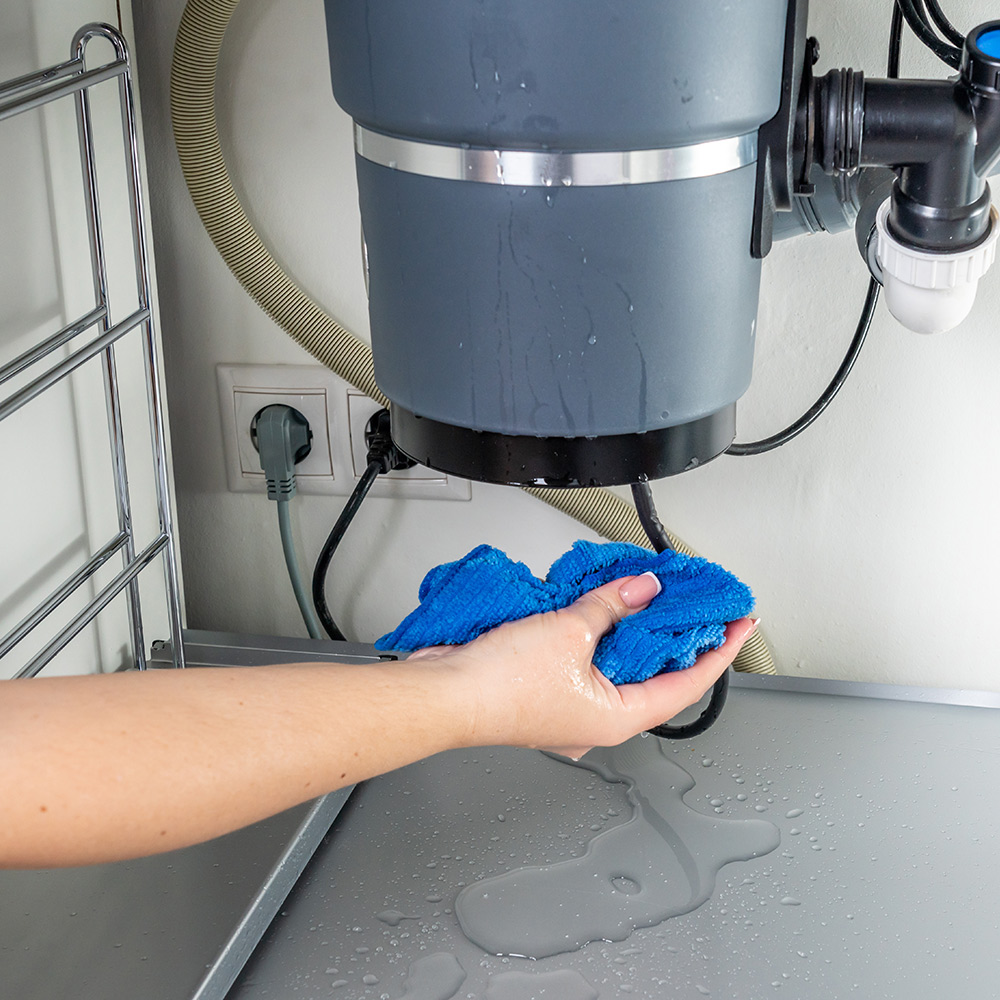
This project outlines how to address a garbage disposal leaking from the bottom. It begins by emphasizing safety, instructing users to disconnect the power at the circuit breaker and disconnect the drainpipe. Due to the assumed age and location of the leak, the project recommends replacing the garbage disposal. This involves removing the old unit's mounting assembly, installing the new disposal, connecting it securely to the mounting apparatus and drainpipe, and restoring power. Finally, the newly installed garbage disposal is tested for leaks to confirm a successful repair.
Best for experienced DIYers and homeowners with some experience. Requires access to electrical panel.
Tools & Materials
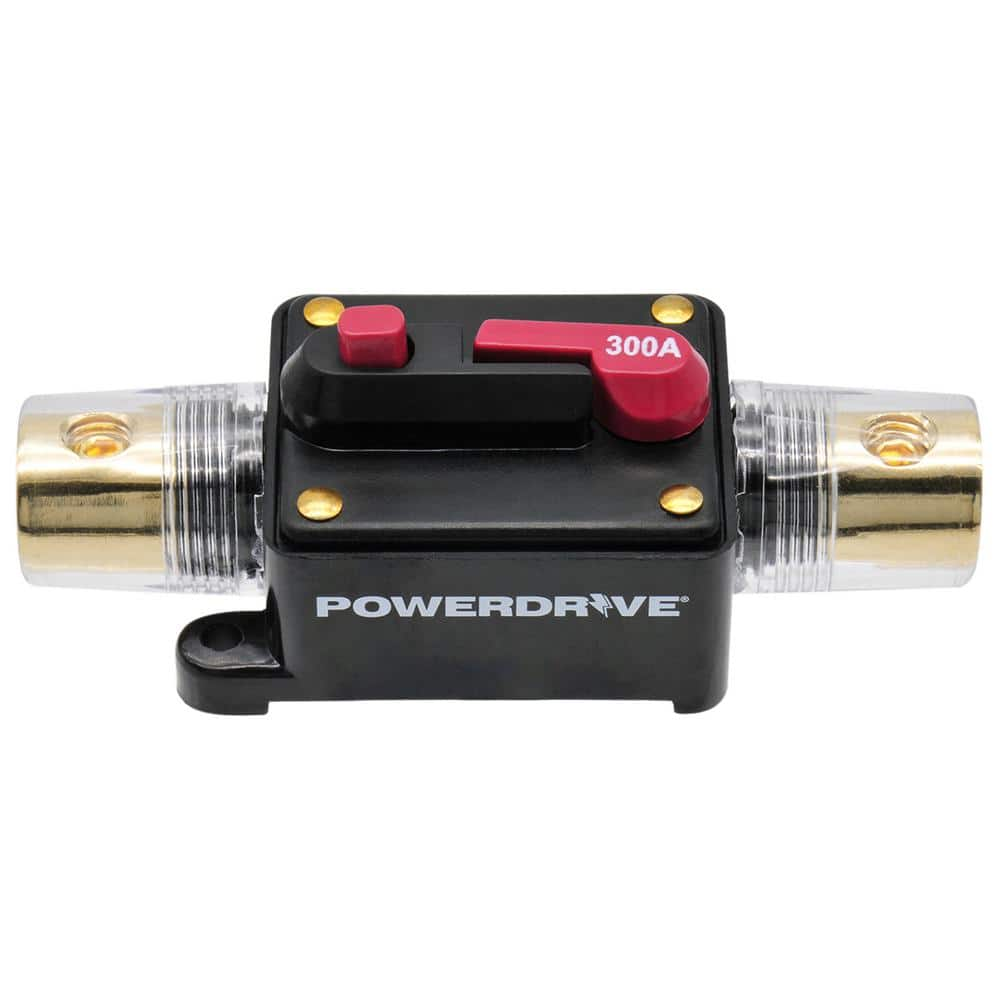
PowerDrive 300 Amp Circuit Breaker with Switch PDISB300
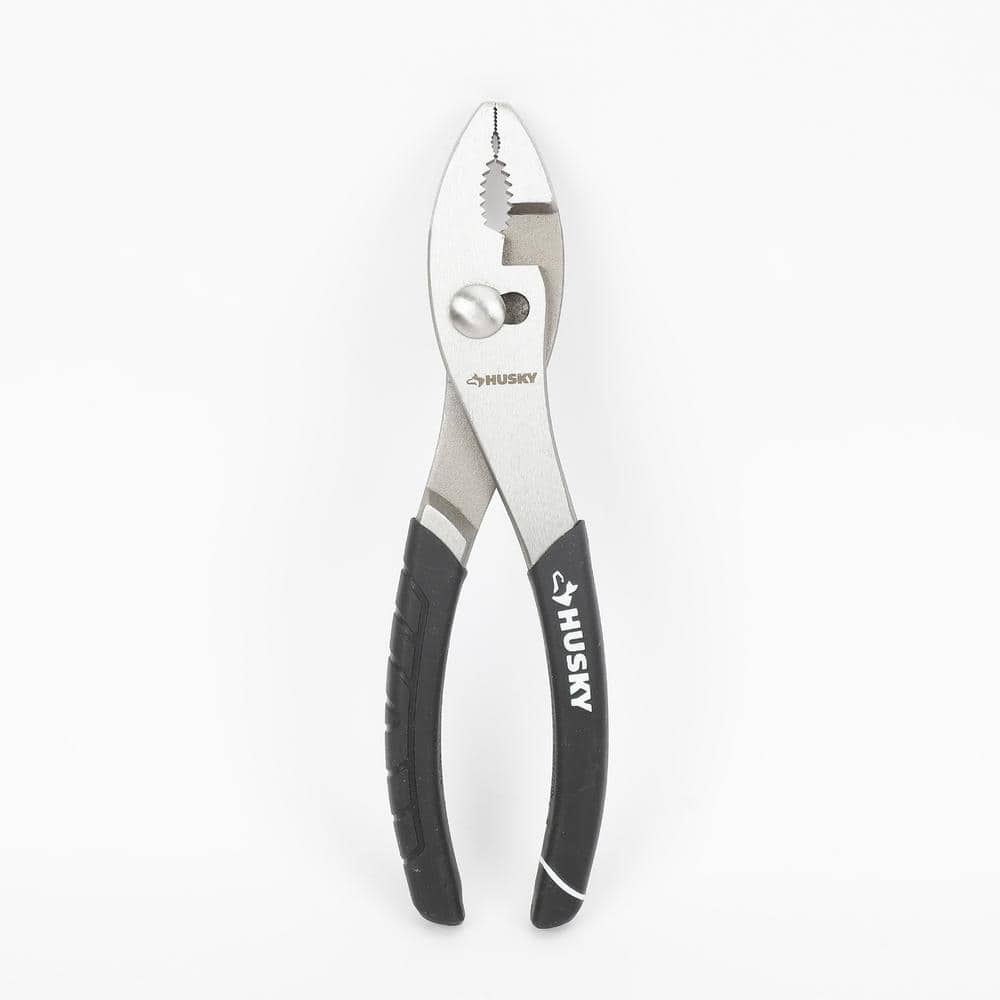
Husky 8 in. Standard Slip Joint Pliers 91227

Unger 6 Gal. Heavy-Duty Plastic Bucket DB02
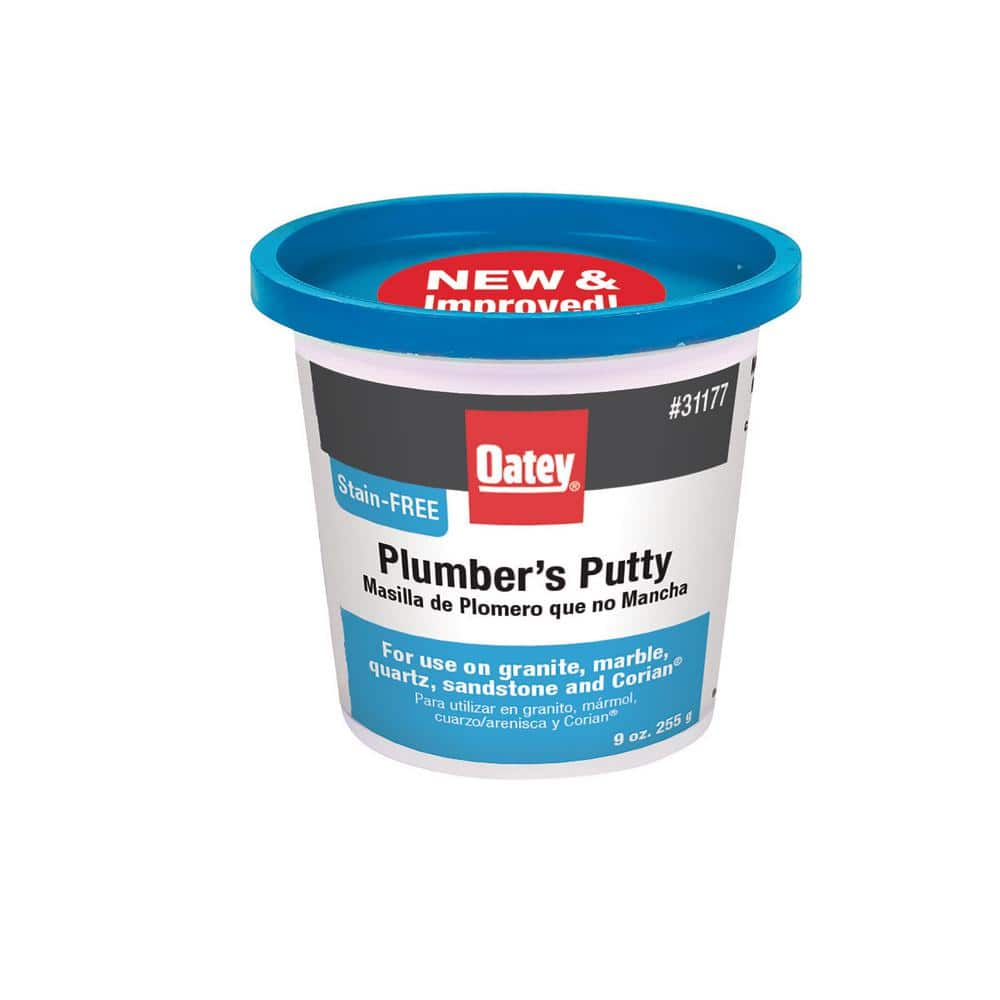
Oatey 9 oz. Stain-Free Plumber's Putty 31177
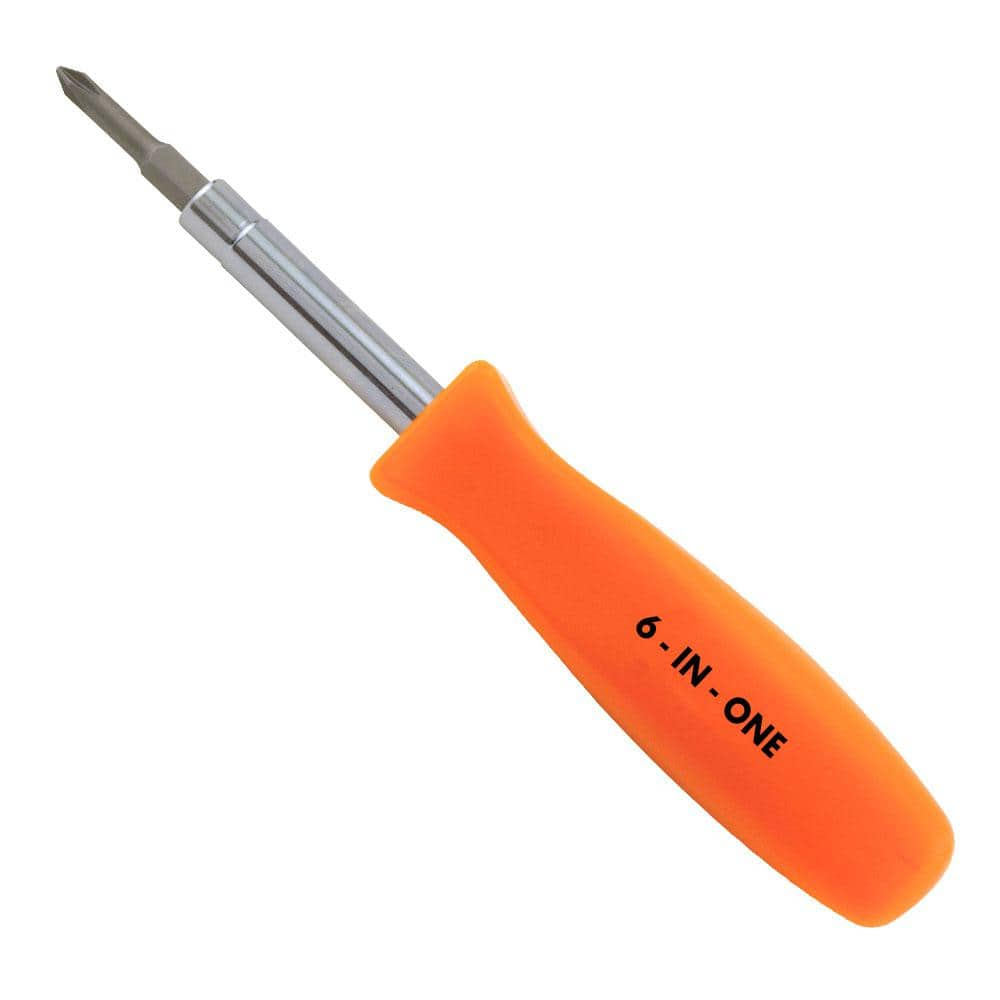
HDX 3-1/4 in. 6-in-1 Screwdriver 120SD12D
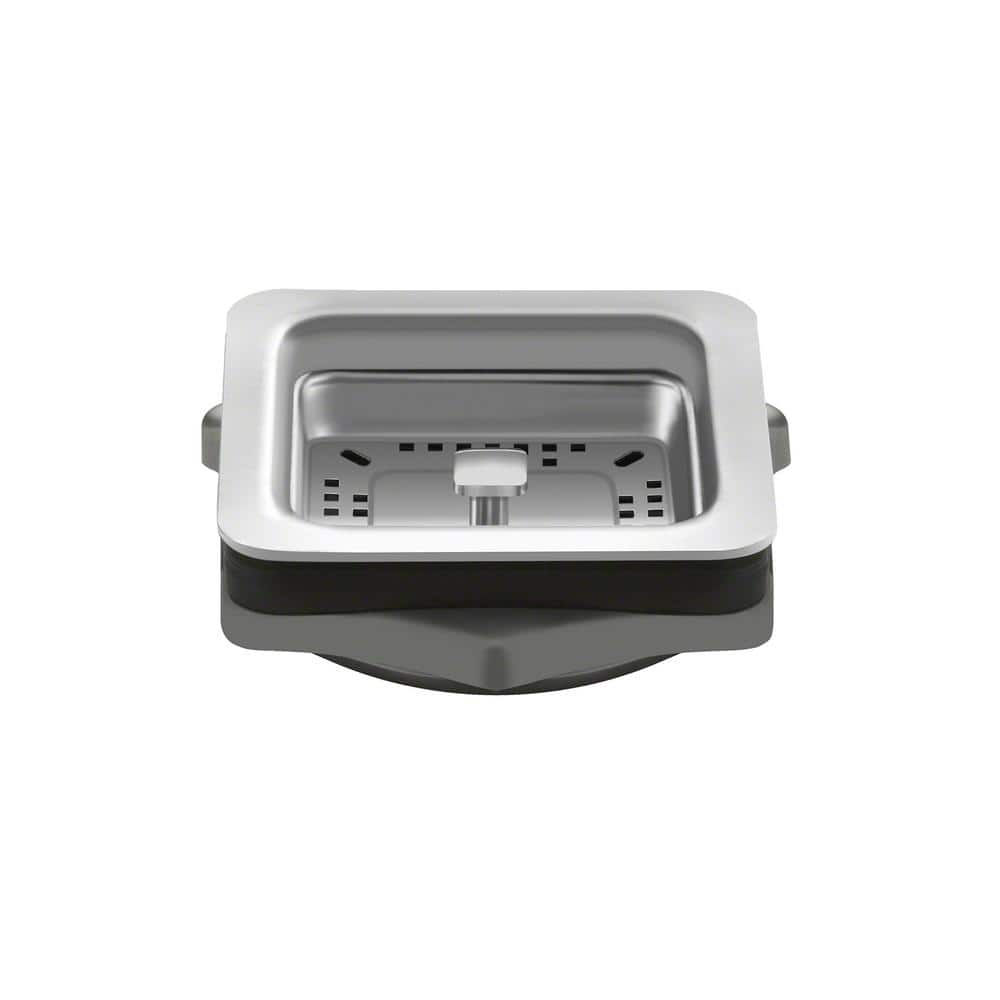
KRAUS Garbage Disposal Adapter GDA-1
PowerDrive 300 Amp Circuit Breaker with Switch PDISB300
Perfect for use with PowerDrive's high wattage power inverters, this 300 Amp high current circuit breaker has a unique push button reset and can also be used as a kill switch. It can be used with 2-Gauge
Husky 8 in. Standard Slip Joint Pliers 91227
Husky 8 in. Standard Slip Joint Pliers is used for turning or bending small objects. Its is designed to allow the worker to apply force to the object being gripped. It is often used for gripping nails,
Unger 6 Gal. Heavy-Duty Plastic Bucket DB02
The Unger 6-Gallon Heavy-Duty Professional Cleaning Bucket holds more than 6 Gal. of liquid. The bucket can accommodate a scrubber up to 14 in. L. This bucket features measurement marks and 2-pour spouts
Oatey 9 oz. Stain-Free Plumber's Putty 31177
For setting frames, faucets and basket strainers, use this Oatey 9 oz. Stain-Free Plumber's Putty on granite, marble, quartz, sandstone and other natural, porous materials. Will not crack or shrink. Cleans
HDX 3-1/4 in. 6-in-1 Screwdriver 120SD12D
The HDX 3-1/4 in. 6-in-1 Screwdriver features double-sided bits with the four most common screwdriver tip styles, including a #1 Phillips bit, a #2 Phillips bit, a 3/16 in. flathead bit and a 1/4 in. flathead bit. Both ends of the shaft can be used as 1/4 in. nut drivers when the bits are removed, offering convenient, versatile use. The high-visibility orange handle makes the handy tool easy to find on a job site or in a toolbox.
KRAUS Garbage Disposal Adapter GDA-1
Designed with clean lines and sleek shapes, Kraus kitchen accessories provide everyday efficiency with style. The square garbage disposal adapter coordinates with all Pax and R0 Pro Series stainless steel
Steps

Disconnect Power and Drainpipe Safely
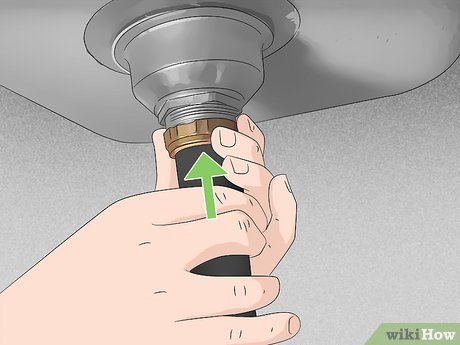
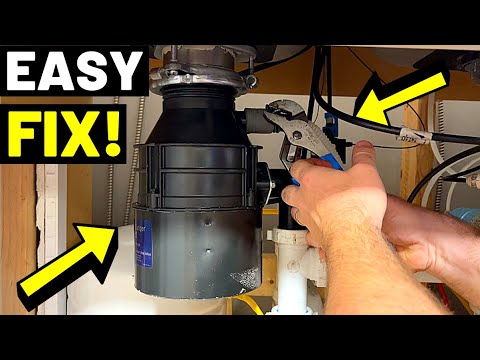
15 minsSafety first! Begin by switching off the power to your garbage disposal at the circuit breaker. Next, carefully disconnect the discharge pipe from the disposal. If replacing the disposal, use plumber's putty to ensure a watertight seal on the new unit's threads.
Watch: Disconnect Power
Install a New Garbage Disposal (Recommended)
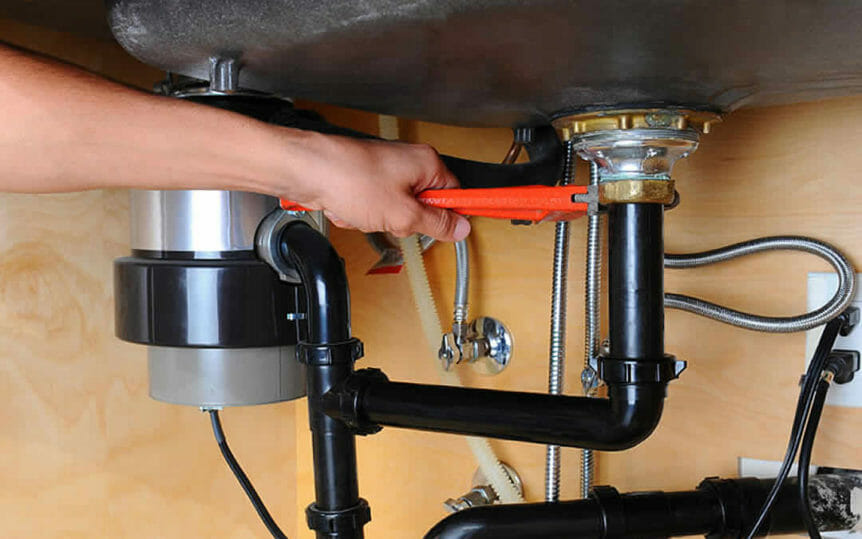
1 minGiven the age of the disposal (over 5 years) and the leak at the seam, replacement is the recommended solution. Carefully remove the mounting assembly securing the old unit to the sink flange. Install the new garbage disposal, ensuring it's properly attached to the mounting apparatus and the drainpipe is securely connected. Restore power and thoroughly test for any leaks.
Watch: Mount New DisposalCommon Problems
Electrical issues or no power
Solution: Double-check all connections and follow the installation steps carefully.
Prevention: Double-check that the power is off before reaching under the sink.
Frequently Asked Questions
Why does this project recommend replacing the garbage disposal entirely instead of trying to repair the leak?
Leaks from the bottom of a garbage disposal often indicate a cracked housing or a failure in the internal seals, especially with older units. These issues are typically not repairable, making replacement a more reliable and often more cost-effective long-term solution than attempting temporary fixes. This approach also prevents future leaks from other aging components.
What is the most critical safety step before starting this project, and why is it so important?
The most critical safety step is disconnecting power to the disposal at your home's circuit breaker. This prevents accidental electrocution, which can be extremely dangerous when working with plumbing and electrical components. Always double-check that the disposal is completely de-energized by trying to flip its switch after cutting power at the breaker.
Besides the listed tools, are there any other common household items or tools I might find useful for this garbage disposal replacement?
Yes, a flashlight will be very helpful for better visibility in the tight space under the sink. You might also need a utility knife or hacksaw if the new disposal requires slight adjustments to your drainpipe length, and a small bucket or towels to catch any residual water from the old unit.
The project is labeled 'beginner' and '3 hours.' Is this realistic for someone with no plumbing experience, and what's the most challenging part?
Yes, this is a realistic estimate for beginners, as the process is primarily a direct replacement. The most challenging aspects are typically working in the cramped space under the sink and ensuring the new mounting assembly is tightened correctly with enough plumber's putty to create a watertight seal. Taking your time and following instructions precisely will make it manageable.
What is the estimated total cost for replacing a garbage disposal, considering the materials listed?
Beyond the basic materials like plumber's putty and a bucket (which are typically under $20), the primary cost will be the new garbage disposal unit itself. These units can range from $100 to $300 or more, depending on horsepower and features. Therefore, you can expect a total project cost between $120 and $350, not including tools you might already own.
What are some common mistakes beginners make when installing a new garbage disposal, and how can I avoid them?
A common mistake is not applying enough plumber's putty around the sink flange or failing to properly tighten the mounting assembly, which can lead to leaks. Another frequent oversight is forgetting to remove the knockout plug if connecting a dishwasher drain line. Always double-check these connections and steps before restoring power and testing for leaks.
After installing the new garbage disposal, what should I do if it still leaks, or if it doesn't turn on?
If it leaks, re-check all drainpipe connections, ensure the dishwasher knockout plug was removed if applicable, and verify the mounting ring is securely tightened with a proper plumber's putty seal. If it doesn't turn on, first check the circuit breaker, then the reset button on the bottom of the disposal unit, and finally confirm all electrical connections are secure.