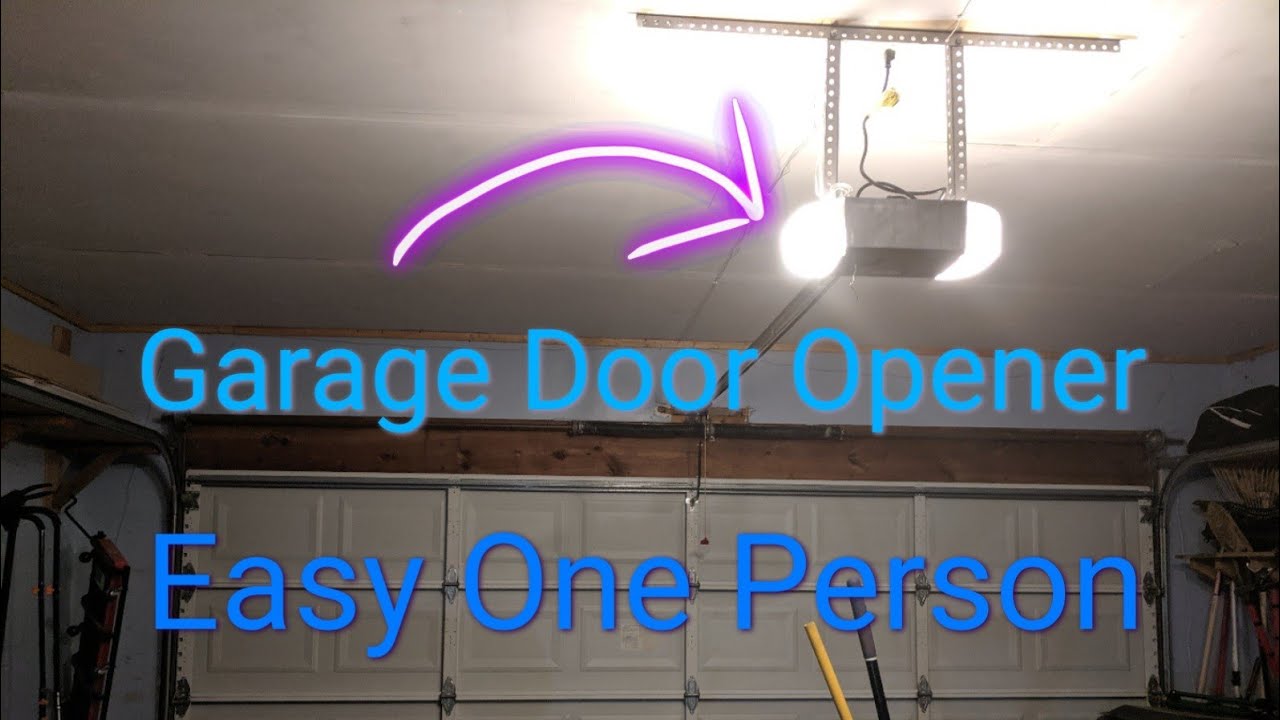
Garage Door Opener Installation
About This Project
This project outlines the steps for a DIY installation of a typical electric garage door opener system.
Tools & Materials

Drill
Drill Bits
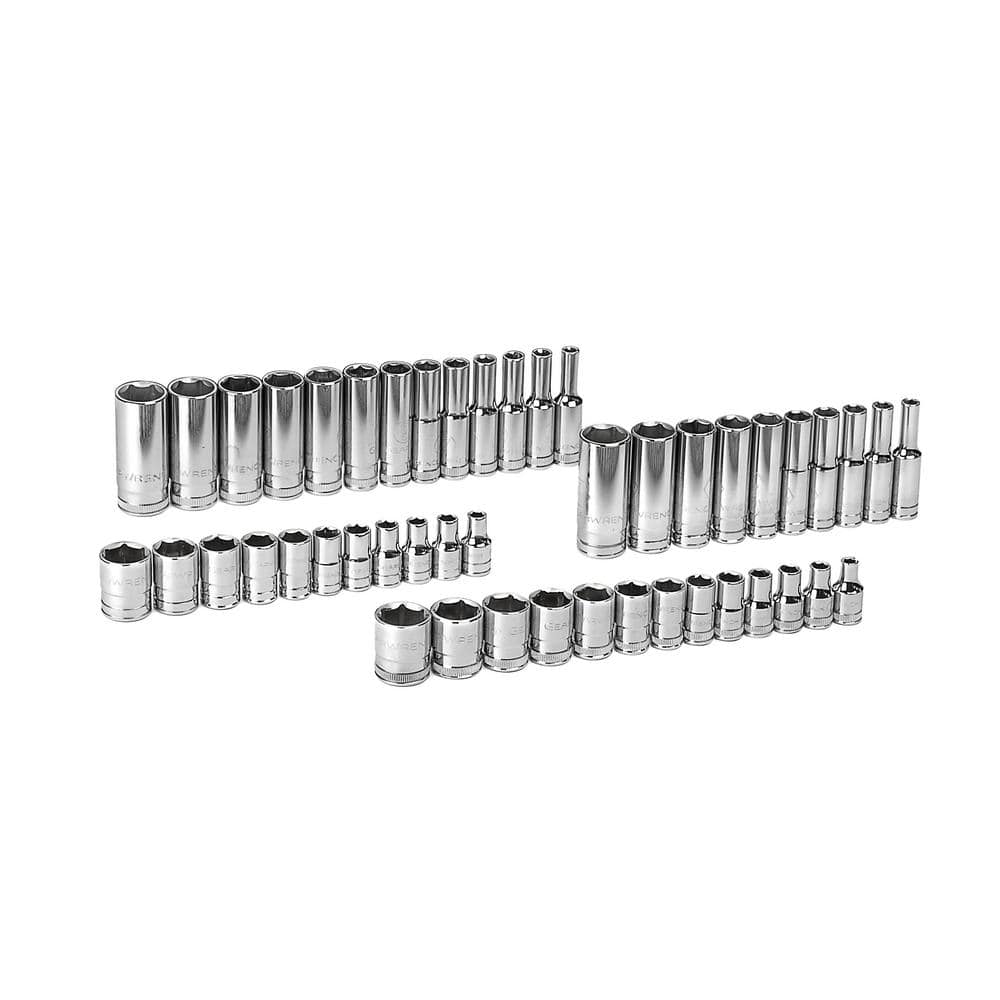
GEARWRENCH 1/4 in. Drive 6-Point Standard and Deep SAE/Metric Socket Set (47-Piece) 80314D
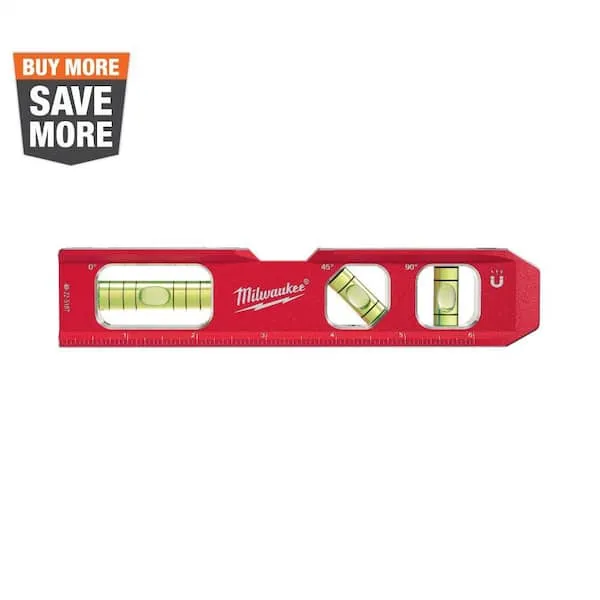
Level
Measuring Tape

Pencil
Drill
A power tool used for drilling holes in various materials.
Drill Bits
Various sizes for different drilling tasks, including making holes for screws and latches.
GEARWRENCH 1/4 in. Drive 6-Point Standard and Deep SAE/Metric Socket Set (47-Piece) 80314D
GEARWRENCH sockets are manufactured from alloy steel for maximum durability and strength. Our off corner loading design reduces fastener rounding and the chamfered opening helps guide the socket onto fasteners. The sockets feature a double line (SAE) and knurled (metric) ring help easily identify standard and metric sockets.
Level
Ensures surfaces are just right.
Measuring Tape
For accurate measurements of plywood and components, ensuring proper assembly.
Pencil
Marks and draws with ease.
Steps

Mount the Garage Door Opener Motor Unit
60 minutesPosition the garage door opener motor unit on a sturdy mounting bracket, typically attached to the ceiling joists or a wall stud. Ensure the unit is centered above the garage door and is level. The exact placement will depend on the opener model and the configuration of your garage ceiling. Use the provided mounting hardware to securely fasten the bracket and the motor unit. This step is critical for the proper functioning and safety of the opener.
Watch: Install Garage Door OpenerInstall the Torsion Spring and Drum Assembly
30 minutesSlide the torsion spring and its associated drum onto the torsion tube. Ensure the drum is positioned correctly to wind the spring. This assembly is crucial for counterbalancing the weight of the garage door.
Watch: Install and Tension Torsion Springs


Install the Garage Door Opener Rail
45 minutesAssemble the opener rail according to the manufacturer's instructions. Attach the rail to the motor unit and then secure the other end to the header mount bracket or a suitable overhead support, ensuring it is aligned with the door's vertical travel path.
Watch: Attach Rail to Motor Head and Install Opener
Attach the Trolley and Connect to the Door
25 minutesSlide the trolley onto the opener rail. Attach the trolley's connecting arm to the header bracket on the garage door. This is the linkage that will lift and lower the door when the opener is activated.
Watch: Connect Lifting Arm to Garage DoorInstall the Safety Sensors
20 minutesInstall the infrared safety sensors on each side of the garage door track, near the bottom. One sensor emits an infrared beam, and the other receives it. If the beam is broken, the opener will stop the door from closing, preventing accidents.
Watch: Install Safety Electric Eye Sensors
Wire the Garage Door Opener
30 minutesPlug the garage door opener into a properly grounded electrical outlet. Run the low-voltage wires from the safety sensors to the motor unit and connect them according to the wiring diagram in your opener's manual. Also, connect the wired wall control button if applicable.
Watch: Wire Motor Unit and Wall Control
Install the Wall Control Button and Remote Transmitter
15 minutesInstall the wired wall control button in a convenient location inside the garage, typically near the entry door. Follow the manufacturer's instructions to program any included remote transmitters for your vehicles or keypads.
Watch: Install Wall Control Button
Program Travel Limits and Force Settings
30 minutesFollow the manufacturer's instructions to set the travel limits, which define how far the door opens and closes. Adjust the force settings, which determine how much force the opener applies before stopping or reversing. These settings are crucial for proper operation and safety.
Watch: Program Door LimitsTest the Garage Door Opener System
15 minutesManually operate the garage door to ensure it moves smoothly. Then, use the remote and wall button to open and close the door. Test the safety sensors by placing an object in the path of the closing door to ensure it reverses. Test the force settings by having the door stop just before it fully closes and ensuring it reverses. Verify all functions operate correctly and safely.
Watch: Final Testing & Safety CheckCommon Problems
The torsion springs are under extreme tension and can cause severe injury if mishandled, especially during winding or unwinding without proper tools or technique. This is a critical safety hazard.
Solution: 1. **STOP IMMEDIATELY.** Do not attempt to wind or unwind the springs without dedicated torsion spring winding bars and a thorough understanding of the process. This is the most dangerous part of garage door installation. 2. If you have already started, carefully disengage the winding bars one at a time, ensuring you maintain a firm grip and the bars are fully inserted into the winding cones. 3. **Call a professional garage door technician.** Torsion spring installation and adjustment are often best left to experienced individuals due to the inherent danger and specific tools required.
Prevention: Never attempt to wind or unwind torsion springs without the correct winding bars (typically 1/2-inch round or hex steel bars, not included in your tool list). Thoroughly research the safe procedure or, ideally, hire a professional for this specific step if you are not experienced. Always wear safety glasses and gloves.
The garage door will not close, or reverses immediately upon starting to close, and the safety sensor lights are blinking or off. This indicates the safety sensors are not aligned or connected properly.
Solution: 1. Check that both safety sensors are securely mounted and pointing directly at each other. They should be at the same height, typically 4-6 inches off the ground. 2. Ensure no objects are blocking the infrared beam between the sensors. Even a small piece of debris can interrupt the signal. 3. Inspect the wiring connections at both sensors and at the motor unit. Make sure wires are stripped correctly (about 1/2 inch) and terminals are tight. Look for any cuts, pinches, or loose connections in the wire. 4. Adjust the sensors slightly by hand until both indicator lights (usually one green, one amber) on the sensors are solid, indicating proper alignment and connection. If the lights still don't come on, re-check wiring.
Prevention: Mount sensors securely using a level and measuring tape to ensure they are at the exact same height and facing each other squarely. Run wiring neatly along the wall and protect it from damage or being pinched. Test alignment carefully before proceeding with programming.
The garage door opener motor unit or the entire rail assembly sags in the middle or is not level, causing the door to operate unevenly, creating excessive noise, or putting strain on the motor.
Solution: 1. Loosen the bolts securing the opener to the ceiling or header bracket. 2. Use your level to re-adjust the motor unit and rail so they are perfectly level, both side-to-side and front-to-back. The rail should also be centered over the door opening. 3. Ensure the hanger brackets (like the TuffBilt Metal Wall Bracket or similar ceiling hangers) used to support the rail from the ceiling are securely fastened to solid wood framing (ceiling joists or blocking). If joists are far apart, use additional bracing like perforated angle iron for support. 4. Tighten all mounting bolts securely with your socket set (e.g., GEARWRENCH 80314D), but avoid over-tightening which can strip threads or damage components. Recheck with the level.
Prevention: Before mounting, accurately locate ceiling joists with a stud finder. Use the level frequently during installation of the rail and motor unit to ensure everything is perfectly plumb and level. Plan your mounting points carefully to utilize solid wood framing for maximum support. Do not rely on drywall anchors for heavy components.
After installation and programming, the garage door stops short of fully opening or closing, or it reverses unexpectedly when it touches the ground or encounters an imaginary obstruction.
Solution: 1. This is typically an issue with incorrect travel limits or force settings. Refer to your Genie 1/2 HP Durable Chain Drive Garage Door Opener 1035-SV manual for specific programming instructions, as steps vary by model. 2. **To adjust travel limits**: Locate the 'up' and 'down' limit adjustment screws or buttons on the motor unit. Follow the manual to set the door to stop precisely at the fully open and fully closed positions without straining the motor. 3. **To adjust force settings**: The force settings determine how much resistance the opener encounters before it reverses. If the door reverses on its own, the downforce might be too sensitive. If it struggles to open or close, the up/down force might be too low. Adjust these incrementally, usually with separate dials or buttons, according to the manual. 4. **Crucial Safety Test**: After adjusting, place a 2x4 board flat on the floor in the door's path. The door MUST reverse when it hits the 2x4. If it doesn't, the downforce is too high, creating a crush hazard. **Immediately reduce the downforce until it reverses reliably.**
Prevention: Carefully read and follow the manufacturer's instructions for setting travel limits and force adjustments step-by-step. Do not skip the safety reversal test. Ensure the garage door itself moves freely and is properly balanced *before* connecting the opener, as a heavy or binding door can cause programming issues.
Screws or bolts become stripped, threads are damaged, or plastic/metal components crack during assembly due to excessive tightening, making secure fastening difficult or impossible.
Solution: 1. If a screw or bolt head is stripped, try using a screw extractor kit or carefully gripping the head with locking pliers (from your 'Pliers' tool list) to remove it. 2. If threads are stripped in wood, you might need to fill the hole with wood glue and a wooden dowel, then redrill a pilot hole. For metal, you might try a slightly larger diameter screw or a thread repair kit. 3. If a component (e.g., plastic parts of the motor unit or light covers) is cracked, assess if it's structural. Small, non-structural cracks might be reinforced with strong epoxy, but for critical structural parts, the component should be replaced. Refer to your Genie opener manual for replacement parts. 4. Replace any stripped fasteners with new ones of the correct size and type.
Prevention: Always start fasteners by hand to ensure they are properly aligned and avoid cross-threading. Use the correct size socket (from your GEARWRENCH 80314D set) or wrench for each fastener. Tighten bolts and screws snugly until there is no play, then give a final quarter-turn. Avoid using excessive force, especially with power tools. If using a drill, use a lower torque setting or stop before maximum tightness and finish by hand with a wrench.
Even after installing the DURA-LIFT 0.218 in. Wire x 2 in. D x 28 in. L Torsion Spring, the garage door still feels very heavy or difficult to lift manually, even when disconnected from the opener. This indicates incorrect spring tension or the wrong spring was used.
Solution: 1. **Disconnect the opener:** Pull the emergency release cord to disengage the opener from the door before testing. 2. **Test door balance:** Manually lift the garage door halfway (around waist height). If it falls to the ground, the spring tension is too low. If it flies open or pulls itself up quickly, the tension is too high. 3. **Adjust spring tension:** **EXTREME CAUTION REQUIRED.** This process is extremely dangerous and should only be attempted with proper winding bars and safety knowledge. If tension is too low, you will need to add more turns to the spring (typically 1/4 turn at a time, testing after each adjustment). If tension is too high, you will need to remove turns. Always use two winding bars and follow manufacturer safety guidelines for winding/unwinding. 4. **Verify spring type:** Double-check that the DLTW228L spring is the correct size and wire gauge (0.218 in. wire diameter) for your specific garage door's weight and height. Incorrectly sized springs will never balance the door properly, regardless of adjustment. If it's the wrong size, you'll need to replace it.
Prevention: Ensure you have ordered the correct torsion spring (DLTW228L, or whatever matches your door's specifications) for your specific garage door's weight and height *before* installation. The door's weight should be accurately measured or found in its specifications. Pay close attention to the manufacturer's recommended number of turns for your spring and door size. Always use proper winding bars and follow all safety precautions. If uncertain, hire a professional for spring installation and adjustment.