
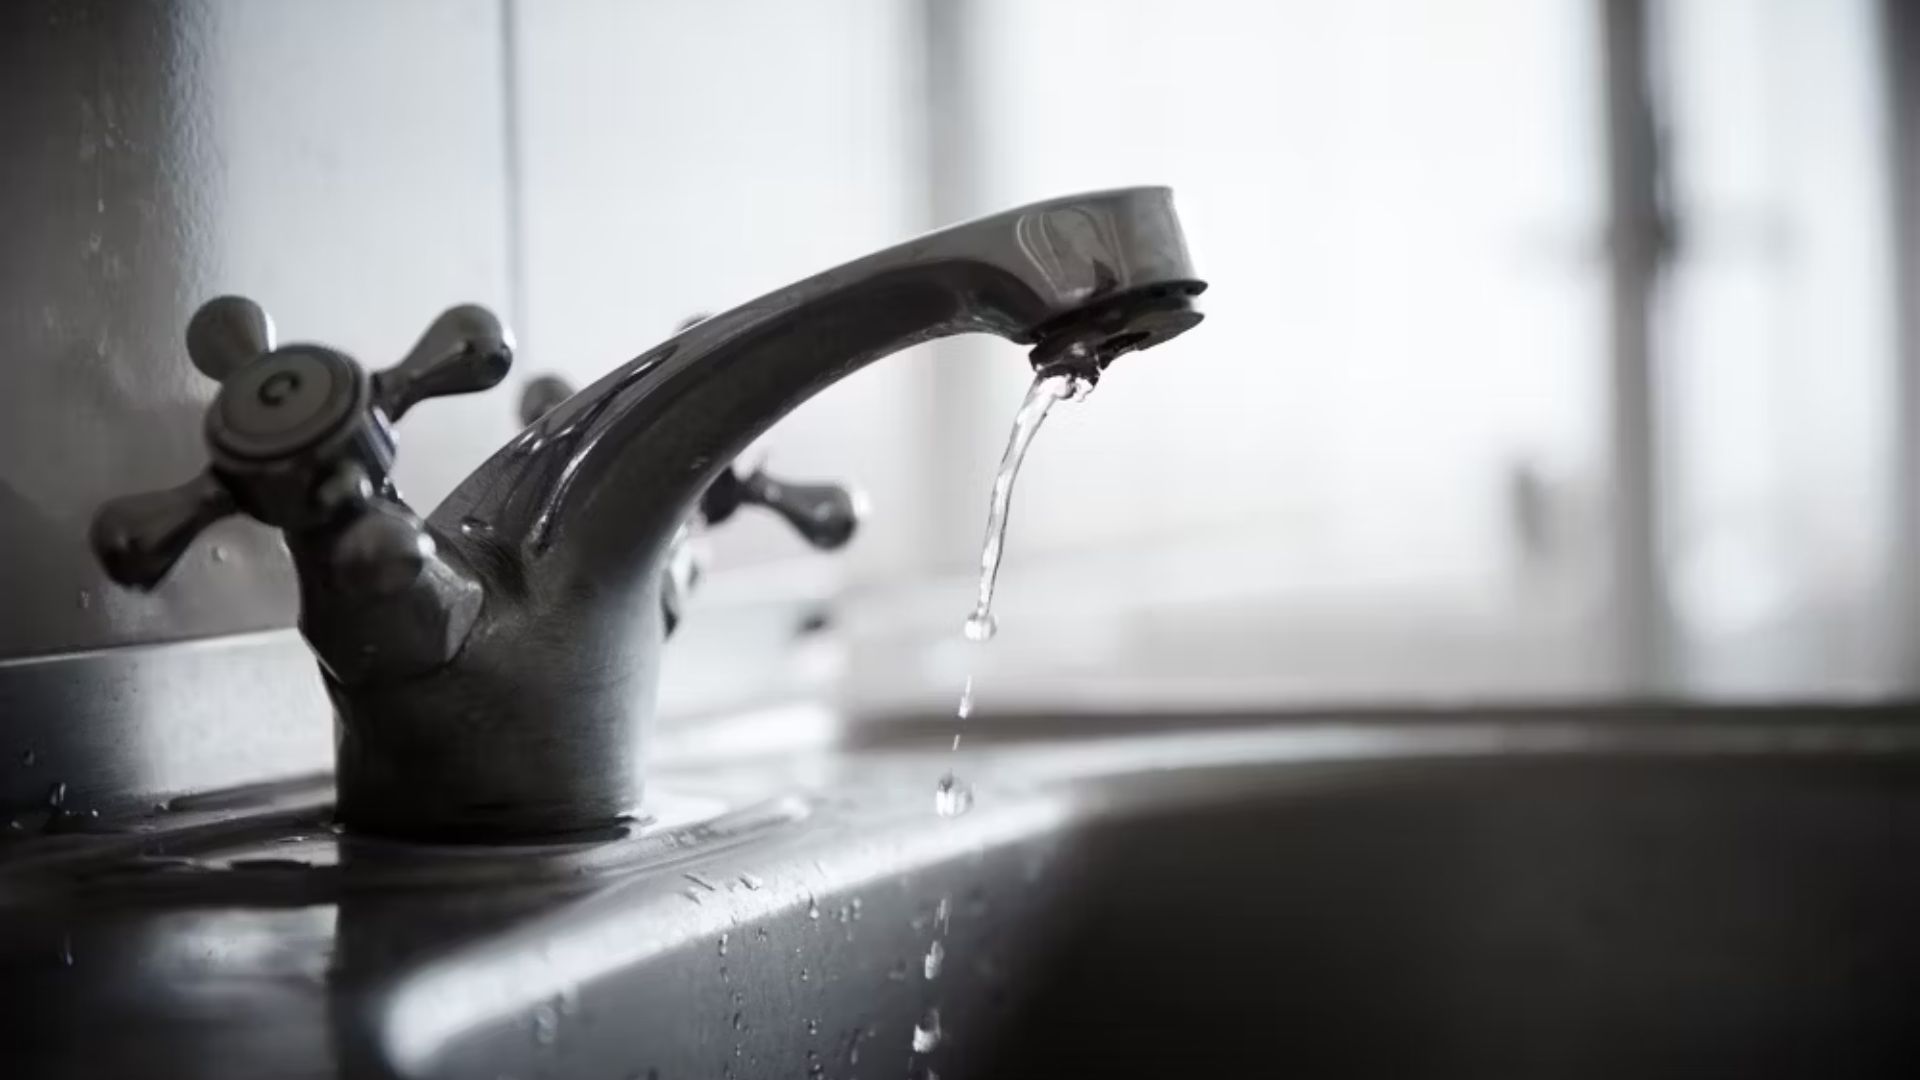
Fix a Dripping Bathroom Faucet: A Step-by-Step Guide
About This Project
This guide details how to fix a dripping bathroom faucet. Start by turning off both hot and cold water supply valves under the sink to prevent flooding. Next, disconnect the water supply lines from the faucet tailpieces using a basin wrench. Inspect the copper supply lines for damage, replacing sections and fittings as needed. If the lines are okay, clean the connection area on the faucet. Reconnect the water supply lines, ensuring they're tight but not over-tightened. Finally, turn the water back on slowly, checking for leaks at all connections and tightening if necessary.
Best for experienced DIYers and homeowners with some experience.
Tools & Materials
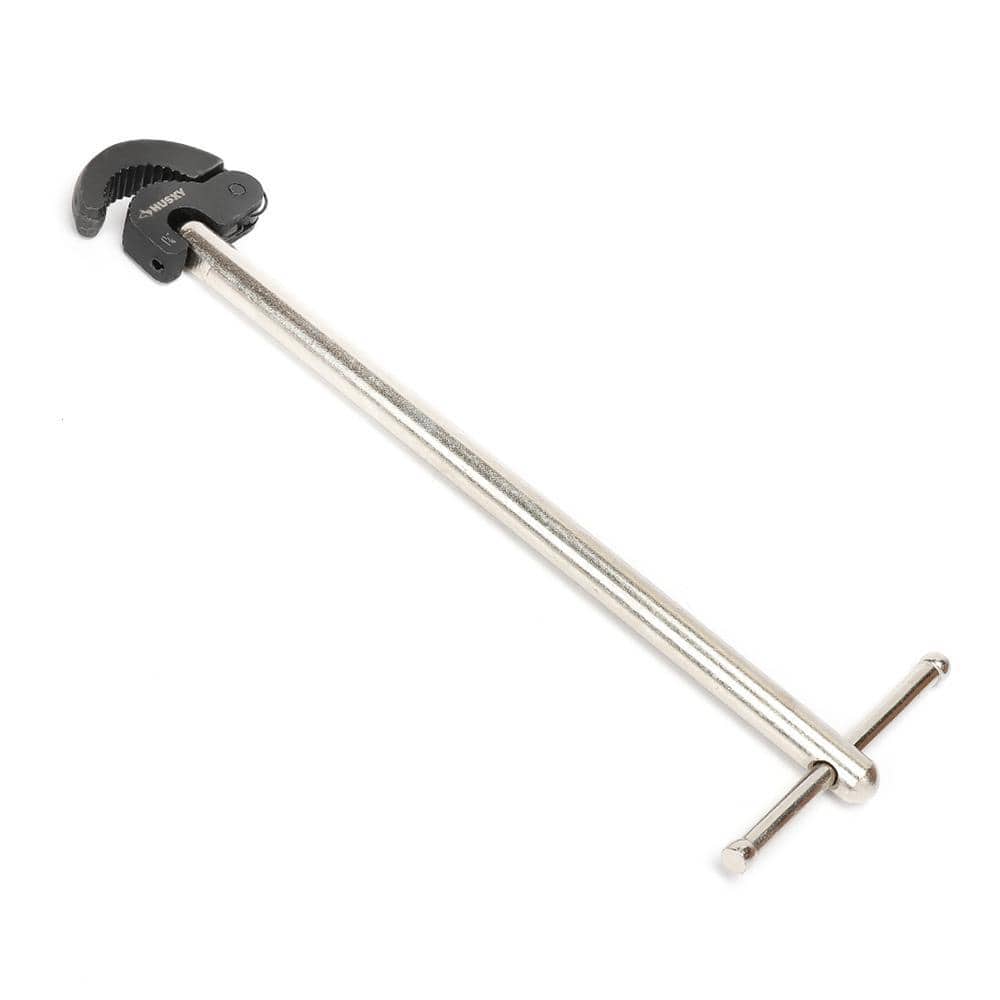
Husky Basin Wrench 16PL0127

Unger 6 Gal. Heavy-Duty Plastic Bucket DB02
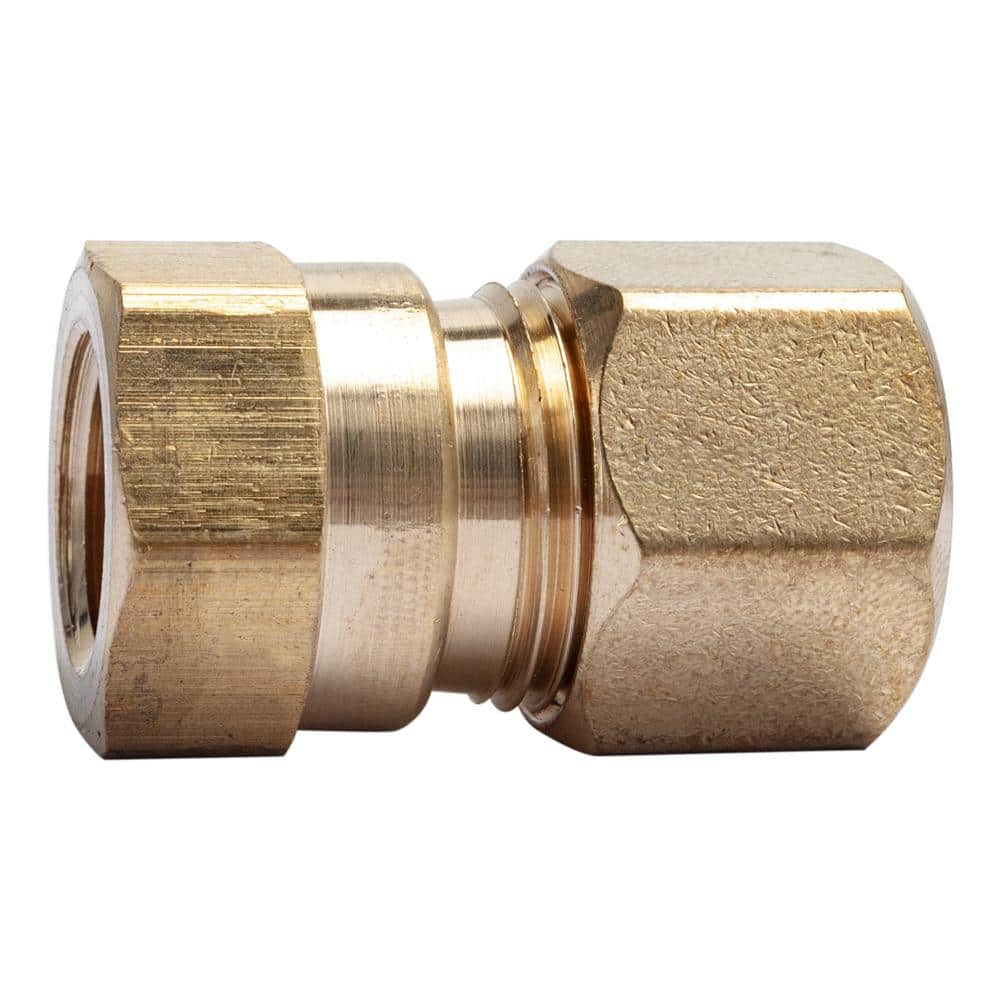
LTWFITTING 1/2 in. O.D. Comp x 1/4 in. FIP Brass Compression Adapter Fitting (5-Pack) HF668405
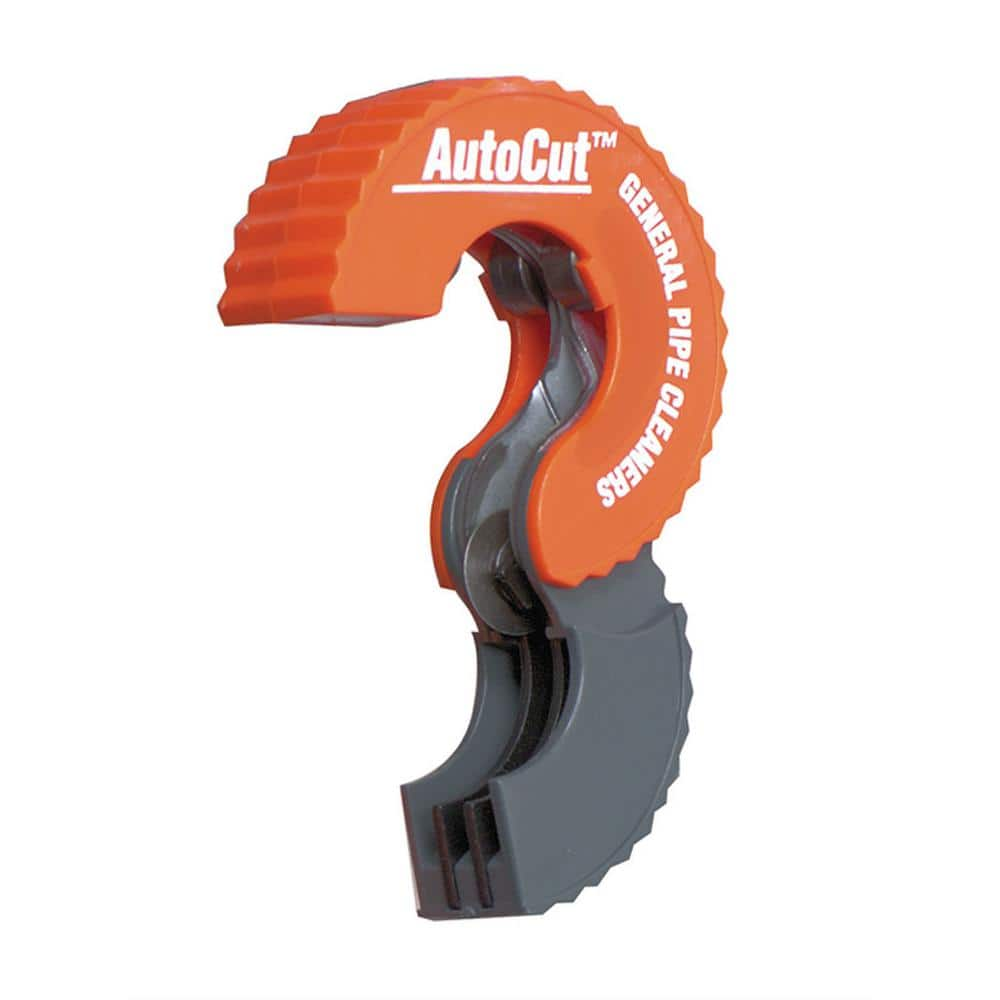
AUTOCUT 1/2 in. Copper Pipe Tubing Cutter ATC12
Husky Basin Wrench 16PL0127
Husky's 11 in. Basin Wrench is made from heavy-duty steel and has a reversible head for accessing faucet nuts in tight spaces. The 180 pivoting head holds its position at any angle to access hard-to-reach
Unger 6 Gal. Heavy-Duty Plastic Bucket DB02
The Unger 6-Gallon Heavy-Duty Professional Cleaning Bucket holds more than 6 Gal. of liquid. The bucket can accommodate a scrubber up to 14 in. L. This bucket features measurement marks and 2-pour spouts
LTWFITTING 1/2 in. O.D. Comp x 1/4 in. FIP Brass Compression Adapter Fitting (5-Pack) HF668405
This LTWFITTING Compression tube fitting is made of brass for durable. And it connects to tubing on one end and has an NPT Female connector on the other. This fitting is for a fixed connection between
AUTOCUT 1/2 in. Copper Pipe Tubing Cutter ATC12
Autocut copper tubing cutters are a great tool to have when you don't have enough swing room to use a full-size tubing cutter. You can cut copper tubing with less than one inch of clearance or you can
Steps

Turn Off the Bathroom Faucet Water Supply
5 minsBefore you begin, shut off both the hot and cold water supply valves located under the sink. Then, turn on the faucet to release any remaining water pressure. This prevents flooding and ensures a safe working environment.
Watch: Shut Off Water Supply and Relieve Pressure

Inspect and Repair (or Replace) Water Supply Lines
30 minsThoroughly inspect the copper water supply lines for any leaks, cracks, or corrosion. If necessary, use a pipe cutter to replace damaged sections and install new compression fittings. Ensure clean connections.
Watch: Cutting Out the Damaged Pipe
Reconnect Water Supply and Test for Leaks
5 minsReconnect the water supply lines, tightening the connections carefully but not excessively. Turn the water supply back on slowly, checking for leaks at all connection points. If you find any leaks, gently tighten the fittings and re-test.
Watch: Reconnect the water supply lineCommon Problems
Safety concern: Always turn off the water supply before starting any plumbing work.
Solution: Take proper safety precautions. Always turn off the water supply before starting any plumbing work.
Prevention: Always follow safety guidelines before starting the project.
Wear safety glasses to protect your eyes from debris while cutting.
Solution: To avoid this issue: Be mindful of this warning and take appropriate precautions.
Cutting pipe too short or too long when replacing faucet fittings.
Solution: Measure the replacement fitting assembly before cutting to ensure you remove just enough pipe to fit the new section and couplings.
Misaligned crimping leads to leaks.
Solution: Ensure the crimping tool is properly aligned on the fitting before activating it to guarantee a perfect seal.
Polybutylene piping is known to be prone to failure and should be replaced whenever encountered.
Solution: To avoid this issue: Be mindful of this warning and take appropriate precautions.
Corroded nipples can fail completely and cause significant water damage. They should be replaced as soon as they are identified.
Solution: To avoid this issue: Be mindful of this warning and take appropriate precautions.
Always ensure the main water supply is turned off before cutting any water lines.
Solution: To avoid this issue: Be mindful of this warning and take appropriate precautions.
Frequently Asked Questions
Why is a basin wrench specifically recommended for this project, and are there alternatives?
A basin wrench is essential because its long shaft and swiveling jaw allow you to reach and loosen nuts in cramped spaces under the sink, particularly those securing the faucet. While other wrenches might fit some nuts, a basin wrench is designed for the tight angles and often inaccessible positions encountered when working on faucets.
What are the common issues to watch for when reconnecting the water supply lines to avoid new leaks?
A common mistake is not tightening the connections enough, leading to slow drips, or over-tightening, which can strip threads or damage washers. Ensure the supply lines are hand-tightened, then use a wrench for a quarter to a half turn more. Always check for leaks immediately after turning the water back on and tighten slightly if needed.
What safety precautions should I take beyond just turning off the water supply?
In addition to shutting off the water, place the Unger 6 Gal. Heavy-Duty Plastic Bucket DB02 directly under your workspace to catch any residual water. Wear safety glasses to protect from drips or debris, and consider gloves for a better grip and to protect your hands from grime under the sink, especially in tight, dirty spaces.
My faucet is dripping from the spout, but this guide focuses on supply lines. Will this project fix that type of drip?
This specific guide primarily addresses leaks originating from the water supply lines or their connections to the faucet tailpieces. If your faucet is dripping from the spout itself, the issue is likely with internal components like worn-out O-rings, cartridges, or washers, which would require disassembling the faucet's body, not just inspecting the supply lines.
What is the typical cost for this repair if I need to replace supply lines or fittings?
The estimated time is 2 hours, and the cost is generally low if you only need the specified materials. A set of new supply lines typically costs $10-30, and a pack of brass compression adapters (like the LTWFITTING 5-pack) is around $15-25. If you only need to clean and re-tighten, the cost is minimal.
What should I do if I've followed all the steps but still have a leak at the connection?
First, ensure the water is completely off again. Double-check that all connections are securely tightened, being careful not to overtighten. Inspect the threads on both the supply lines and the faucet for any damage or debris, and ensure any washers or O-rings are seated correctly and not cracked or worn. You may need to replace the supply lines if they are old or compromised.