

Faucet Repair
About This Project
This project outlines the steps to replace a worn kitchen sink faucet cartridge, which is the most common cause of a persistent drip. It covers identifying the faucet type, gathering necessary tools and parts, safely shutting off water, disassembling the faucet, removing the old cartridge, installing the new one, and reassembling and testing the faucet.
Tools & Materials

Adjustable Wrench
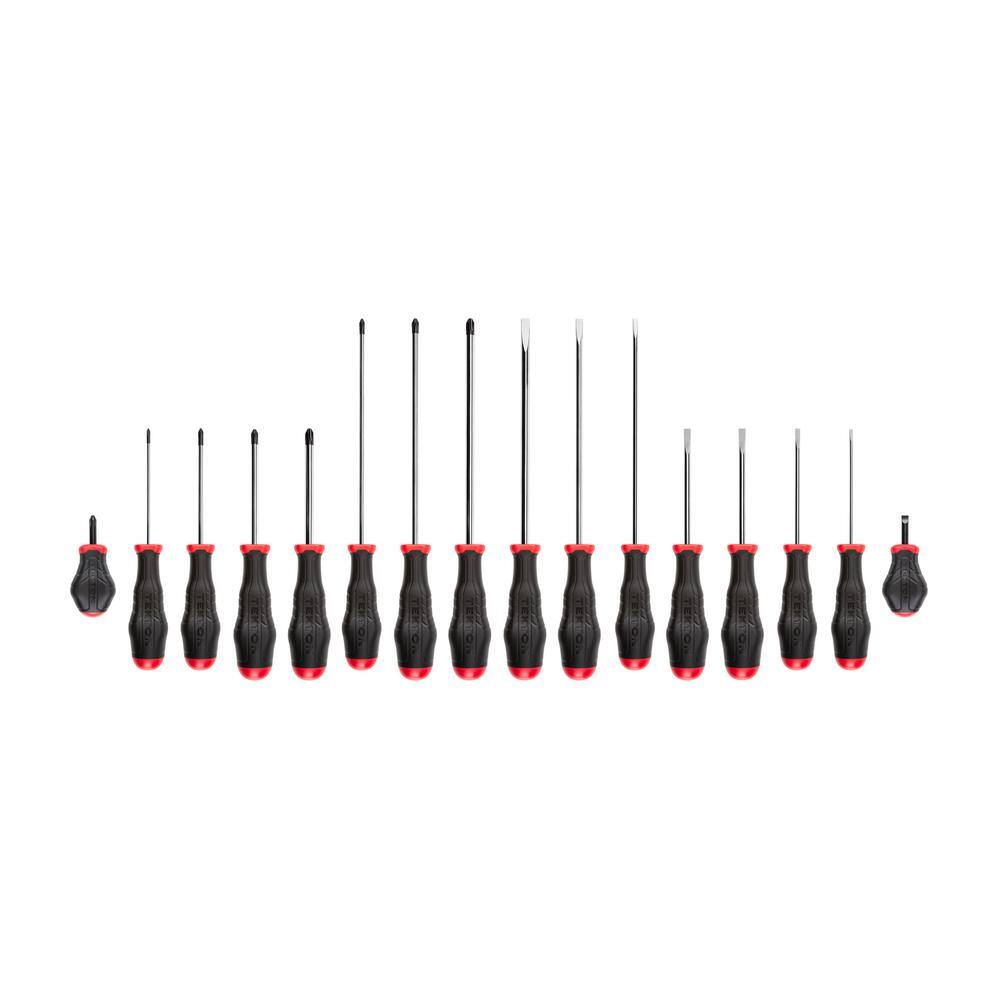
TEKTON High-Torque Screwdriver Set, 16-piece (#0-#3,1/8-5/16 in.) DRV45002
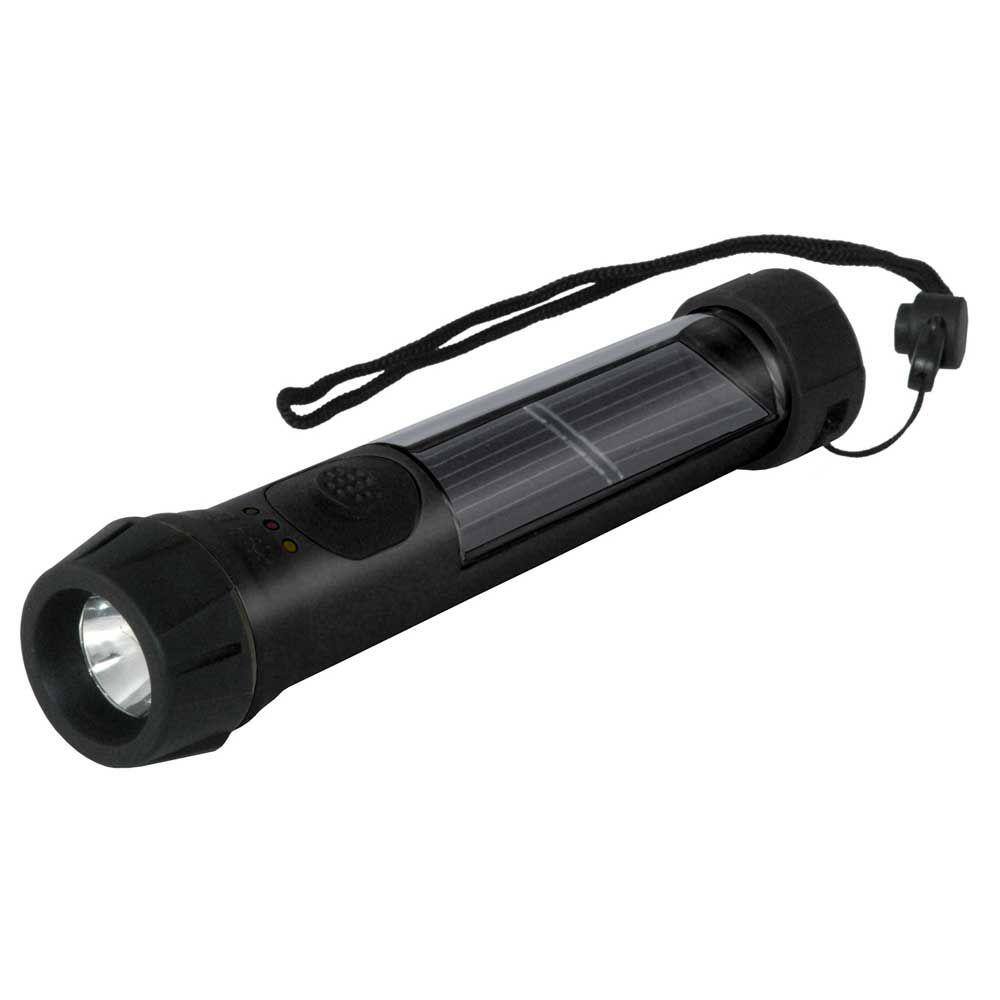
Hybrid Light Solar Flashlight - Black 001175
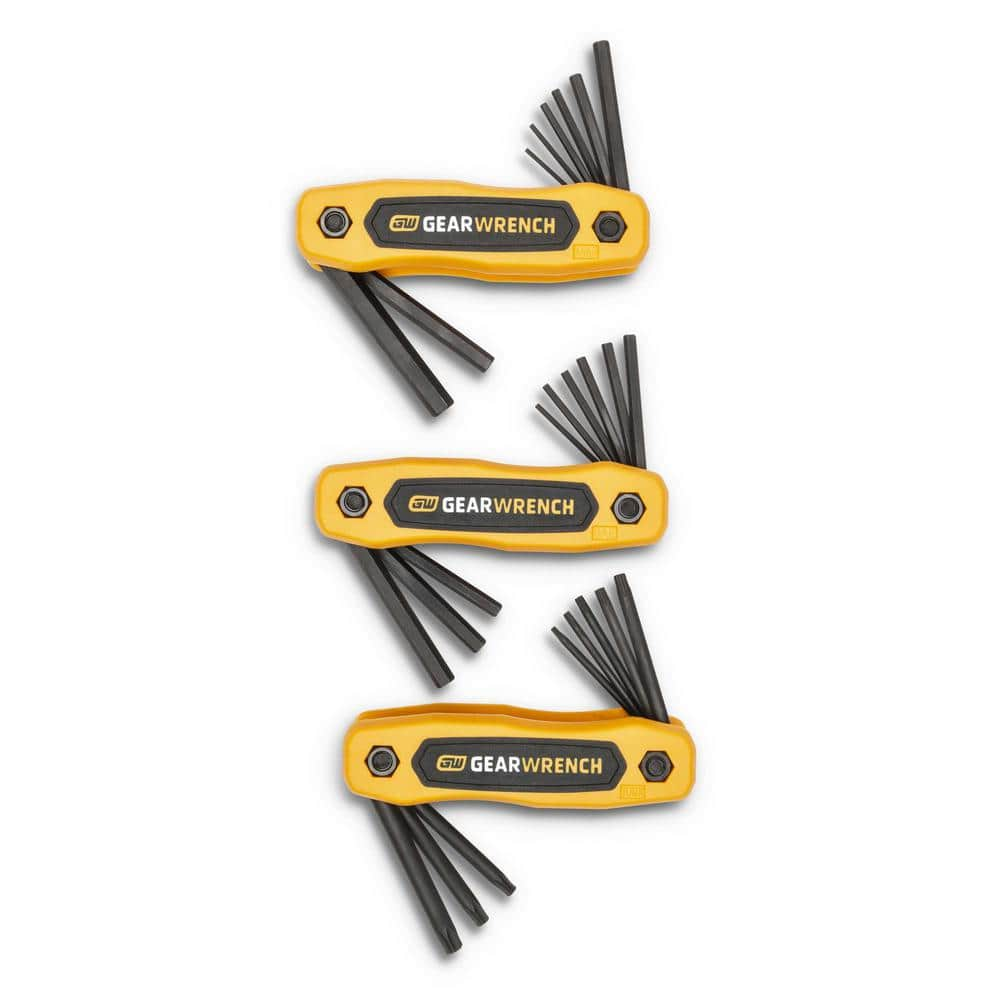
GEARWRENCH SAE, Metric, & Torx Folding Hex Key Set (25-Piece) 83512
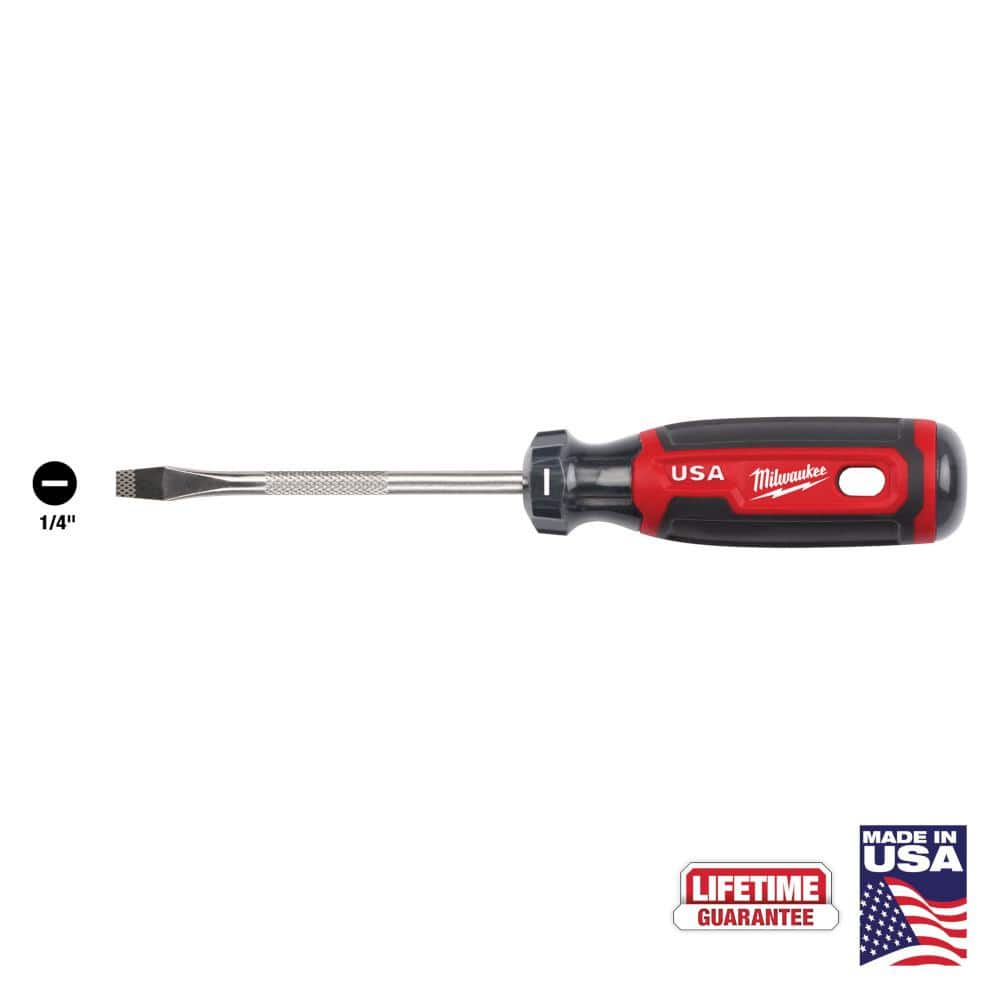
Milwaukee 4 in. x 1/4 in. Slotted Flat Head Screwdriver with Cushion Grip MT206
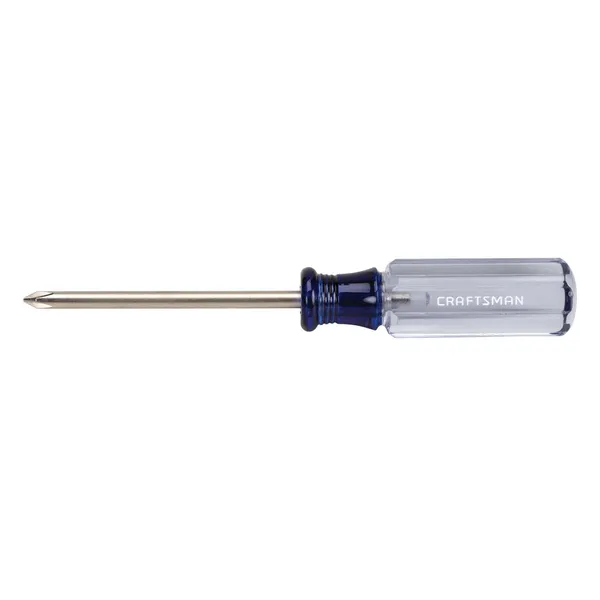
Phillips head screwdriver
Adjustable Wrench
Fits various nut and bolt sizes with its adjustable jaw.
TEKTON High-Torque Screwdriver Set, 16-piece (#0-#3,1/8-5/16 in.) DRV45002
Relying on three-sided geometry rather than the friction against your skin, the unique handles of the TEKTON High-Torque Screwdriver Set give you the leverage to generate more torque. Easy-to-read markings
Hybrid Light Solar Flashlight - Black 001175
The Hybrid Solar Light uses revolutionary technology that generates power from any light source, indoor lighting or sun light and stores it for later use. The Hybrid Solar Light is always collecting power
GEARWRENCH SAE, Metric, & Torx Folding Hex Key Set (25-Piece) 83512
The GEARWRENCH 25-piece SAE/Metric/Torx folding key set offers an organized and durable solution for hex key needs. The set includes 3 folding hex key sets: 1 SAE, 1 metric, and 1 Torx. Hex keys are constructed
Milwaukee 4 in. x 1/4 in. Slotted Flat Head Screwdriver with Cushion Grip MT206
The Milwaukee® 1/4" Slotted 4" Cushion Grip Screwdrivers (USA) are manufactured to give the professional the best-fitting screwdriver with max grip. These screwdriver tips are custom machined to deliver
Phillips head screwdriver
This is a type of screwdriver that has a cross-shaped tip.
Steps

Turn off water supply
2 minutesFind the hot and cold water shut-off valves, usually located beneath the sink basin. Turn these valves clockwise until they are firmly closed. After closing the valves, open the faucet handles to release any residual water pressure and confirm that the water supply has been successfully shut off.
Watch: Shut Off Water Supply and Verify
Identify faucet type and cartridge
10 minutesExamine the faucet for any brand names or model numbers. If not visible, take clear photos of the faucet and its components, especially around the handle and spout base. You may need to consult the manufacturer's website or a plumbing supply store with this information to identify the specific cartridge required for your faucet model.
Watch: Identify Faucet Brand
Remove faucet handle
5 minutesPry off any decorative cap on the faucet handle, usually located at the front or top. Look for a small set screw, often hidden beneath this cap. Use an Allen wrench or screwdriver to loosen and remove the set screw. Once the set screw is removed, carefully pull the faucet handle straight up and off the faucet stem.
Watch: Remove Faucet Handle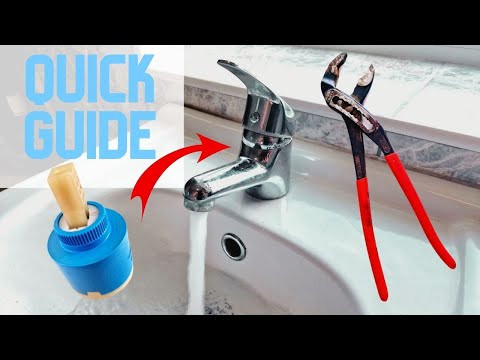
Remove retaining nut or clip
5 minutesWith the handle removed, you will see a retaining nut or clip securing the cartridge. Use an adjustable wrench to counter-clockwise unscrew the retaining nut. If a clip is present, use needle-nose pliers or a screwdriver to carefully pry it out. Be gentle to avoid damaging the faucet body.
Watch: Remove retaining nut or clip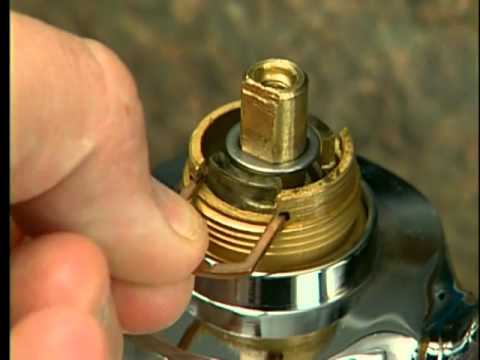
Remove old faucet cartridge
5 minutesOnce the retaining nut or clip is removed, the cartridge should be accessible. You may be able to pull it straight out with your fingers or needle-nose pliers. Some cartridges might be seated tightly and require a slight twist or wiggling motion. Some manufacturers provide a cartridge puller tool for stubborn cartridges.
Watch: Remove Old Cartridge
Clean faucet body and seating area
5 minutesInspect the area where the cartridge was seated for any mineral deposits, debris, or old sealant. Use a soft cloth, an old toothbrush, or a small brush to clean the interior of the faucet body thoroughly. Ensure the seating surfaces are smooth and free of obstructions for the new cartridge.
Watch: Clean faucet body
Install new faucet cartridge
5 minutesAlign the new cartridge with the opening in the faucet body, paying attention to any notches or slots that ensure correct orientation. Gently push the cartridge into place until it is fully seated. Some cartridges may require a slight turn to lock into position.
Watch: Install New Faucet Cartridge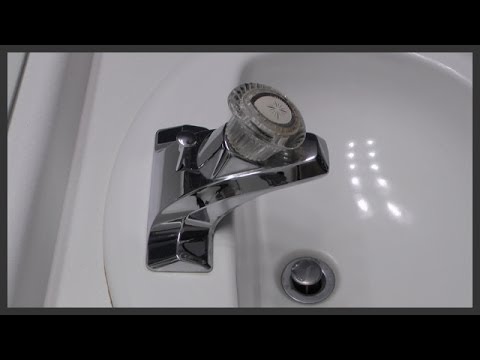
Reinstall retaining nut or clip
3 minutesOnce the new cartridge is in place, reinstall the retaining nut or clip. If it's a nut, tighten it with the adjustable wrench until snug, but do not overtighten. If it's a clip, ensure it snaps firmly into its designated groove.
Watch: Reinstall retainer clip

Turn water supply back on and test
5 minutesSlowly turn the hot and cold water shut-off valves counter-clockwise to restore the water supply. Check all connections and the faucet base for any signs of leaks. Turn on the faucet and test both hot and cold water flow, ensuring there are no drips from the spout when the faucet is turned off.
Watch: Restore Water and Test