
Drywall Patch
About This Project
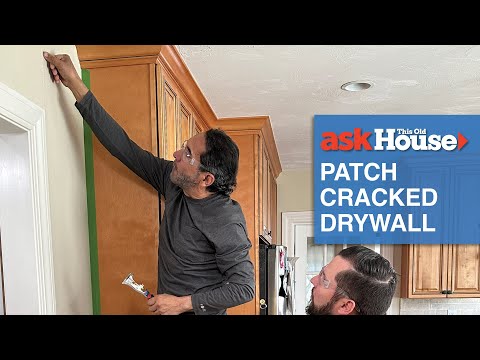
This project outlines the steps for repairing a small hole in drywall, a common household maintenance task. It involves cleaning the area, applying a patch, filling with joint compound, sanding, and painting to seamlessly blend the repair with the surrounding wall.
Tools & Materials
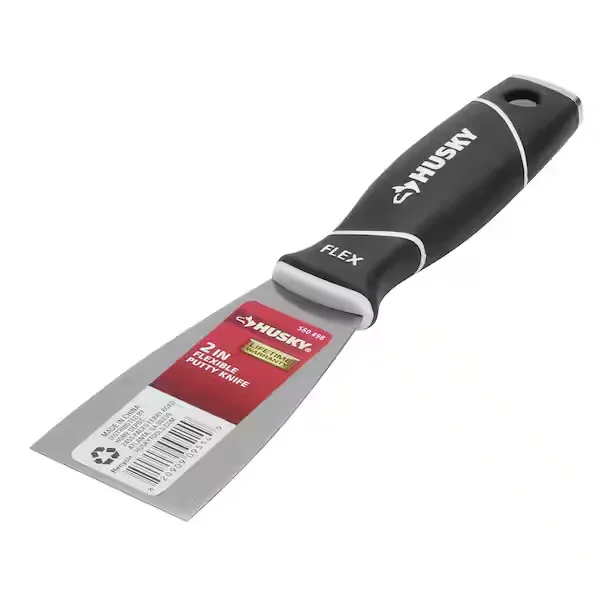
Putty knife
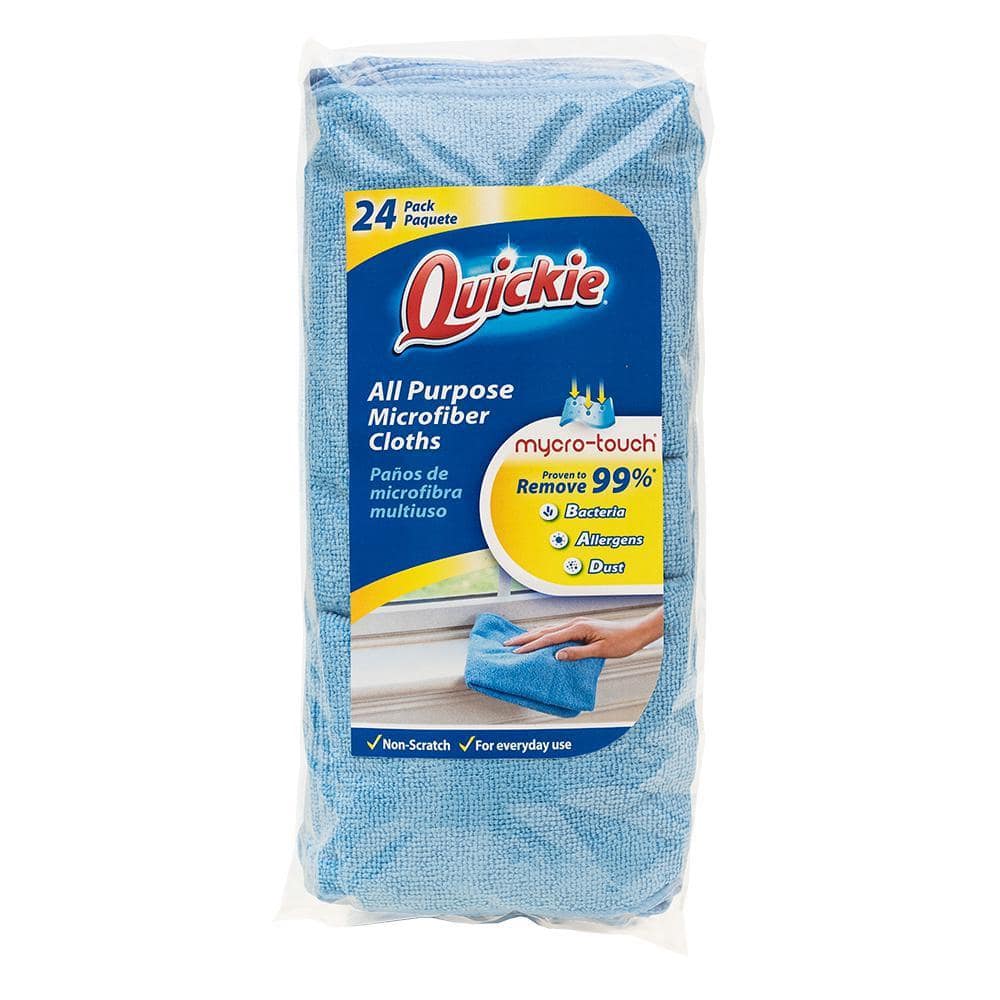
Quickie 14 in. x 14 in. Microfiber Cloth Towels (24-Pack) 49024RM
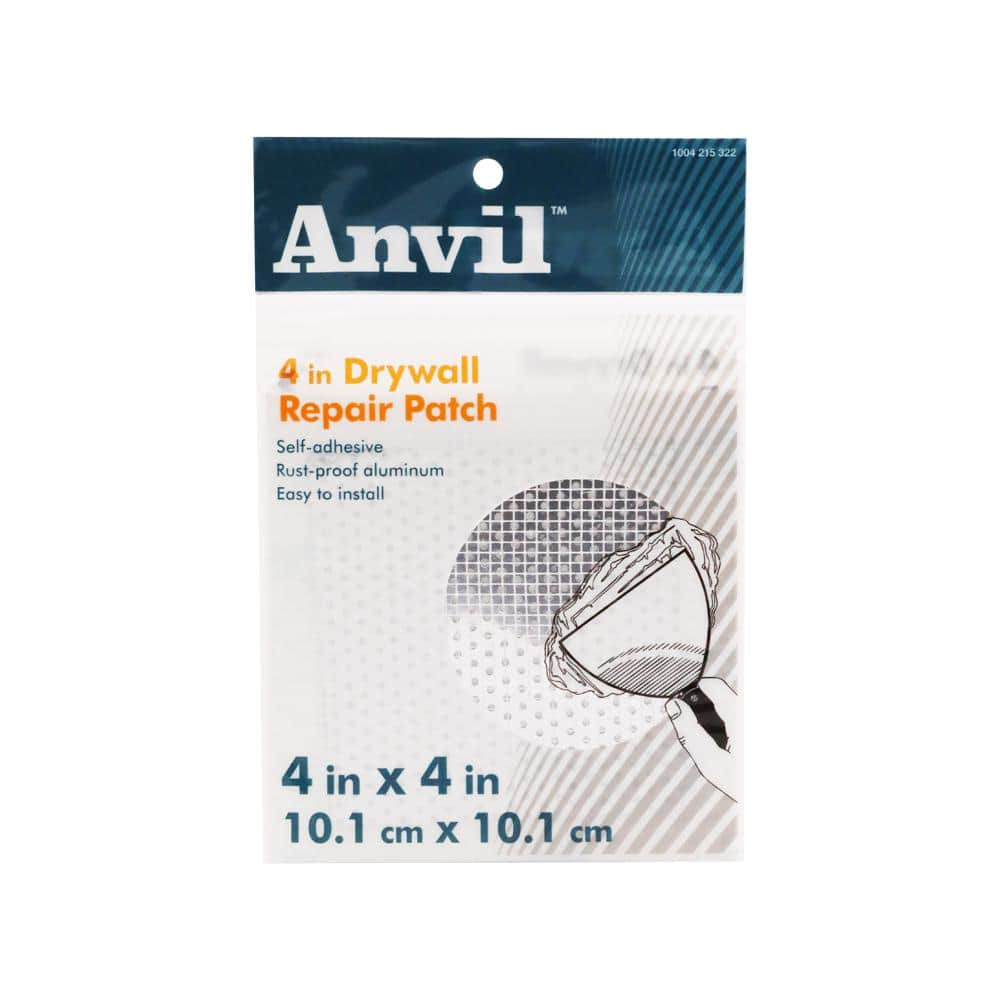
Anvil 4 in. x 4 in. Drywall Repair Patch 82532
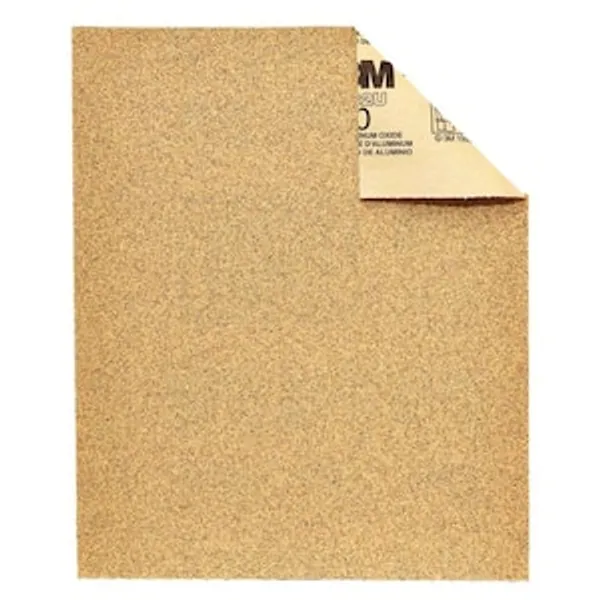
Sandpaper (Various Grit)
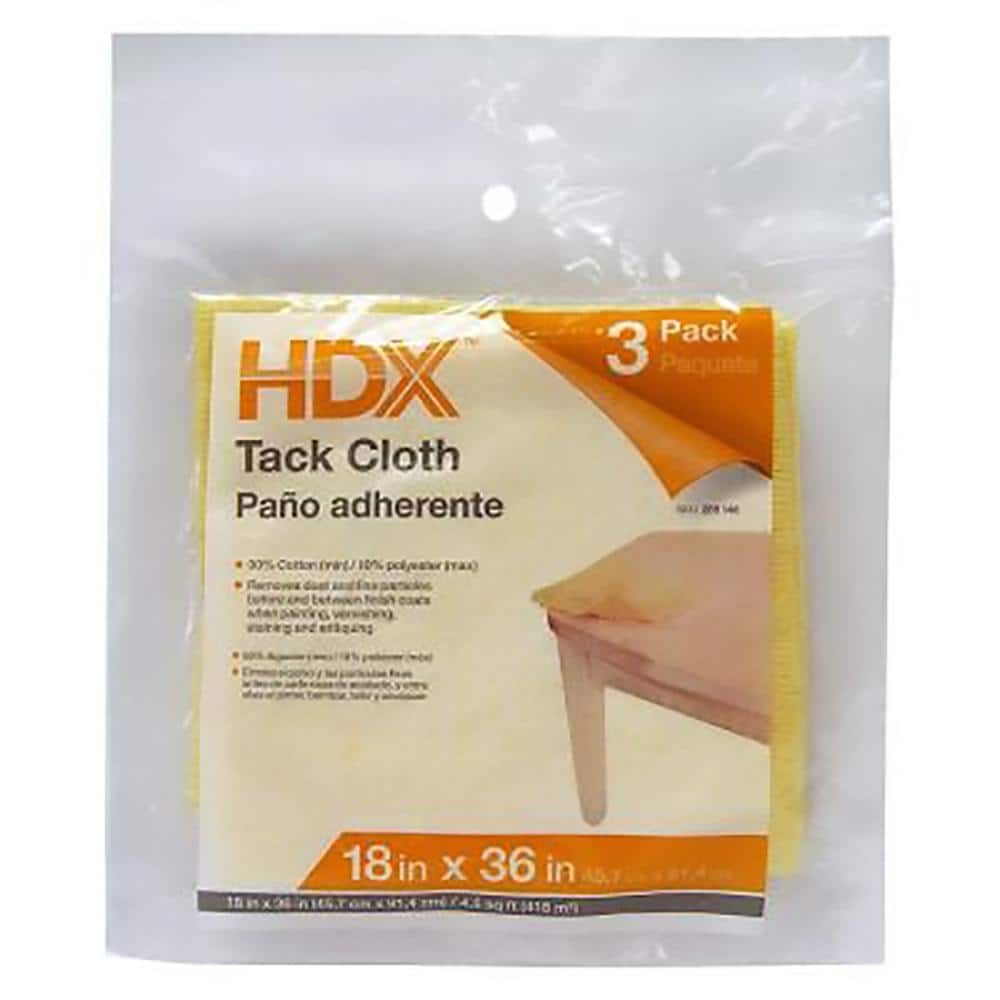
HDX 18 in. x 36 in. Tack Cloths (3-Pack) HDTC-3PK

Sandpaper
Putty knife
Spreads putty with its flat blade.
Quickie 14 in. x 14 in. Microfiber Cloth Towels (24-Pack) 49024RM
The Quickie Microfiber Towels (24-pack) are all-purpose. They're great for kitchen and bathroom surfaces and countertops. You can also use them on wood, glass and your car.
Anvil 4 in. x 4 in. Drywall Repair Patch 82532
The self adhesive ANVIL 4 in. x 4 in. drywall repair patch is made of rustproof aluminum. It is lightweight but long-lasting. It is also easy to trim to fit smaller repairs.
Sandpaper (Various Grit)
Choose your smoothness level.
HDX 18 in. x 36 in. Tack Cloths (3-Pack) HDTC-3PK
Ensure a smooth and blemish-free finish every time with Tack Cloth. While working on virtually any surface, Tack Cloth is excellent for cleaning between coats and is reusable. Great to use for any paint
Sandpaper
Refines surfaces to perfection.
Steps

Clean the Damaged Area
5 minutesUsing a putty knife or scraper, carefully remove any loose pieces of drywall or paint surrounding the damaged area. Wipe the area with a damp cloth to remove dust and debris. Allow the area to dry completely before proceeding.
Watch: Prepare the Damaged Surface

Apply First Coat of Joint Compound
10 minutesUsing a putty knife, scoop a small amount of joint compound. Apply it over the drywall patch, spreading it outwards in thin, even strokes. Feather the edges so the compound gradually blends into the existing wall surface. Aim for a smooth, consistent layer.
Watch: Apply Joint Compound

Sand the Dried Compound
10 minutesUsing fine-grit sandpaper (e.g., 120-grit or higher), gently sand the dried joint compound. Focus on smoothing out any ridges or uneven areas, feathering the edges into the surrounding wall. Wipe away dust with a dry cloth or tack cloth.
Watch: Sand and Finish
Apply Second Coat of Joint Compound
10 minutesApply a second thin coat of joint compound over the patched area, extending slightly beyond the edges of the first coat. Use the putty knife to spread it evenly and feather the edges to blend seamlessly with the wall. This coat helps to further smooth the repair.
Watch: Second Coat
Allow Second Coat to Dry and Sand
250 minutesAllow the second coat of joint compound to dry completely, similar to the first coat. Once dry, lightly sand the area smooth with fine-grit sandpaper. Feather the edges carefully and wipe away all dust with a dry cloth or tack cloth.
Watch: Second Compound Coat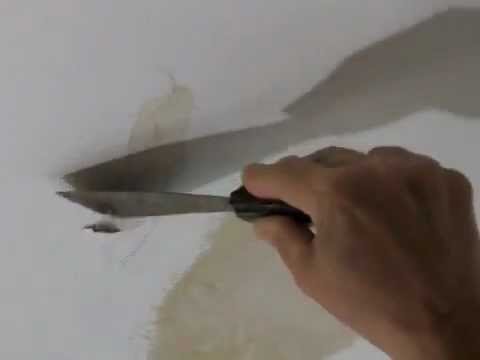
Prime the Repaired Area
15 minutesApply a thin, even coat of drywall primer over the entire patched area and slightly beyond. This seals the joint compound and ensures that the paint will adhere evenly. Allow the primer to dry completely according to the manufacturer's instructions.
Watch: Apply Final Primer Coat
Paint the Repaired Area
20 minutesOnce the primer is completely dry, apply your chosen wall paint over the patched area. Apply thin, even coats, allowing each coat to dry before applying the next. Aim to match the texture and sheen of the surrounding wall as closely as possible. You may need multiple coats for full coverage.
Watch: Apply Paint to the Repaired Area