
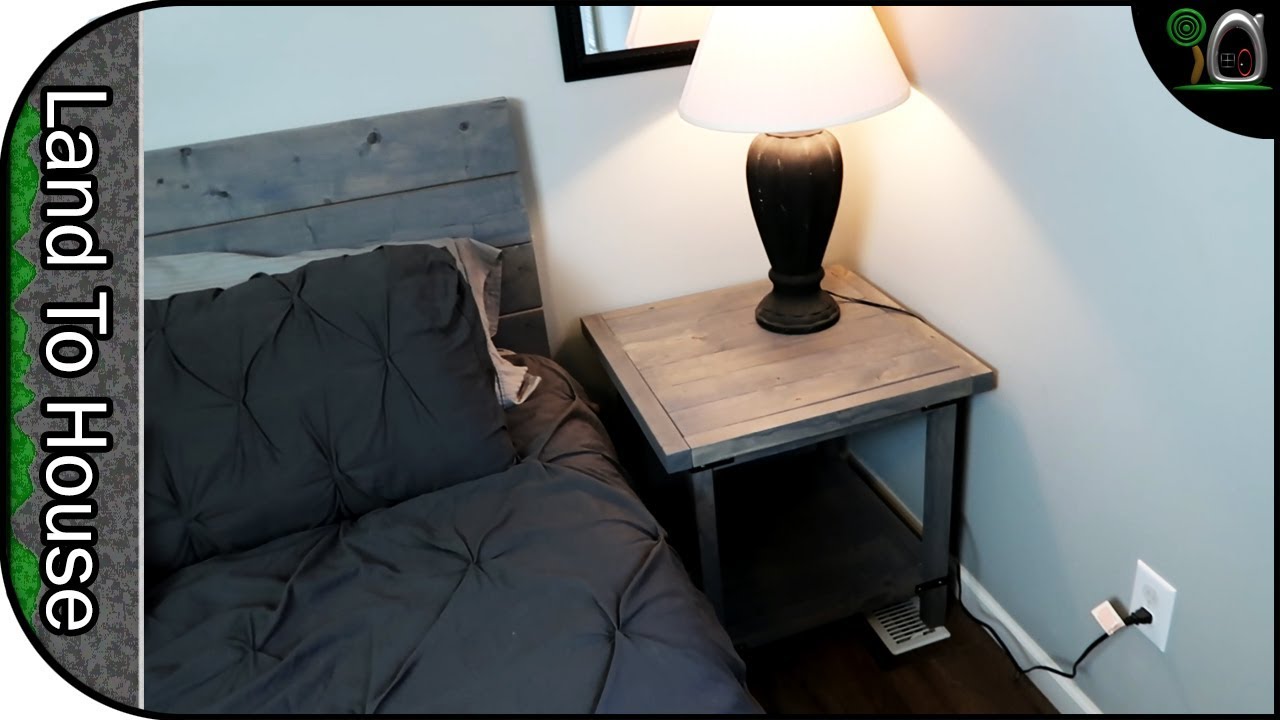
DIY Luggage Rack
About This Project
Build a custom, freestanding luggage rack for your home or entryway. This project involves basic woodworking skills and common tools to create a sturdy and aesthetically pleasing storage solution for suitcases.
Tools & Materials
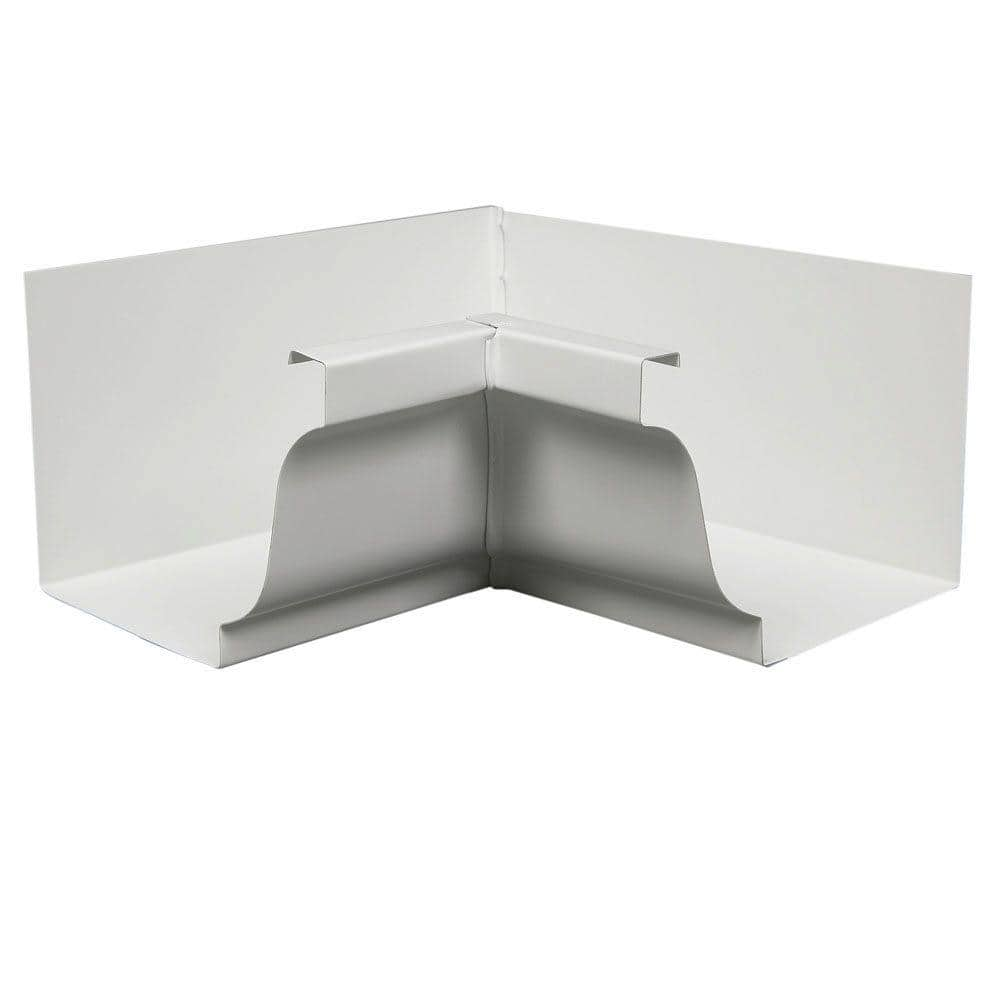
Amerimax Home Products 6 in. White Aluminum K-Style Inside Gutter Miter 47001

Ansell HyFlex 11-735 Medium Duty Cut Resistant Glove Size 8 ASL11735080
Measuring Tape

Pencil
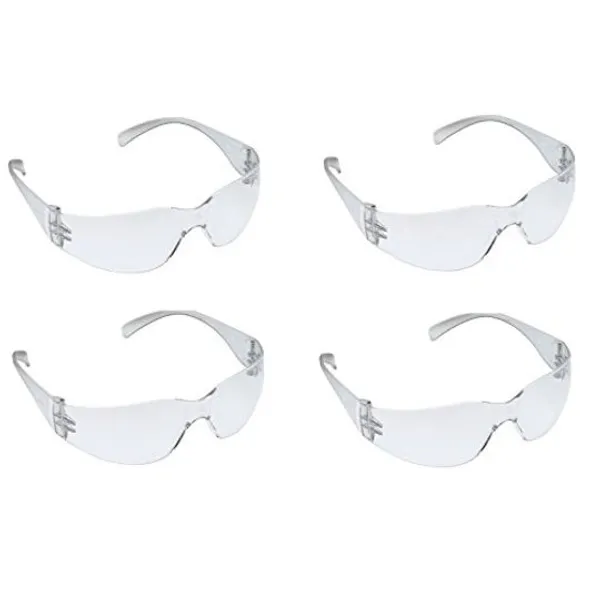
Eye Protection

Hand Sanding Block
Amerimax Home Products 6 in. White Aluminum K-Style Inside Gutter Miter 47001
The Amerimax Home Products 6 in. Aluminum Inside Gutter Mitre features rust-free aluminum construction for durability and a baked-on white enamel finish for low maintenance. To install, snip the back of the gutter, overlap the pieces, and rivet them together. Sealant is required for installation (not included). This product attaches with screws or pop rivets (not included)
Ansell HyFlex 11-735 Medium Duty Cut Resistant Glove Size 8 ASL11735080
The HyFlex 11-735 features a lightweight liner with INTERCEPT TECHNOLOGY which provides ANSI Level A4 protection while delivering extreme durability. The soft, cool, flexible liner provides all day comfort
Measuring Tape
For accurate measurements of plywood and components, ensuring proper assembly.
Pencil
Marks and draws with ease.
Eye Protection
Essential to protect eyes from sawdust, debris, and other hazards during cutting and drilling.
Hand Sanding Block
Manual sanding made comfortable.
Steps


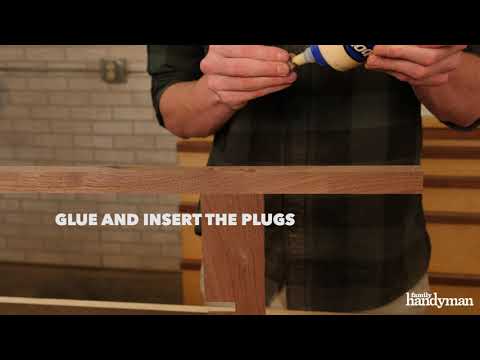
Assemble Leg Frames
40 minutesTake two 24-inch leg pieces and one 18-inch top side rail. Position the side rail between the tops of the legs, flush with the top edges. Secure each end of the side rail to the legs using wood glue and two 2-inch wood screws per joint. Repeat for the second leg frame.
Watch: Glue and Assemble 'H' Assemblies
Attach Support Slats
60 minutesPlace the two assembled leg frames upright and parallel to each other, 15 inches apart (measured from the inside edges of the top side rails). Attach the four 15-inch support slats across the legs. Position two slats flush with the bottom of the legs and the other two slats spaced evenly between the bottom slats and the top side rails. Secure each slat to the legs with wood glue and two 1.5-inch wood screws per end. Ensure the slats are level and parallel.
Watch: Install Bed Slats
Apply Finish
120 minutesOnce the glue has fully dried, apply your chosen finish. This could be stain, paint, or a clear sealant. Apply thin, even coats according to the product manufacturer's instructions, allowing adequate drying time between coats. Lightly sand with fine-grit sandpaper (220-grit or higher) between coats for a smoother finish, if desired.
Watch: Apply Desired FinishCommon Problems
Wood pieces are cut unevenly, leading to a crooked or wobbly luggage rack.
Solution: Identify the piece(s) that are too long or cut at an angle. If the difference is minor, you might be able to carefully sand down the longer piece. For significant differences, re-cut the piece, ensuring your measurements and cuts are precise. If a leg is shorter, you might need to add a small shim or recut all legs to match the shortest one for stability.
Prevention: Measure twice, cut once! Always mark your cut lines clearly with a pencil and use your Speed Square to ensure a perfectly straight line before cutting. Secure your wood with clamps if possible to prevent it from shifting during the cut.
Screws are splitting the wood when driven in, or the screw heads are stripping (getting rounded out), making them hard to drive or remove.
Solution: If the wood splits, and it's a minor crack, you can try applying wood glue into the crack and clamping it until dry. If the split is severe, you may need to replace the wood piece. For stripped screw heads, try using a manual screwdriver that fits tightly, or a screw extractor kit. To remove a screw that's just starting to strip, try applying downward pressure while turning slowly.
Prevention: Always pre-drill pilot holes using a drill bit slightly smaller than the diameter of your screw's threads (but larger than the screw's core). This creates a path for the screw and prevents splitting. When driving screws, use the correct driver bit size and avoid over-tightening, especially with a power drill; stop when the screw head is flush with the wood surface.
The assembled luggage rack feels wobbly or unstable, even after all screws are tightened.
Solution: First, check if all legs are the exact same length by standing the rack on a flat surface. If one is shorter, it will wobble; you may need to re-cut them all to the length of the shortest leg. Next, ensure all joints are perfectly square using your Speed Square or Rafter Square. If a joint isn't square, loosen the screws, adjust the pieces to be perfectly 90 degrees, clamp them, and then re-tighten the screws. Adding corner braces on the inside of leg frames can also improve stability if needed.
Prevention: Throughout the assembly process, frequently use your Speed Square or Rafter Square to ensure all corners are at a perfect 90-degree angle. Use a level to check if the top surface is flat before fully tightening screws. Clamping pieces together before screwing them helps maintain their position.
After applying finish (like paint or stain), the surface feels rough, has bumps, or looks uneven.
Solution: If the finish is rough or has small bumps, it's likely due to dust or insufficient sanding. Allow the finish to fully dry. Then, gently sand the affected area with very fine-grit sandpaper (e.g., 220-grit or higher) until smooth. Clean off all dust thoroughly with a tack cloth or a damp cloth and reapply another thin coat of your finish.
Prevention: Sand your wood thoroughly before applying any finish. Start with a coarser grit (e.g., 80 or 120) to remove imperfections, then progressively move to finer grits (180, 220) until the wood feels smooth. After sanding, wipe down all surfaces with a tack cloth or a slightly damp cloth to remove all sawdust before applying your finish. Work in a dust-free area if possible.
You run out of screws or realize the 1 1/4” wood screws you bought are too long or too short for certain joints.
Solution: If you run out, simply purchase more of the exact same type and size of screws. If the screws are too long and poke through the other side, you'll need to remove them and get shorter screws. If they are too short and don't securely join the pieces, you'll need slightly longer screws. For holes already made, try to use screws that are slightly thicker if possible, or fill the holes with wood filler and re-drill.
Prevention: Before starting, estimate the number of screws you'll need and buy a few extra (e.g., a box of 50-100 is often a good amount for small projects). When selecting screw length, ensure the screw will go through the first piece of wood and at least halfway into the second piece, without coming out the other side. Always double-check the thickness of your wood pieces against your chosen screw length.
You get a splinter or a minor cut while working with the wood or tools.
Solution: Immediately stop working. For splinters, carefully remove them with tweezers, sterilize the area with rubbing alcohol, and then wash with soap and water. For minor cuts, clean the wound with soap and water, apply an antiseptic, and cover with a bandage. If bleeding is heavy or the cut is deep, seek medical attention.
Prevention: Always wear your safety equipment! Put on your Ansell HyFlex cut-resistant gloves when handling wood, especially during cutting, sanding, and assembly. Always wear eye protection to shield your eyes from wood dust and flying debris. Be mindful of where your hands are in relation to cutting tools and drill bits.
Frequently Asked Questions
Is this DIY luggage rack project truly beginner-friendly, and is 8 hours a realistic estimate?
Yes, this project is designed for beginners, focusing on basic cutting, sanding, and assembly techniques. The 8-hour estimate is achievable if you have all your tools and materials ready and work efficiently. Taking your time with measurements and cuts is key to avoiding mistakes that could extend the project duration.
What are the essential woodworking tools I actually need for this project, beyond the ones listed?
For accurate woodworking, a hand saw or miter saw is crucial for making precise cuts, which wasn't explicitly mentioned but implied. You'll definitely need a measuring tape, pencil, speed square, drill, and clamps for assembly. Safety glasses and sandpaper are also essential for safety and finishing.
What type of wood is best for a sturdy luggage rack, and what should I budget for materials?
Pine, poplar, or common board are excellent, affordable choices for this project due to their workability and availability. The overall cost for wood, screws, and sandpaper typically ranges from $30-$70, depending on the wood species and current prices. It's always wise to buy a little extra material to account for any miscuts.
What are the most important safety precautions I should take while building this luggage rack?
Always wear safety glasses when cutting or drilling to protect your eyes from flying debris. Use gloves to prevent splinters during handling and sanding the wood. Ensure your work area is clear, well-lit, and always clamp wood securely before cutting or drilling to prevent kickbacks or slippage.
What common mistakes should I look out for during assembly to ensure my luggage rack is sturdy and stable?
The most common mistakes are inaccurate measurements and failing to pre-drill pilot holes. Always measure twice and cut once to ensure components fit together snugly. Pre-drilling pilot holes before driving screws prevents wood splitting, especially near edges, which results in a much stronger and more stable assembly.
Can I easily customize the size or design of this luggage rack to fit my specific needs or aesthetic?
Absolutely! Before cutting, you can adjust the dimensions of the wood components to make the rack wider, narrower, taller, or shorter to better suit your space. You can also explore different wood stains or paints for a personalized finish, or substitute dowels for slats if you prefer a different aesthetic for the support surface.