Delta Shower Cartridge Replacement: A Step-by-Step DIY Guide
About This Project
This project details how to perform a Delta shower cartridge replacement. It includes these steps: 1. Shut off the water supply to the shower. Turn off the shut-off valves under the sink or turn off the main water supply. 2. Remove the shower handle. Use a flathead screwdriver to remove the center cap and then a Phillips head screwdriver to remove the screw holding the handle in place. 3. Remove the old cartridge. Use needle-nose pliers or a cartridge puller tool, removing the retaining clip first. If it's stuck, use a flathead screwdriver. 4. Install the new Delta cartridge. Align and seat the cartridge, tightening the retaining nut by hand. 5. Reassemble the handle, sleeve, and cap, then turn the water supply back on slowly and check for leaks.
Best for experienced DIYers and homeowners with some experience.
Tools & Materials
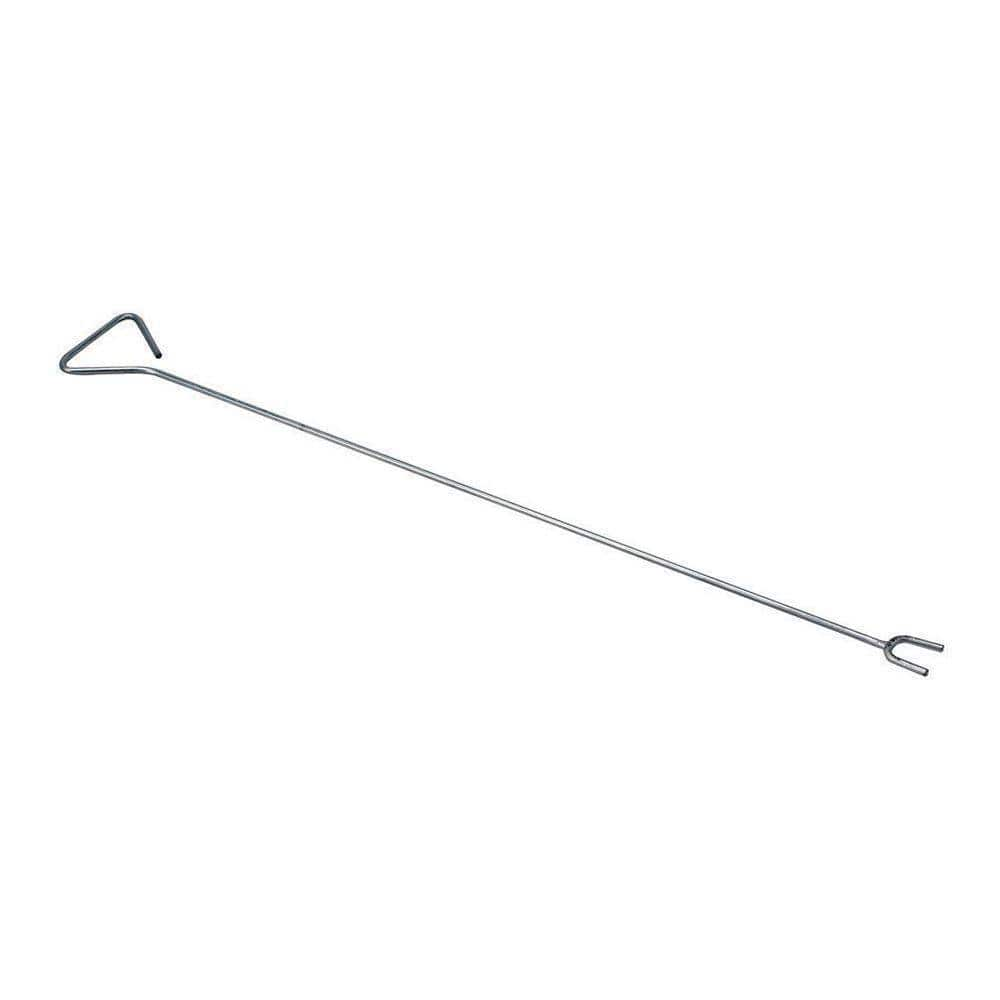
30 in. Steel Sprinkler Valve Key 410-406-0111
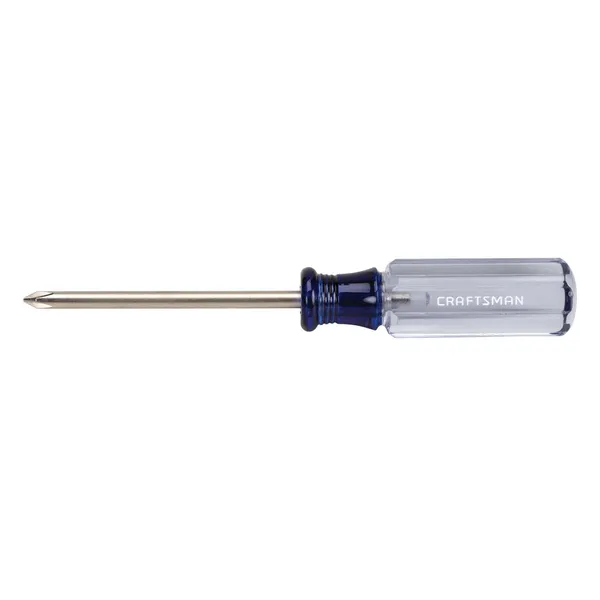
Phillips head screwdriver
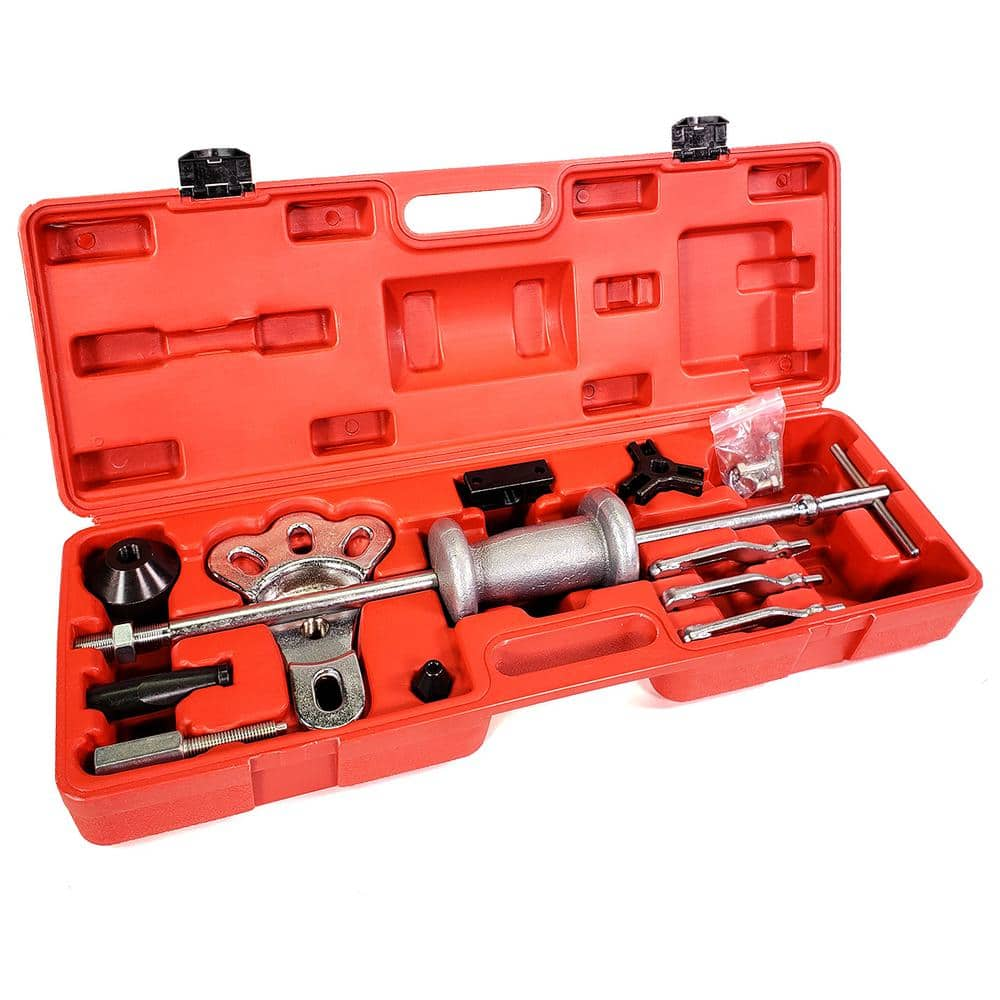
XtremepowerUS Slide Hammer Axle Puller Tool Kit 26031-H
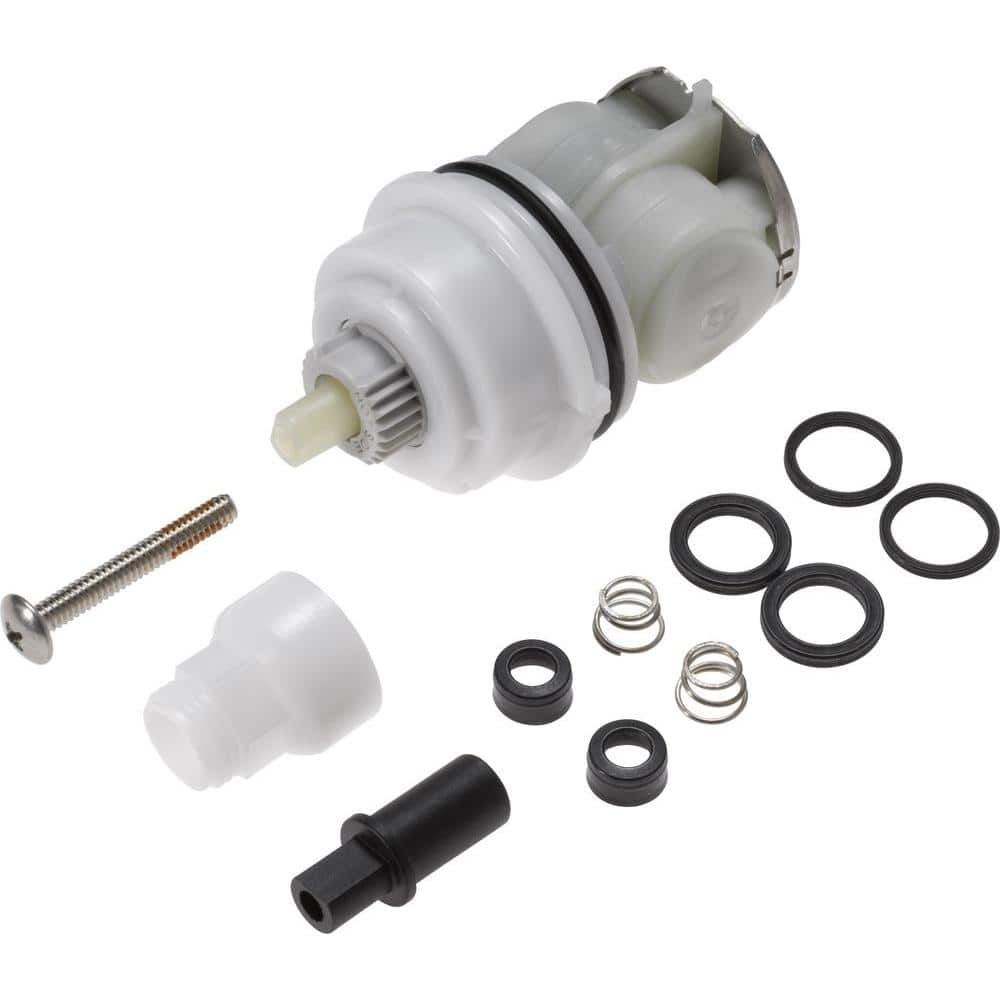
Delta 17 Series Delta Tub & Shower Cartridges 5 D White RP32104
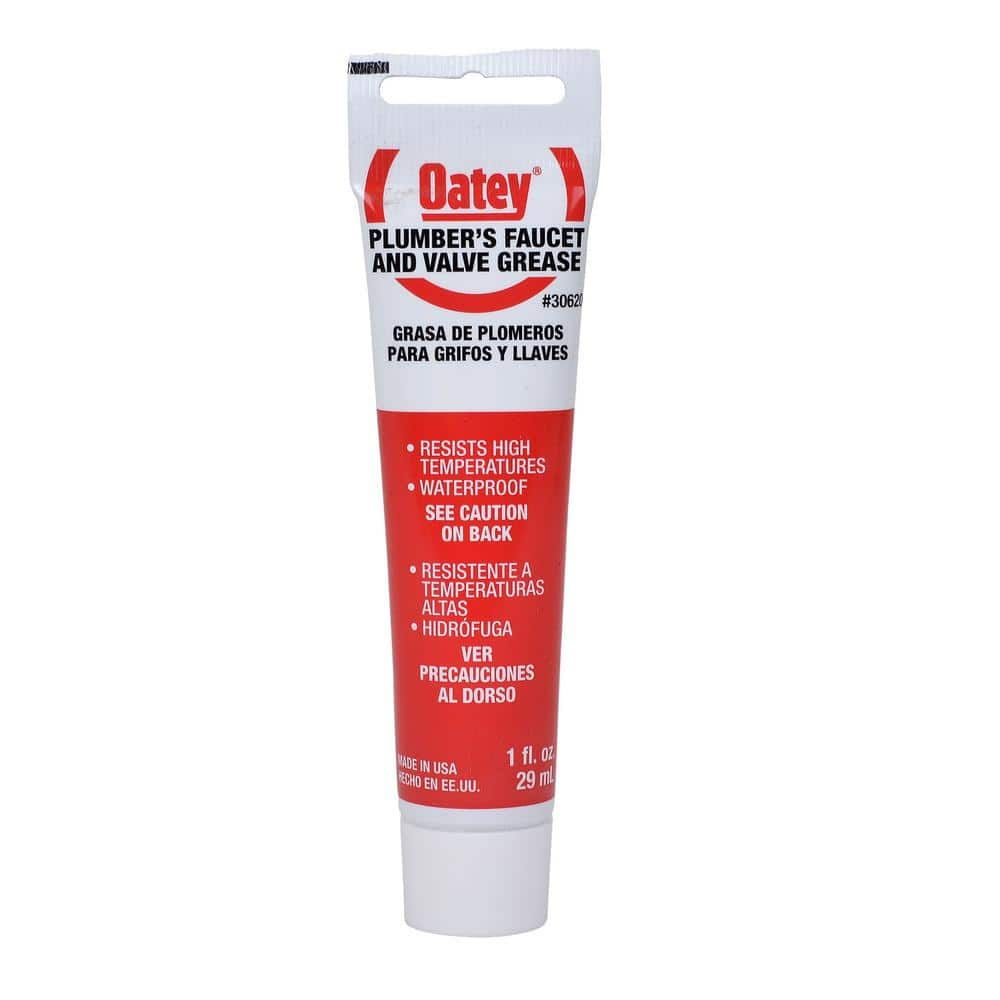
Oatey 1 oz. Plumber's Grease 30620
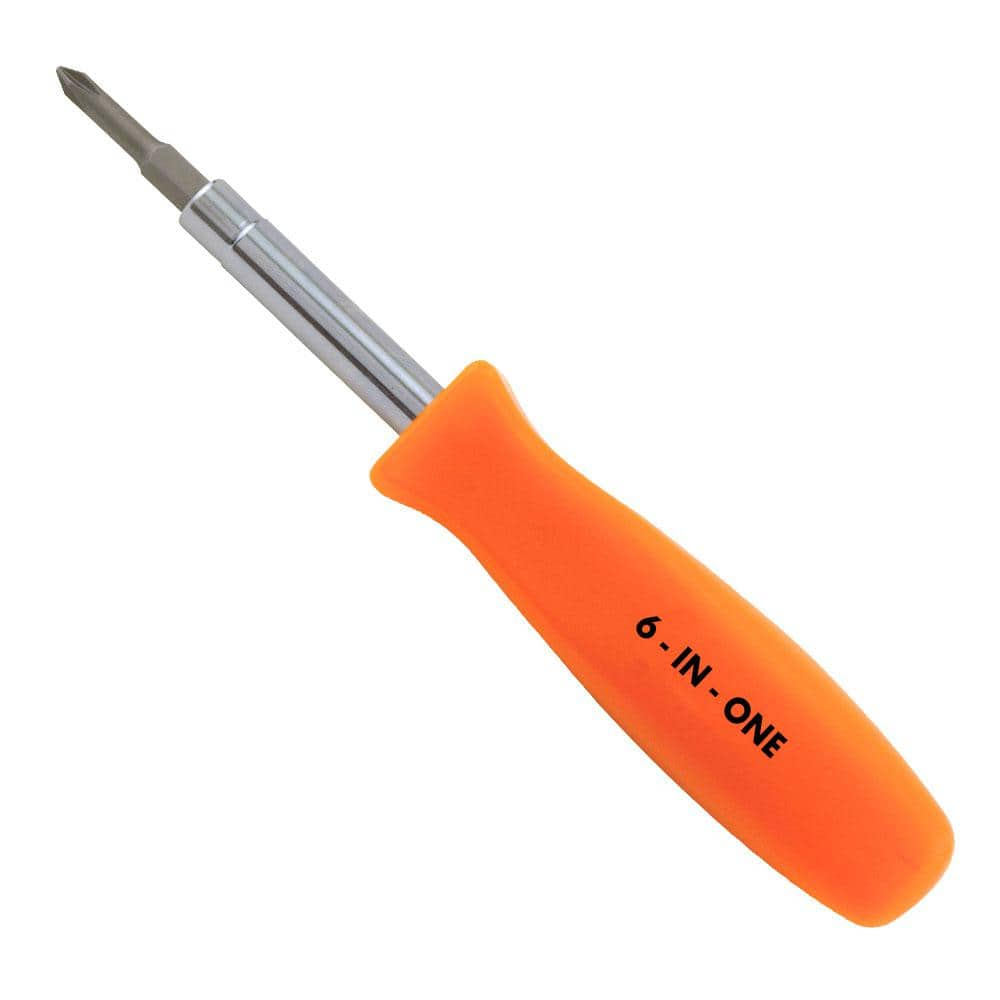
HDX 3-1/4 in. 6-in-1 Screwdriver 120SD12D
30 in. Steel Sprinkler Valve Key 410-406-0111
This is a Sprinkler Valve Key Wrench. It is used for turning off and on manual sprinkler control valves. It is most commonly used with in ground lawn sprinkler systems.
Phillips head screwdriver
This is a type of screwdriver that has a cross-shaped tip.
XtremepowerUS Slide Hammer Axle Puller Tool Kit 26031-H
Designed to remove dents for auto body, it repairs the auto body without removing the inside panel and upholstery. Drop forged steel hooks, pullers and attachments, Heavy-duty and durable. A variety of
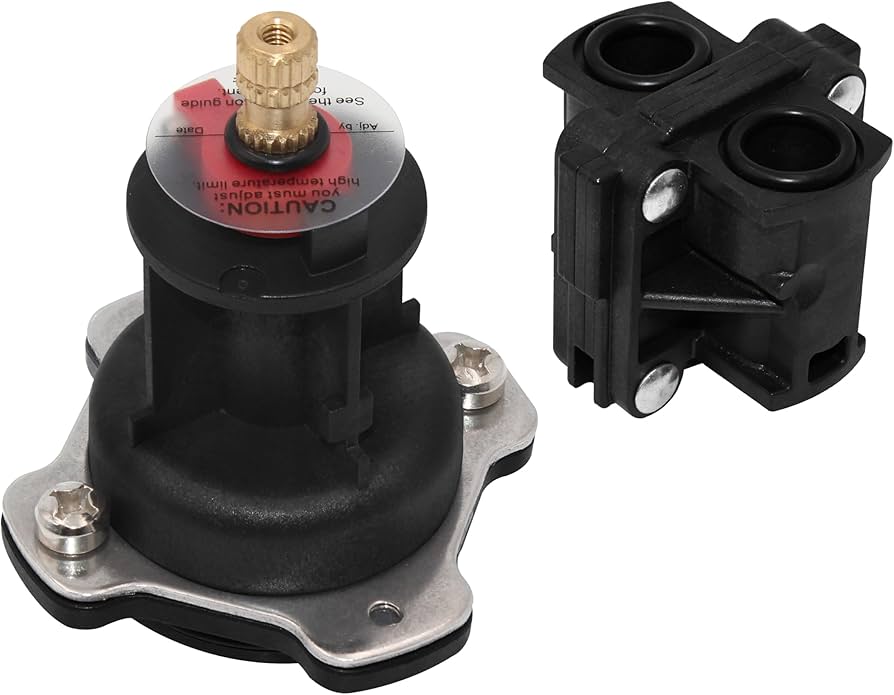
Delta 17 Series Delta Tub & Shower Cartridges 5 D White RP32104
This 17 Series Monitor Tub and Shower Cartridge replacement part makes DIY repairs a quick and easy task. Replacement part can be installed without going behind the wall, thereby minimizing repair costs.
Oatey 1 oz. Plumber's Grease 30620
A special combination of lithium soaps, solvent refined base stocks and additives. Formulated for many plumbing applications. Makes hard turning faucets work smoothly.
HDX 3-1/4 in. 6-in-1 Screwdriver 120SD12D
The HDX 3-1/4 in. 6-in-1 Screwdriver features double-sided bits with the four most common screwdriver tip styles, including a #1 Phillips bit, a #2 Phillips bit, a 3/16 in. flathead bit and a 1/4 in. flathead bit. Both ends of the shaft can be used as 1/4 in. nut drivers when the bits are removed, offering convenient, versatile use. The high-visibility orange handle makes the handy tool easy to find on a job site or in a toolbox.
Steps

Shut Off the Water Supply
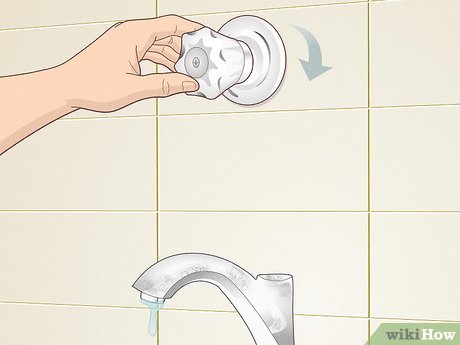
5 minsBefore starting, completely shut off the water supply to your shower. Locate the shut-off valves (usually under the sink or near the shower) and turn them clockwise until they stop. If individual valves are unavailable, turn off the main water supply to your house.
Watch: Turn Off Water Supply
Remove the Handle and Escutcheon Plate
15 minsCarefully remove the shower handle and the escutcheon plate. This usually involves unscrewing a small set screw (often hidden under a cap) using an Allen wrench or small screwdriver. Then, gently pull off the handle and the decorative plate.
Watch: Remove Cap and Escutcheon Plate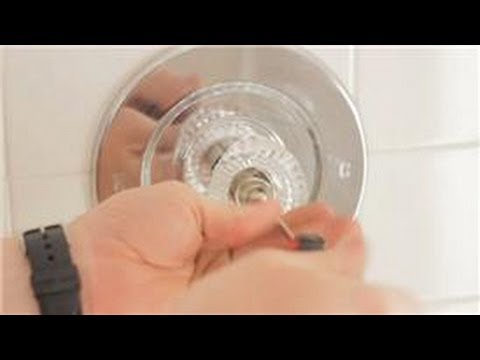
Remove the Old Cartridge
20 minsRemove the old shower cartridge. You might need needle-nose pliers or a specialized cartridge puller. Delta cartridges often have a retaining clip; remove this first. If the cartridge is stuck, carefully use a flat-head screwdriver to pry it loose.
Watch: Remove Retaining Clip/Nut

Common Problems
Make sure the main water is shut off to the shower.
Solution: To avoid this issue: Be mindful of this warning and take appropriate precautions.
Prying off the faceplate without scoring caulk can damage walls and tile.
Solution: Score any existing caulk around the faceplate before prying it off to avoid damaging the wall or tile.
Dropped tools or parts can scratch your tub during shower cartridge replacement.
Solution: Place a towel in the bottom of the tub to prevent dropped tools or parts from scratching the surface.
Overtightening screws can crack the faucet housing.
Solution: Don't overtighten the screws, as this could damage the faucet.
Do not overtighten the retaining nut or the set screw, as this can damage the plastic threads or the cartridge.
Solution: To avoid this issue: Be mindful of this warning and take appropriate precautions.
Water sprays everywhere and causes damage if the cartridge isn't sealed properly.
Solution: Turn the water on slowly at first to check for leaks before turning it on fully.
Do not overtighten the retaining nut, as this can strip the brass threads and damage the faucet.
Solution: To avoid this issue: Be mindful of this warning and take appropriate precautions.
Frequently Asked Questions
Do I really need a special cartridge puller tool for this Delta shower cartridge replacement?
While not always mandatory, a Delta cartridge puller tool can be invaluable, especially if the old cartridge is stuck due to mineral buildup. You might get by with needle-nose pliers and a a flathead screwdriver if it's not too stubborn, but having the puller prevents frustration and potential damage to the valve body.
The project says 'beginner' and '2 hours.' Is this accurate for a first-timer, and what's the typical cost of a new Delta cartridge?
Yes, this project is generally beginner-friendly, but a first-timer might take closer to 2-3 hours, especially if the old cartridge is difficult to remove. A new Delta cartridge typically costs $20-$50, depending on the specific model and where you purchase it.
What should I do if the old Delta cartridge is stuck and won't come out after removing the retaining clip?
A stuck cartridge is a common issue, often due to mineral deposits. Ensure you've removed the retaining clip. If it's still stuck, firmly but gently twist with needle-nose pliers, or use a dedicated Delta cartridge puller tool which provides better leverage. You can also try applying penetrating oil around the cartridge base and letting it sit for a few minutes before trying again.
How do I make sure I buy the correct Delta replacement cartridge for my specific shower?
Delta manufactures several cartridge models. The best way to ensure you buy the correct one is to remove your old cartridge first and take it to the store for comparison. Alternatively, check your shower trim for a model number or consult Delta's website with photos of your existing faucet to identify the part number.
After installing the new cartridge, I have a leak around the handle or showerhead. What could be wrong?
First, ensure all connections are tight, especially the retaining nut for the cartridge. Leaks around the handle often mean the cartridge isn't fully seated or the O-rings on the new cartridge are damaged or misaligned. If the leak is from the showerhead, double-check the connection to the shower arm.
What's the best way to shut off the water supply to my shower before starting this project?
Always shut off the water supply completely before starting. Ideally, use the shut-off valves for your shower, often located in a basement, crawl space, or behind an access panel. If you can't find specific shower valves, you'll need to turn off the main water supply to your entire house, usually found near the water meter.
When should I consider calling a professional plumber instead of doing this DIY cartridge replacement?
If you encounter unexpected pipe damage, persistent leaks after multiple attempts, or if your water shut-off valves are seized or inaccessible, it's best to call a professional plumber. Also, if you're uncomfortable with any step or lack the necessary tools after a few attempts, a plumber can save you time and potential further damage.