Crawl Space Encapsulation
About This Project
This project involves sealing a crawl space to control moisture, improve air quality, and enhance energy efficiency. It typically includes cleaning the crawl space, installing a vapor barrier, sealing vents, and potentially adding insulation and a dehumidifier.
Tools & Materials
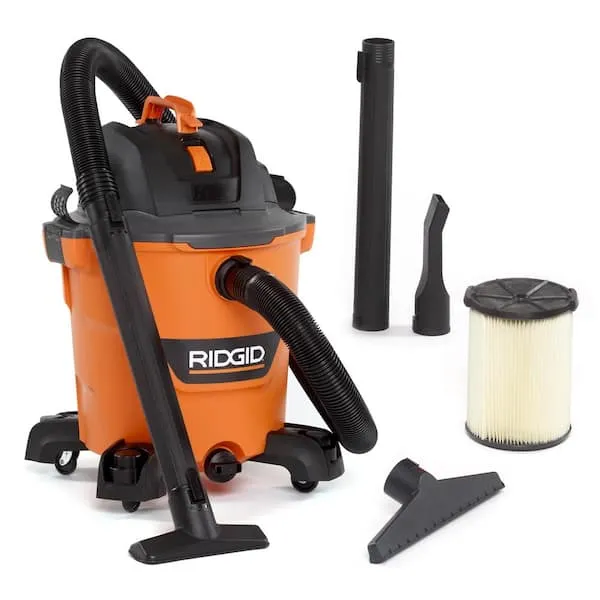
Shop Vacuum
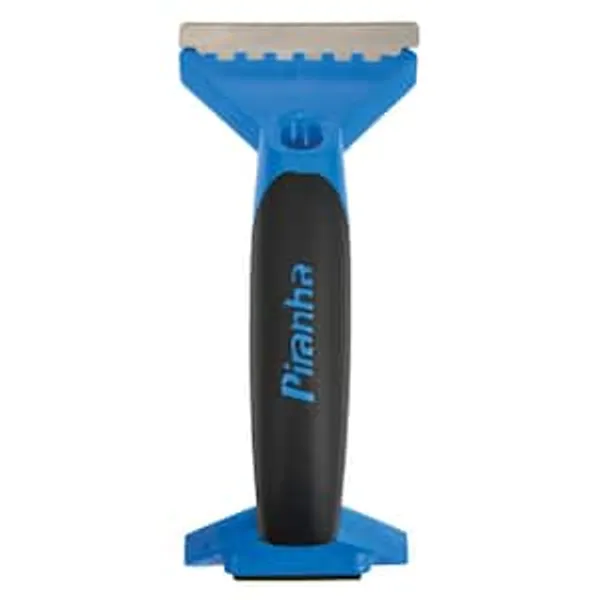
Scraper

HDX 15 in. Angle Broom and Step-On Dustpan Set 2132

Heavy Duty Latex Gloves
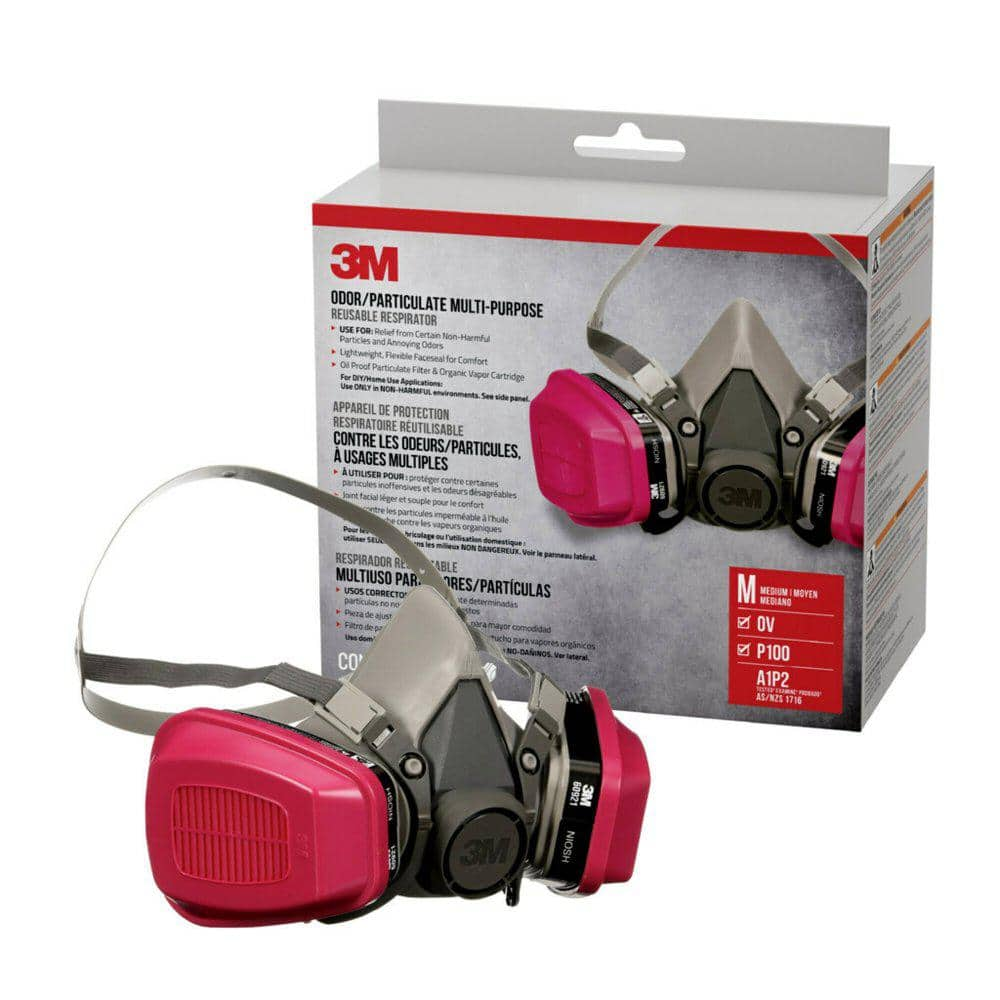
3M P100 Household Respirator 65021HA1-C

Safety Glasses
Shop Vacuum
Cleans workshop mess efficiently.
Scraper
Removes materials with a flat blade.
HDX 15 in. Angle Broom and Step-On Dustpan Set 2132
This broom's extra wide sweep path will sweep wet or dry debris. Heavy-duty fibers are ideal for both indoor and outdoor use, while the professional grade 1 in. Dia steel handle with comfort grip makes
Heavy Duty Latex Gloves
Protection during intense tasks.
3M P100 Household Respirator 65021HA1-C
The 3M Odor/Particulate Multi-Purpose Reusable Respirator 65021 helps filter out the particles and certain odors, while providing comfort with adjustable features. The cartridges sit swept back for a larger field of view, and the reusable design can last from one project to the next. Give yourself the 3M Odor/Particulate Multi-Purpose Reusable Respirator 65021 for projects on your to-do list.
Safety Glasses
Keeps eyes safe from potential hazards.
Steps

Clean the Crawl Space
240 minutesBefore installing any new materials, thoroughly clean the crawl space. This involves removing any loose debris, old insulation that may be damp or moldy, forgotten items, and evidence of pests like rodent droppings or insect nests. Ensure all surfaces are as clear as possible for the next steps. Consider using a shop vac for fine dust and debris.
Watch: Crawl Space Cleanup
Seal Air Leaks
180 minutesInspect the crawl space walls and the rim joist (the perimeter of the floor structure where it rests on the foundation) for any air leaks. These can be gaps around pipes, wiring, vents, or where the foundation meets the wood framing. Seal these leaks using caulk or spray foam insulation. Pay close attention to the sill plate and any cracks in the foundation walls.
Watch: Air Seal Sill Plate to Foundation Wall
Install Vapor Barrier
480 minutesLay a heavy-duty vapor barrier material across the entire crawl space floor, overlapping seams by at least 6 inches. Extend the vapor barrier up the foundation walls by at least 6 inches, or to the top of the foundation wall if it's lower. Secure the vapor barrier in place using specialized crawl space tape on the seams and mechanical fasteners like concrete staples or furring strips if necessary, especially on the walls.
Watch: Lay Vapor Barrier on Ground and Walls
Seal Crawl Space Vents
90 minutesCrawl space vents are often a source of humid air entering the home. Seal these vents from the inside using rigid foam board cut to size and sealed around the edges with caulk or spray foam. Alternatively, pre-made vent covers designed for crawl spaces can be used. Ensure a complete seal.
Watch: Seal Crawl Space Vents
Install Insulation (Optional but Recommended)
360 minutesIf desired for further energy efficiency, insulate the crawl space walls and rim joist. Rigid foam boards (like XPS or polyiso) can be directly adhered to the foundation walls and rim joist. Alternatively, fiberglass or mineral wool batts can be friction-fit between studs if there's a framed crawl space wall. Ensure insulation is fitted snugly without compressing it.
Watch: Install Wall Insulation
Install Dehumidifier (Optional)
60 minutesIf, after sealing and vapor barrier installation, the crawl space remains excessively damp, consider installing a crawl space specific dehumidifier. Ensure it is properly drained (either via a condensate pump or by running a hose to a drain) and set to maintain a target humidity level, typically between 30-50%.
Watch: Install Dehumidifier
Final Inspection
60 minutesConduct a thorough final inspection of the entire crawl space. Check that the vapor barrier is fully adhered and all seams are sealed. Ensure all vents are properly covered and sealed. Verify that any insulation is correctly installed and that there are no gaps. Make any necessary touch-ups to ensure a complete and effective encapsulation.
Watch: Final Sealing and InspectionCommon Problems
You experience coughing, sneezing, skin irritation, or difficulty breathing while working in the crawl space. This is often due to inhaling dust, mold spores, or fumes from old materials, cleaning agents, or spray foams.
Solution: Immediately exit the crawl space and get fresh air. If symptoms persist, seek medical attention. Once you feel better, reassess your safety gear. Ensure your P100 respirator fits snugly and that you are wearing safety glasses and work gloves. If using spray foam or strong cleaners, ensure the area is as ventilated as possible (e.g., using a fan to blow air out, if safe and won't draw fumes into the house).
Prevention: Always wear a properly fitted P100 household respirator, safety glasses, and gloves before entering the crawl space. Do not remove them until you are out of the space. Consider using a headlamp for better visibility, which can help avoid stirring up dust unnecessarily.
After cleaning, you still find significant debris (old insulation, wood scraps, rocks, dirt clods), active mold growth, or standing water. This will compromise the vapor barrier and overall effectiveness of the encapsulation.
Solution: Go back and thoroughly clean the area again. For stubborn dirt, use a scraper and broom, then follow up with a shop vacuum. If you find mold, wear appropriate PPE (respirator, gloves, eye protection) and use a mold-specific cleaner or a solution of water and bleach (1 cup bleach to 1 gallon water, never mix with ammonia). For standing water, identify and fix the source (e.g., leaky pipe, foundation issue) before proceeding.
Prevention: Dedicate ample time for the cleaning phase. Use a powerful shop vacuum and a good light source (headlamp) to see into dark corners. Systematically clean one section at a time to ensure nothing is missed. Address any water intrusion sources *before* starting the encapsulation.
While unrolling, positioning, or working over the vapor barrier, it gets torn or punctured by sharp objects, tools, or even your knees/feet.
Solution: For small holes or tears, cut a patch of vapor barrier material slightly larger than the damage. Clean the area around the tear. Apply seam tape to all edges of the patch, ensuring at least 2 inches of overlap with the existing barrier. Press firmly to seal. For larger tears, you might need a bigger patch or to replace an entire section of the barrier.
Prevention: Clear all sharp debris from the crawl space floor before laying the barrier. Wear soft-soled shoes (not work boots with sharp treads). Use knee pads to protect both your knees and the barrier. Be gentle when handling tools and materials over the installed barrier.
The seam tape isn't sticking well, or there are visible gaps where vapor barrier sections overlap, or where the barrier meets the walls/piers. This allows moisture and air to bypass the barrier.
Solution: If tape isn't sticking, ensure the vapor barrier surface is clean and dry. Peel back the loose tape, clean the area, and re-apply fresh seam tape, pressing down firmly with your hand or a roller. Ensure overlaps are at least 6-12 inches. For wall/pier connections, ensure the vapor barrier extends up the wall/pier by at least 6 inches, and use a continuous bead of caulk or spray foam to seal the top edge.
Prevention: Always overlap vapor barrier sections by at least 6-12 inches. Before applying seam tape, wipe the area clean of dust and dirt. Apply consistent pressure when rolling out the seam tape. For wall connections, apply caulk or spray foam generously to create a continuous airtight seal.
Your utility knife struggles to cut through the thick 15-mil vapor barrier, or the rigid foam insulation breaks unevenly when cut.
Solution: For the vapor barrier, ensure your utility knife has a fresh, sharp blade. Score the line deeply multiple times, applying firm pressure, then bend the material along the score to help it tear cleanly. Alternatively, use specialized plastic sheet cutting tools if available. For rigid foam insulation, use a sharp utility knife and a straight edge (like a long level or another piece of foam board) to score deeply, then snap the board along the scored line. For very thick foam, you might need to score both sides or use a fine-toothed saw.
Prevention: Always use a brand new, sharp blade in your utility knife when starting cutting tasks. Have extra blades on hand. Use a sturdy, straight edge as a guide for precise cuts on rigid insulation.
Even after completing the encapsulation, you still notice a musty smell or the humidity levels in the crawl space (or even the house) remain high. This means the system isn't fully effective.
Solution: Conduct a thorough inspection. Check all seams, wall connections, and pier seals for gaps or areas where the vapor barrier might have pulled away. Look for unsealed vents or penetrations (pipes, wires) that might be letting outside air in. Ensure the dehumidifier (if installed) is running correctly, sized properly for the space, and draining effectively. You may need to add more spray foam to identified leaks.
Prevention: During the 'Seal Air Leaks' step, be meticulous. Use a flashlight to inspect every corner, pipe penetration, and foundation crack. Use a smoke pen or incense stick to actively search for air drafts. Ensure all crawl space vents are completely sealed from the inside. If installing a dehumidifier, size it correctly for your crawl space volume and climate zone.
Frequently Asked Questions
What are the most important safety precautions for working in a crawl space?
Always wear a respirator, gloves, eye protection, and long-sleeved clothing to protect against dust, mold, and potential irritants. Before starting, check for any pests, sharp objects, or structural issues. Ensure adequate ventilation using a fan if possible to circulate air and clear out fumes from sealants.
How difficult is crawl space encapsulation for a DIYer, and how long should I expect it to take?
This project is rated as intermediate due to the physically demanding nature of working in a confined space and the meticulous attention to detail required for effective sealing. While the estimated time is 7 days, this can vary significantly based on your crawl space's size and condition. It's often spread out over several days or weekends.
What are the essential materials I need to buy for effective crawl space encapsulation?
Key materials include a high-quality 15-mil vapor barrier to prevent moisture penetration, specialized seam tape for sealing all overlaps and cuts, and durable caulk or insulating spray foam for sealing air leaks around pipes and foundation gaps. Don't compromise on the quality of these materials for long-term effectiveness.
What common mistakes should I avoid when encapsulating my crawl space?
A frequent mistake is not thoroughly cleaning the crawl space before installation, which can compromise vapor barrier adhesion and trap contaminants. Another common error is failing to adequately seal all seams, vents, and foundation gaps, allowing moisture and air to continue entering. Ensure generous overlaps and robust taping of the vapor barrier sections.
Can I do a partial encapsulation, or are there alternatives if a full project isn't immediately feasible?
While full encapsulation provides the best long-term results, you can start by installing a heavy-duty vapor barrier on the ground only and addressing exterior drainage issues around your home. Installing a standalone dehumidifier in the crawl space can also temporarily manage humidity levels, but these methods won't offer the same comprehensive protection as a full encapsulation.
Why is crawl space encapsulation important for my home?
Encapsulation drastically reduces moisture and humidity, which prevents mold growth, wood rot, and pest infestations, protecting your home's structural integrity. It also significantly improves indoor air quality by blocking odors and allergens from entering your living space. Additionally, you can expect lower energy bills as your home becomes more energy-efficient.