Bathroom Storage Solutions
About This Project
This project outlines the steps for planning, selecting, and installing new bathroom cabinets and storage solutions to enhance functionality and aesthetics.
Tools & Materials

25 ft. Tape Measure

Pencil
Level

Step Ladder

Rite in the Rain All-Weather 8-1/2 in. x 11 in. 100 lbs. Printer Paper, White (250-Sheet Pack) 1008511
Measuring Tape
25 ft. Tape Measure
Measure with precision and ease.
Pencil
Marks and draws with ease.
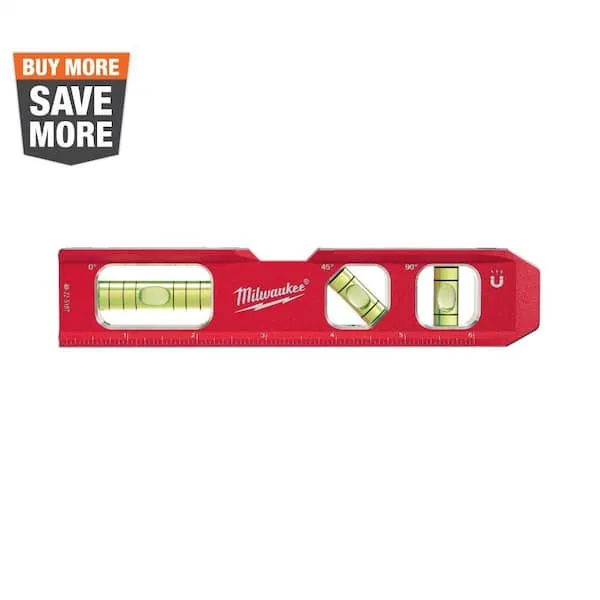
Level
Ensures surfaces are just right.
Step Ladder
Sturdy steps to higher places.
Rite in the Rain All-Weather 8-1/2 in. x 11 in. 100 lbs. Printer Paper, White (250-Sheet Pack) 1008511
Copy or laser print your own all-weather forms, charts, maps and worksheets on patented 8-1/2 in. x 11 in. Rite in the Rain all weather copier paper. Now you can have the convenience of using your existing
Measuring Tape
For accurate measurements of plywood and components, ensuring proper assembly.
Steps
Measure and Plan Layout
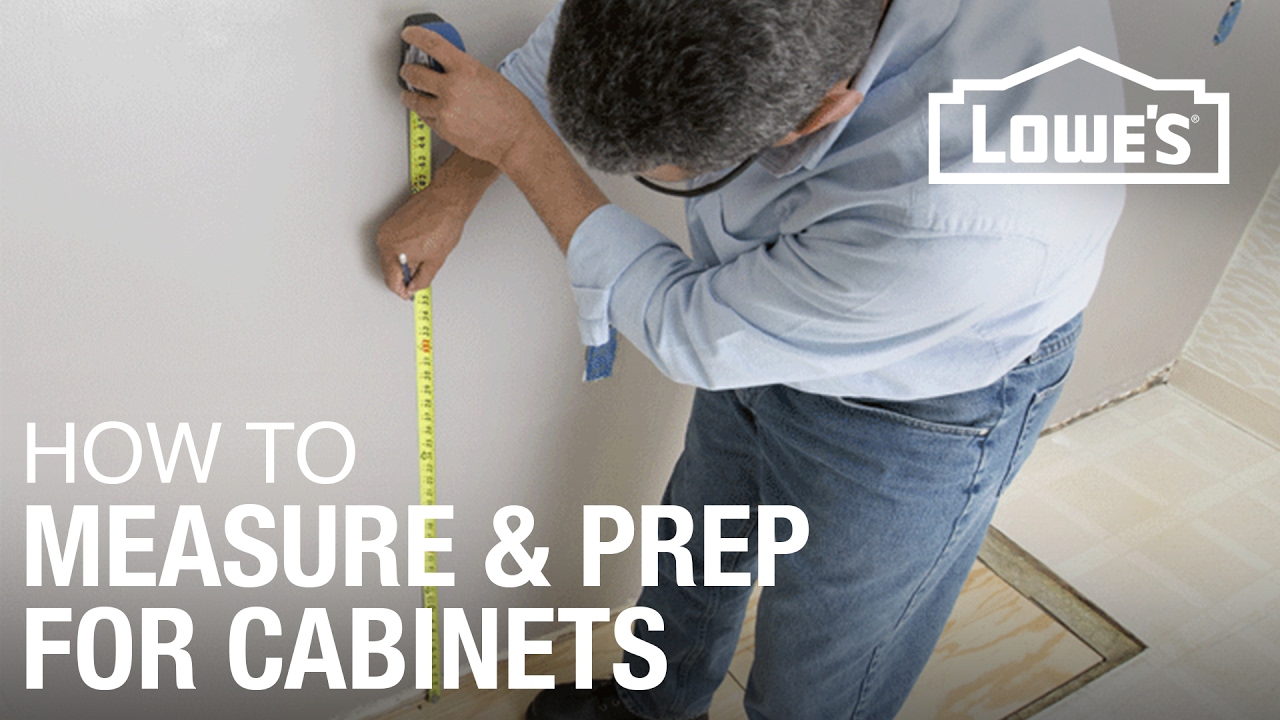
60 minutesBegin by accurately measuring the dimensions of the bathroom walls where the storage solutions will be installed. Note the location of any existing plumbing fixtures, electrical outlets, light switches, and vents. Consider the clearance needed for doors and drawers to open fully without obstruction. Sketch a layout plan on paper, marking the precise positions for each cabinet, shelf, or storage unit. This plan will guide the installation process and help avoid conflicts with existing bathroom features.
Watch: Measure and Create Blueprint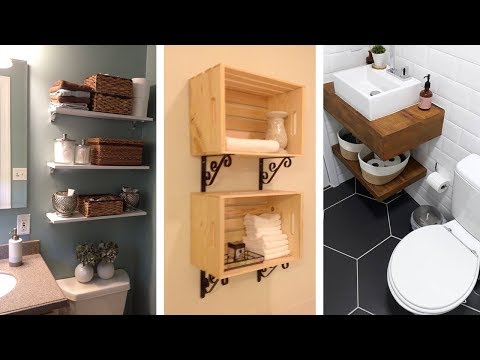
Select Storage Solutions
90 minutesBased on your measurements and layout plan, select the specific storage solutions. Evaluate different types of cabinets (e.g., wall-mounted, base cabinets), open shelving, or over-the-toilet units. Ensure the selected items fit within the designated spaces and complement the existing bathroom decor. Pay attention to the materials used for durability and moisture resistance in a bathroom environment. Check that the dimensions of the chosen units are compatible with your layout sketch.
Watch: DIY Enclosed Storage Unit
Prepare Mounting Surfaces
45 minutesBefore installing any storage units, prepare the wall surfaces. Clean the walls thoroughly to remove any dust, soap scum, or debris. Ensure the walls are completely dry. Use a stud finder to locate wall studs behind the drywall in the areas where cabinets or shelves will be attached. Mark the center of each stud clearly. Securing mounting hardware into studs is crucial for supporting the weight of the storage units and their contents.
Watch: Mark Stud Positions
Install Mounting Hardware
75 minutesFollowing the manufacturer's instructions for your specific storage units, install the necessary mounting hardware. This may involve attaching brackets, ledger boards, or pre-drilled mounting plates to the wall. Use a level to ensure these supports are perfectly horizontal. Screw the hardware firmly into the center of the marked wall studs using appropriate screws. If mounting into a solid surface like tile, ensure you use the correct drill bits and anchors designed for that material.
Watch: Secure Wall Mount Board
Install Cabinets and Shelving
90 minutesCarefully lift and position the cabinets or shelves onto the mounting hardware. Align pre-drilled holes in the storage units with the brackets or ledger boards on the wall. Secure the units using the screws provided or recommended by the manufacturer. Use a level to confirm that each unit is straight before fully tightening all fasteners. For multiple units installed side-by-side, ensure they are plumb and aligned with each other.
Watch: Mounting the First Cabinet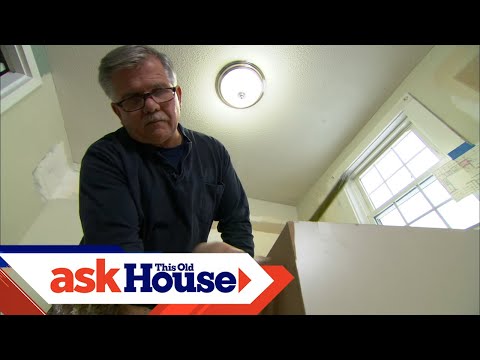
Install Doors, Drawers, and Accessories
60 minutesIf your storage units have doors, attach them according to the manufacturer's instructions, adjusting hinges as needed for proper alignment and smooth operation. Assemble and install any drawer slides, then insert the drawers. Finally, attach decorative hardware such as handles or knobs to doors and drawers. Install any internal accessories like adjustable shelf pins or specialized organizers.
Watch: Install Drawers and Doors
Final Check and Cleanup
30 minutesOnce installation is complete, thoroughly check each cabinet and shelf for stability. Open and close doors and drawers to ensure they operate smoothly. Verify that all hardware is securely fastened. Clean up the work area, removing any dust, debris, or packaging materials from the installation process. Dispose of waste materials properly.
Watch: Final Leveling and AdjustmentsCommon Problems
Cabinets or shelves pull away from the wall or sag because they were mounted into hollow drywall instead of wall studs.
Solution: Carefully remove the cabinet or shelf from the wall. Patch any damaged holes with wall spackle and let it dry. Use your stud finder to locate the sturdy wooden studs behind the wall. Re-mark your drilling locations to align with the studs. If mounting into studs isn't possible for some areas, use heavy-duty toggle bolts or molly bolts specifically designed for hollow walls, which provide much stronger support than basic drywall anchors.
Prevention: Always use a reliable stud finder before drilling into any wall. Scan the area multiple times to confirm stud locations and mark them clearly with a pencil. Aim to secure at least one side of each cabinet or shelf directly into a stud. For areas without studs, plan to use appropriate heavy-duty anchors rated for the weight you intend to store.
Accidentally drilling into a water pipe or electrical wire behind the bathroom wall.
Solution: Immediately turn off the main water supply to your house (if a pipe is hit) or turn off the circuit breaker for your bathroom at your electrical panel (if an electrical wire is hit). Do NOT touch any exposed wires. Call a licensed plumber or electrician for emergency repair. This is a serious safety hazard and requires professional help.
Prevention: Before drilling, use a stud finder with AC wire detection (many modern stud finders have this feature) to scan for electrical wires. Be extra cautious in areas where pipes are typically located, like near sinks, toilets, or showers. Drill shallow pilot holes first to confirm the path is clear, and never drill deep without certainty of what's behind the wall. If possible, consult home blueprints or past renovation records.
Installed cabinets or shelves end up looking crooked or are not perfectly level.
Solution: Slightly loosen the screws or fasteners holding the cabinet or shelf to the wall. Place your level on top of the unit. Adjust the position of the cabinet/shelf until the bubble in your level is perfectly centered. If there are gaps between the unit and the wall causing it to be uneven, insert thin shims (small wedge-shaped pieces of wood or plastic) behind the unit until it is level. Once perfectly level, re-tighten all mounting screws securely.
Prevention: Use your level constantly throughout the installation process. After marking your initial pilot holes, use the level to ensure they are aligned. Always double-check with the level just before fully tightening all screws, ensuring the unit is straight and level.
Drawer slides or cabinet door hinges bind, stick, or don't close smoothly after installation.
Solution: For drawers, ensure the drawer slides on both sides are installed perfectly parallel to each other and are level. If they are even slightly off, the drawer can snag. For cabinet doors, check that the hinges are aligned vertically and horizontally without any twisting. Loosen the screws holding the slides or hinges, make small adjustments to their position (up/down or in/out), and then re-tighten. Test the movement after each small adjustment until it operates smoothly.
Prevention: Carefully read the installation instructions for all drawer slides and hinges before you begin. 'Dry-fit' components whenever possible, meaning position them without fully securing them to check alignment and movement. Use a level when installing drawer slides to ensure they are perfectly straight and parallel.
Stripping screw heads or damaging the material (like wood or MDF) by over-tightening with the drill.
Solution: If a screw head is stripped, try using a screw extractor kit or, for slightly stripped heads, carefully gripping it with pliers to remove it. If the material around the screw hole is damaged (e.g., the hole is too wide for the screw to grip), remove the screw. Fill the damaged hole with wood filler or a piece of wooden dowel glued into place. Let it dry completely, then re-drill a pilot hole and insert a new screw.
Prevention: Always use the correct size drill bit for pilot holes; it should be slightly smaller than the screw's diameter. When using a drill, set the clutch (the numbered ring near the drill chuck) to a lower torque setting, especially when working with softer materials like MDF or when driving screws into wood. Finish tightening screws by hand with a screwdriver to prevent over-tightening.
Running out of essential materials like screws, drywall anchors, or shelf pegs in the middle of the project.
Solution: Make a quick trip to the hardware store to purchase the additional supplies needed. If the store is far or closed, check if you have any suitable substitutes from other DIY projects that can safely be used in the interim. For future steps, always buy a little extra.
Prevention: Before starting, carefully review all instructions and material lists. Calculate the number of screws, anchors, pegs, etc., you'll need, then add an extra 10-20% to that number. It's always better to have a few spares than to stop work for a supply run.
Falling or losing balance from the step ladder while reaching to install high storage items.
Solution: Immediately assess for injuries if a fall occurs and seek medical attention if necessary. For future tasks, ensure the ladder is stable before climbing. If you cannot safely reach an area, stop and re-evaluate.
Prevention: Always use a sturdy step ladder that is fully opened and locked into position. Place it on a firm, level surface. Never overreach to the side; instead, climb down and reposition the ladder closer to your work area. If working at significant heights or with heavy items, consider having a helper 'spot' the ladder or hand you tools.
Frequently Asked Questions
What are the most important tools I'll need to successfully install bathroom cabinets and shelving?
An accurate tape measure and a reliable stud finder are crucial for planning and securely mounting your storage units. You'll also need a level to ensure everything is perfectly straight, a power drill for fastening, and appropriate fasteners like screws and strong drywall anchors for a secure installation.
What key safety precautions should I take during this bathroom storage project?
Always wear safety glasses to protect your eyes from debris, especially when drilling or cutting. Before drilling into walls, use a stud finder to locate studs and identify any hidden electrical wires or plumbing pipes to prevent accidental damage. Ensure your step ladder is stable and placed on a level surface.
How long should a beginner expect this project to take, and what's the overall difficulty level?
This project is rated as beginner-friendly, but thorough planning and precise execution are key. While the estimated time is 3 days, this can vary based on the complexity of your chosen storage and your DIY experience. Allow ample time for measuring, wall preparation, and careful installation to ensure a professional finish.
What common mistakes do people make when installing bathroom storage, and how can I avoid them?
A frequent mistake is not accurately locating wall studs or using inadequate anchors, which can lead to unstable installations over time. Another common error is neglecting to check for level, resulting in crooked cabinets or shelves. Always double-check your measurements, use a stud finder diligently, and use a level frequently throughout the installation process.
Besides standard cabinets, what other types of storage solutions or materials are good for bathrooms?
Consider open shelving for a lighter look, recessed niches for a custom, built-in feel (if wall depth allows), or attractive over-the-toilet units to maximize vertical space. For materials, opt for moisture-resistant options like marine-grade plywood, MDF with a waterproof finish, or solid wood that is properly sealed and painted to prevent water damage.
How critical is the initial 'Measure and Plan Layout' step for the success of this project?
This step is paramount for a successful outcome. Accurate measurements ensure your chosen storage units fit perfectly without obstructing doors, windows, or existing fixtures like the toilet or sink. Detailed planning, including sketching your layout, helps visualize the final result and prevents costly mistakes during installation.