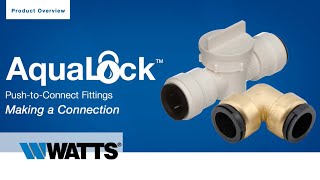
Following Delta's instructions, install the new Delta shower faucet valve and trim. Ensure all connections are secure and properly sealed. Pay close attention to the correct alignment of parts.
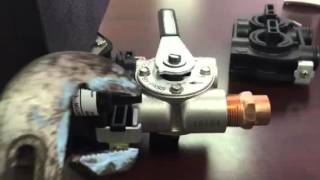
You're viewing a step from: Delta Shower Faucet Installation & Upgrade Guide
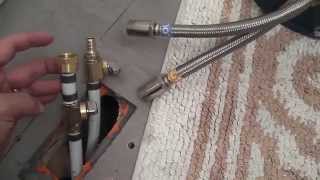
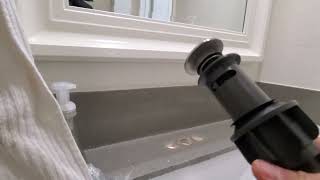
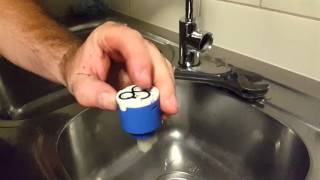
This guide provides step-by-step instructions for installing or upgrading a Delta shower faucet in your bathroom. The process generally involves these key steps: 1. **Turn Off the Water Supply:** Locate and turn off the shut-off valves for your shower. Open the faucet handles to release any remaining water pressure. 2. **Remove the Old Faucet Trim:** Carefully remove the old faucet handles and escutcheon plate. A screwdriver, Allen wrench, or putty knife may be needed. 3. **Remove the Old Valve:** Unscrew or extract the old valve cartridge or stems and inspect them for wear. 4. **Install the New Delta Faucet:** Following Delta's instructions, install the new valve and trim, ensuring secure connections and proper sealing. 5. **Test for Leaks and Finalize Installation:** Turn the water back on slowly and check all connections for leaks. Tighten or reseal if needed and reinstall handles and trim.

Delta Shower Faucet Installation & Upgrade Guide
View Full ProjectRelated Videos

Step 1: Turn Off the Water Supply
Step 1: Turn Off the Water Supply

Step 1: Turn Off the Water Supply
Step 1: Turn Off the Water Supply
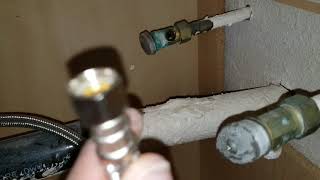
Step 1: Turn Off the Water Supply
Step 2: Remove the Old Faucet Trim

Step 2: Remove the Old Faucet Trim
Step 2: Remove the Old Faucet Trim
Step 2: Remove the Old Faucet Trim
Step 2: Remove the Old Faucet Trim
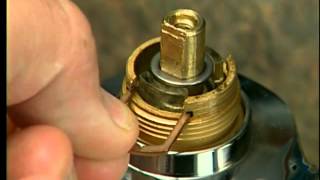
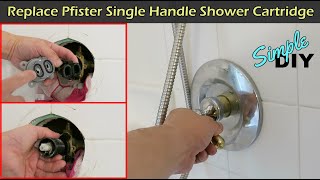
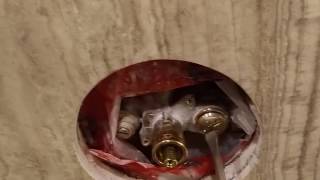
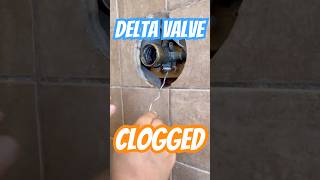
Step 3: Remove the Old Valve
Step 3: Remove the Old Valve
Step 3: Remove the Old Valve
Step 3: Remove the Old Valve
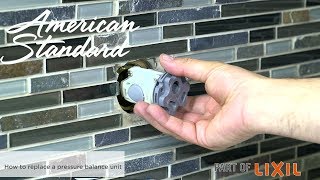
Step 3: Remove the Old Valve
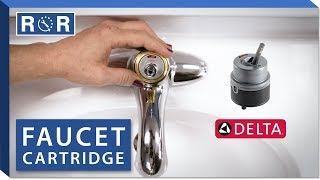
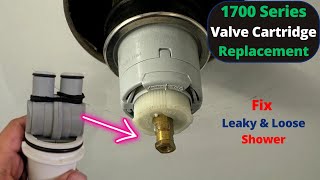
Step 4: Install the New Delta Faucet
Step 4: Install the New Delta Faucet
Step 4: Install the New Delta Faucet
Step 4: Install the New Delta Faucet
Step 4: Install the New Delta Faucet
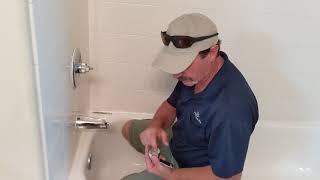
Step 5: Test for Leaks and Finalize Installation
Step 5: Test for Leaks and Finalize Installation
Step 5: Test for Leaks and Finalize Installation
Step 5: Test for Leaks and Finalize Installation
Step 5: Test for Leaks and Finalize Installation
Start your project
chat with your ai