Shower Faucet Replacement: How to Remove the Shower Head and Handles
About This Project
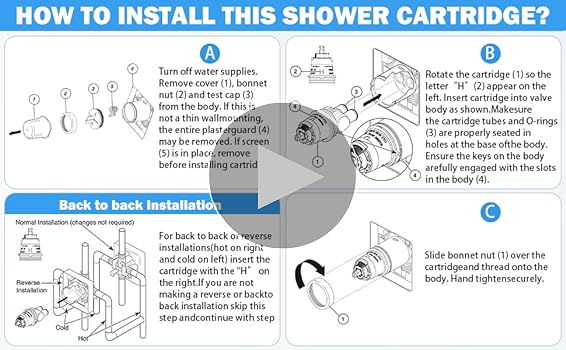
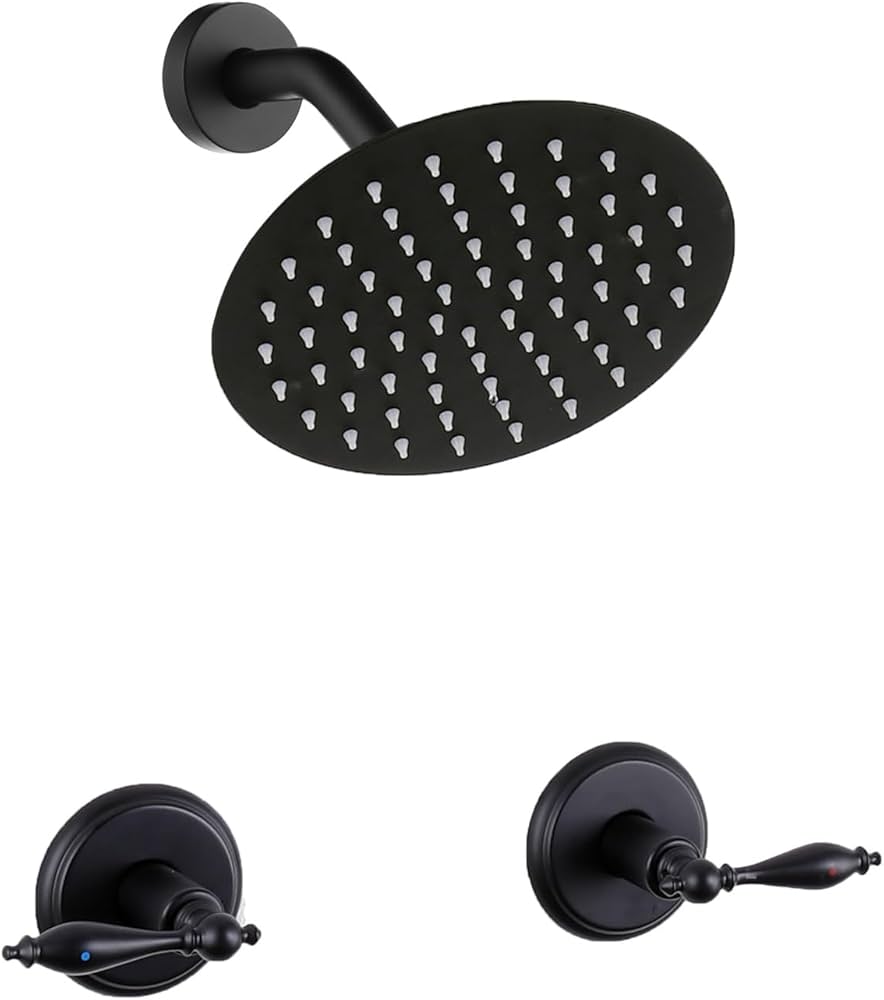
1. **Turn Off the Water:** Locate the shut-off valves for your shower and turn them clockwise to shut off the water supply. 2. **Protect the Drain:** Cover the shower drain with a drain cover, rag, cloth, or paper towels to avoid losing small parts. 3. **Remove the Shower Head:** Use an adjustable wrench to loosen and remove the shower head. Penetrating oil may help if it's stuck. 4. **Remove the Handle(s):** For two-handle faucets, unscrew and remove the screws behind each handle. For single-handle faucets, remove the decorative cap to access the handle screw. Pull off the handles.
Best for homeowners and DIY enthusiasts.
Tools & Materials

Everbilt Matte Black Drain Cover 40179

Adjustable Wrench
Towel
KROIL Penetrating Oil Liquid, Industrial-Grade Penetrant, Multi-Purpose Oil, Liquid, NSF H2,50-State VOC Compliant KL011
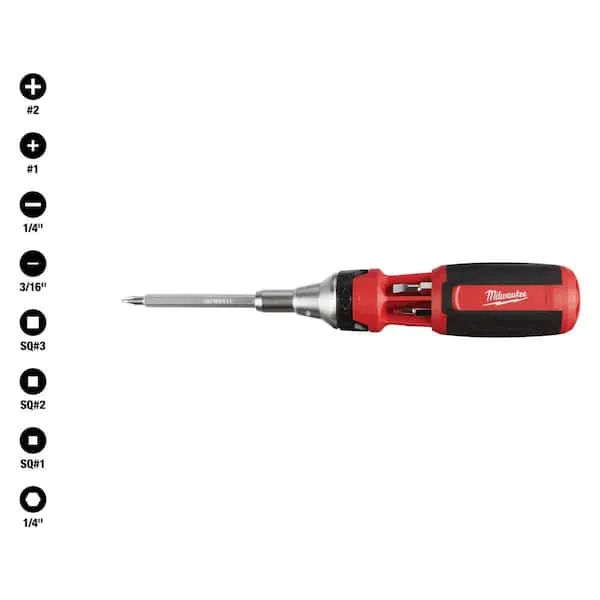
Screwdriver (Multi)
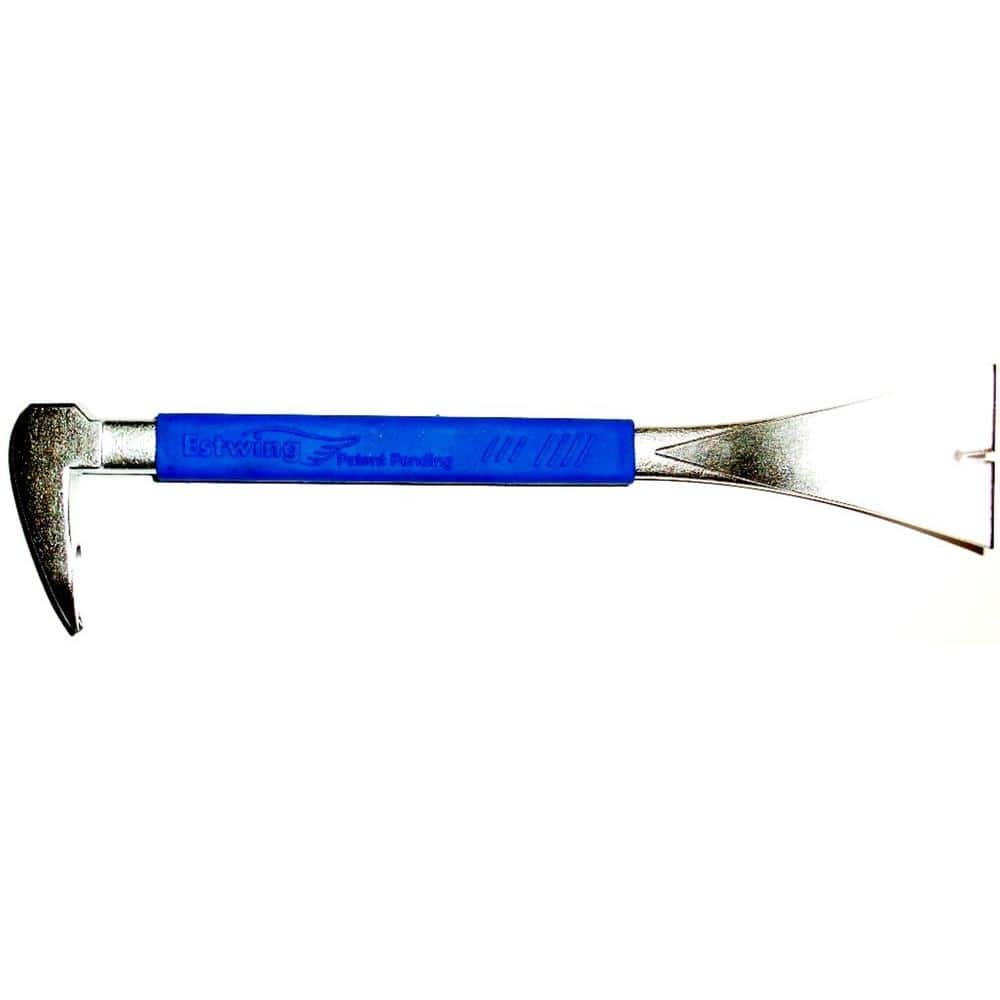
Estwing 10 in. Pro-Claw Molding Puller MP250G
Everbilt Matte Black Drain Cover 40179
The 4 in. Matte Black square grid pattern drain cover is designed for use with any Everbilt waterproof shower pan. The integrated shower drain and shower drain covers are manufactured with 304 stainless
Adjustable Wrench
Fits various nut and bolt sizes with its adjustable jaw.
Towel
Absorbs moisture and dries surfaces.
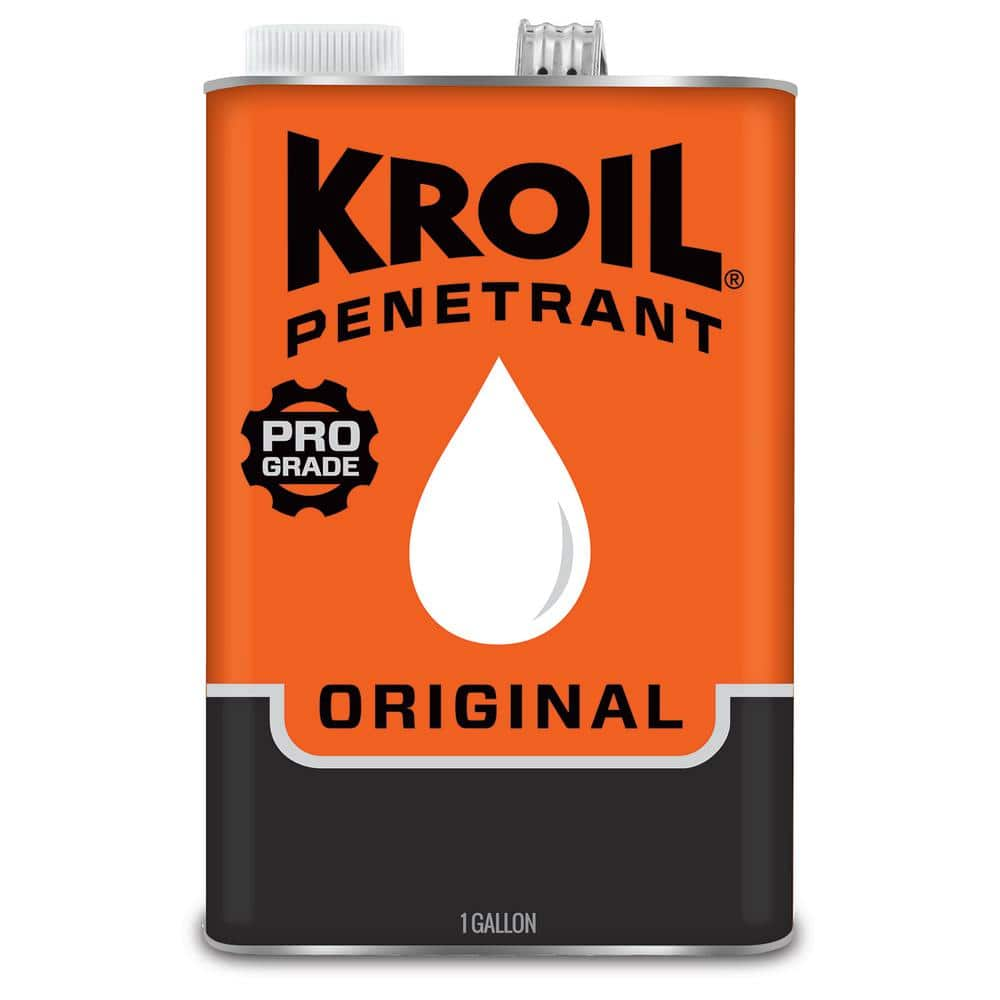
KROIL Penetrating Oil Liquid, Industrial-Grade Penetrant, Multi-Purpose Oil, Liquid, NSF H2,50-State VOC Compliant KL011
KROIL Penetrant 1 Gal. can is an industrial-strength penetrating oil formulated to quickly penetrate deep into small crevices. KROIL attacks rust and corrosion to help loosen frozen or seized metal fasteners
Screwdriver (Multi)
Multiple bits for versatile use.
Estwing 10 in. Pro-Claw Molding Puller MP250G
Use the durable puller that lasts with this Estwing 10 in. molding puller. It cleanly removes imbedded nails or molding with minimal wood damage. The blade end is so precise that it pulls the nails through
Steps

Turn Off the Shower's Water Supply
5 minsBefore starting, always prioritize safety. Completely shut off the water supply to your shower. Locate the shut-off valves near the shower or in your main water supply panel. Turn the valves clockwise to close them. If you're unsure where to find them, consider turning off the main water supply to your house as a precaution.
Watch: Turn Off Water

Remove the Shower Head
10 minsUse an adjustable wrench to carefully loosen and remove the shower head from the shower arm. If it's stuck, apply a penetrating oil like WD-40, let it sit for a few minutes, and try again. Gently twisting and pulling should release it.
Watch: Attempt to Remove Old Shower Arm by Hand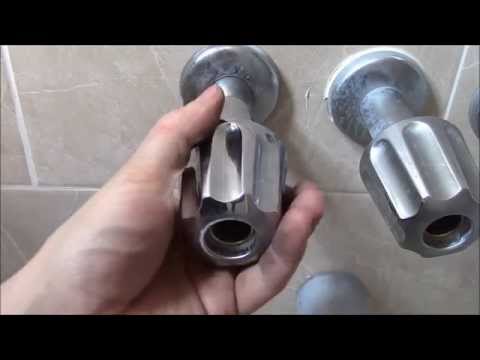
Remove the Shower Handle(s)
15 minsFor two-handle faucets, locate the screw behind each handle. Unscrew and remove them, then pull off the handles. Single-handle faucets may require removing a decorative cap to access the screw. A handle puller tool can assist if the handles are resistant.
Watch: Remove the handleCommon Problems
Be very careful when you start loosening the old showerhead that the pipe in the wall doesn't start to turn. If it does, you could cause a leak behind the wall.
Solution: To avoid this issue: Be mindful of this warning and take appropriate precautions.
Plastic fittings can be scratched or damaged when using pliers.
Solution: If using pliers on a plastic fitting, wrap a cloth around it first to prevent scratching or damage.
Handles or showerhead may strip if forced with tools before trying by hand.
Solution: Try unscrewing by hand first before using tools.
A small amount of residual water may drip out of the shower arm when the head is removed.
Solution: To avoid this issue: Be mindful of this warning and take appropriate precautions.
Scratching or damaging the showerhead finish when using pliers.
Solution: Use a rag to protect the showerhead's finish if you need to use pliers.
If the pipe is severely stuck, applying excessive force without the proper tools can risk damaging the plumbing inside the wall. If it doesn't budge with moderate force, stop and get a wrench.
Solution: To avoid this issue: Be mindful of this warning and take appropriate precautions.
Small parts falling down the drain during faucet replacement.
Solution: Covering the drain is a crucial first step to avoid the frustration of losing small parts.
Frequently Asked Questions
What should I do if my shower head or handle screws are stuck or corroded?
For a stuck shower head, apply penetrating oil and let it sit for 15-30 minutes before trying the adjustable wrench again. For corroded or stubborn handle screws, you can try placing a rubber band over the screw head for better grip with your screwdriver, or consider a screw extractor tool if they are stripped. Always apply gentle, steady pressure to avoid further damage.
How can I be sure the water is completely off before I start working?
After turning off the shut-off valves, turn on the shower faucet to verify that the water flow stops completely. If there's still a drip or trickle, the valves might not be fully closed, or you may need to locate and turn off the main house water supply. It's crucial to confirm no water is flowing before proceeding to prevent unexpected leaks.
What are the most common mistakes beginners make during this project, and how can I avoid them?
A common mistake is not protecting the drain, which can lead to losing small screws or parts. Another is forcing stuck components, which can damage plumbing or finishes. Always cover the drain, use penetrating oil for stuck items, and wrap wrench jaws with tape or a cloth to prevent scratching chrome finishes.
My shower handles don't have visible screws or decorative caps. How do I remove them?
Some shower handles have a small set screw located on the underside or neck of the handle, usually requiring an Allen wrench (hex key) to loosen. Others might be a push-on style that can be gently pried off with a flathead screwdriver (protected by tape) or a putty knife, revealing the main handle screw underneath.
The estimated time is 1 hour, but what if my old fixtures are really stubborn or corroded?
While 1 hour is a good estimate for straightforward replacements, older or corroded fixtures can significantly extend the time. It's wise to budget 1.5 to 2 hours, especially if you anticipate stuck parts. Having penetrating oil on hand and being patient will help manage unexpected delays.
Do I need any special safety gear for this project, beyond turning off the water?
Beyond ensuring the water is off, wearing work gloves can protect your hands from sharp edges or grime, and safety glasses are recommended to shield your eyes from any debris that might dislodge, especially when dealing with older, corroded plumbing components. Always use caution when applying force.