
Replace Your Kitchen Faucet: Step-by-Step Guide
Replace Your Kitchen Faucet: Step-by-Step Guide
This project outlines the steps to replace an old kitchen faucet with a new one. It starts by emphasizing safety, instructing to turn off the water supply valves under the sink and open the faucet to drain residual pressure, preventing spills. The next step involves disconnecting the old faucet. Using an adjustable or basin wrench, the water supply lines are detached from the faucet, followed by removing the mounting nuts holding the faucet to the sink. Then the new faucet is installed. Following the manufacturer's instructions, insert the new faucet into the sink hole and secure it with mounting hardware from below. Connect the water supply lines and sprayer hose (if any). Secure all connections with plumber's putty and Teflon tape as needed. Finally, turn the water supply back on and check thoroughly for leaks. The project estimates a duration of 1-3 hours and suggests helpful tips like taking pictures of plumbing connections before disconnecting them.
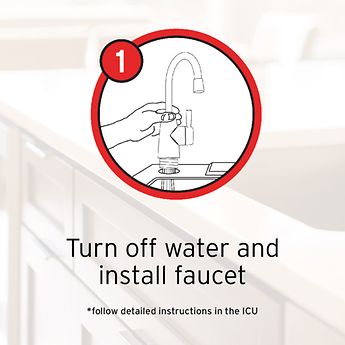
Step 1
⏱ 2 minStep 2
⏱ 2 minDisconnect the Old Faucet
Using an adjustable wrench (or basin wrench for easier access), carefully disconnect the water supply lines from the old faucet. Then, use the basin wrench to remove the mounting nuts securing the faucet to the sink. Be prepared for some water to escape, even after turning off the valves.
Step 3
⏱ 2 minInstall the New Kitchen Faucet
Follow the manufacturer's instructions for installing your new faucet. This typically involves inserting the faucet into the sink hole, securing it with the mounting hardware from underneath, connecting the water supply lines, and tightening all connections. Once done, carefully turn the water supply back on and thoroughly check for any leaks.

Start DIY
2 hours | 3 Steps