Kitchen Faucet Replacement: A Step-by-Step DIY Guide
Kitchen Faucet Replacement: A Step-by-Step DIY Guide
This DIY guide details the steps to replace a kitchen faucet. First, turn off the hot and cold water supply valves under the sink and release any remaining water pressure. Next, disconnect the old faucet's water supply lines using appropriate wrenches, then remove the mounting nuts. Install the new faucet by connecting the water supply lines and securing it to the sink with mounting hardware. Finally, slowly turn the water back on and check for leaks.
Step 1
⏱ 2 minShut Off Water Supply to the Kitchen Sink
Before you begin, safety first! Locate the hot and cold water supply valves under your sink. Turn them clockwise to completely shut off the water supply. Turn on the faucet briefly to release any remaining water pressure in the lines. Place a bucket or absorbent towel beneath the sink to catch any drips.
Step 2
⏱ 2 minDisconnect the Old Kitchen Faucet
Using an adjustable wrench and, if necessary, a basin wrench (for hard-to-reach nuts), carefully disconnect the water supply lines from the old faucet. Then, remove the mounting nuts securing the faucet to the sink. Take photos as you proceed to assist with reassembly.
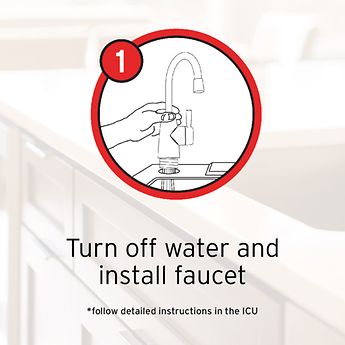
Step 3
⏱ 2 minInstall the New Kitchen Faucet
Clean the sink surface thoroughly. Carefully follow the manufacturer's instructions for installing your new faucet. This will typically involve connecting the water supply lines (ensuring a tight seal), installing the faucet body, and securing it with the mounting hardware. Once installed, slowly turn the water supply back on and check all connections for leaks.


Start DIY
2 hours | 3 Steps