Replace Your Garbage Disposal: A Step-by-Step Guide
About This Project
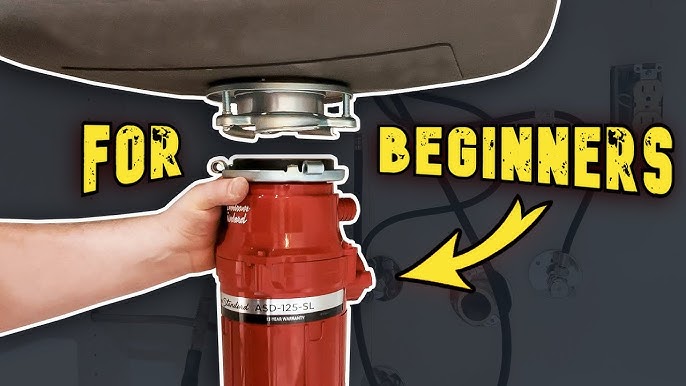
This DIY guide provides step-by-step instructions for replacing a kitchen garbage disposal. Begin by disconnecting the power at the circuit breaker for safety. Next, remove the old disposal: disconnect the P-trap, dishwasher drain line (if any), loosen the mounting ring, and remove the unit. Install the new disposal following the manufacturer's instructions, ensuring secure connections. Finally, restore power, turn on the water, and check for leaks while running the disposal with cold water.
Best for experienced DIYers and homeowners with some experience.
Tools & Materials
Channellock 12 in. Tongue and Groove Slip Joint Pliers 440

Unger 6 Gal. Heavy-Duty Plastic Bucket DB02
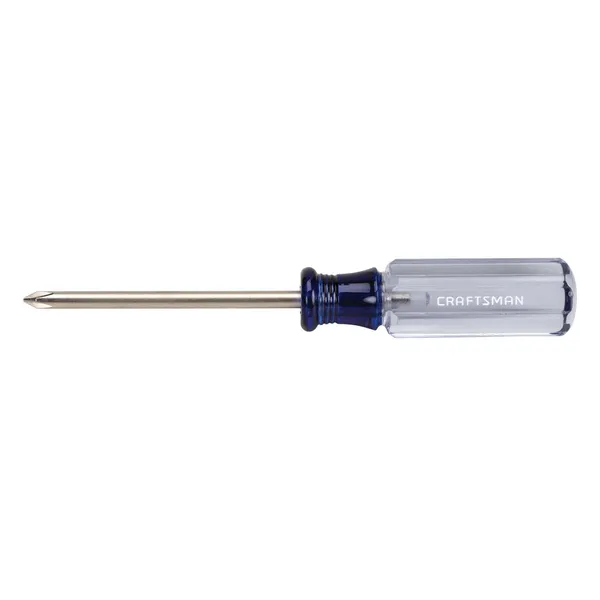
Phillips head screwdriver

Adjustable Wrench
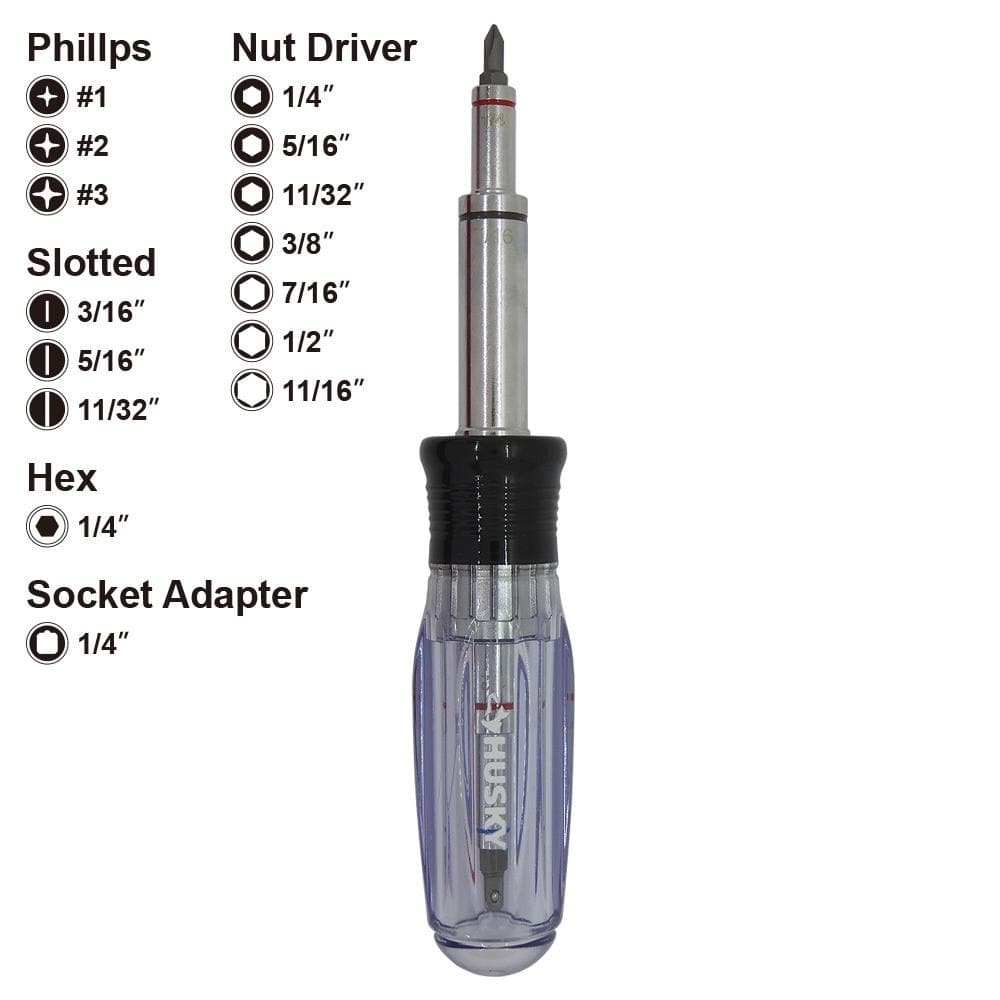
Husky 15-in-1 Screwdriver/Nut Driver 132360019
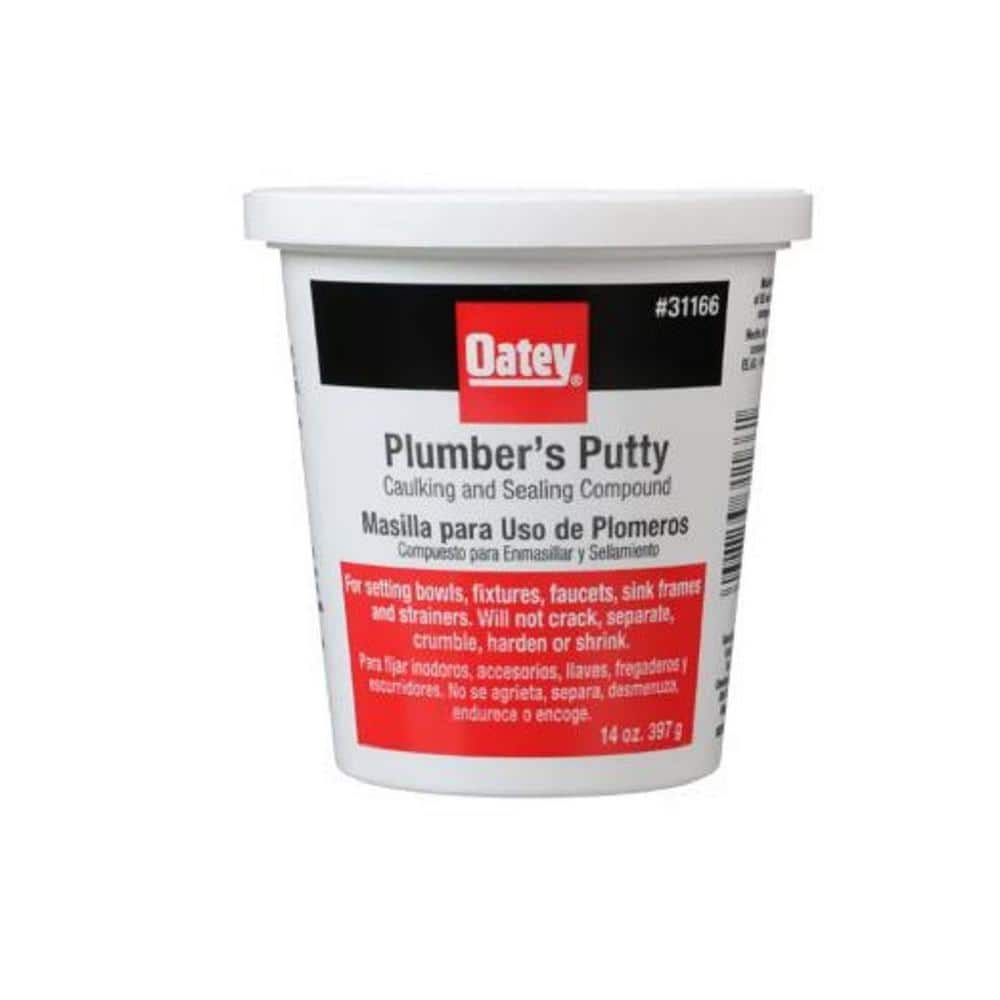
Oatey 14 oz. Plumber's Putty 311662
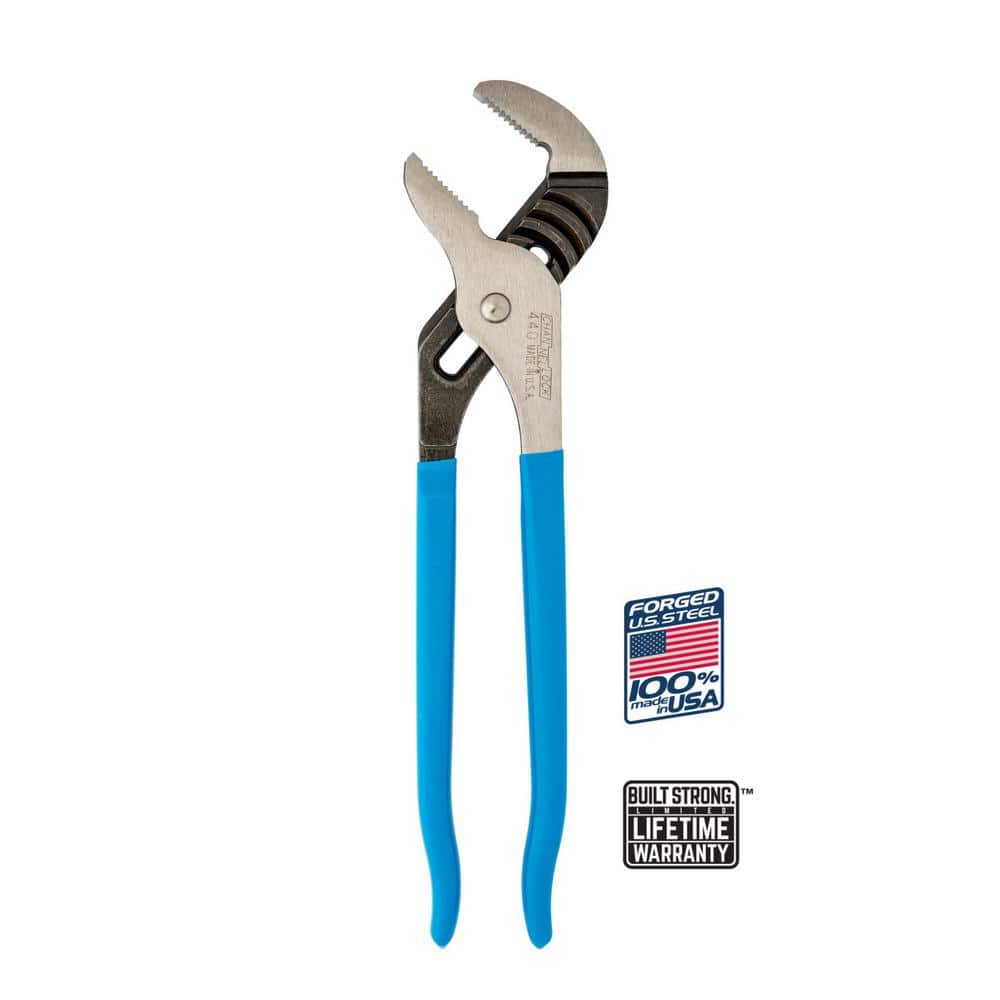
Channellock 12 in. Tongue and Groove Slip Joint Pliers 440
The Channellock 12 in. Straight Jaw Tongue and Groove Pliers are constructed with high-carbon C1080 steel. The tool is fashioned with laser heat-treated teeth that clamp down perpendicularly for strong,
Unger 6 Gal. Heavy-Duty Plastic Bucket DB02
The Unger 6-Gallon Heavy-Duty Professional Cleaning Bucket holds more than 6 Gal. of liquid. The bucket can accommodate a scrubber up to 14 in. L. This bucket features measurement marks and 2-pour spouts
Phillips head screwdriver
This is a type of screwdriver that has a cross-shaped tip.
Adjustable Wrench
Fits various nut and bolt sizes with its adjustable jaw.
Husky 15-in-1 Screwdriver/Nut Driver 132360019
Reduce the number of individual screw drivers and nut drivers that you need with the 15-in-1 Screwdriver/Nut Driver from Husky. Each driver features a handle with a hex drive, 3 reversible shafts and 4 double-sided bits. The tough acetate handle resists solvents and chemicals, giving you a reliable handle. The ball and spring retention in the handle ensure a snug fit.
Oatey 14 oz. Plumber's Putty 311662
The Oatey 14 oz. Plumber's Putty is an easy-to-mold setting compound designed for use with stainless-steel sealing applications such as frames, faucets and strainer baskets. Not for use on plastic, marble,
Steps

Disconnect Power: Safety First
5 minsBefore you begin, safety is paramount! Turn off the power to the garbage disposal at the circuit breaker. Always double-check that the power is off by attempting to turn on the disposal. If it's hardwired, locate and turn off the corresponding breaker in your electrical panel.
Watch: Disconnect Power
Disconnect the P-Trap: Prepare for Removal
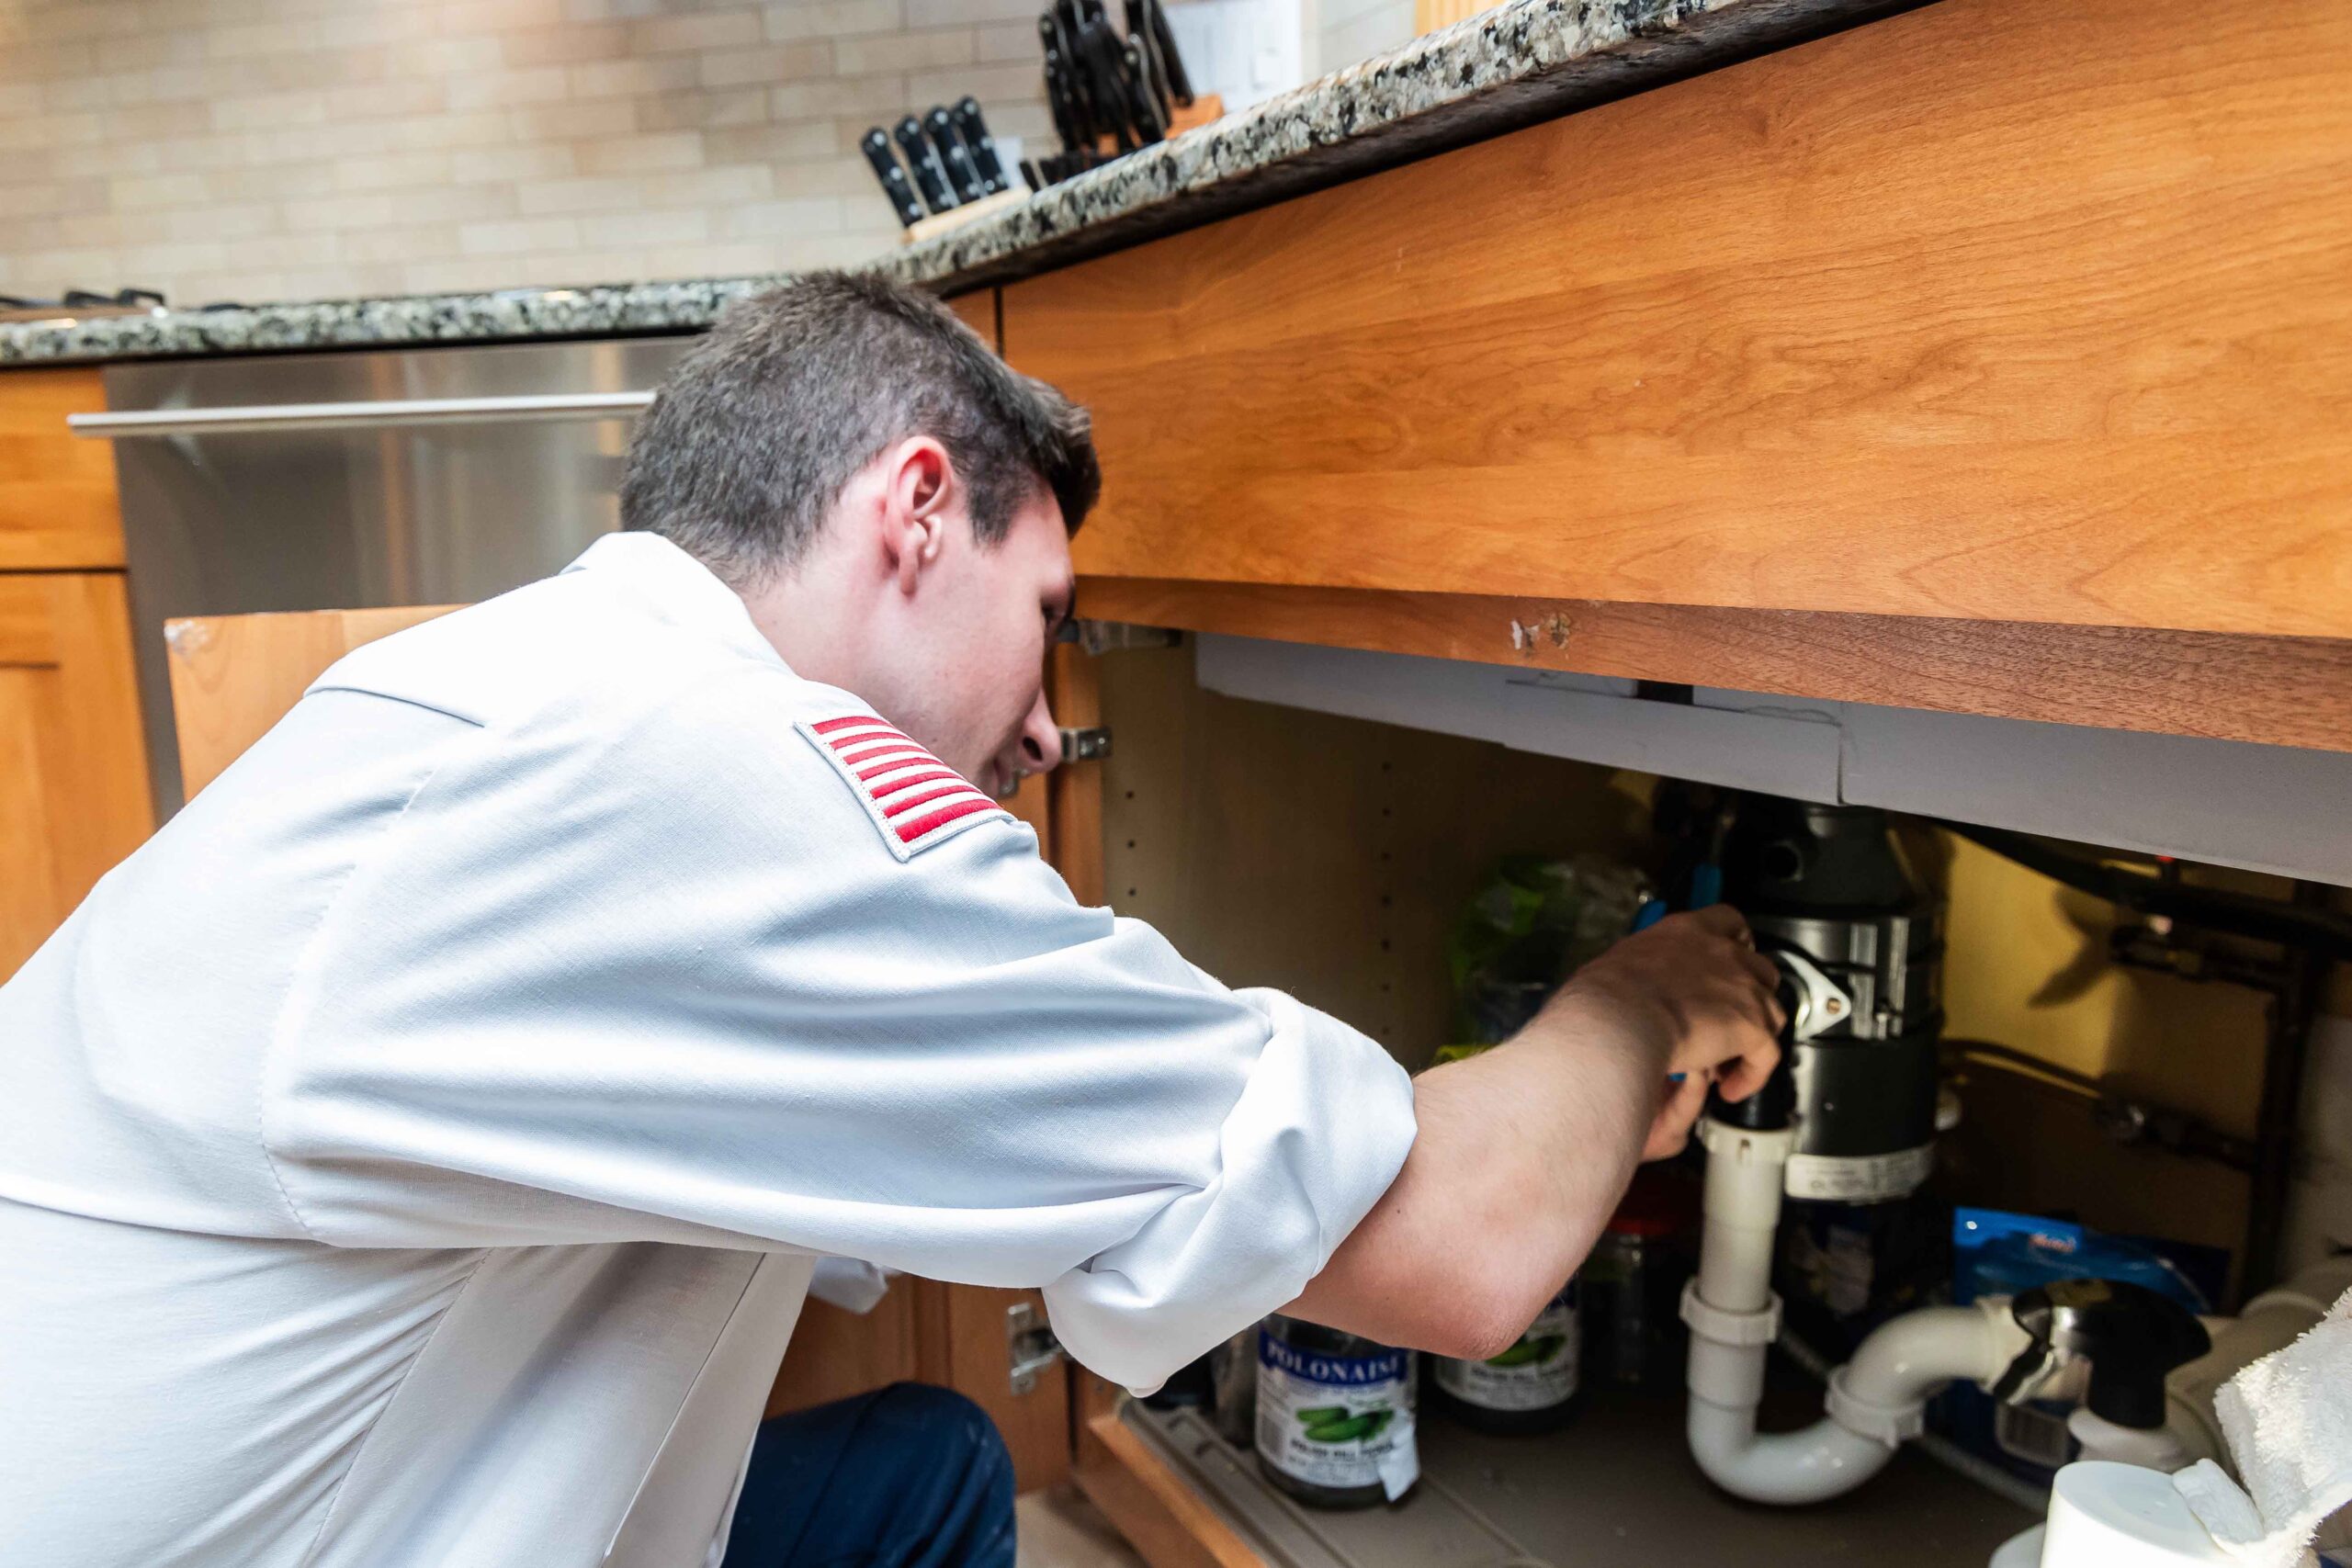
10 minsPosition a bucket beneath the P-trap to catch any residual water. Carefully disconnect the P-trap from the disposal and drain pipe, using channel-lock pliers or a basin wrench for a secure grip. If you're unsure about any connection, take photos beforehand.
Watch: Preparation and Old P-Trap Removal

Remove the Old Garbage Disposal
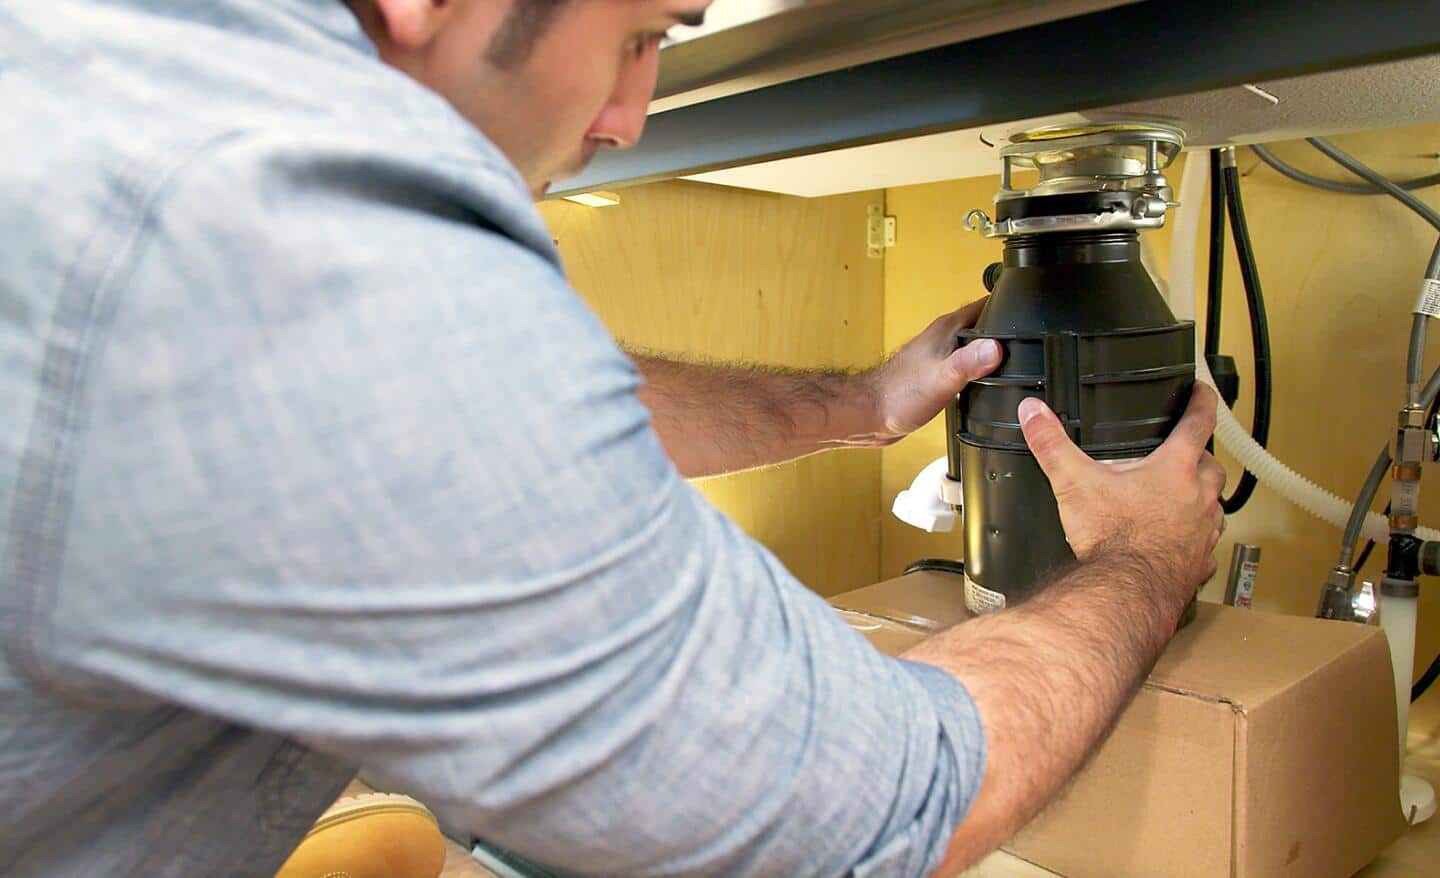
15 minsLoosen the mounting ring securing the disposal to the sink flange by rotating it counter-clockwise. Carefully remove the disposal from its mounting bracket. A disposal wrench or large flathead screwdriver might be needed.
Watch: Remove Disposal from Sink Mount
Install the New Garbage Disposal
30 minsFollow the manufacturer's instructions for installing the new disposal. Ensure all connections are secure and leak-proof. Reconnect the P-trap and dishwasher drain line (if applicable). Remember to apply plumber's putty for a watertight seal.
Watch: Final Assembly and Leak Test
Common Problems
Safety concern: Always disconnect power before working on any electrical appliance.
Solution: Take proper safety precautions. Always disconnect power before working on any electrical appliance.
Prevention: Always follow safety guidelines before starting the project.
Failing to turn off the power can lead to serious injury. Always double-check that the unit is de-energized.
Solution: To avoid this issue: Be mindful of this warning and take appropriate precautions.
Double check that the power is off before proceeding.
Solution: To avoid this issue: Be mindful of this warning and take appropriate precautions.
Failure to shut off power at both the switch and the breaker can result in serious electrical shock and injury.
Solution: To avoid this issue: Be mindful of this warning and take appropriate precautions.
Accidental power restoration during disposal replacement.
Solution: Place tape or a physical object over the wall switch as a visual reminder that the power is off and should not be turned back on.
This is the most important safety step. Do not proceed without confirming the power is off.
Solution: To avoid this issue: Be mindful of this warning and take appropriate precautions.
Be prepared for water to spill out of the P-trap as soon as it's disconnected. Keep the bucket positioned directly underneath.
Solution: To avoid this issue: Be mindful of this warning and take appropriate precautions.
Frequently Asked Questions
What is the most critical safety step I must take before starting to replace my garbage disposal?
Always disconnect power to the disposal at your home's circuit breaker before touching any wires or plumbing. This prevents electrical shock and injury. Verify the power is off by trying to turn on the disposal switch or a nearby kitchen light before you begin work.
Are the specified tools like Channellock pliers and an adjustable wrench truly necessary, or can I get by with standard household tools?
The specified tools are highly recommended for ease and effectiveness. Channellock pliers provide a strong grip for stubborn P-trap nuts, and an adjustable wrench is crucial for securing the mounting ring firmly. While you might manage with other tools, these will make the job much smoother, especially for a beginner.
What is the most common mistake beginners make, and how can I avoid leaks after installation?
The most common mistake is not properly sealing the sink flange or tightening connections sufficiently. Ensure you use a generous roll of plumber's putty around the sink flange before installation. After the unit is installed and connected, fill the sink with water and check thoroughly for any drips or leaks around all connections before restoring full power.
Is the estimated 3-hour time frame realistic for someone who has never replaced a garbage disposal before?
Three hours is a reasonable estimate for a beginner, assuming you have all tools and materials ready and experience no unexpected issues. Your first time might take longer as you familiarize yourself with the process. Allocating an extra hour or two allows for troubleshooting without feeling rushed.
My old disposal had a dishwasher drain line connected. How do I ensure my new disposal supports it, and what's the process?
Most new disposals have a knockout plug inside the dishwasher inlet port that must be removed. You need to tap this plug out from the inside (usually with a screwdriver and hammer) *before* installing the disposal. Failing to do so will cause your dishwasher to back up when it tries to drain.
Why is plumber's putty required for this project, and can I use silicone sealant instead?
Plumber's putty creates a watertight seal between the sink drain opening and the disposal's sink flange, preventing leaks into your cabinet. While silicone sealant can also work, plumber's putty is generally easier for beginners to work with as it allows for adjustments and doesn't harden quickly, making future removal simpler if needed.
What's the easiest way to support the old, heavy disposal unit while I'm disconnecting it to prevent it from falling?
Before fully loosening the mounting ring that holds the old disposal to the sink, place a 5-gallon bucket or have a sturdy helper directly underneath the unit. This provides crucial support and prevents the heavy disposal from falling unexpectedly when the mounting ring is released, protecting both you and your plumbing.