New Garbage Disposal Installation: A Step-by-Step DIY Guide
About This Project
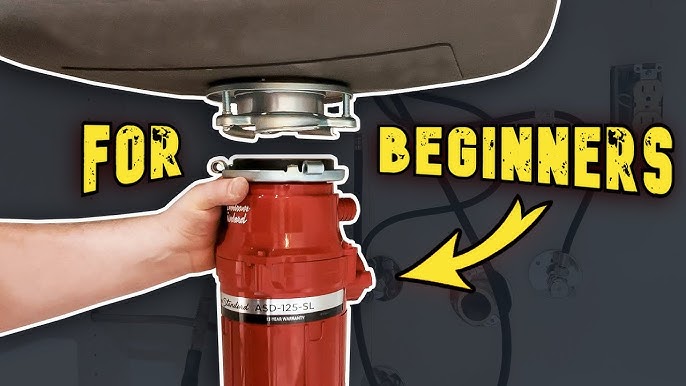
This project provides a step-by-step guide for installing a new garbage disposal unit. It begins with essential safety precautions, turning off the power and water supply, and placing a bucket under the sink's P-trap to catch residual water. Next, disconnect the old disposal's plumbing: the discharge pipe, P-trap, and dishwasher drain hose (if present). Pliers or a wrench may be needed to loosen connections. Then, install the new garbage disposal by following the manufacturer's instructions for mounting. This usually involves attaching the unit to the sink flange, and connecting the discharge pipe, P-trap, and dishwasher hose. Secure all connections tightly to prevent leaks. Finally, test the new installation by restoring the water supply and checking all connections for leaks. After confirming a leak-free setup, turn the power back on and test the disposal while running cold water.
Best for experienced DIYers and homeowners with some experience.
Tools & Materials
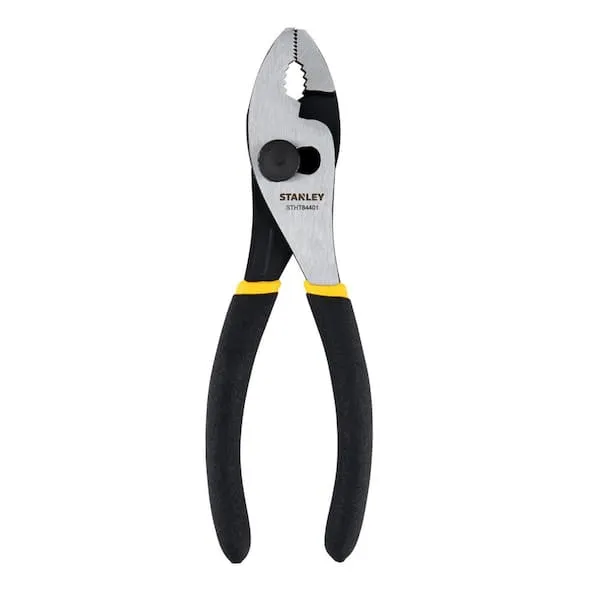
Pliers

Unger 6 Gal. Heavy-Duty Plastic Bucket DB02

Adjustable Wrench
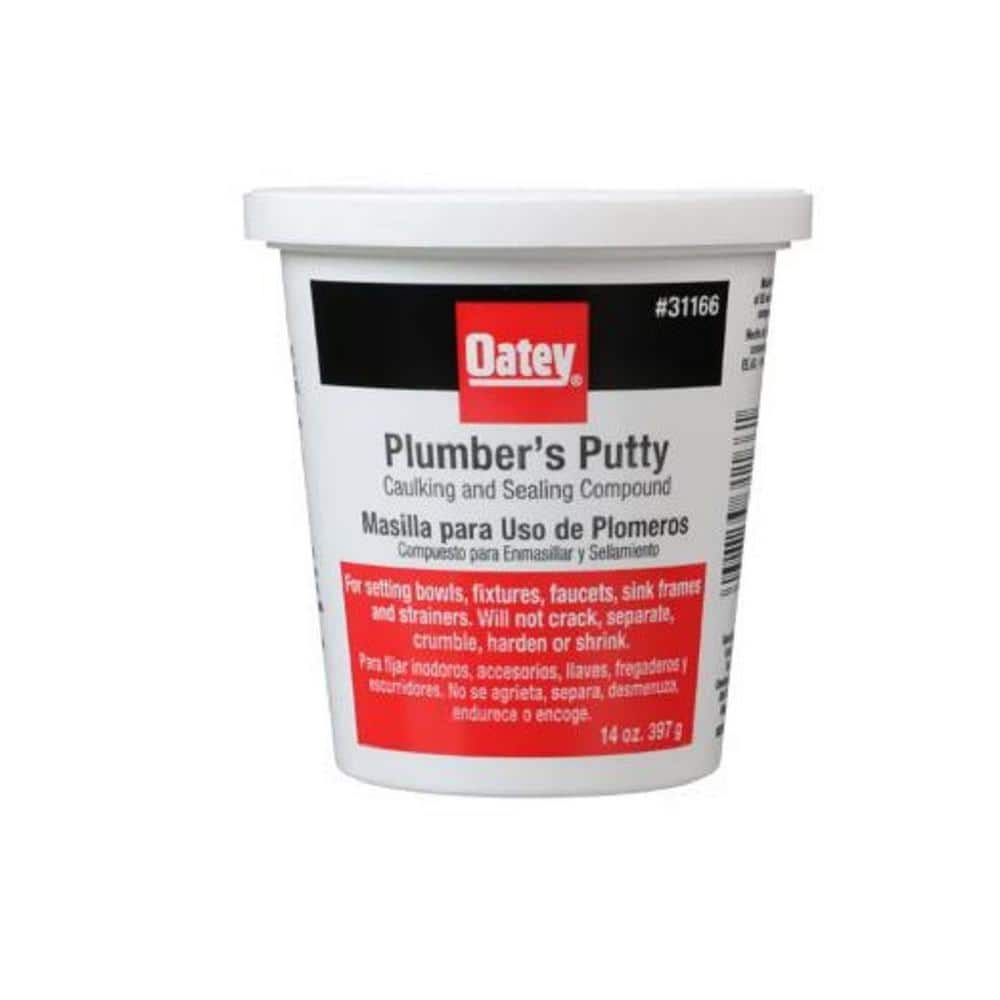
Oatey 14 oz. Plumber's Putty 311662
Pliers
Grips and manipulates objects.
Unger 6 Gal. Heavy-Duty Plastic Bucket DB02
The Unger 6-Gallon Heavy-Duty Professional Cleaning Bucket holds more than 6 Gal. of liquid. The bucket can accommodate a scrubber up to 14 in. L. This bucket features measurement marks and 2-pour spouts
Adjustable Wrench
Fits various nut and bolt sizes with its adjustable jaw.
Oatey 14 oz. Plumber's Putty 311662
The Oatey 14 oz. Plumber's Putty is an easy-to-mold setting compound designed for use with stainless-steel sealing applications such as frames, faucets and strainer baskets. Not for use on plastic, marble,
Steps

Disconnect Power and Water Supply
15 minsBefore you begin, safety first! Turn off the power to the disposal at your home's circuit breaker. Then, shut off the water supply lines leading to the sink. Place a bucket beneath the sink's P-trap to catch any residual water. This prevents spills and ensures a clean workspace.
Watch: Disconnect Plumbing
Disconnect the Plumbing
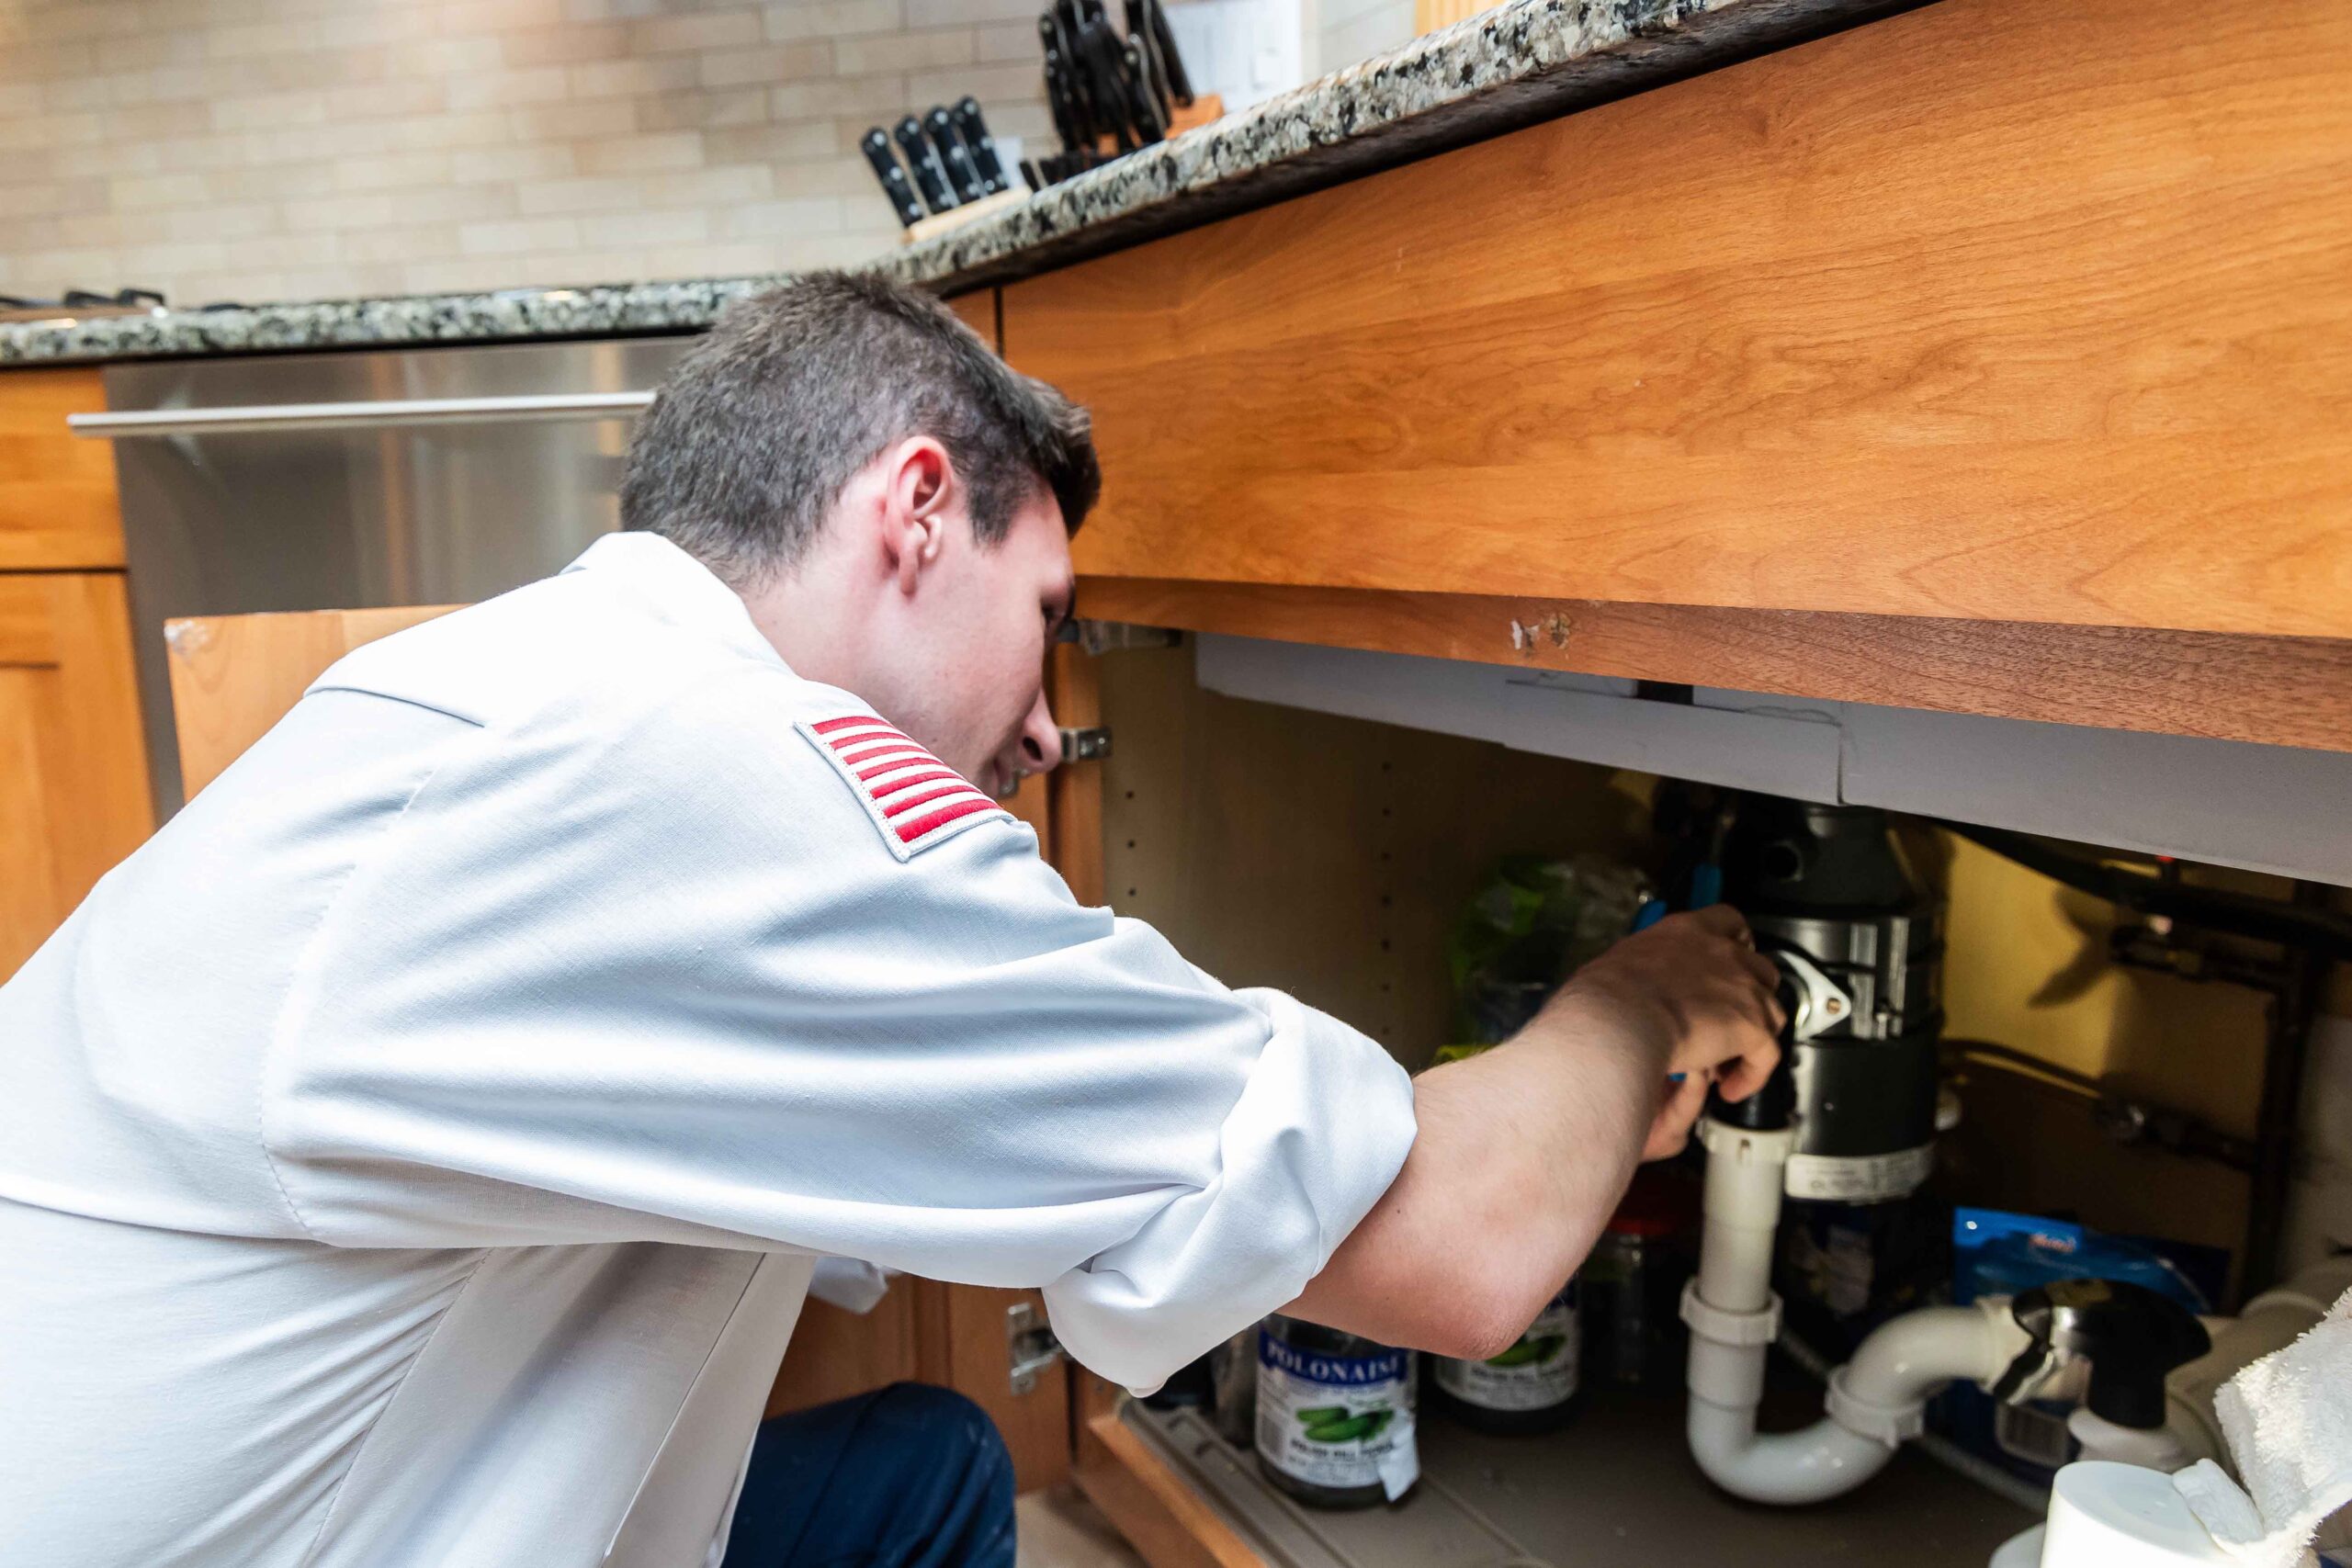
20 minsCarefully disconnect the discharge pipe from the disposal, the P-trap from the drainpipe, and the dishwasher drain hose (if applicable). Use pliers or a wrench to gently loosen and separate the connections. Keep a bucket or towels handy to absorb any remaining water.
Watch: Disconnect Plumbing
Install the New Garbage Disposal Unit
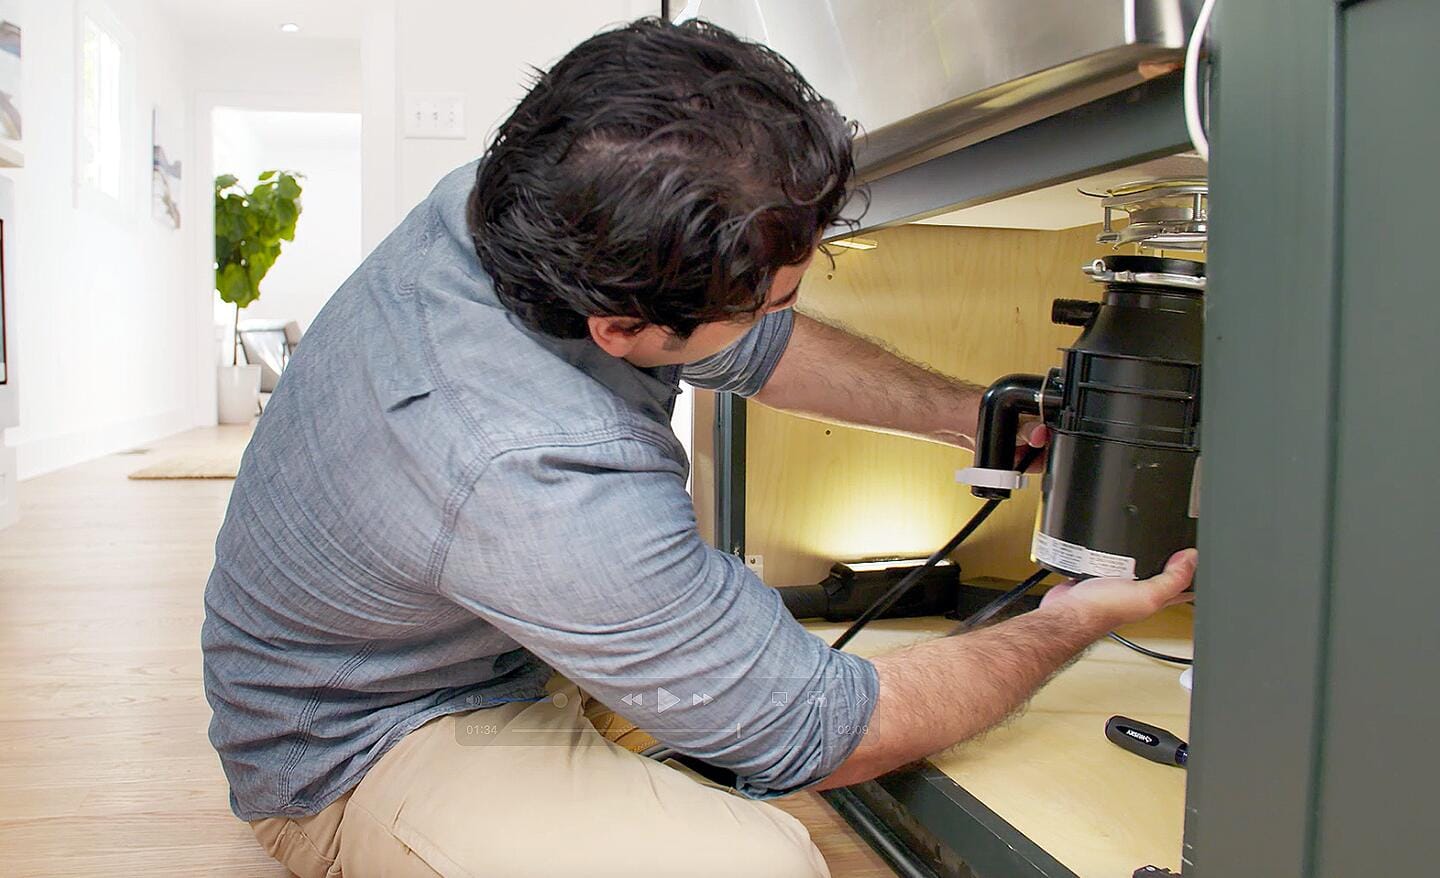
45 minsConsult your new disposal's manufacturer instructions for specific mounting details. Generally, this involves securing the unit to the sink flange and connecting the discharge pipe, P-trap, and dishwasher drain hose. Tighten all connections securely to prevent leaks.
Watch: Reconnect Pipes
Common Problems
Safety concern: Always disconnect power before working on any electrical appliance., Double-check all connections for leaks after installation.
Solution: Take proper safety precautions. Always disconnect power before working on any electrical appliance., Double-check all connections for leaks after installation.
Prevention: Always follow safety guidelines before starting the project.
Be careful not to overtighten the connections when reassembling the pipes.
Solution: To avoid this issue: Be mindful of this warning and take appropriate precautions.
Water spills unexpectedly when disconnecting the old disposal hose.
Solution: Be prepared for water to spill out of the hose once it's disconnected.
Water spills from the washing machine hose during disposal installation.
Solution: Disconnecting the hose from the washing machine first and draining it into a bucket helps minimize spills.
Confirm the power is off before touching any wiring or internal components.
Solution: To avoid this issue: Be mindful of this warning and take appropriate precautions.
Pipes can be stressed or broken if hoses aren't disconnected first.
Solution: The video shows the host incorrectly trying to remove the disposal before the hoses. Always disconnect the hoses first to avoid stress on the pipes.
Dishwasher hose tears when connecting to disposal.
Solution: If the dishwasher hose is stuck, you can gently pry it with a flathead screwdriver, but be careful not to tear the hose.
Frequently Asked Questions
What critical safety precautions should I take before starting the garbage disposal installation?
Always begin by turning off the power to the disposal circuit at your home's breaker panel and shutting off the cold water supply valve under the sink. This prevents accidental electrical shock or water leaks during the process. Place a bucket under the P-trap to catch any residual water when disconnecting pipes.
Beyond pliers, what other tools or materials are absolutely essential for a successful new garbage disposal installation?
You'll likely need a wrench, possibly an Allen wrench (often provided with new disposals for mounting bolts), and a screwdriver. Don't forget plumber's putty for sealing the sink flange and a reliable bucket to manage water during disconnection.
After installation, I notice a leak around the connections. What are the most common causes and how can I fix them?
Leaks often stem from loose connections, an improperly seated P-trap, or insufficient plumber's putty around the sink flange. First, ensure all pipe connections are securely hand-tightened, then given a quarter turn with pliers. If the leak is at the flange, you may need to reapply plumber's putty.
As a beginner, how realistic is the 3-hour estimate, and what makes this project suitable for a DIY novice?
The 3-hour estimate is realistic for many beginners who follow instructions carefully and have basic tool familiarity. Its beginner-friendly nature comes from the clear, sequential steps and the limited number of specialized tools required. Taking your time and double-checking each step is key to staying within this timeframe.
The materials list mentions plumber's putty. Where exactly do I use this, and why is it important?
Plumber's putty is crucial for creating a watertight seal between the sink flange and the sink drain opening. You'll roll a thin rope of putty and place it around the underside of the sink flange before inserting it into the drain opening. This prevents water from seeping under the sink and causing leaks.
My old disposal had a dishwasher hose connected. How do I ensure it's properly connected to the new unit, and what if it's not draining?
Your new disposal unit will have a dishwasher inlet, usually sealed with a knock-out plug that you must remove before connecting the hose. Ensure the hose is securely fastened with a hose clamp. If the dishwasher isn't draining, verify you've removed this plug completely and check for any kinks in the hose.