

measure for stair treads
About This Project
Are you ready to elevate your staircase but worried about getting the measurements just right? We understand. Achieving that professional, seamless look starts with accurate measurements, ensuring your new treads provide the safety and style your family deserves. This guide makes it a simple, DIY-friendly process. We’ll walk you through measuring each step individually—because as many homeowners know, not all stairs are created equal! Following these steps ensures your Oak Valley Designs treads will be custom-made to fit perfectly, bringing warmth and elegance to your home.
Tools & Materials

Oak Valley Orla - Tread
Oak Valley Orla - Tread
Treads
Steps

Count Your Steps & Gather Your Tools
5 minutesLet's begin this easy DIY stair remodel by counting the number of horizontal surfaces you walk on—these are your treads. A fun fact: you’ll always have one more vertical riser than you have treads! Once you have your count, gather these simple tools. You'll need a rigid tape measure for precise readings, a carpenter's square to check for true right angles, a level to ensure your measurements are flat, and some masking tape and a pencil to mark and record your findings. Having everything ready makes the process smooth and stress-free.
Watch: Gather Tools and Materials
Measure Each Tread's Depth
3 minutesNow, let’s measure the depth of each tread one by one. This ensures a perfect fit that maximizes safety and comfort. Place the end of your tape measure flat against the vertical riser at the back of the step. Extend the tape straight across the tread, making sure it passes over the rounded front edge, which we call the 'nosing.' Keeping the tape measure perfectly flat and level is key to an accurate measurement. Important: For a true reading, make sure you are measuring the bare wood, not any old carpet, padding, or adhesive residue that might still be on the stair. Write down the depth for each step as you go.
Watch: Measure Stair Tread DepthMeasure Each Tread's Width
3 minutesNext up is the width. Measure across the tread from side to side, keeping your tape measure parallel to the back of the stair. If walls enclose both sides of your staircase, measure from wall to wall. If you have an open side with balusters, measure the full width of the wooden step itself. To achieve that classic, high-end designer look, we recommend ordering your treads about 2 inches narrower than your total stair width. This creates a beautiful 1-inch border of exposed wood on either side, a design choice that truly elevates your staircase.
Watch: Measure Stair Tread Width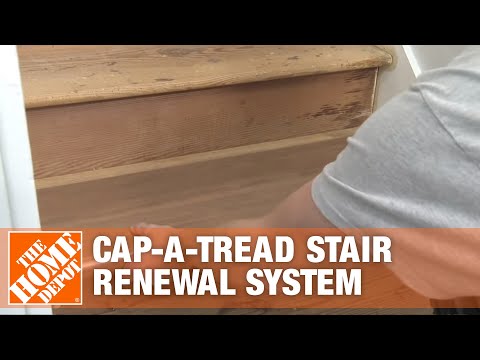
Record, Label, and Double-Check
5 minutesYou're almost there! This final step is what ensures your treads are truly custom-made to fit. In a notebook, carefully record the width and depth for each step. It’s very common, especially in older homes, for steps to have slight variations. If you find a step with different dimensions, use a small piece of masking tape and a pencil to give it a number. For the ultimate peace of mind when ordering your custom Oak Valley Designs treads, we highly recommend taking a quick photo of each individual step to accompany your measurements. Remember the carpenter's rule: measure twice, cut once. In our case, it's measure twice for a perfect, stress-free installation!
Watch: Measure Treads and Mark Laminate